Finishing up with the work on BB Senshi Sangokuden Sonsaku Physalis Gundam after the previous posting. ^^
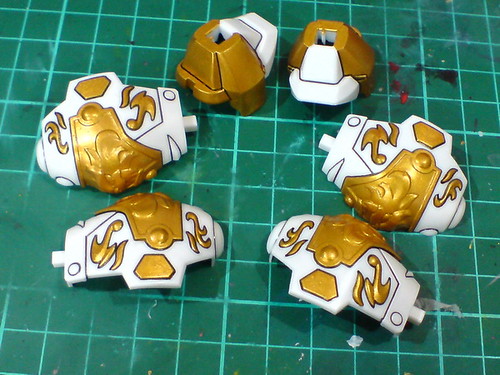
Panel lined the Kyoshu Gekikokon (強襲激鋼棍) and leg armor parts.
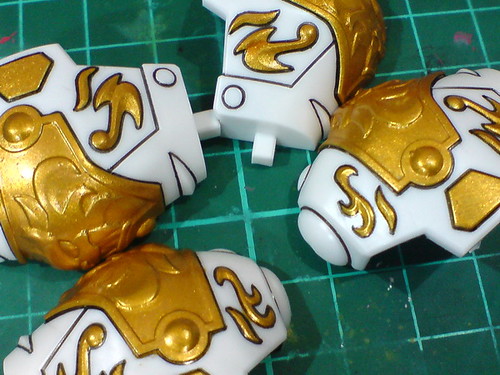
The beauty and shininess of Gaia Metallic Color No. 122 Star Bright Gold continues to impress. ^^
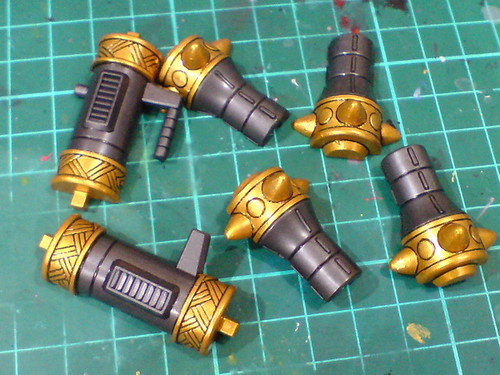
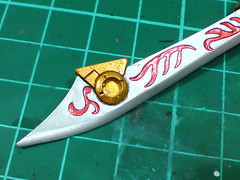
The handle and mace parts of Kyoshu Gekikokon are panel lined as well.
The goggles on Sonsaku Physalis Gundam's V-fin are painted using normal marker.
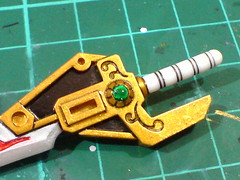
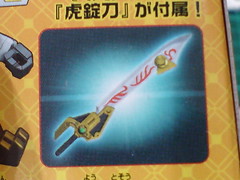
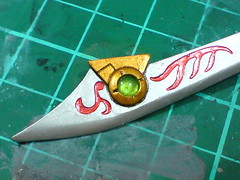
Done in the previous posting, the two jewels on Koteitou (虎錠刀) are painted using Gaia Color No. 104 Fluorescent Green.
The two slots near the tip of the blade are meant to be blank I suppose, as shown in the box side image, but since they are not pegs or joints for the weapon to be mounted in any way, they can be enhanced with just a slight effort o give them an improved look. ^^ Similar to the work of adding caps to the elbow joints in Part 3, new "jewels" can be added to the said slots.
(Left) Comparing the slot with H-Eyes 1 Green from Wave to find the part with the right size.
(Right) Amazingly, one of the clear parts fit the slot completely. ^^
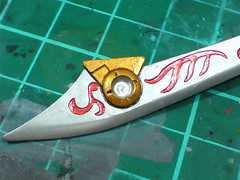
The interior of the slot is painted using Pilot Super Color Silver Extra Fine to provide the clear part a shiny silver base to sit on. ^^
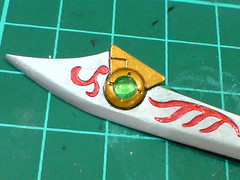
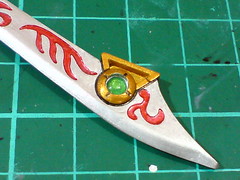
Two clear parts from H-Eyes 1 Green are fitted into the slots. A bit of plastic cement is used to strengthen the connection.
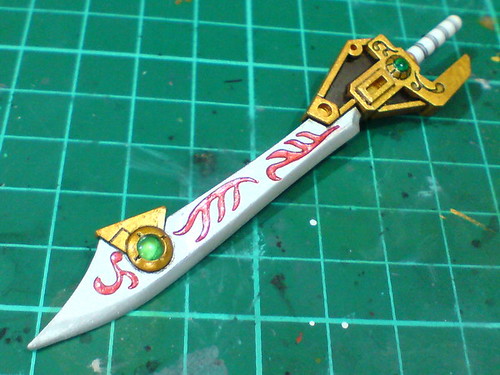
All done for the work on Koteitou. ^^


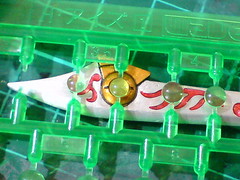
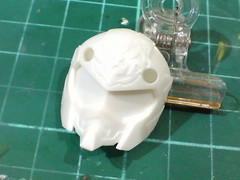
A few postings featuring different work to transform the blade from a one-piece white part (left, from Part 2) into a fully painted weapon. ^^
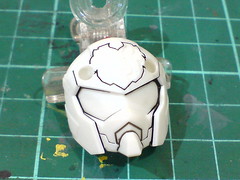
The front head part is panel lined using Tamiya's Panel Line Accent Color (Black).
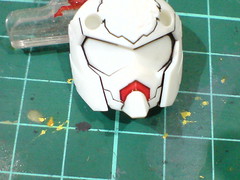
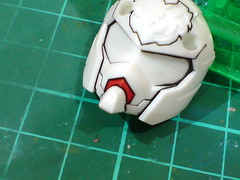
(Left) The mouth area is painted using Gundam Marker Red.
(Right) Excess red paint spilled onto the chin is scratched away with a knife. Panel lines are reapplied to the mouth area as well.
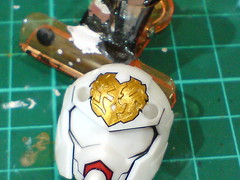
(Left) The forehead patch containing the character's family name is painted using Gaia Metallic Color No. 122 Star Bright Gold.
(Right) The sunken details are painted using a combination of Tamiya's Panel Line Accent Color (Black) and normal panel liner.
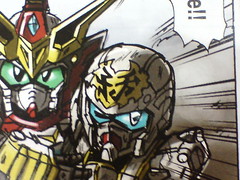
While not shown anywhere in this kit itself, the golden patch on the Gundam's forehead can be seen in the comic of his younger brother, Gotaitei Sonken Gundam Korinpaku. ^^ As a matter of fact, he same paint treatment was given to that kit because of this image. ^^
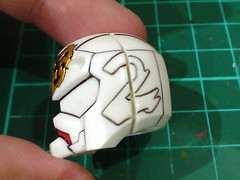
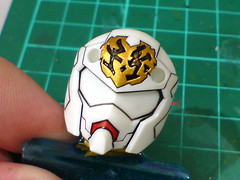
Curvy elevated details on both sides of the head that clearly shows the digit 2. ^^
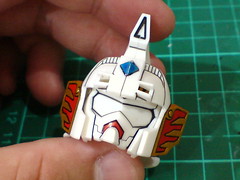
Test fitting the painted parts to see how the armored head would turn out in the end. ^^
Done with the head parts, all the work on Sonsaku Physalis Gundam is completed. ^^ Despite its 600-Yen (exclusive of tax) price tag, the number of part to paint and the complexity of their details pose a fair amount of challenges in the entire work. ^^; The repaint on Koteitou (Part 3) and all the red stripes (Part 4) are "perfect" distractions to add even more work on top of the rest as well. ^^; However, I'm glad that everything is fixed in the end, and Sonsaku Physalis Gundam can now join many other kits like High Grade 1/144 Mr. Bushido's Ahead and BB Senshi Zeta Gundam and Nu Gundam Set and wait for the call for its final assembly. ^^;


No comments:
Post a Comment