Round 3 on the painting and detailing of BB Senshi Sangokuden Sonsaku Physalis Gundam after the previous posting. ^^
The helmet, shoulder and skirt armor parts are the foci this time. ^^
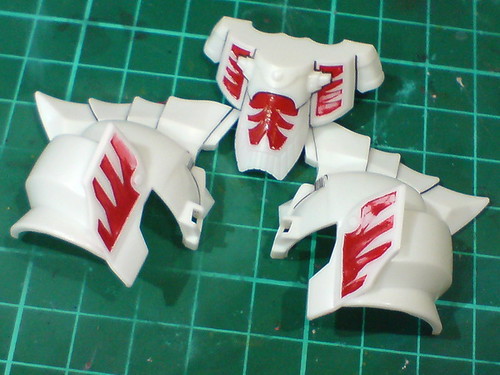
Instead of following my initial planned method of using gold paint to cover up the excessive red paint on the parts, I tried cleaning them using cotton swabs soaked with thinner instead, and it turned out to be a bad idea. ^^;
Some areas seem fine, especially the stripes on the skirt armors, but the overall result is not good at all. ^^;
The result on the rear skirt armor part was so bad I cleaned off all the red paint. ^^

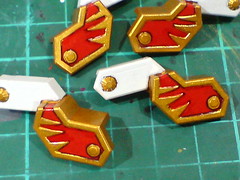
Repainting all the parts is the only way to go to fix the poor state of the red stripes. ^^; To get a more accurate result on all the stripes this time, all the sunken areas are panel lined first to outline the exact spots for the red paint to be applied.
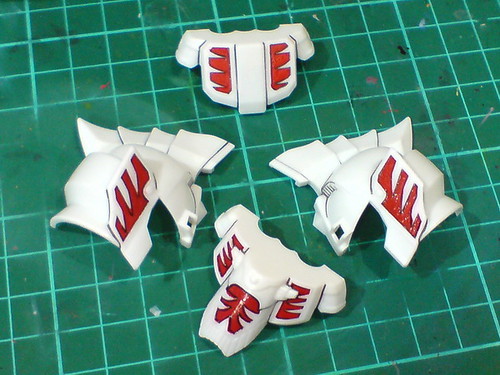
The targeted areas are hand painted using Gaia Color No. 003 Bright Red Gloss.
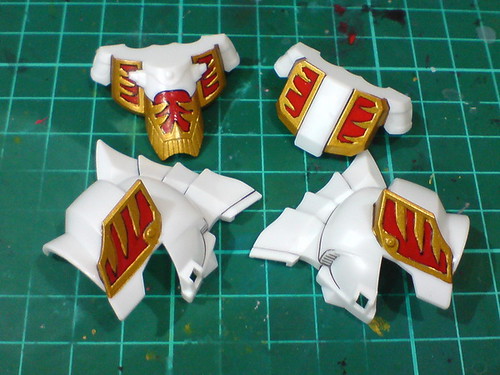
When the red paint has dried, the "frames" around the stripes are painted using Gaia Metallic Color No. 122 Star Bright Gold.
With guidance from the panel lines, the work is indeed easier. ^^
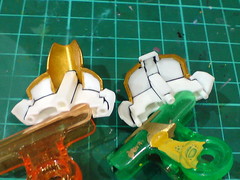
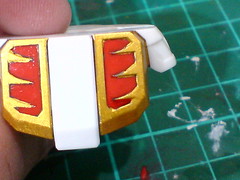
(Left) The rear portion of the "frames" are painted as well to give them a more cohesive appearance with the front side of the parts.
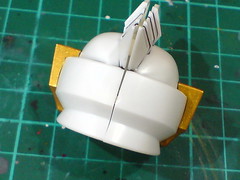
(Right) The sideburns are painted according to the completed model shown on the side of the box (Part 2).
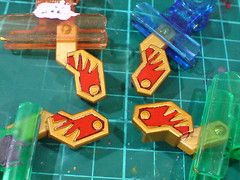
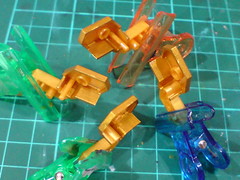
The shoulder armors are painted as well. The base color makes it kind of troublesome to identify the progress of the paint work, since its color tone is similar to that of Gaia Metallic Color No. 122 Star Bright Gold. ^^;
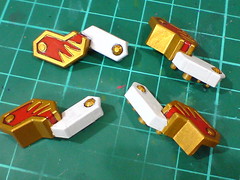
When the gold paint has dried, the top segment of the shoulder armors are paint white using Gundam Marker.
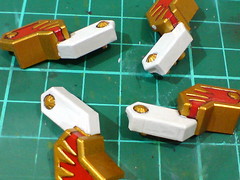
With additional layers of white paint applied to cover up the base color. ^^
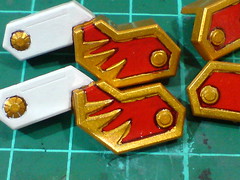
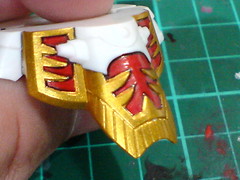
Gold paint that is spilled onto the red sunken areas will need to be treated. ^^;
Instead of painting over the spilled color (again) and then risk spilling red paint onto the golden stripes, thus forming an endless loop of red and gold paint work, ^^; the targeted areas are treated using red whiteboard marker ink instead of convenience and simplicity. ^^
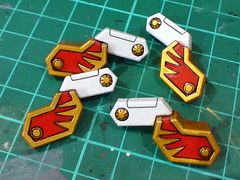
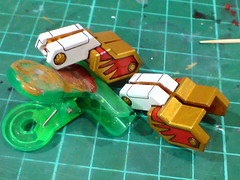
All four shoulder armor parts are panel lined once the paint has dried.
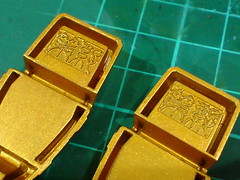
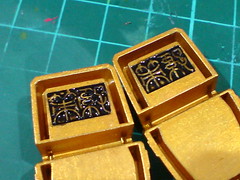
Detailing of the character name molded beneath the heels: since the parts were already painted gold in Part 1, the only paint work needed would be for the black background. Tamiya's Panel Line Accent Color (Black) can be used to paint all the tight corners and slits of the molded parts very easily. ^^
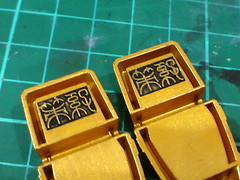
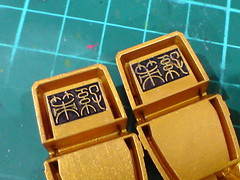
(Left) Excessive panel liner paint is wiped away using cotton swab soaked with enamel thinner.
(Right) Wider sunken areas not covered by the panel liner paint are painted using normal panel liner.
While it's not as complicated as the repaint on Koteitou (虎錠刀) did in the previous posting, the same work on the helmet, shoulder and skirt armor parts is still pretty troublesome and unfortunate, and very wasteful too. ^^; Apart from the paint itself, tons of cotton swabs were used to get rid of the paint. ^^;
Hopefully, the next round of painting and detailing will go smoother and more successful. ^^


No comments:
Post a Comment