Rolling out the first (and most probably the only ^^;) Gunpla of this month: HG 1/144 Mr. Bushido's Ahead which has been sitting in my closet, waiting to be assembled since May. ^^;
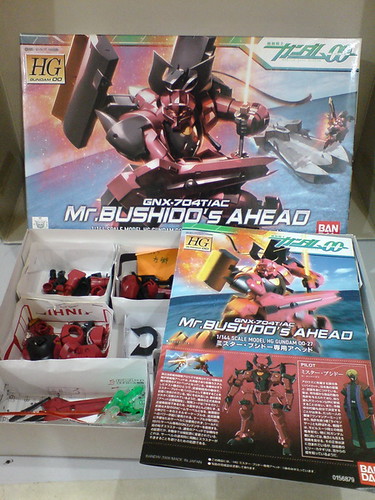
This is just the fifth Gunpla (after 1/48 scale Unicorn Gundam Head Display Base, HGUC Geara Zulu, HG 1/144 Ali al-Saachez's Customized AEU Enact Custom, and HGUC Black Tri Star's Customized Zaku I), and perhaps one of the last among those which were already painted and detailed to see its completion on my blog this year. ^^;
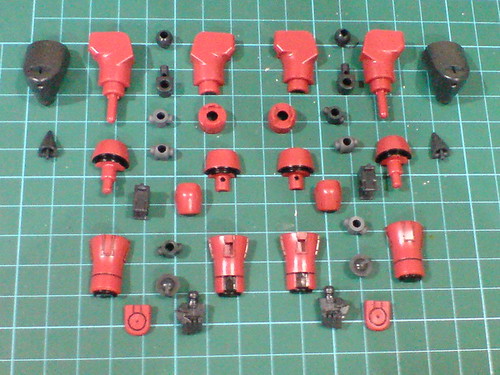
Parts of the arms.
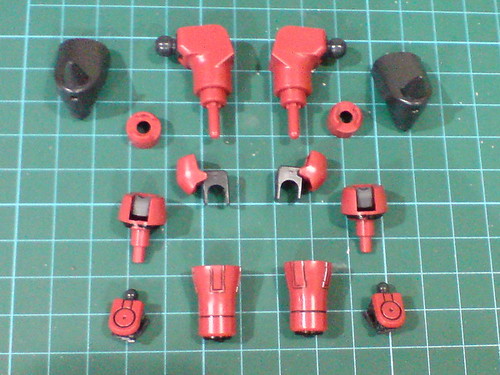
Separable components of the arms before the final assembly.
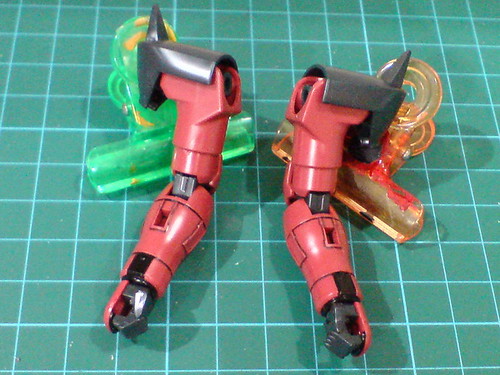
Done for the arms.
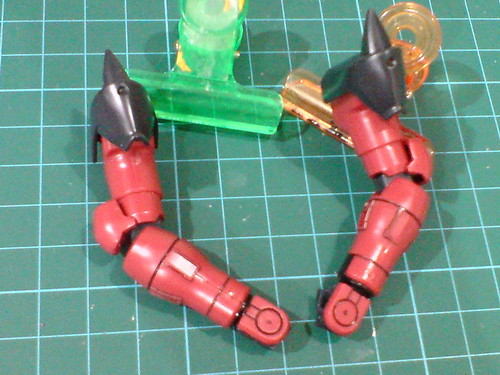
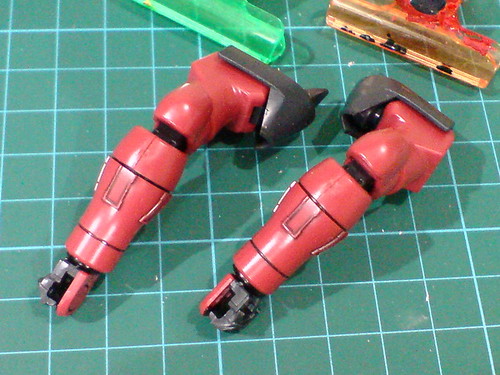
The forearms' position is incorrectly adjusted actually. The square slot (for mounting the shield) should face outward instead of upward.

Simple 90-degree bend for the elbows.

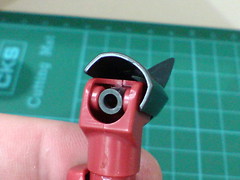
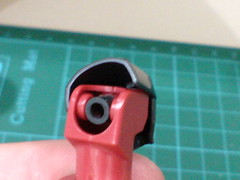
The shoulder armors are connected to the upper arms via ball-type joints.
They can be tilted downward from the side, or forward/backward to avoid obstructing the arms' posability.
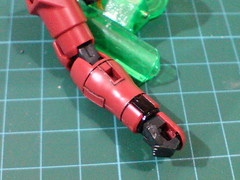
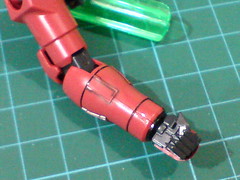
In addition to the more common upper arm swivel, the forearms can be swivel around the elbow area as well.
In the "Gundam Double O" Gunpla series, this additional articulation point can also be seen on 1/100 scale Tieren Ground Type. ^^
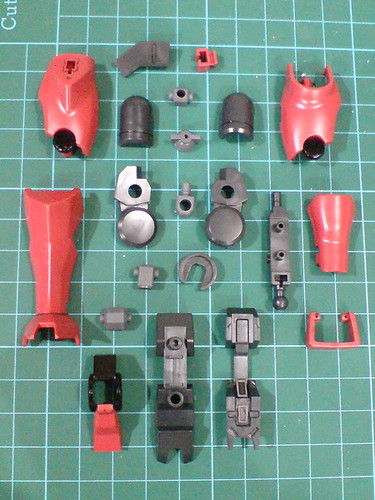
Parts of the right leg.
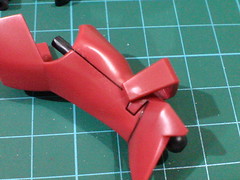

(Left) The split was painted in Part 4 to form an obvious, smooth-looking line detail between the front and rear leg parts.
(Right) The knee joint's assembly feels amazingly similar to that of HG 1/144 Tieren Ground Type. ^^

The mount rack to hold the beam sword handle can be fitted into a dedicated slot beside the thigh. Following the MS's design, the mount rack should be placed on the left thigh inside.
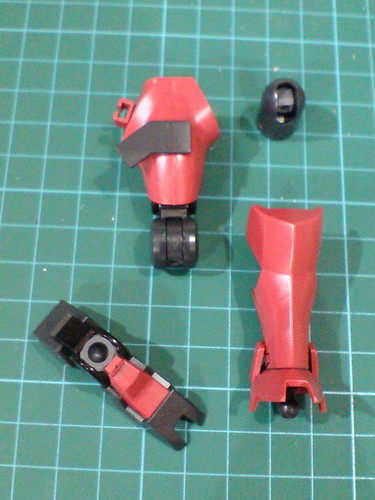
Separable components of the right leg before the final assembly.
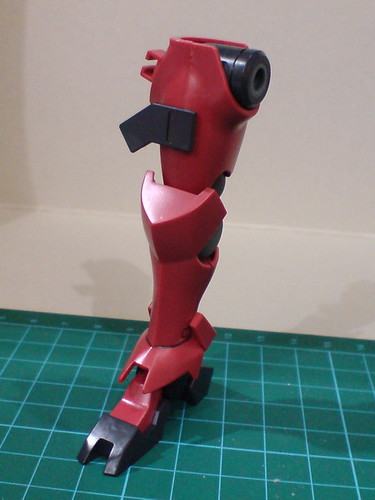
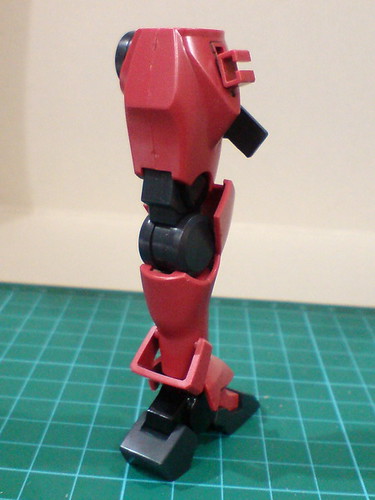
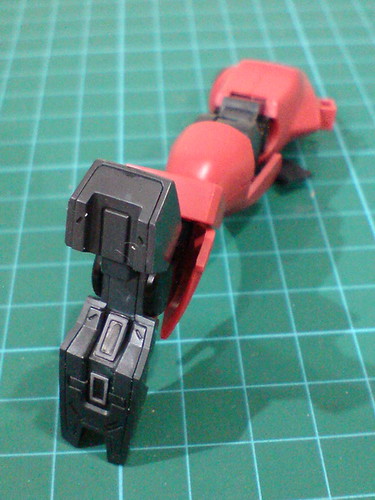
The right leg is assembled.
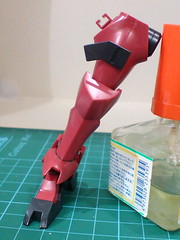
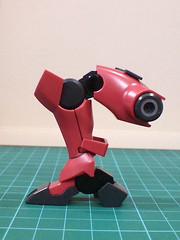
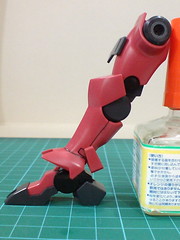
Standard articulation design for the leg I would say.
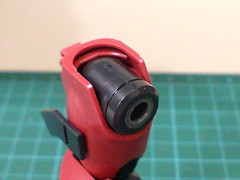
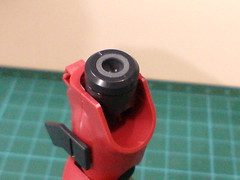
The hip joint is a separated component on the thigh. It can be hinged upward to give the completed model a slight increase in overall height, and to decreases the horizontal gap between the two legs.
This articulation design looks very much like that on HG 1/144 Tieren Ground Type and its variations as well. ^^
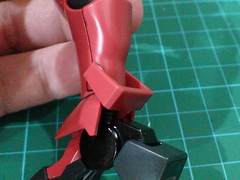

The heel guards can be hinged upward/downward.
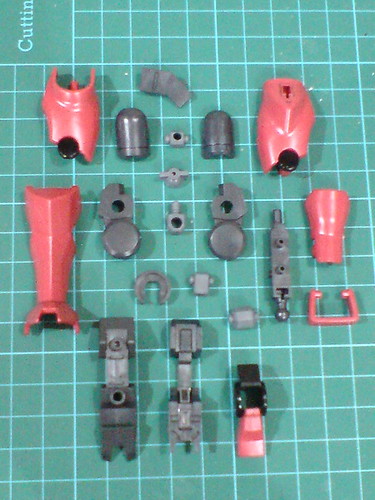
Parts of the left leg.
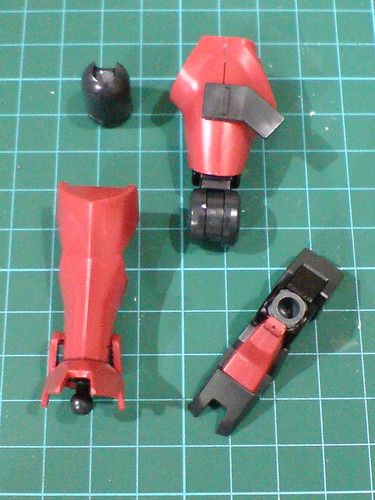
Separable components of the left leg before the final assembly.
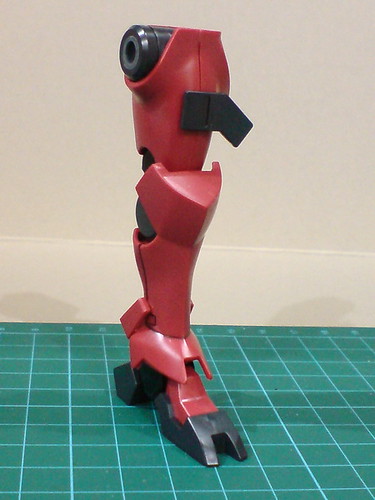

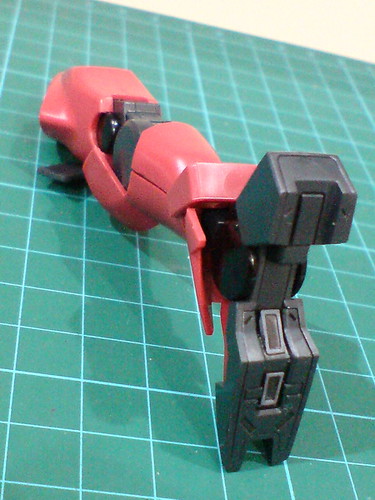
Done for the left leg.
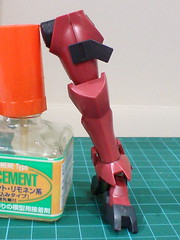
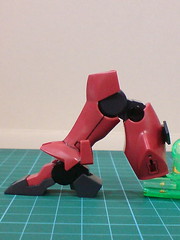
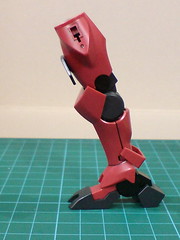
The articulation design is obviously identical to that of the right leg shown just now.
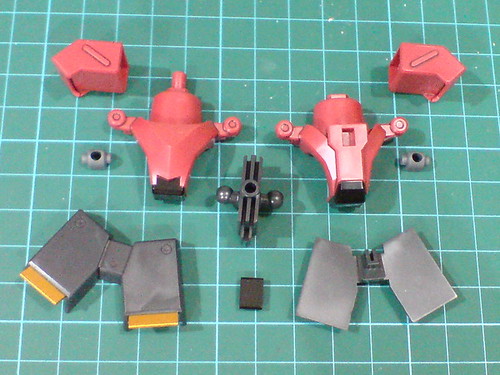
Very few parts for the waist.
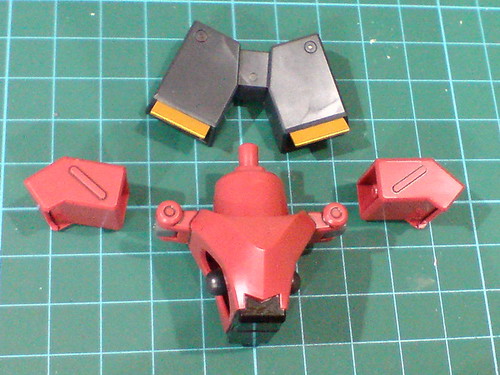
Separable components of the waist before the final assembly.
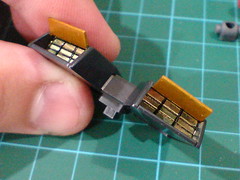
The added vent details inside the rear skirt armor that were done in Part 2.

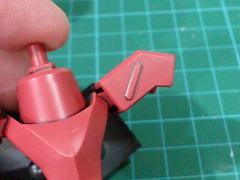
An uncommon peg design (embedded inside the side skirt armor) for an unusual-looking side skirt armor. ^^
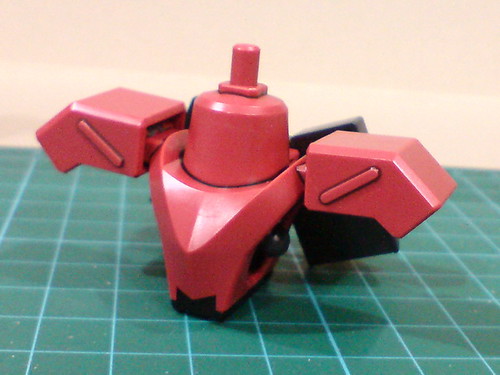
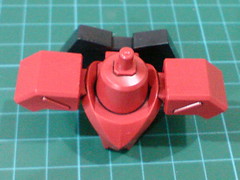

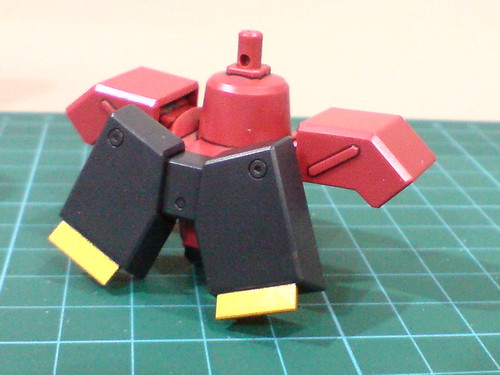
Done for the waist.
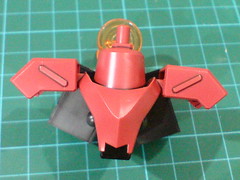
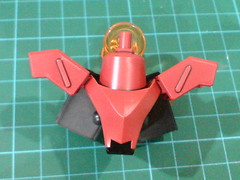
Despite encapsulating the joint area, the side skirt armors can still be hinged vertically, ...
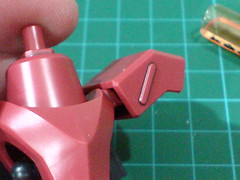
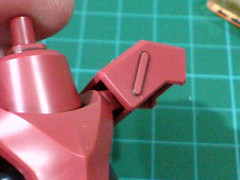
... and rotated forward/backward as well, albeit for a very limited degree - since this particular articulation point is really unnecessary in my opinion. ^^;
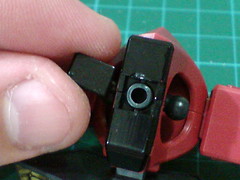
The color of the entire bar beneath the hip area, including the separated cap to hide the slot for Action Base 2 was realized through paint work in Part 3, along with many other selected parts.
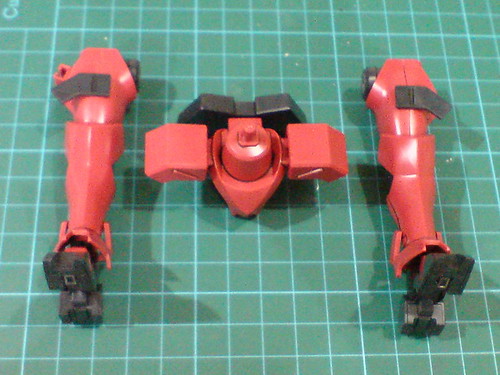
With the legs completed earlier on.

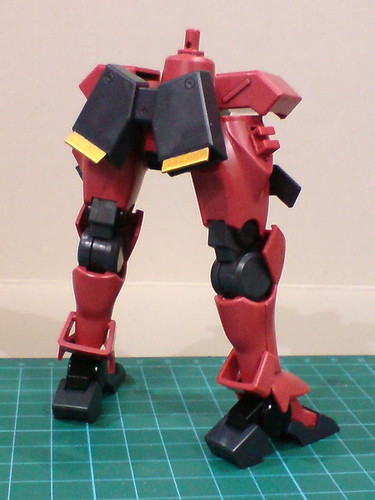
The lower body is completed.
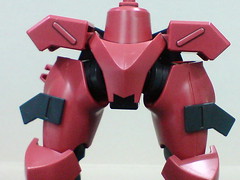

Using the ball-type polycap of the hip joints, the legs can be bent forward/backward to give them a more expressive (and more stable) standing pose. ^^
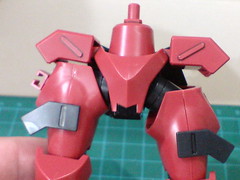
The vertical extension of the legs as mentioned earlier on.
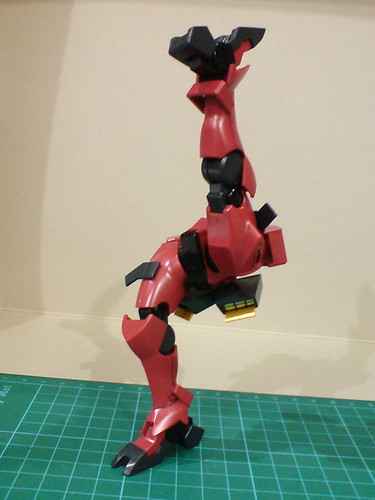
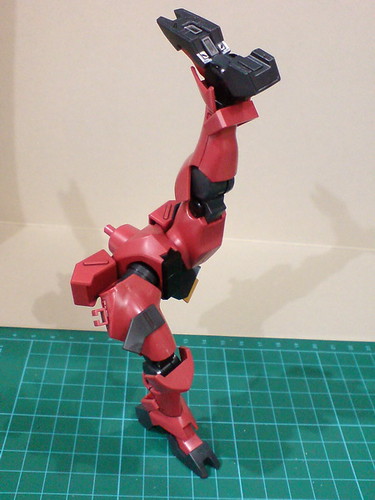
Without an upper body attached, a one-legged stance can be performed by the model very easily and securely. ^^

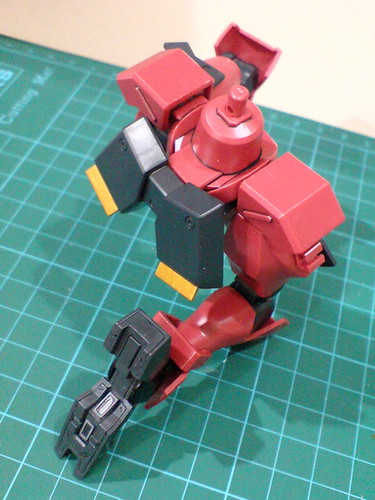
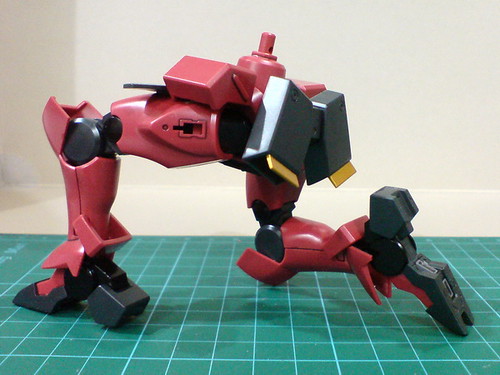
The lack of appendages on the side skirt armors, and its flexible leg articulation design help to give Mr. Bushido's Ahead a very nice and natural-looking kneeling pose. ^^
Moving on to assembling the rest of the components in this kit next. ^^


No comments:
Post a Comment