Starting on a new Gunpla project this time, with a kit that is straight out of Nostalgialand. ^^
HG 1/100 Gundam Heavyarms Custom
Production company: Bandai Hobby Division
Release date: 1997
Price: 2,000 Yen (exclusive of tax).
Merchandise link
Released in 1997 (! ^^), this is High Grade 1/100 scale Gundam Heavyarms Custom from "Gundam Wing: Endless Waltz". ^^ Along with Gundam Deathscythe Hell Custom, Gundam Sandrock Custom, and Serpent Custom from the same HG 1/100 scale line, and 1/60 scale Wing Gundam Zero from the TV anime series, Gundam Heavyarms Custom is one of my most sought-after Gunplas that I finally managed to get my hands on back in early June 2010. Despite not touching any of them for more than three years now, I have no intention of keeping them as unassembled kits. ^^ Starting with Gundam Heavyarms Custom, these old kits will eventually be completed, and I'll get to experience the fun of assembling them which I could only dream about back in the old days. ^^
Having built the HG 1/144 scale version way back in my secondary school days, ^^ the better part separation that reduces the need of paint work is an obvious benefit of this 1/100 scale version. The ability to show off all the missiles in deployed mode without part-swapping is another huge plus point as well. However, the extra eight missiles contained in two separate pods on the front skirt armors on the HG 1/144 scale version becomes its unique feature, since the design wasn't inherited by this 1/100 scale kit. ^^; It's a minor shame in my opinion, since the front skirt armor missile pods are the smallest of all similar weapons on the kit, so their omission doesn't significantly affect its look. As this weapon was later realized on Master Grade Gundam Heavyarms EW, the MG redesign of this OVA version would feature the two front skirt armor missile pods as well no doubt. ^^
A brief introduction of Gundam Heavyarms Custom from Gundam Dot Info.
Video clip is from Youtube. Follow this link to the website if you can't see anything.
Speaking of which, I actually got the Master Grade EW version of both Gundam Heavyarms and Gundam Sandrock long before thinking about working on this kit. ^^ While they feature significant differences in pretty much every aspect, it's still very interesting when comparing the much more detailed MG version to this old kit. Like the connection between Gundam Deathscythe EW and Gundam Deathscythe Hell, I believe that there'll be a Master Grade version of Gundam Heavyarms Custom coming in the future. ^^ Despite the improvements in all aspects to be expected of that kit, which can be seen very obviously on MG Gundam Heavyarms EW right now, the feeling when working on, and assembling it as compared to this 1997 kit is going to be very different no doubt. I can foresee that for the Master Grade version, its kit design, color separation, gimmicks, and overall look are going to be extremely impressive; but there's still something special about this old kit that cannot be replaced by its latest, and more superior "successor". ^^ I'm definitely looking forward to that Master Grade version, whenever Bandai decides to announce it, but I'm also looking forward to assembling this kit as well. ^^
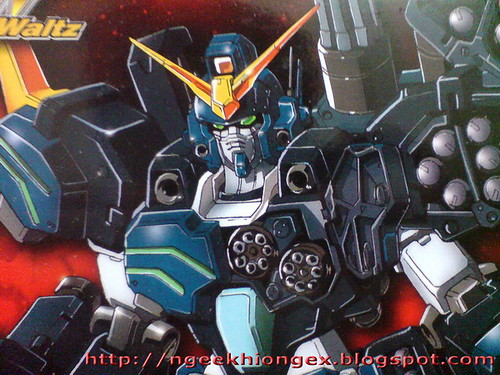
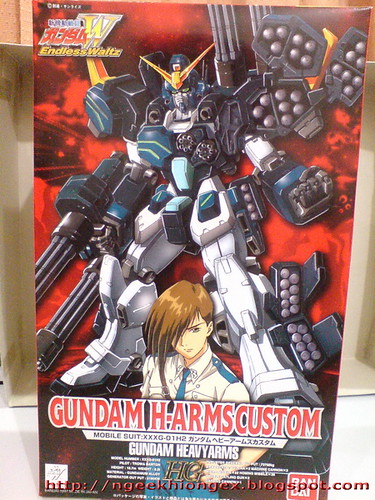
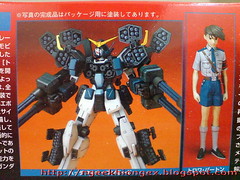
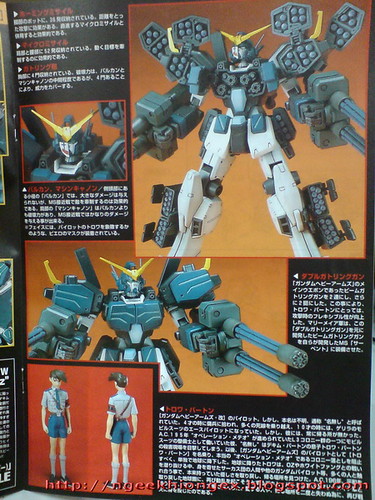
Old-school box art design featuring an very nice-looking illustration of the Gundam, which doesn't correspond with the actual model kit for the most parts. ^^;
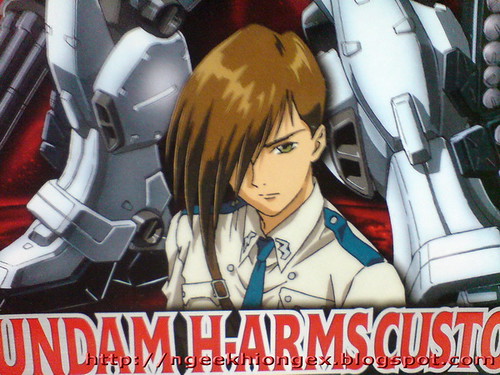
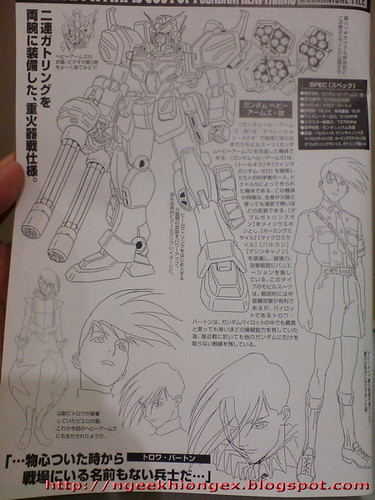
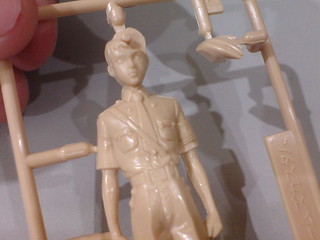
Illustration of the pilot, Trowa Barton on the box art.
Introduction of the kit on the right side of the box.
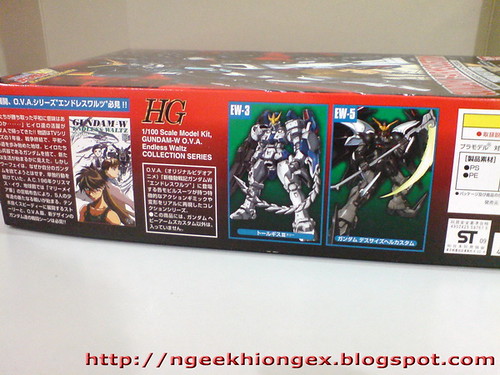
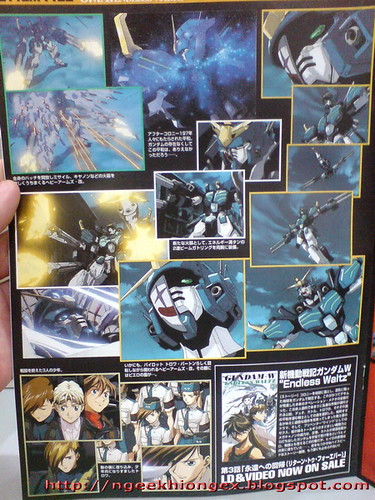
Preview for Tallgeese III, and Gundam Deathscythe Hell Custom from the same Gunpla line on the left side of the box.
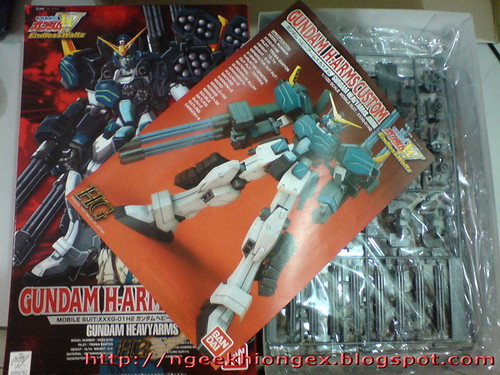
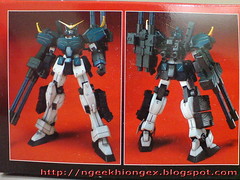
Content.
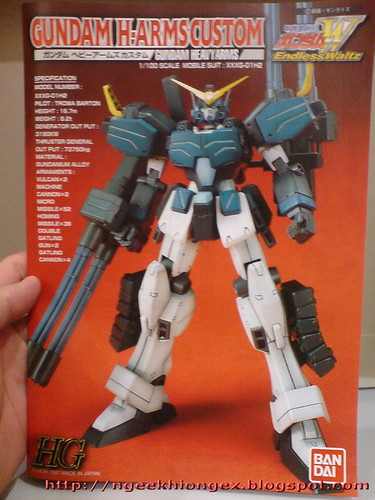

The instruction manual.
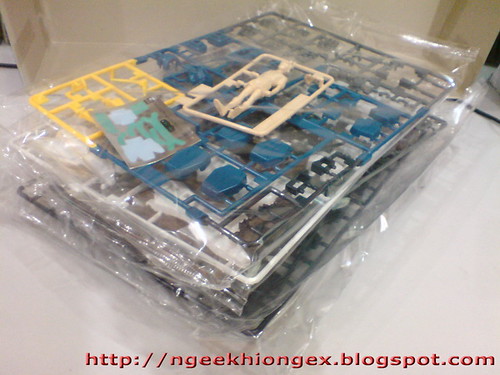
All runners.
A look at the runners' design:
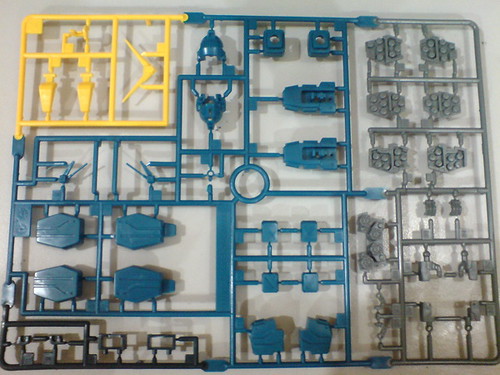
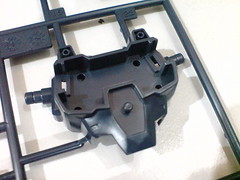
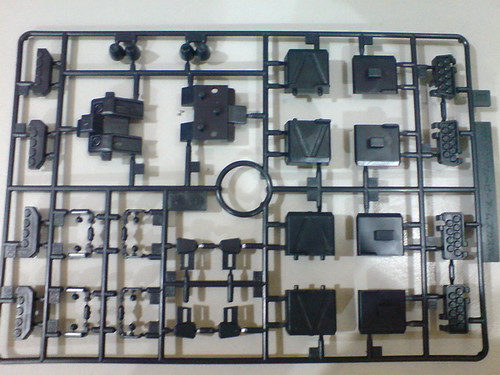
Runner A - A multi-color runner that contains parts mainly for the head, hand units, armor panels, and shoulder missile clusters.
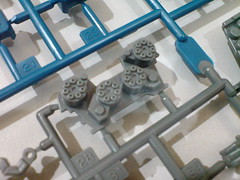
Very nicely molded missiles clusters for the shoulders, and the chest-mounted Gatling gun barrels. ^^
The unnaturally posed thumb that is fixed to one of the hand unit parts is a "testament" of the kit's age, since such design is no longer inherited by any 1/100 scale Gunpla since a long time ago. ^^
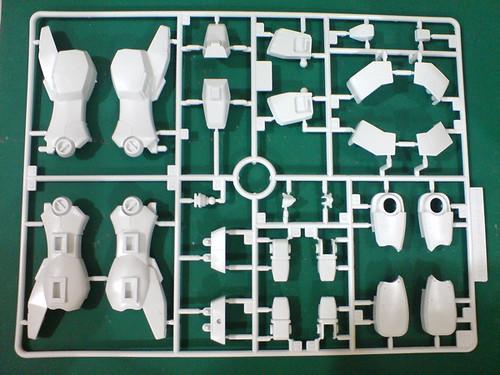
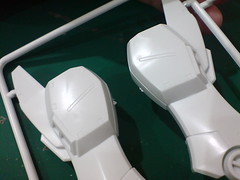
Runner B - Contains white parts mainly for the legs.
(Left) Two face plates included - the default type, and the one with a half jester mask. The latter requires heavy paint work to realize not only the colors on the mask, but the eye, and chin of the Gundam as well.
(Right) Some minor molded details on the leg parts.
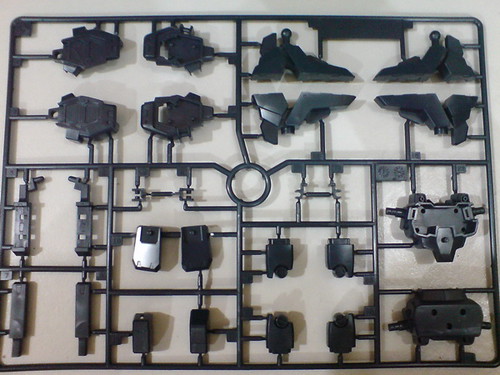
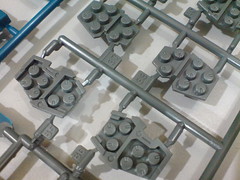
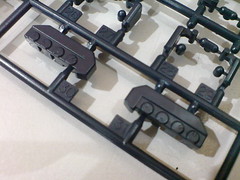
Runner C - Contains black parts mainly for the feet, shoulder armors, and forearms.
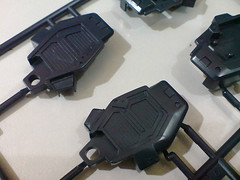
(Left) The hollow chest area to fit the Gatling gun part from Runner A.
(Right) Not-too complicated-looking vent details on the rear shoulder armor parts.
Given that the front portion of the feet are no separated from the heels, the size of the parts is considerably large. ^^
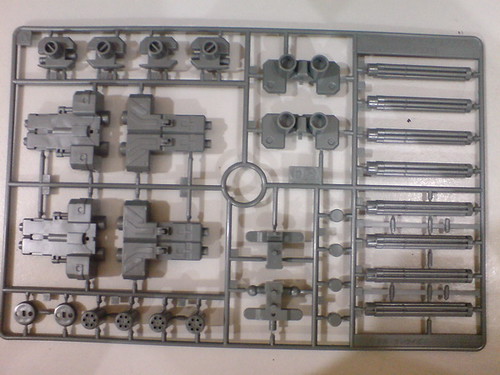
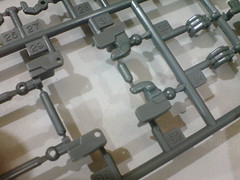
Runner D - Contains gray parts mainly for the double Gatling guns.

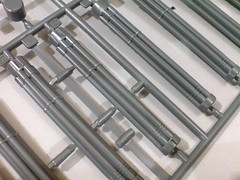
For the love of Gatling guns! ^^
Since this runner is repeated in Serpent Custom, this won't be the last time I get to work on the double Gatling guns. ^^
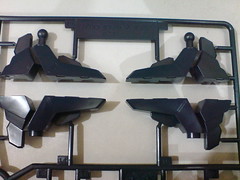
Runner E - Contains black parts mainly for the backpack, and leg missile pods.

Intricately molded missile parts for the legs, and side skirt armors, but given their base color, the missiles will have to be painted to give them the same color as the same weapons on the shoulder armors.
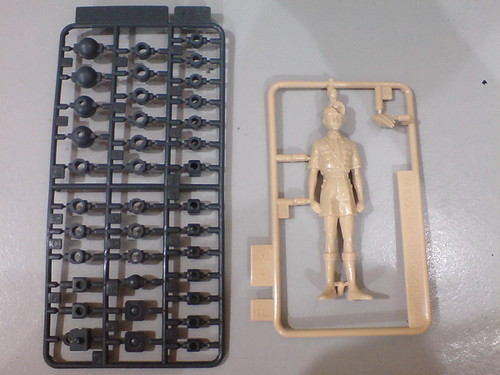
Polycap set PC-116, and Runner F1.
Trowa's hair is so massive the front part of it has be separated into a smaller piece. ^^
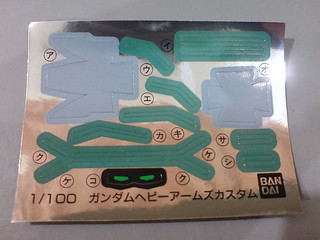
Foil sticker sheet.
Since I don't have teal in my list of bottle paints, the foil sticker pieces are the simplest way to realize all the stripes on the entire model.
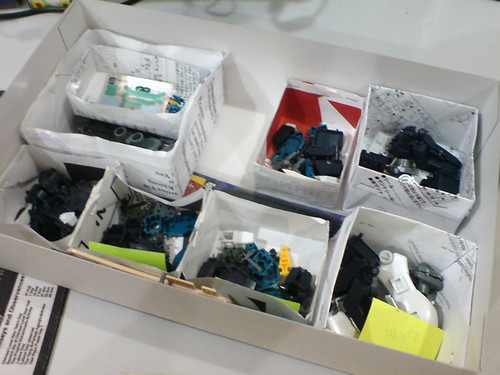
All removed parts are organized and stored in individual paper containers.
Will start working on the detailing and paint work in the next posting. ^^


4 comments:
Ngee Khiong, do u get burn out when removing all the nubs at once? how do u deal with them? I tried it once and I got burn out from just removing all the nub marks for the kit
>>Kaboku
I deal with all my model kit work with interest. That's it.
When I don't want to continue with my current Gunpla work, I stop and move on to other stuff that I enjoy until I think of the kit again, which can be weeks later and continue from there.
There's no obligation to anyone, even to myself that I have to work on certain parts or complete certain processes to show off anything on the blog, so the only motivation is just the interest for the hobby itself.
I always enjoy what I'm doing. I never experienced any burnout since starting this hobby.
Thanks for the reply but I don't meant burnout from gunpla. Maybe I should rephrase my question. How do you deal with removing all the nub marks in a night? Don't you get bored of doing the repetitive steps over and over?
>>Kaboku
That was the exact question I answered in the first place. My first reply applies.
Post a Comment