Continuing on the assembly of MG Force Impulse Gundam after the previous posting.
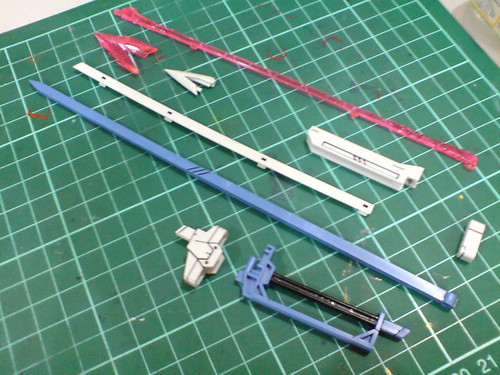
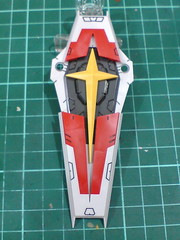
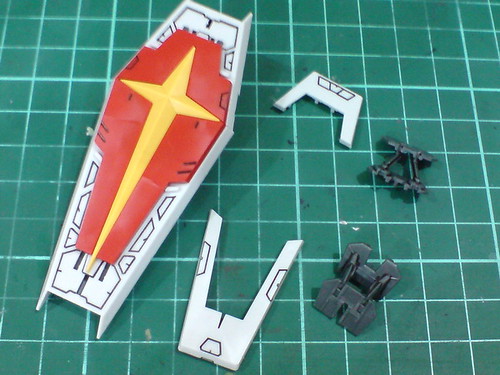
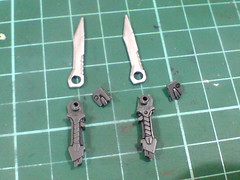
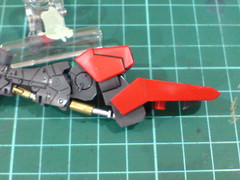
Parts of the anti-ship sword "Excalibur".
Made up of all one-piece parts, with some that just slide onto certain components, the assembly of the sword is very simple. ^^
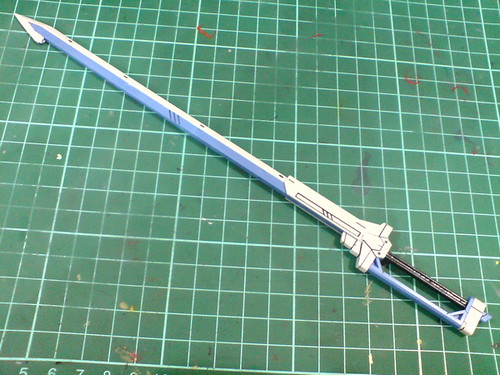
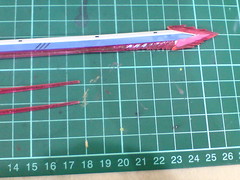
(Left) The sword has a whopping length of 26cm - It will stand taller than the Gundam itself in a straight-up comparison. ^^
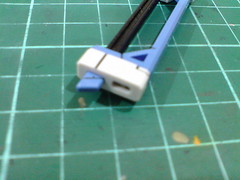
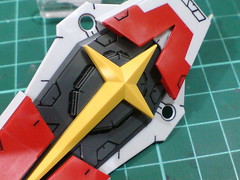
(Right) The tab and slot on the pommel indicate the possibility of combining it with another "Excalibur". ^^
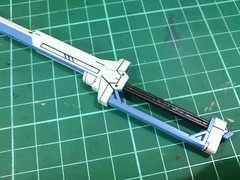
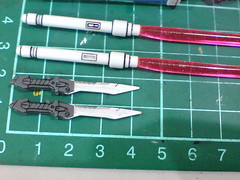
The handle was painted in Part 5.
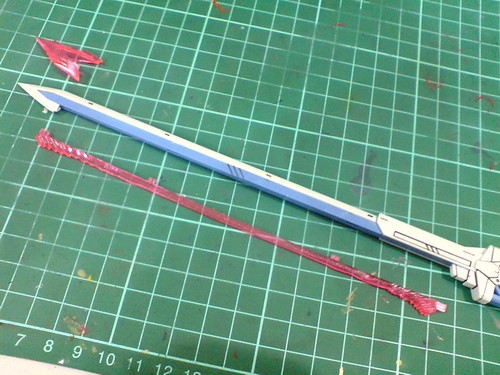
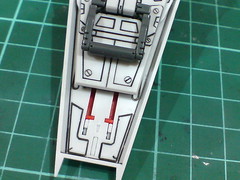
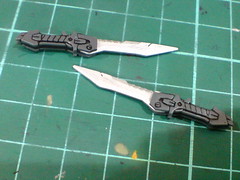
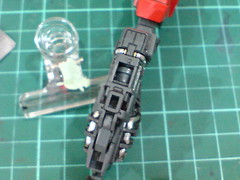
With the two beam parts.
The beam "tip" is optional attachment actually. It's meant for that dramatic fight scene with Freedom Gundam.
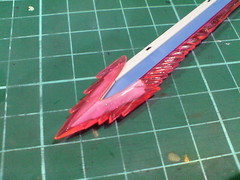
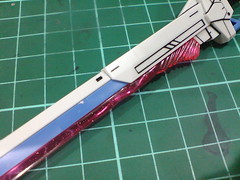
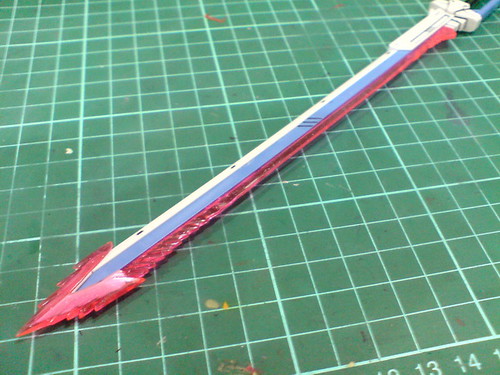
Sparkling effect of the beam parts. ^^
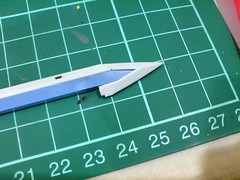
The beam "tip" that works like a cap when attached onto the sword is a very interesting part. ^^
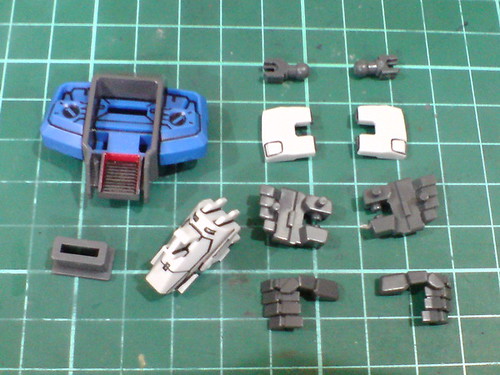
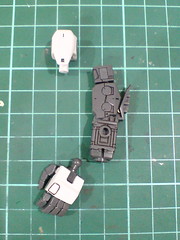
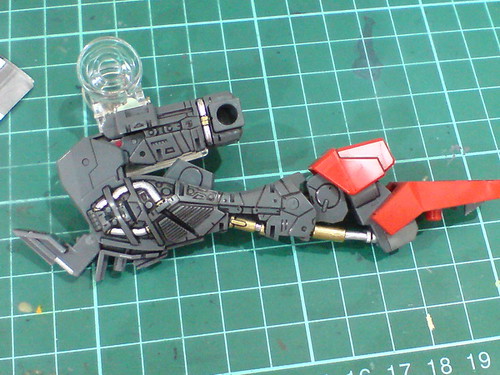
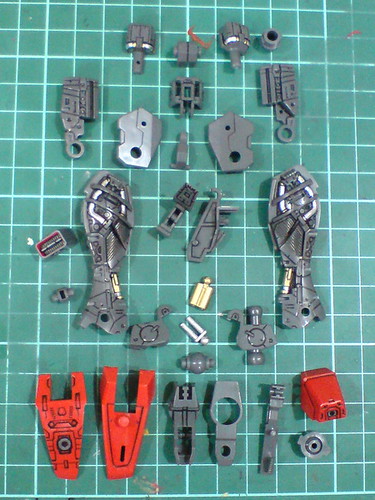
Parts of the option components.
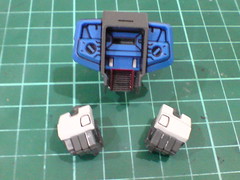
Two optional hand units for holding the sword and the "universal" backpack adapter XD

(Left) The handle of the sword has a long valley for the option hand unit to grasp it at any position.
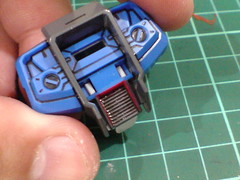
(Right) Didn't realize it at first, but those two protruding tabs from the white part should have been painted blue before the assembly to hide its base color. ^^;

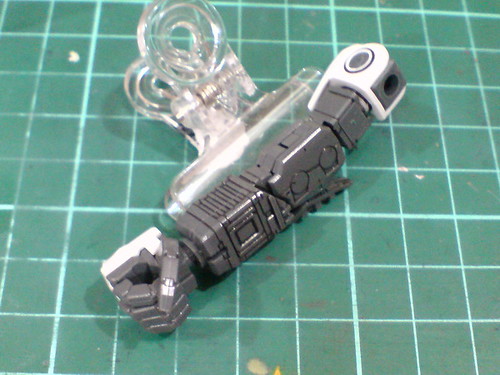
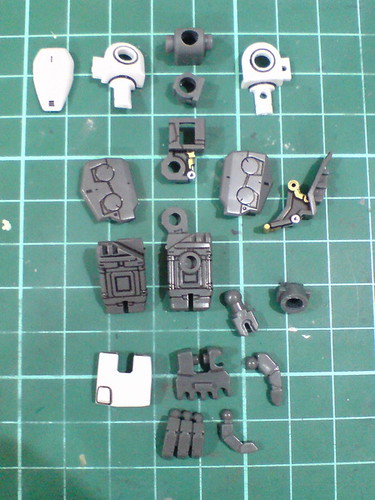
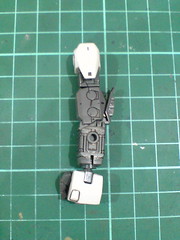
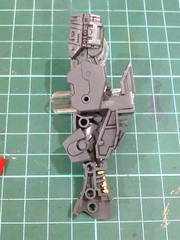
Parts of the beam rifle.
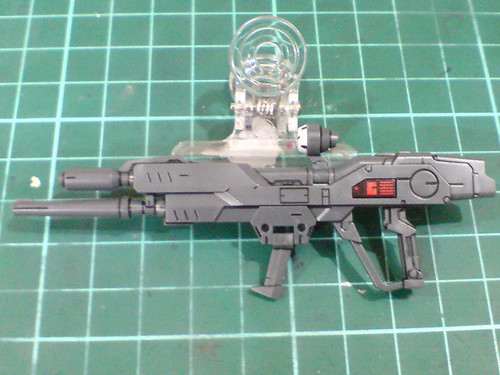
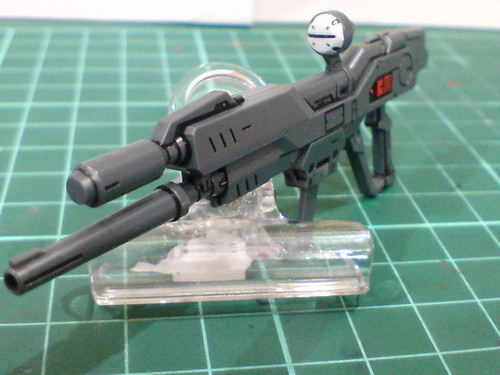
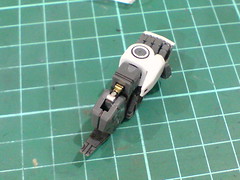
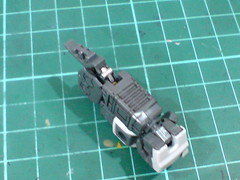
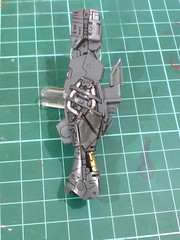
Beam rifle completed.
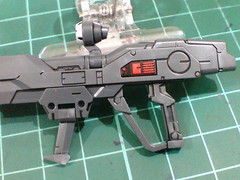
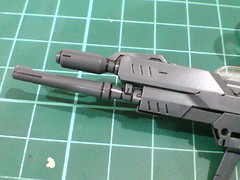
Panel lined details of the weapon.
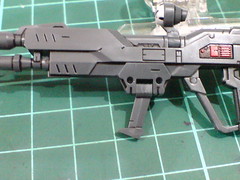
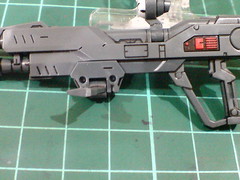
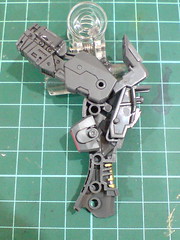
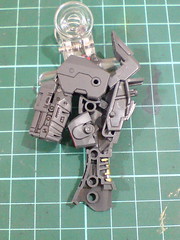
The supporting handle can move. The base is also movable, allowing it to slide to the front.
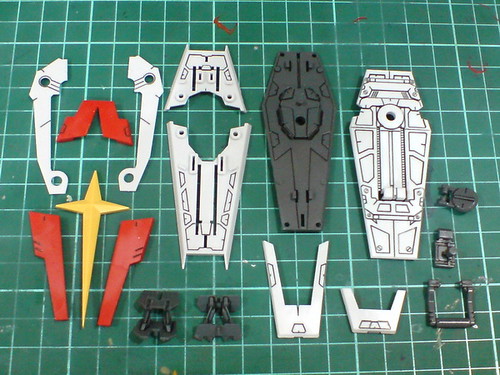
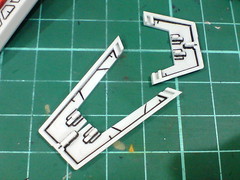
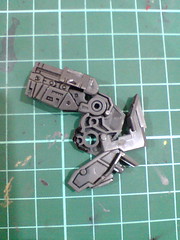
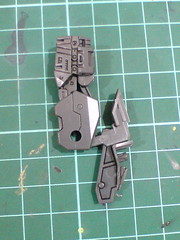
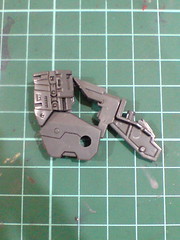
Parts of the shield.
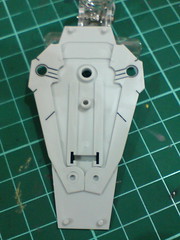
A look at how the "wings" - incuts for the beam rifle slide outward for the shield's expanded mode.
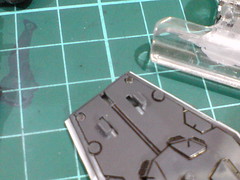

A bit of last-minute work there - all the protruding pins from the white part is painted gray using Gundam Marker to hide their base color.
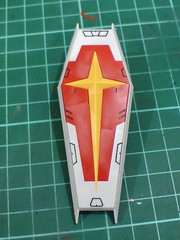
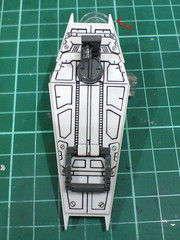
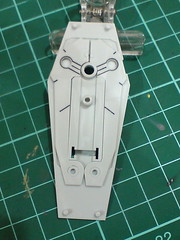
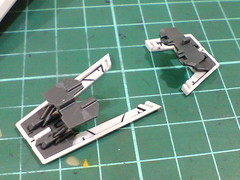
The shield is completed - shown in retracted mode.

The expanded mode.
The area becomes larger as it's expanded, yet everything is designed to be so compact and it still feels like a very solid armor component. ^^

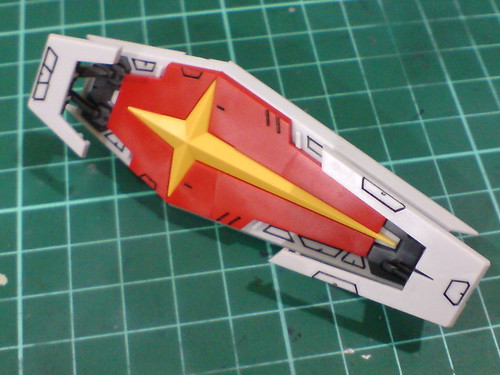
Panel lined details in front and behind the shield.
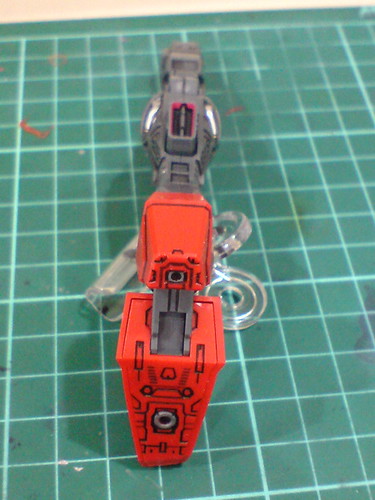
The top and bottom parts can be separated to become landing slides (used by Impulse Gundam's Chest Flyer component).
Just like Core Splendor and the flyer unit shown in the previous posting, the landing slides are formed using their own additional parts.
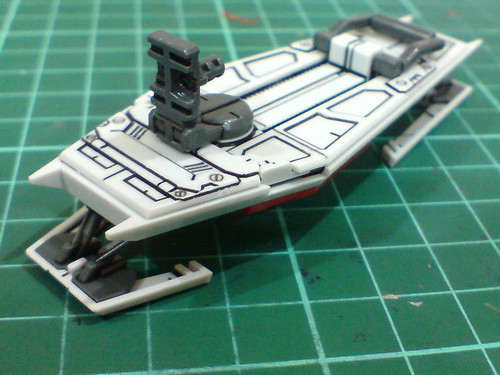
The shield with the landing slides.
Simple assembly for the two combat knives "Folding Razor".
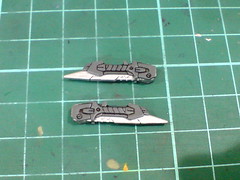
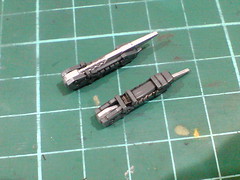
The ability to fold the knives is the same as that on Strike Gundam's "Armor Schneider", but the details on "Folding Razor" is far more extensive. ^^ The knives are shorter too, if I remember correctly.
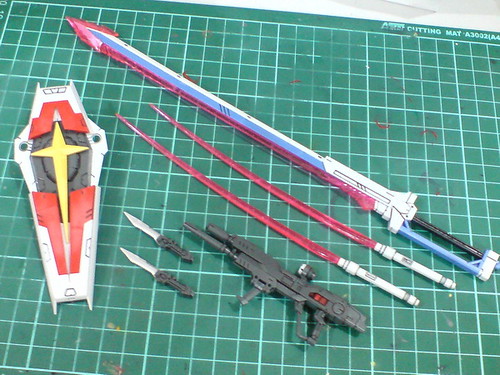
All the weapons for this MG kit, included two beam sabers that don't require any assembly at all.
Comparison of the swords and knives' length. ^^
Done with all the weapons, it's time to move on to the Impulse Gundam.
As mentioned before, even though it's designed with transformation and docking abilities, Impulse Gundam has a complete inner frame just like all other MG kits from "Gundam SEED Destiny", so I'll be working on the inner frame first, like all my previous reviews on MG kits in that matter. ^^
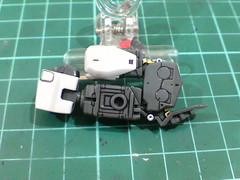
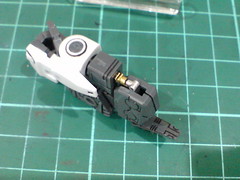
Inner frame parts of the right arm.
A look at how the elbow joint works.
A very typical design I would say.
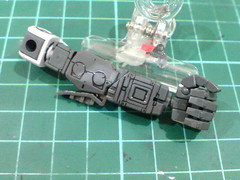
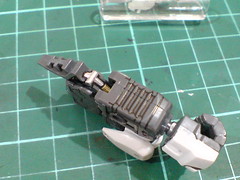
Major components of the right arm.
Done for the right arm.

A complete 180-degree bend for the elbow, plus peg joint for the wrist that is common on most other MGs as well.
The hydraulic pipes of the elbow can be seen when the latter is bent.
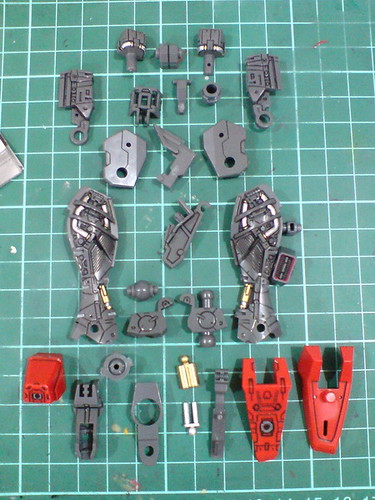
Inner frame parts of the left arm.
Major components and the completion of the left arm.
Overall articulation of the left arm.
The painted hydraulic pipes of the elbow joint.
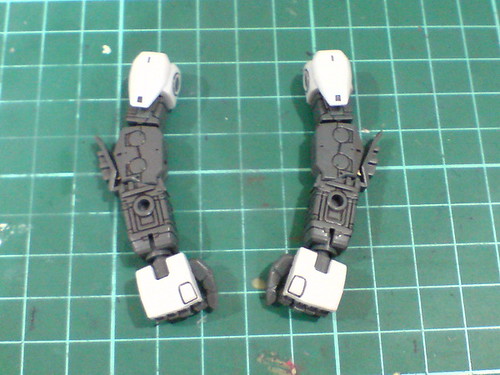

Done for both arms. ^^
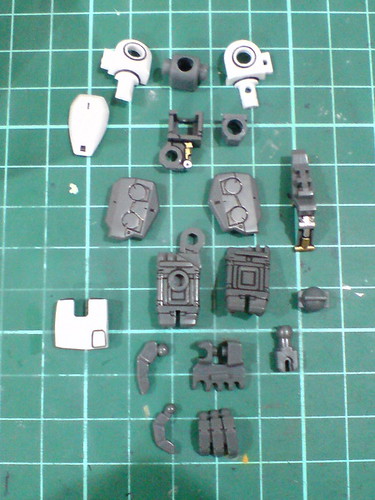
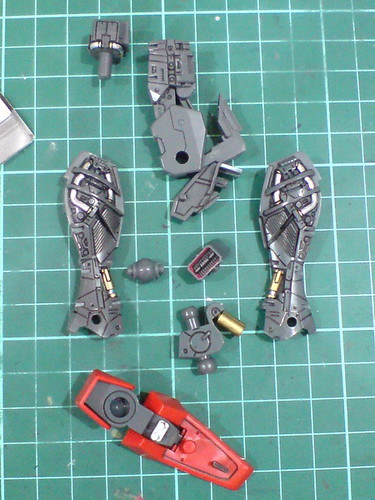
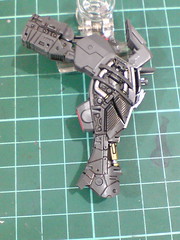
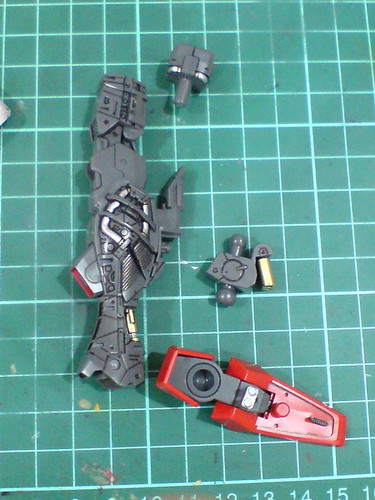
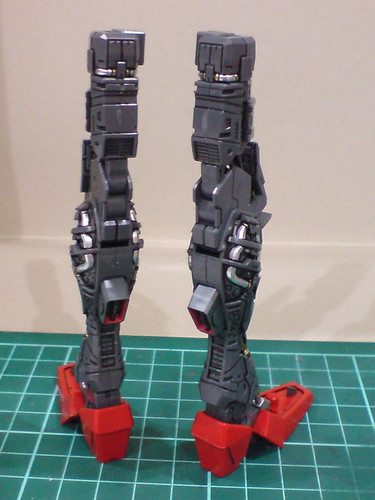
Inner frame parts of the right leg.

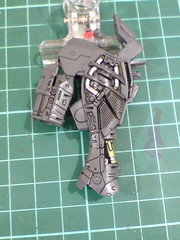
A peek at the knee's articulation design before the joints are concealed.

Shown with the same action after the knee is completed.
The linked movement design seems to be just like that on MG Infinite Justice Gundam, with the split knee armor and sliding thigh armor gimmicks included.
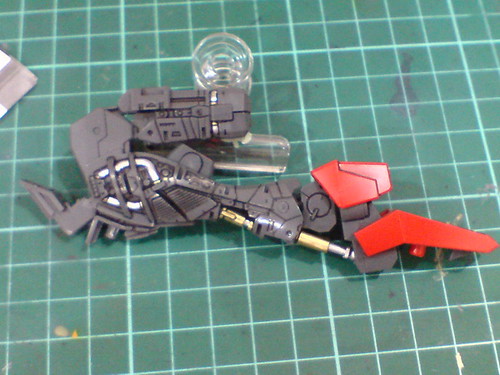
To accommodate Leg Flyer's transformation gimmick, the knee joint can be bent to the front, where there's just the right space beneath the thigh for the knee joint to fit in nicely. ^^
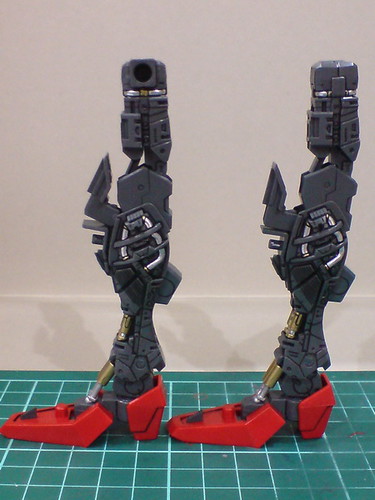
Major components of the right leg before the final assembly.
Another look at the knee joint's articulation, before and after the entire joint is concealed by the lower leg part.
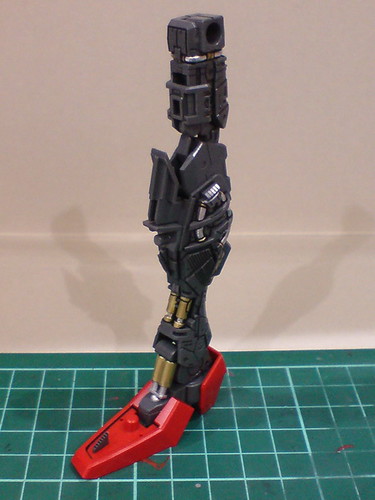
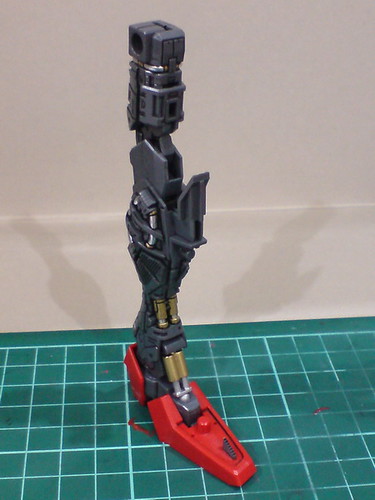
Done for the right leg.
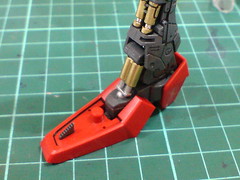
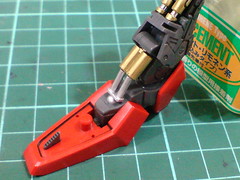
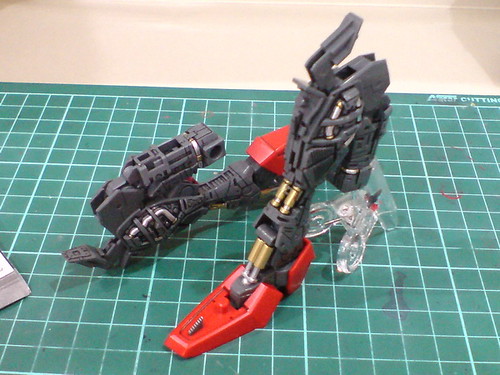
The ankle's hydraulic pipes look as if they are about to fall out when the ankle is bent backward. ^^;
A design that is intended more for Leg Flyer's transformation, the front portion of the foot can be bent downward for a very wide degree.
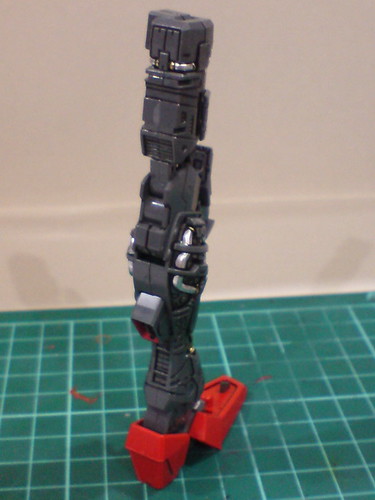
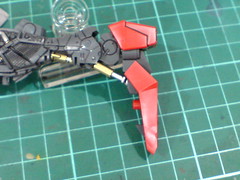
Overall articulation design of the right leg.
The polycap inside the thigh is exposed when the joint is pulled downward by the knee joint. ^^;
Inner frame parts of the left leg.
Major components of the left leg before the final assembly.
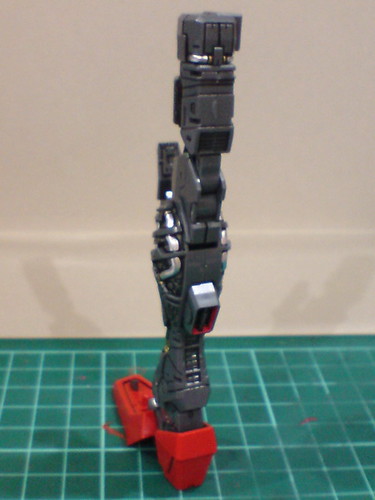

Done for the left leg.
Articulation design is the same as its right equivalence.
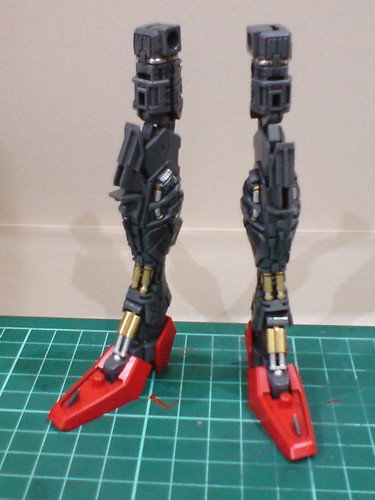
All done for both legs. ^^
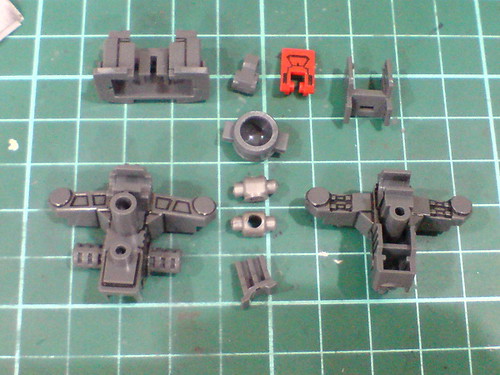
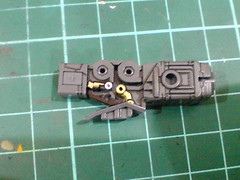
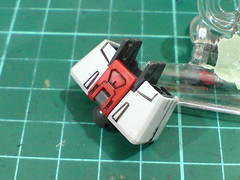
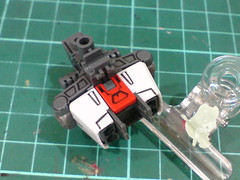
Inner frame parts of the waist.
The two silver polycaps are actually leftovers from MG Infinite Justice Gundam. ^^
Very simple assembly for the waist. Almost felt like it's a High Grade version for a moment.
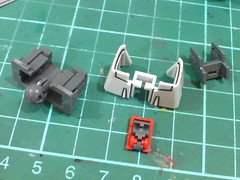
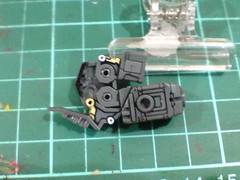
Not shown in one of the earlier images, a white armor part is needed to link all the abdomen parts.
So it's not going to be "100% complete" inner frame for this Impulse Gundam after all. ^^
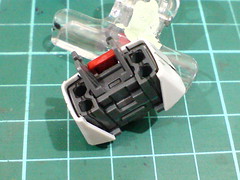
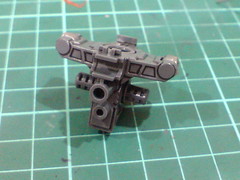
Done for the abdomen.
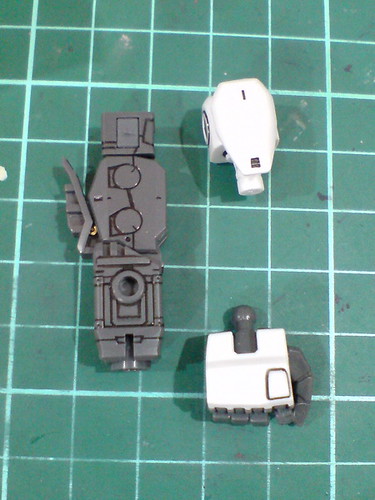
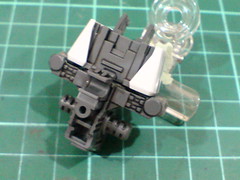
The rack is used to dock with Core Splendor, while the four slots are used to connect to the upper body.
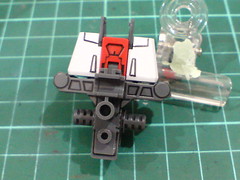
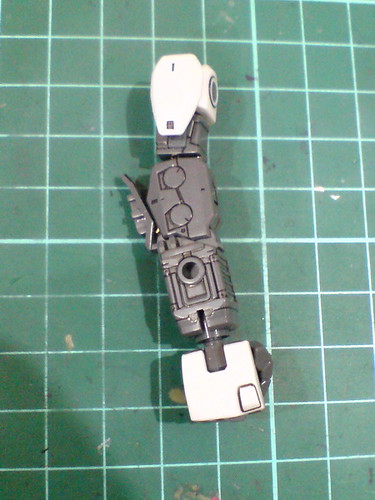
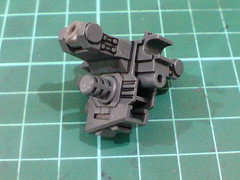
Connected the waist and abdomen.

The red part on the spine can be flipped to the front, forming what I look at as the "nominal" nose of Leg Flyer. XD
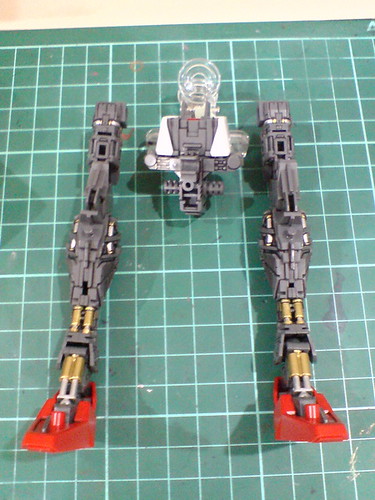
With the legs completed earlier on.
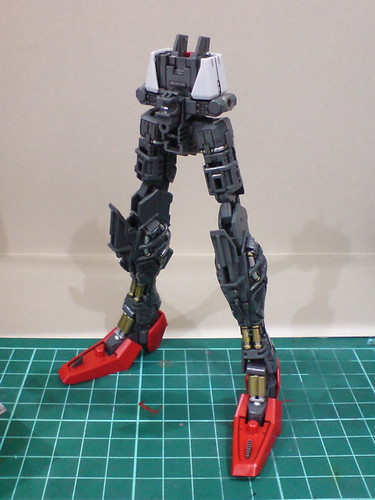
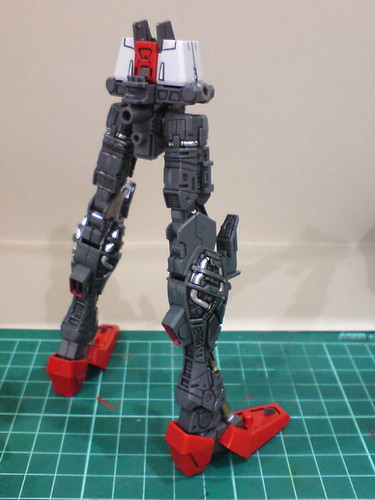
The lower body is completed.
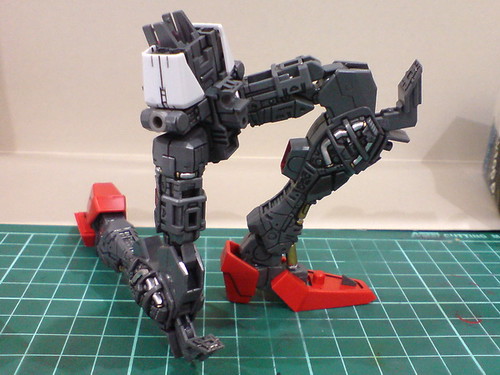
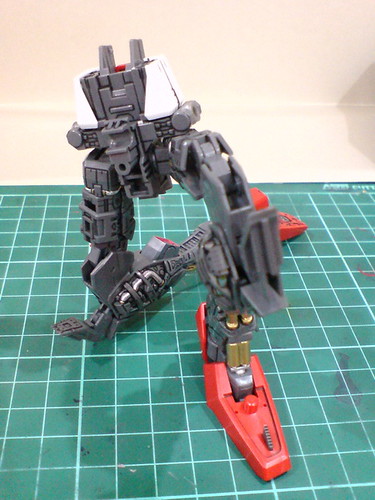
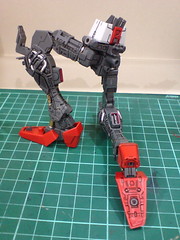

Very natural-looking kneeling pose. ^^
Assembly of the body unit's inner frame to be continued in the next posting. ^^


1 comment:
You're really good in "tunning up" the details of MG.
Simply Incredible !
Post a Comment