Finishing up with the work on 1/72 Transformable VF-25S Super Messiah Valkyrie Ozma Lee's Unit with this posting. ^^
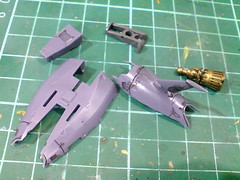
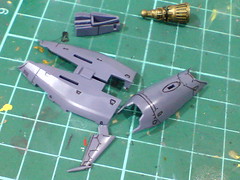
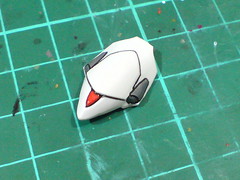
(Left) Tamiya's Panel Line Accent Color (Black) was used to detail all the dorsal thruster parts.
(Right) With excessive panel liner paint wiped away using cotton swab soaked with enamel thinner.

The thruster nozzle was panel lined following the exact same method used for the same parts on the booster units as shown in the previous posting.
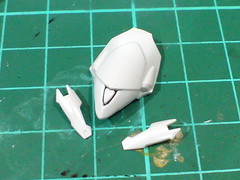

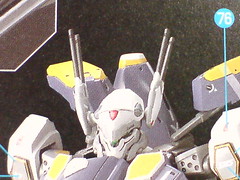
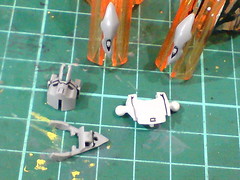
Referencing the components as shown in the instruction manual, red and gray paints are required for the three white head parts.
The red forehead detail, and two small ones on the sideburns were painted using normal marker. The gray Vulcan-like parts were painted using Gundam Marker.
Excessive paint on the three parts were scratched away using a knife.
Panel lines were added to the forehead part.
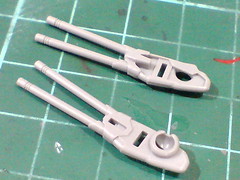
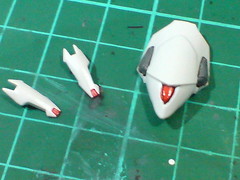
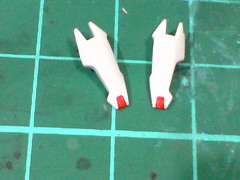
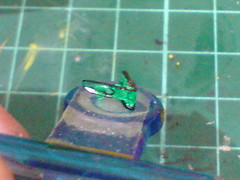
The two beam gun parts require quite a bit of paint work to realize their designated color. ^^
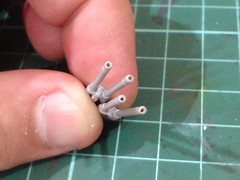
Pin vise with 0.8mm drill bit was used to create more realistic-looking muzzles on the four beam gun turrets. ^^


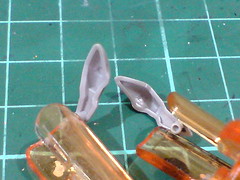
(Left) The beam gun barrels were painted gray using Gundam Marker.
(Right) The tiny bases of the beam guns were painted white using Gundam Marker as well.
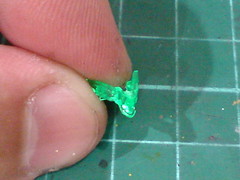
Simple panel lining for the other head parts which required no painting.

The rear side of two "cheek" parts were painted black using normal marker to simulate depth.
Like all other model kits with clear part included for their eyes, the area around the goggles was painted black to prevent the clear part from being seen after the foil sticker is applied to the part later during the final assembly.
The head is always the "ceremonial" last component to sign off the work on a particular model kit. ^^
Very unique part design to enable the transformation feature of the kit made the entire painting and detailing process interesting and fun. ^^ There are so many parts that I just have no idea what they are for or how they are going to be fitted together when the model kit is assembled, and that certainly kept the different batches of work refreshing to go through. ^^ It's certainly different from other more regular kits, where the different components that make up the completed model aren't too indifferent in design from one another. They are still enjoyable to work on and assemble, but are definitely not as unique as this Macross kit. ^^ Overall, there were many really difficult parts to paint and details, most which were selected to be featured in the first few postings, but for reasons mentioned above, I did enjoy the work. ^^
On the other hand, not all parts with missing colors were selected to be painted actually. For various reasons, I felt that using the marking seals on these parts would be a better option instead. For example, the knee parts, which were (only) panel lined in Part 6 feature large area in front which should be painted in light gray. However, since I don't have that color, I felt that it would be "safer" (to get a better appearance for the knees) if I just use the marking seal designated for the parts. ^^
Having elaborate marking seals to take care of many of its details is another unique feature of this kit. I suppose not painting certain parts so that the marking seals can be used on them when they are assembled later on is another important point to follow in order to experience the fun of this Macross kit. ^^
As usual, there'll be a bit of offset time between now and when I revisit all the parts again for the final assembly. ^^.


No comments:
Post a Comment