The first plamo kit to be assembled in 2014 after the work on 1/72 Transformable VF-25S Super Messiah Valkyrie Ozma Lee's Unit, this is Dororo Robo Mk-II from Keropla God Keron. ^^
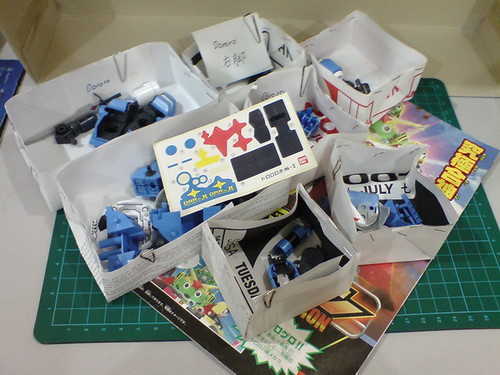
All the paper containers that hold the parts of Dororo and Dororo Robo Mk-II.
An unfinished business carried forward into this year just like the aforementioned Macross Frontier kit, Dororo Robo Mk-II represents a very significant "milestone" in the overall review on Keropla God Keron. It's the last individual kit to be completed before God Keron's ultimate gattai. ^^ I'm certainly looking forward to move on to that giant (literally) phase of the review, but Dororo Robo Mk-II itself is actually quite a nice ninja robot that would make for a great-looking individual model kit. As the only other mecha with a handheld weapon and a shield after Keroro Robo Mk-II, its posability should be impressive as well. ^^
Some last-minute panel lining before the assembly:
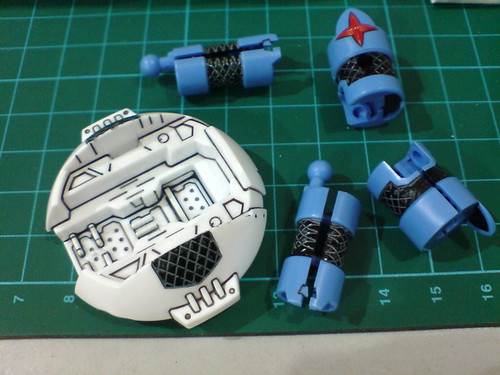
All the grid pattern on top of the body, on the forearms, and legs weren't panel lined after they were painted in Parts 16, and 18. I intended to leave the parts like that since I didn't have an easy solution to panel line them back then, but after seeing the nice effect of gray panel lines on black parts during the work on 1/72 Transformable VF-25S Super Messiah Valkyrie Ozma Lee's Unit (Parts 4 and 7), I changed my mind. ^^
The black areas were panel lined using Tamiya's Panel Line Accent Color (Gray).
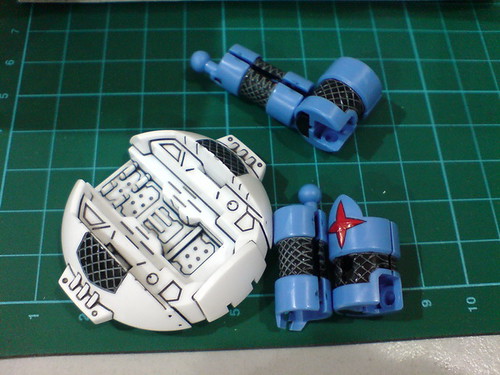
With excessive panel liner paint wiped away using cotton swab soaked with enamel thinner.
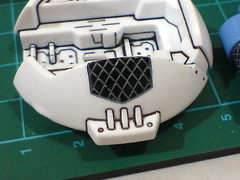
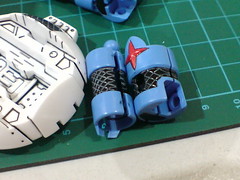
The grids are now highlighted clearly by the panel liner paint. ^^
Moving on to the actual assembly of the kit:
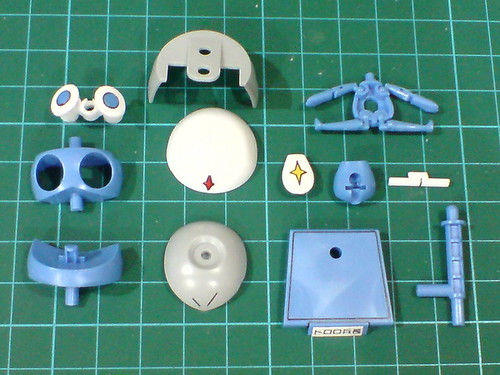
Parts of the mini figure, and display base.
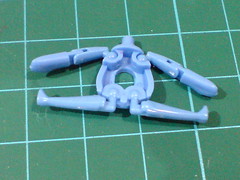
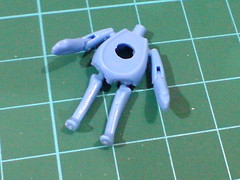
The last multi-jointed one-piece part for the body to be assembled in this entire review series. ^^
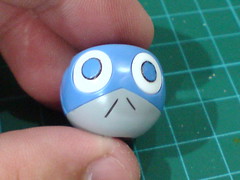

(Left) Dororo's eye stickers were applied in Part 21. Dororo is the only one in the gang whose eyes were painted. ^^
(Right) Dororo's sheathed sword is a separate piece attached onto his back. No cement should be used for the attachment as the sword needs to be repositioned when the figure is mounted to either the display stand or the control pod.
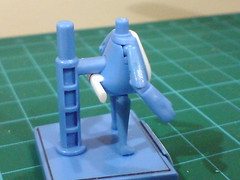

(Left) The sheathed sword is positioned hanging downward to not block the peg slot when the display stand is equipped to the figure.
(Right) Just enough clearing between Dororo's head and hat for the top peg of the display stand.
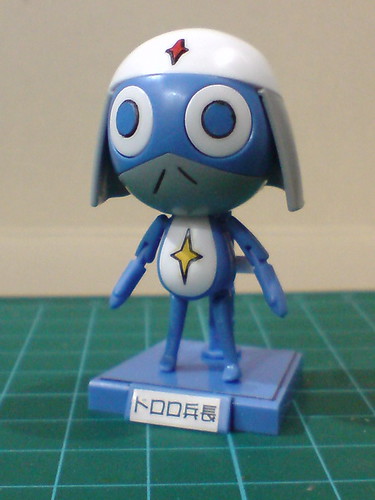
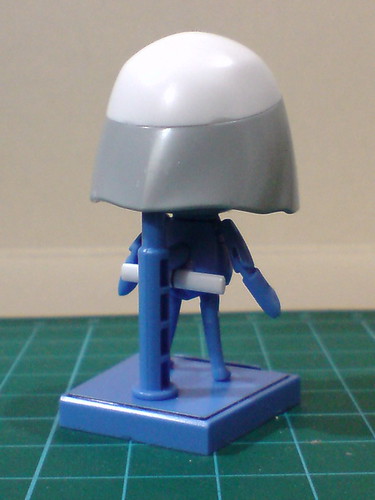
Done for the mini figure. ^^
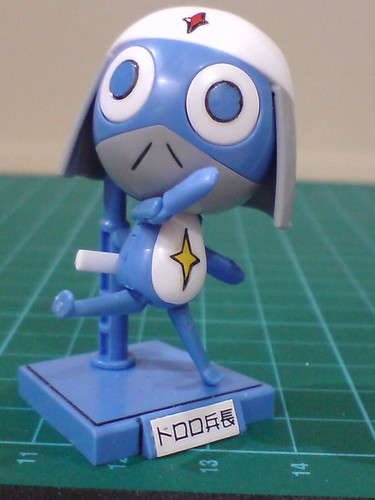
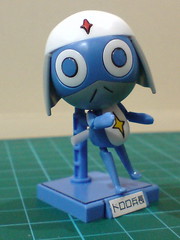
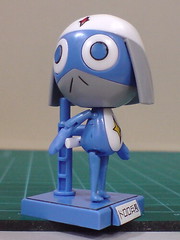
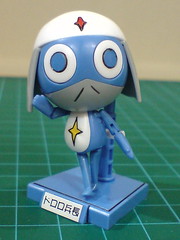
Using the molded joints on the body frame part, action poses are possible for Dororo.
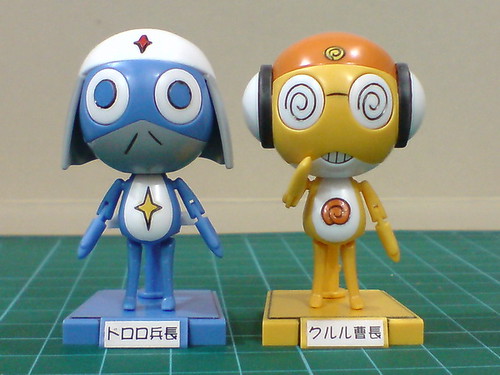
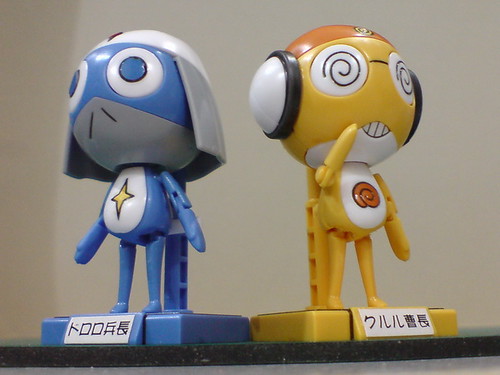
With Kururu, the previously completed kit from this bundled set.


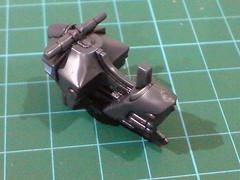
Just three parts for the control pod, which can be assembled very easily.
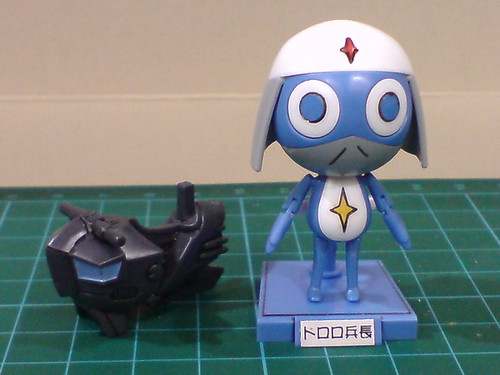
With Dororo.
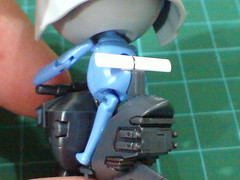
To mount the figure to the control pod's tab, the sheathed sword must be turned upside down to reveal the slot completely.
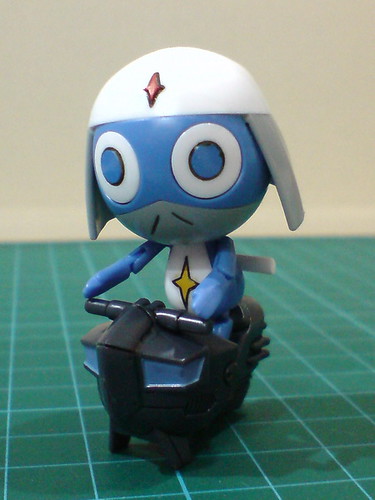

Dororo on his control pod.
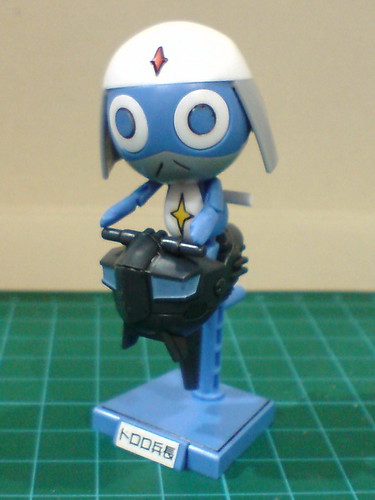
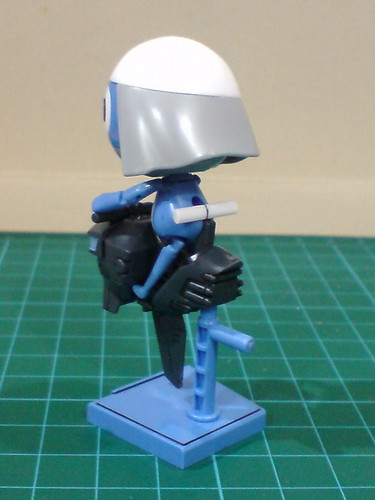
With the control pod mounted on top of the display stand.

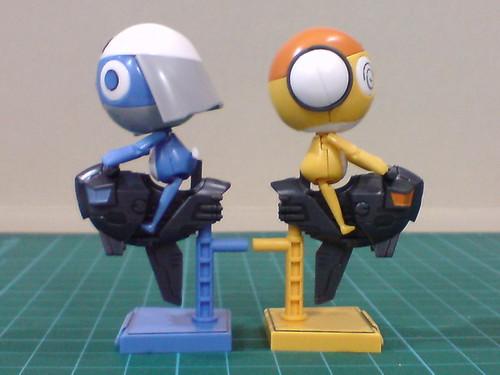
With Kururu and his control pod.
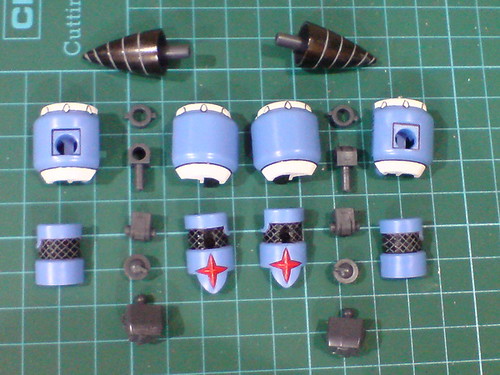
Parts of the arms.
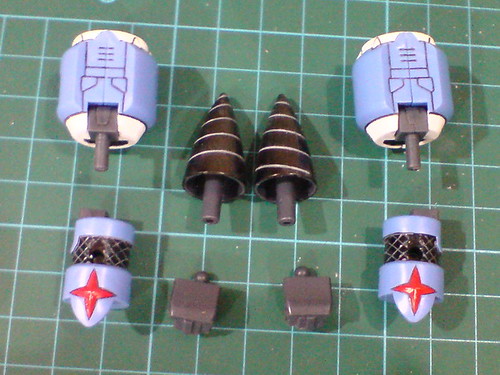
Separable components of the arms before the final assembly.
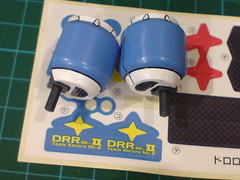
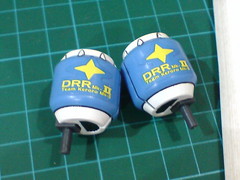
Designated paper stickers applied to the shoulder armors with a bit of superglue to enhance their adhesiveness to the parts.
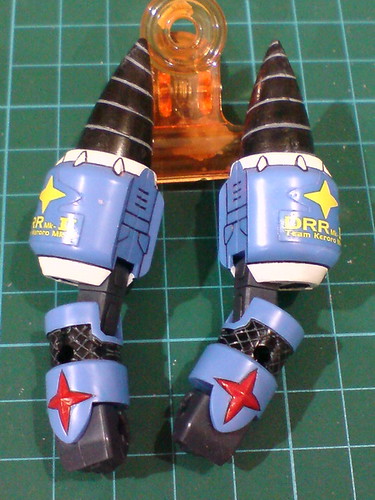
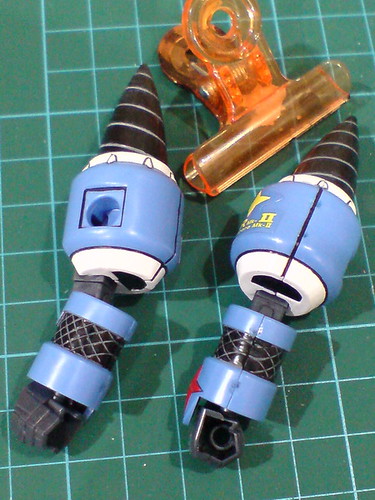

Both arms are now completed. ^^
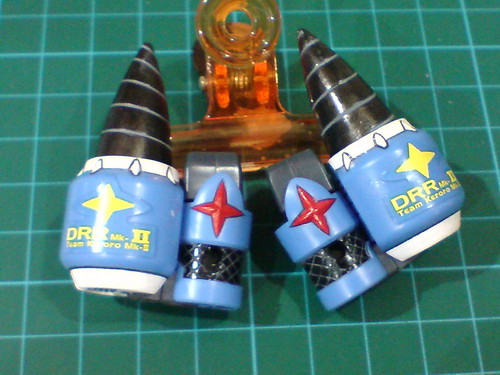
A full 180-degree bend for the elbow. ^^
The elbow joint is made up of two separated polycap parts, so the forearm can enjoy an extra swivel at elbow level. ^^
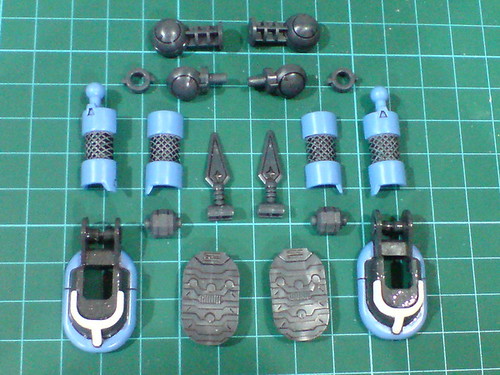
Parts of the arms.
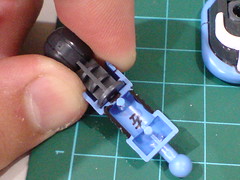
Thigh swivel via the rotational disc embedded inside the leg.
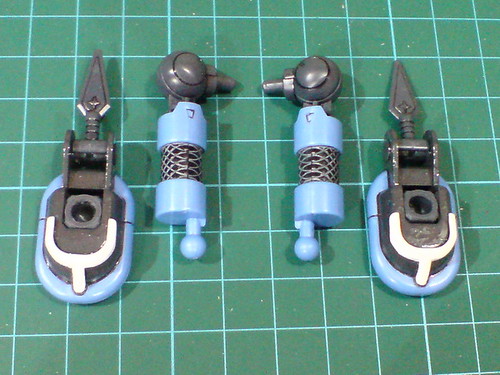
Separable components of the legs before the final assembly.
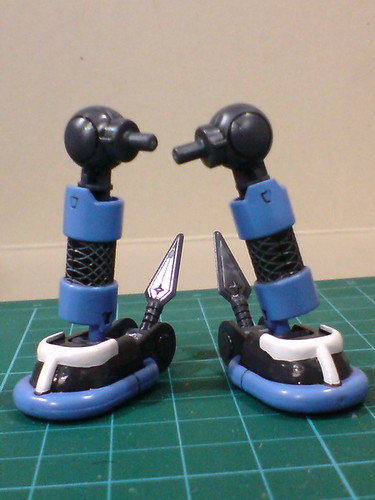
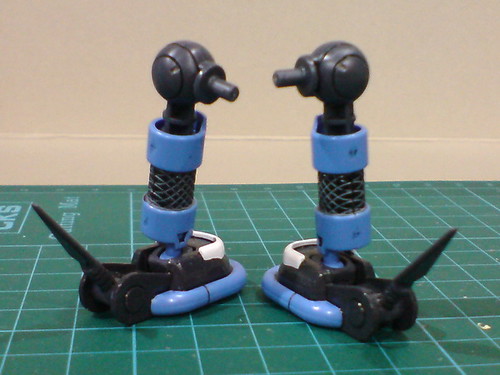
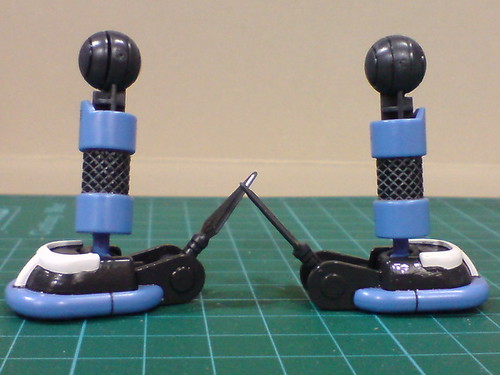
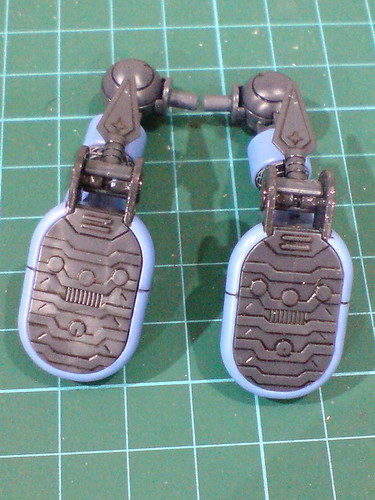
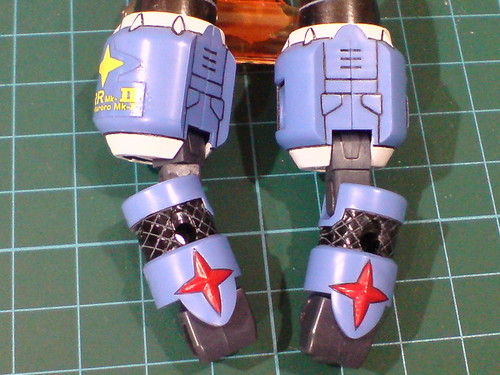
Both legs are now completed. ^^
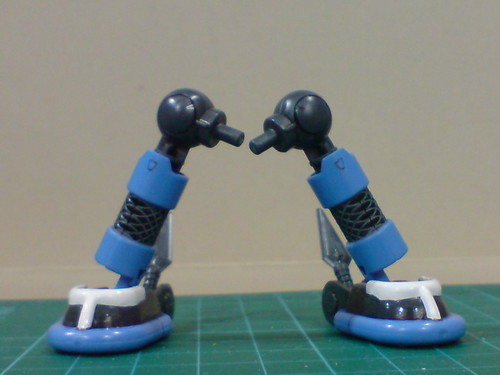
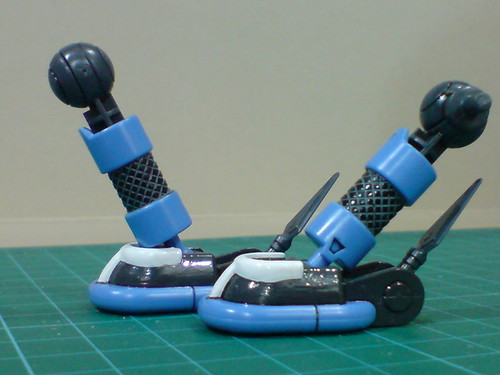
The ball-type ankle joints allow the legs to be bent from side to side, and forward/backward for a very wide degree.
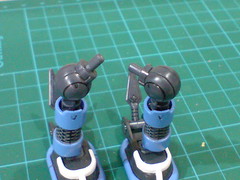

(Left) Apart from the thigh swivel mentioned earlier on, the hip joints' hinge component allow them to be adjusted vertically.
(Right) The kunai on the heels can be hinged vertically.
For your information, due to Dororo Robo Mk-II's weird "anatomy", ^^; the legs' positions shown in the few images above are incorrect in representing their sides. ^^; Instead of facing inward, the hip joints' hinge should be facing outward instead, which is totally contradictory to the design of the same joint on other model kits. More of this, and the assembly of other components to complete Dororo Robo Mk-II coming up in the next posting. ^^


No comments:
Post a Comment