Another round of detailing on selected parts from Master Grade Sinanju Ver. Ka after the previous posting. ^^
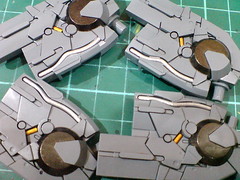
Excessive silver paint on the wing binder frame parts after the paint work in Part 9 is wiped away using cotton swab soaked with leveling thinner.
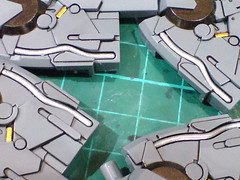
Excessive paint inside the valleys that contain the silver pipes is concealed by applying another round of Tamiya's Panel Line Accent Color (Black) to the parts. ^^
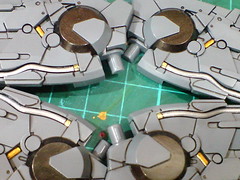
Tiny pieces of golden foil stickers are attached to the front tips to form the silver pipes' bases. ^^
The border between the sticker and the pipe is panel lined as well.

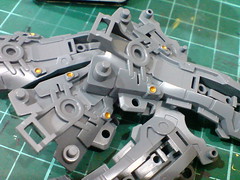
Excessive gold paint on the small vents of the leg frame parts is scratched away using a knife.

Simple panel lining for the other parts painted in Part 9.
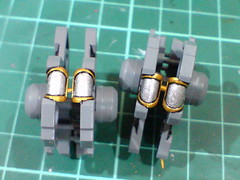

Test fitting the painted parts to see how the knee joints, and hydraulic pipes on the heels would turn out when assembled. ^^
While the latter do work, the connection is tight. I can foresee how the silver paint would be rubbed off over time when the ankle is moved, or worse, the entire hydraulic pipe may get stuck when the painted parts stick to one another. ^^
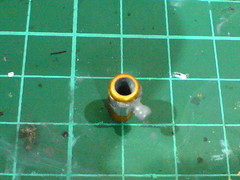
To prevent the undesirable scenarios mentioned above, the interior of the tubes is sanded using paper file. ^^
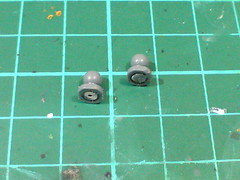
Instead of sanding away the silver paint on the existing pipes, and then giving them even more sanding to reduce their diameter, I took the shorter, more drastic alternate route of chopping off the pipes entirely. ^^
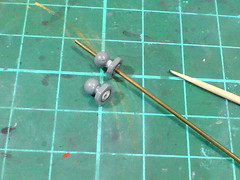
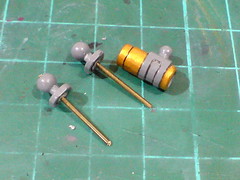
(Left) Using pin vise with 0.8mm drill bit, holes are made on the hydraulic pipes' bases that go all the way through the ball-type joints. Brass pipe is used to reinforce the strength of the hydraulic pipes to be created.
(Right) While the brass pipe segments seem longer than the tube right now, they are going to be trimmed again once the actual hydraulic pipes are done.
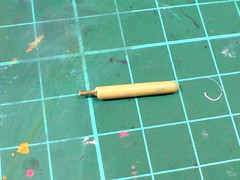
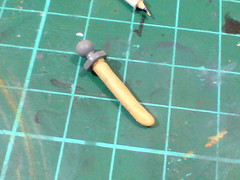
(Left) Since I don't have beam parts for plastic models, I created the hydraulic pipes using Tamiya Epoxy Putty Quick Type. ^^ A small chuck of putty is rolled around the brass pipe shown earlier on.
(Right) When the desired diameter for the pipe is achieved, the pipe is reinserted onto the base part.
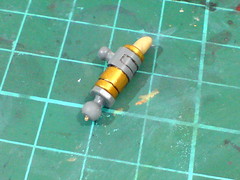
Test fitting the parts to make sure that the pipe can at least go into the tube at this point. ^^
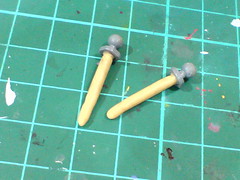
Done for both pipes.
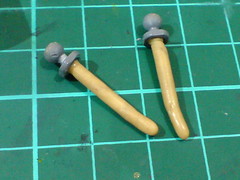
The pipes are left to dry for more than half a day to make sure that they have harden enough for the next round of work.


Test fitting the parts again to find out the matching length between the pipe and the tube before cutting the former.

The pipes are sanded using paper files, very thoroughly I should add, to reduce their diameter further before they are painted.

The pipes are painted silver using Tamiya Paint Marker X-11 Chrome Silver.
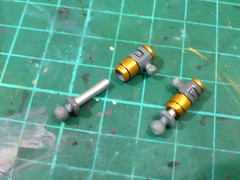
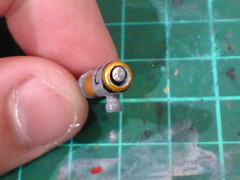
Test fitting the painted parts one last time to see how the hydraulic pipes would turn out when assembled. ^^
The connection is much looser now, evidenced by the space between the pipe and the wall inside the tube in the right image. ^^
As with similar components on pretty much all model kits, the heel hydraulic pipes on Sinanju are meant for cosmetic purpose, and serves no real importance to the strength of the ankle joints. Yet, they may cause trouble to the ankle articulation if the parts get stuck due to their paint, as mentioned earlier on. As such, I don't see any problem in reducing the pipes' diameter greatly (relative to their original size) to make sure they can function properly with the tubes. ^^ As far as their appearance is concerned, the bling-bling factor of the hydraulic pipe sets is preserved. XD
Moving on to detailing some of the painted parts from Part 10 next. ^^


1 comment:
You've improved alot bro. Keep up the good work
Post a Comment