Continuing with the assembly of Keropla God Keron's Dororo Robo Mk-II after the previous posting. ^^
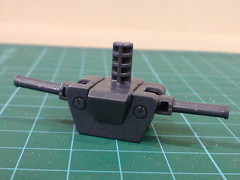
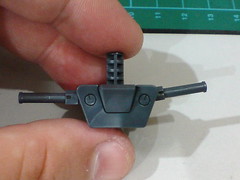
Parts of the waist.


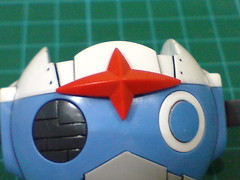
(Left) The vent behind the waist, and two small protruding red shurikens on side skirt armors were painted in Parts 16 and 17 respectively.
(Right) The fixed pipes on the side skirt armors' pegs were painted in Part 17.

Interestingly, the two polycaps on each side skirt armor connect the legs to the waist. ^^
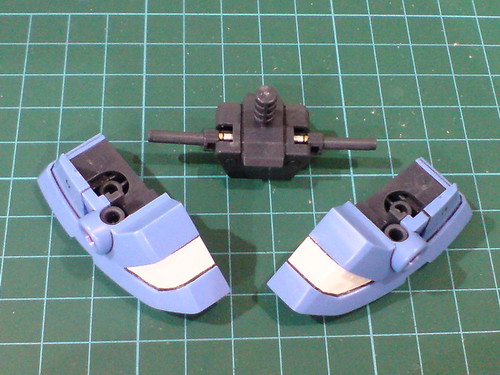
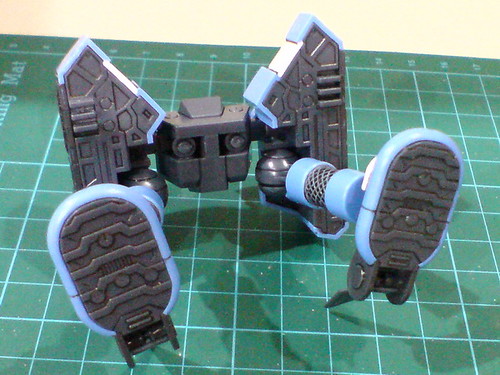
Separable components of the waist before the final assembly.

The waist itself is pretty small as compared to the two side skirt armor.
The side skirt armors' pegs can be hinged vertically on both sides of the waist.
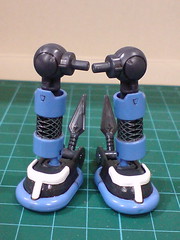
Bending the pegs downward (when the side skirt armors are attached to them) forms God Keron's left foot.

The pegs can be bent forward/backward for a minor degree as well, an articulation point that is going to be pretty useless on the completed Dororo Mk-II.
The skirt armors can be locked together via a set of "teeth" between the two components.
A preview of God Keron's left foot. ^^
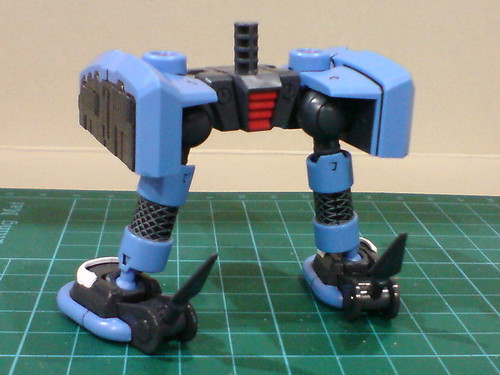
As mentioned in the previous posting, the legs were completed with incorrect positions. The hip joints' hinges should be facing outward, as with the ankle joint.
Very easily, the legs were swiveled around for 180 degrees until the intended joint positions were achieved.

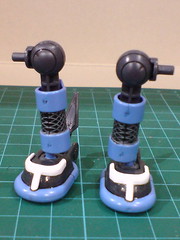
With the legs completed in the previous posting.

Connected the hip joint and waist to the side skirt armor.
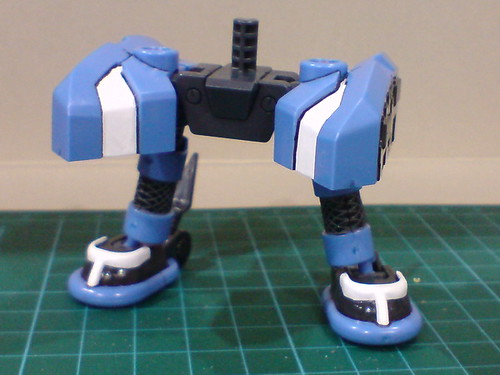
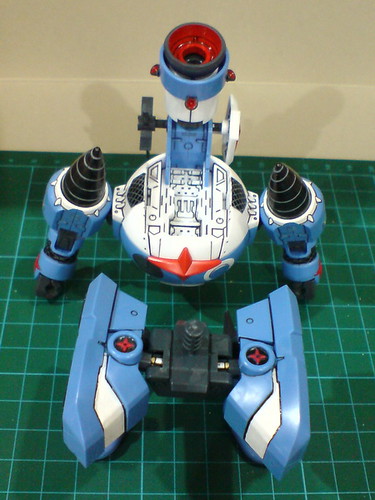
The very weird-looking lower body of Dororo Robo Mk-II is completed.
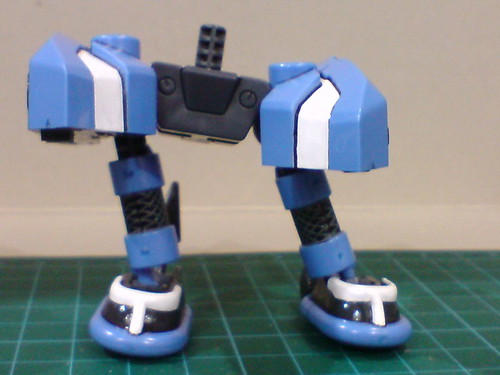
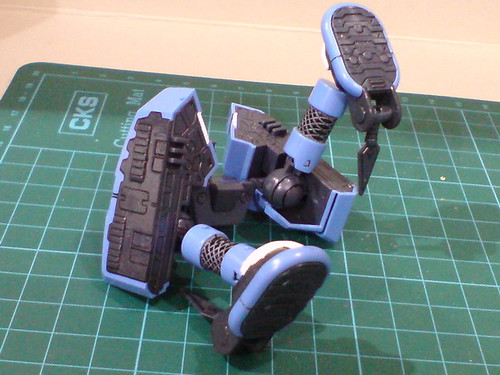
Despite the very unconventional hip joint connection, the hip's articulation to support the legs' poses seems normal enough, even though its flexibility is pretty amazing. ^^

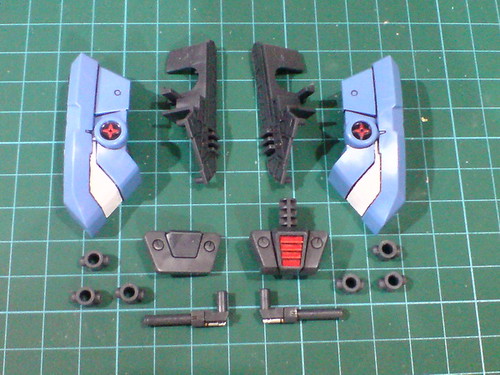
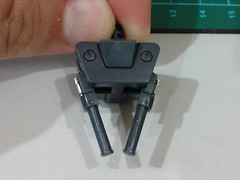
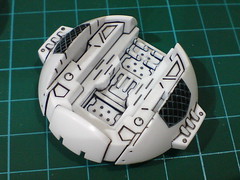
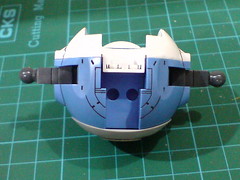
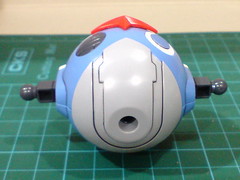
Parts of the backpack thruster (?).

The interior of the thruster nozzle was painted in Part 16.

The completed thruster (?), and parts to form the backpack.
The backpack's elaborate mechanical details were done in Part 16.

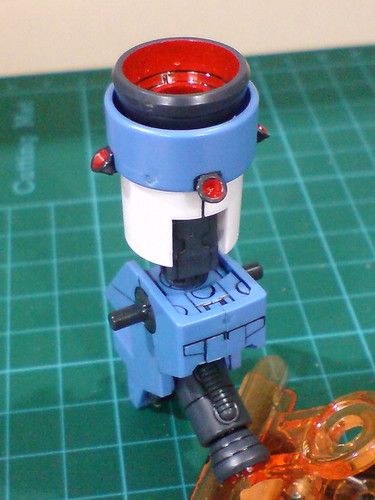
The entire backpack is completed.
Hinge joints for the larger thruster on top, which will form God Keron's left thigh, and the smaller thruster behind the backpack.
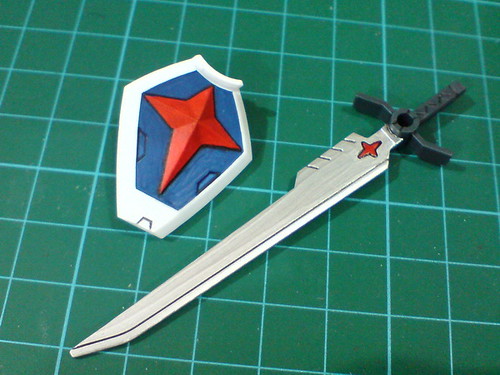
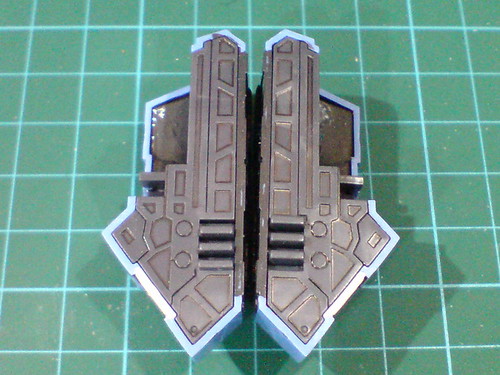
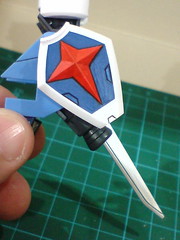
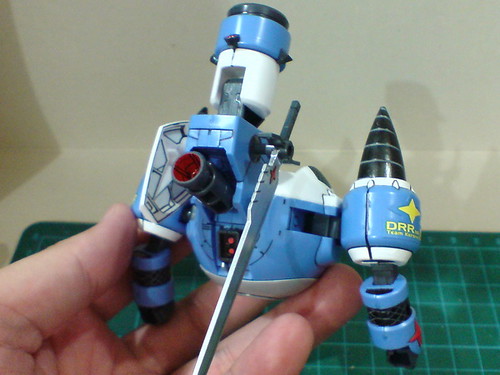
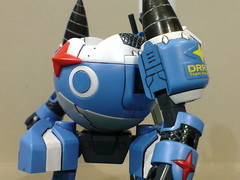
One-piece parts for Dororo Robo Mk-II's shield and katana.
Both were painted in Part 19, but the shield went through extra round of detail treatment in Part 20.
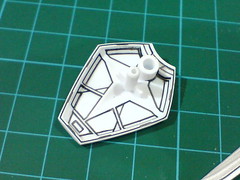
Another look at the shield's molded details on its back.
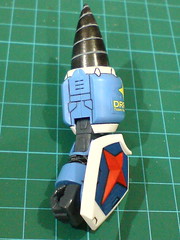


The shield and katana are attached to the left and right arms respectively.

Via two straight pegs sticking out on both sides of the backpack, the weapons can be stored on the model itself if they are unused.
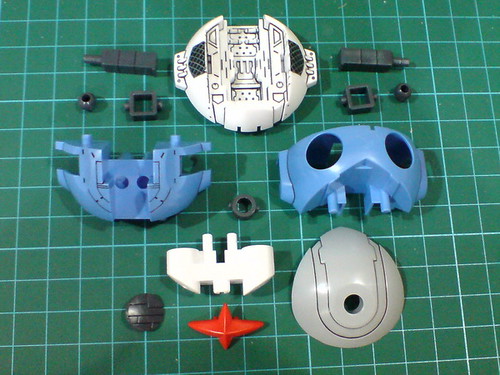
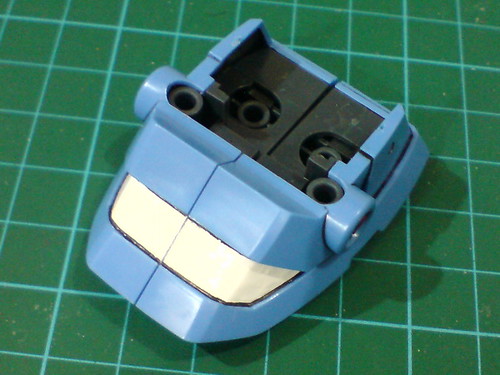
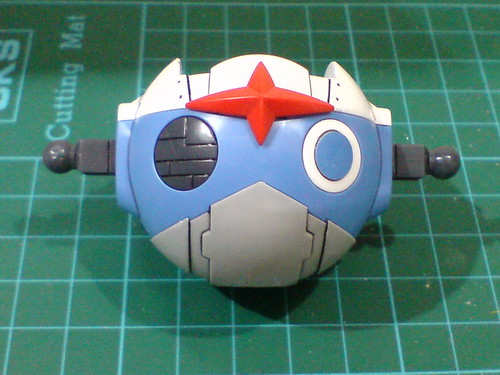
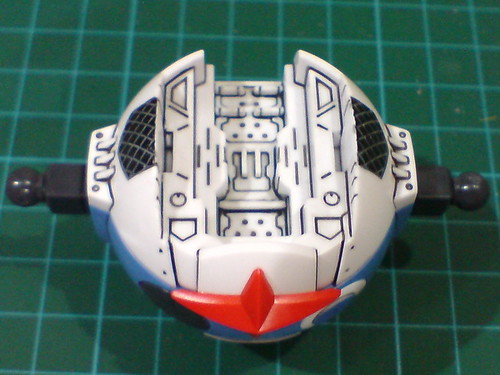
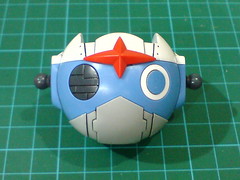
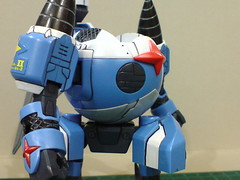
Parts of the body.
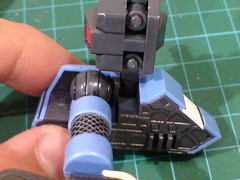
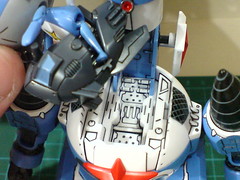
(Left) Elaborate molded details of the cockpit area where panel lined in Part 16.
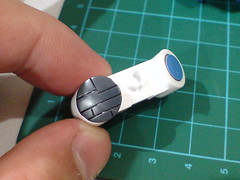
(Right) A gray part that forms the right eye patch.
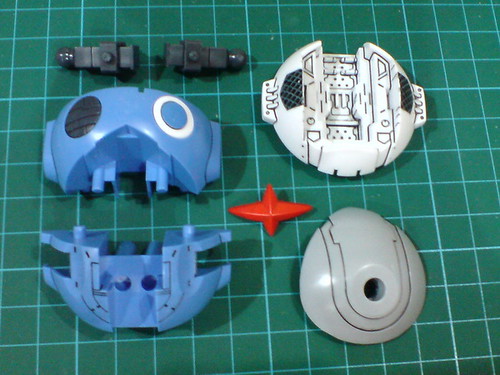
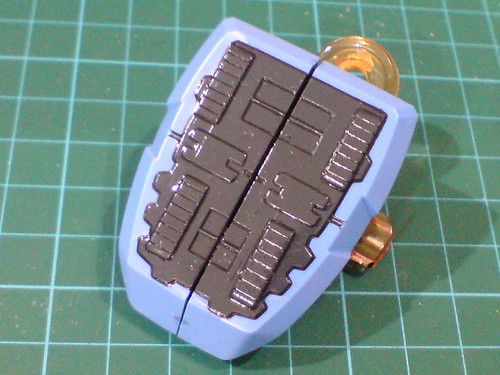
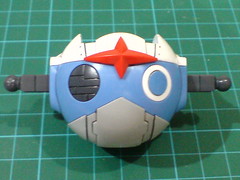
Separable components of the body before the final assembly.

Tabs of different sizes behind the red forehead part help to distinguish its correct positioning during the build process.
The body unit is done.
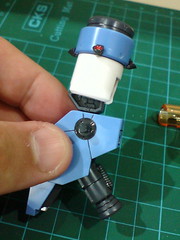
Much like the same components on Keroro Robo Mk-II, Dororo Robo Mk-II's shoulder joints can be extended outward, an articulation feature meant for the mecha's transformation into God Keron's left leg.

The extended shoulder joints can be bent forward/backward.

For the transformation gimmick, the shoulder joints can be flipped all the way to the back of the body.
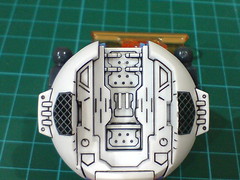
From the image above, you can also see a shallow sunken area on the back of the body meant to hold the shoulder armor in leg mode.

Components to form the upper body of Dororo Robo Mk-II.
The upper body is completed.
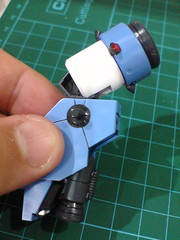
(Left) Using the ball-type polycaps on the shoulder joints, the arms can be bent upward from the side for a considerable degree.
(Right) The arms can also be swung forward/backward easily using the same joints.
With the lower body completed earlier on.

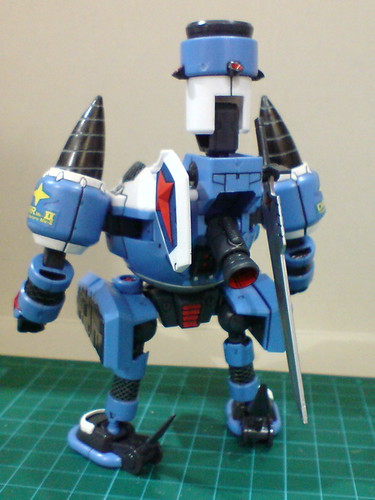
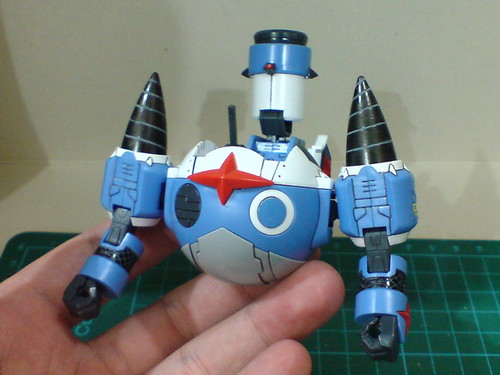
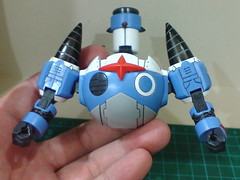
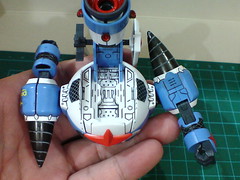
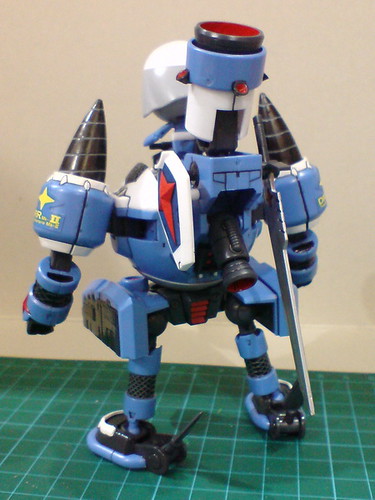
Dororo Robo Mk-II is completed. ^^
As with the other four kits in this bundled set, Dororo Robo Mk-II does have a swivel joint in its waist.
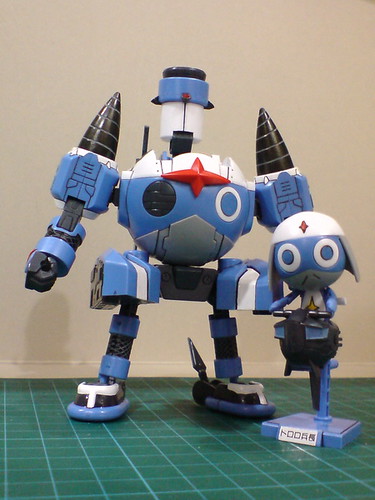
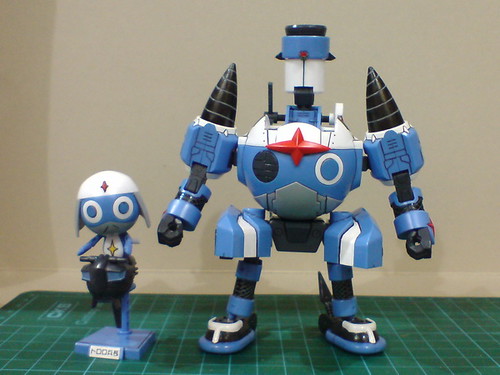
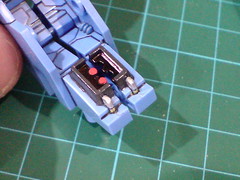
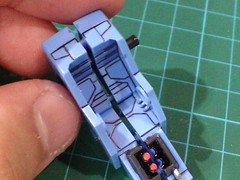
With the mini figure of Dororo completed in the previous posting.
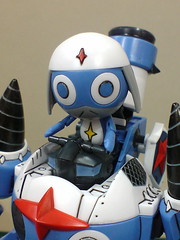
The control pod is mounted onto Dororo Robo Mk-II the same way as Kururu and his robot.

All done for Dororo with Dororo Robo Mk-II.
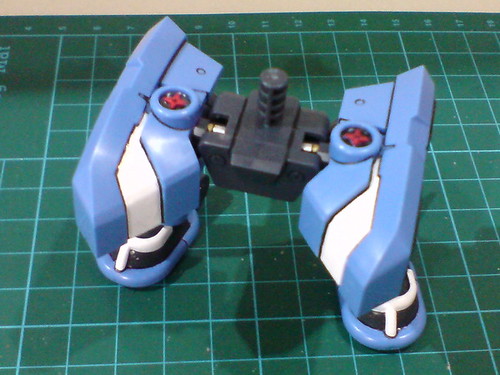
The protruding tabs behind the thighs looked suspiciously like mispositioned knee armor to me. ^^; After checking the instruction manual, I found out that they should indeed be positioned to the front of the legs. ^^; Then again, since similar-looking tabs next to the ankle joints should also be facing outward at the same time, I concluded that the mispositioned parts weren't the legs as I initially thought, but the feet instead. ^^;

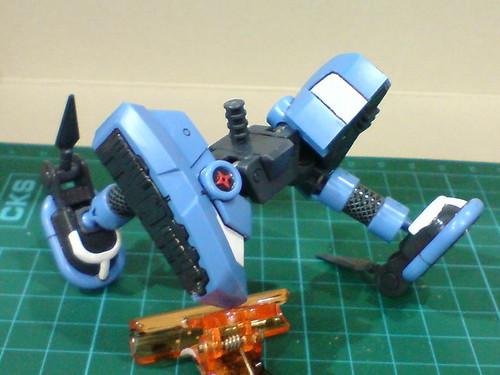
Comparing the images in the instruction manual and their look on my completed model, I was totally confused about the legs' supposed positions for a moment (of brain fart XD). ^^; I was too focused on the assumption that the problem was with the legs and not the feet. ^^; To get the correct positions, the really, really correct ones (XD), the legs would have to be detached, have the feet rotated to the opposite direction, and then reattached to the opposite side skirt armor. However, since the correct alignment of the leg components have little to do with their articulation, and the current look isn't drastically different from the correct configuration, I don't feel like repositioning the parts again, at least for now. ^^;


No comments:
Post a Comment