Continuing with the work on Master Grade Sinanju Ver. Ka after the previous posting. ^^
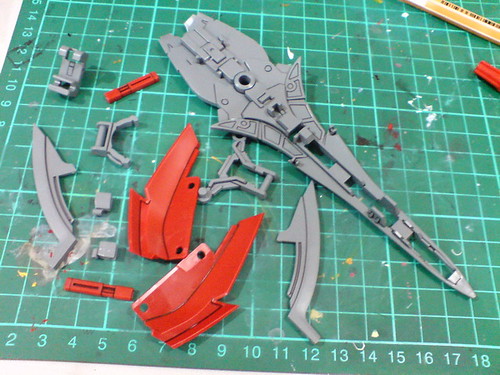
Very simple panel lining for parts of the shield, and beam axes.
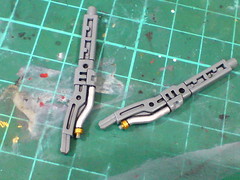
Minor touchup to the handle parts of the beam axes painted in Part 9 to get rid of spilled over paint, and to repanel line that particular areas.
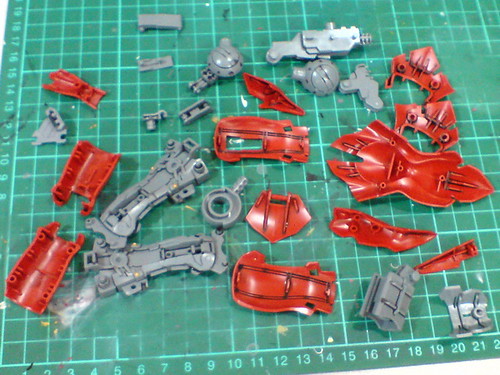
The leg parts are panel lined using a combination of normal panel liner, and Tamiya's Panel Line Accent Color (Black)
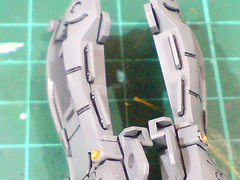
Most of the molded details behind the armor parts are panel lined as well.

With excessive panel liner paint wiped away using cotton swab soaked with enamel thinner.

The two large, main leg parts have the most intricate molded details among the pieces worked on just on. ^^
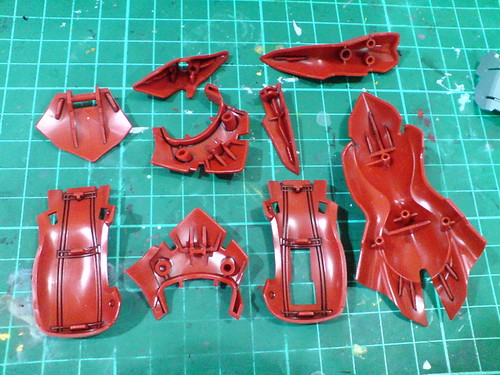
Closeups on the molded details behind the armor parts.
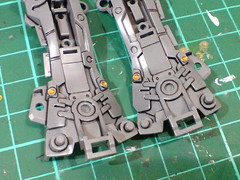

The area around the two lower leg vents which poked through their designated slots on the armor parts can be painted to highlight their appearance.

The said area is painted black using normal panel liner.
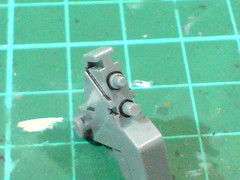
Other leg parts that will received a bit of extra paint work include the interior of the knee vent - the upper peg connector on this knee joint part.
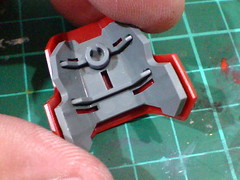
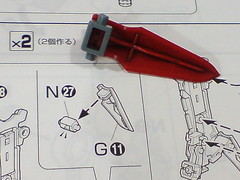
The tabs that connect the armors to the inner frame parts are going to painted to hide their base color.
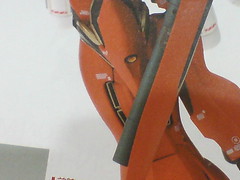
The four front vents are going to be painted black as well.
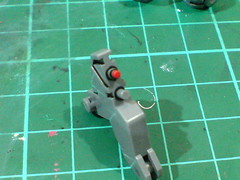
The interior of the knee vent is painted red using Gundam Marker.
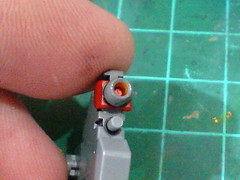

Test fitting the painted parts to see how the knee vent would turn out when assembled. ^^
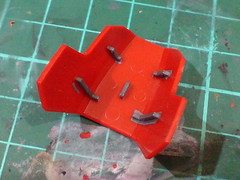
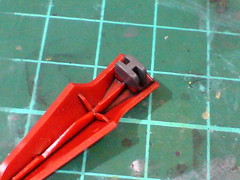
All the part-connecting tabs are painted gray using Gundam Marker.

The four vents are painted black using normal marker.
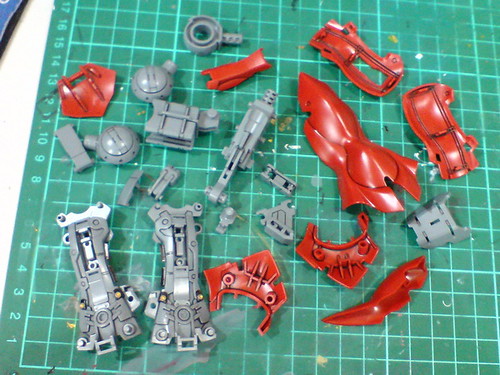
The same panel lining method is used on parts of the other leg.

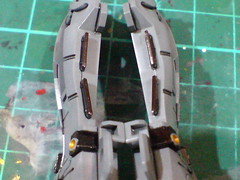
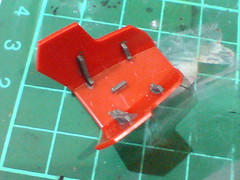
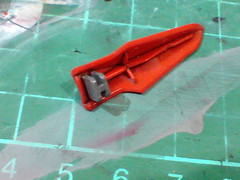
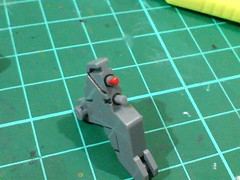
The same paint work is replicated on targeted parts of the other leg as well.
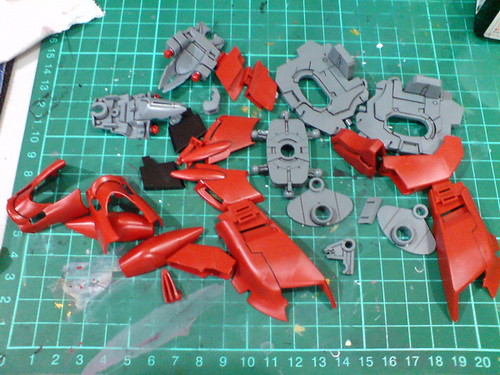
Simple panel lining for parts of the waist.
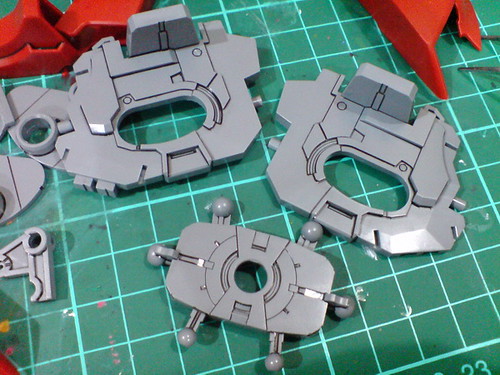
The two hip block parts, and waist piece have the most intricate molded details among the pieces worked on just on. ^^

The six ball-type joints can be further detailed to make them stand out even more when the much larger skirt armors are connected to them.
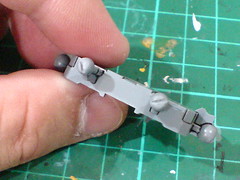
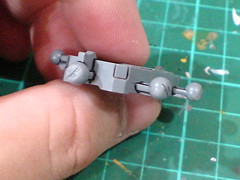
Angled lines are made on the surface of the joints using Tamiya Handy Craft Saw to create minus mold-like details.
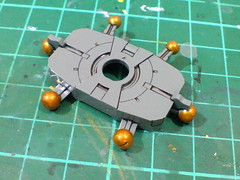
All the joints are painted using Gaia Metallic Color No. 122 Star Bright Gold.
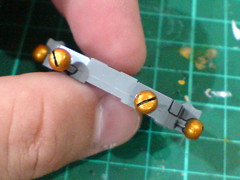
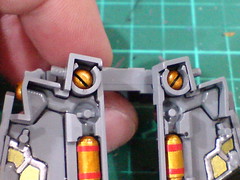
(Left) The newly made line details are panel lined using Tamiya's Panel Line Accent Color (Black).
(Right) Test fitting the painted parts to see how the joints would turn out when assembled. ^^


Off topic: closeups on the front, and rear sides of the front, and rear skirt armor frame parts which went through a few stages of detailing between Parts 9, and 13. ^^
With this posting alone, you can see the repetition of minus mold details on quite a few different parts. ^^ Besides all the extra parts (the M.S.G. Pla Units on the front skirt armor frame parts done in Part 11), and added details (the line details created on the six ball-type joints in this posting), there are similar molded details on existing parts (the fixed piston on the rear skirt armor frame parts) as well. It's certainly a clear pattern on be seen on the inner frame of Sinanju. ^^ As a result of that, the extra work done on the kit so far is more about "reinforcing" the existing image of the inner frame I guess, instead of creating never-seen-before details. ^^


No comments:
Post a Comment