Continuing with the work on Master Grade Sinanju Ver. Ka after the previous posting. ^^
Even though the focus of this batch of work is on the same line of refining a few painted parts (from Part 9 to be exact) as the previous posting, it's actually more related to Part 11, in which additional details were added to parts with notacible blank spots. ^^ Only four parts are selected this time, but I anticipate the additional details needed, and the work required for them to be a lot more than what I did for the six parts in Part 11. ^^
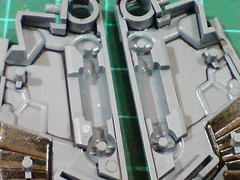
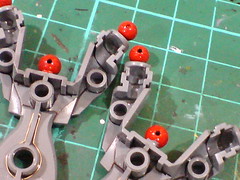
The targeted parts include the hollow semi-cylindrical spots behind the rear skirt armor frame parts (behind the fixed pistons that were painted gun metal in Part 9), and the two blank areas above the leg binders' thrusters.
To compliment/accommodate the existing shape of the blank areas, I suppose tiny round tank-like appendages would be good for the parts. ^^

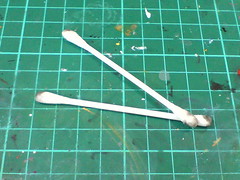
After doing so in the previous posting, I don't think I would want to create the tanks using putty anymore. ^^ Instead, plastic straws, and cotton swab sticks are helpful substitutes. ^^
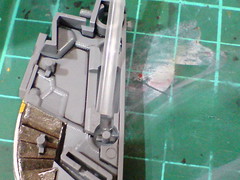

Testing the straw, and cotton swab stick on the rear skirt armor, and leg binder respectively to find out the exact length permissible, and size discrepancy if the parts are used.
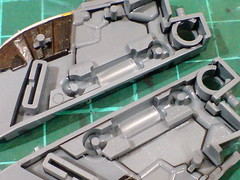
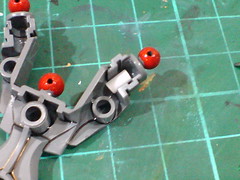
The straw, and cotton swab stick are cut to create smaller pieces that can be fitted into the targeted spots.
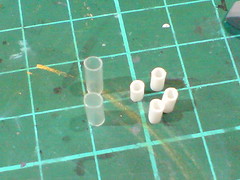
All six add-on pieces for the four parts.
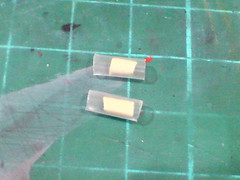
To strengthen the tiny straw pieces - their skins are thinner than that of the cotton swab stick, tiny chunks of chopped up toothpick are inserted into them.
The front and rear openings of the straw pieces are then sealed using Tamiya Epoxy Putty Quick Type.
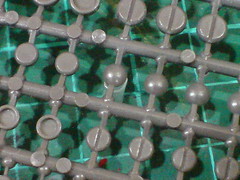
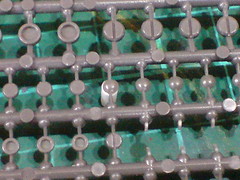
Comparing the openings of the add-on pieces to parts from Kotobukiya's Modeling Support Goods (M.S.G.) Pla Unit P-114 Round Mold II to find out the right caps for them.
Pla Unit P-114 was first used to enhance the appearance of the elbow joints on BB Senshi Sangokuden Sonsaku Physalis Gundam last November.
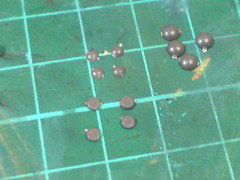

(Left) All 12 pieces removed from the runner.
(Right) With the excessive gates carefully removed from the parts.
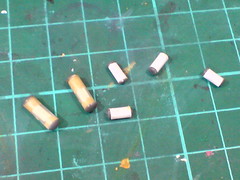
The add-on pieces are secured onto the straw and cotton swab stick parts using superglue.
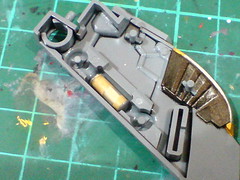
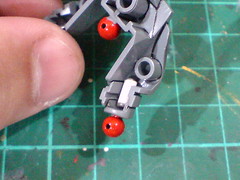
Test fitting the straw and cotton swab stick pieces in their specific slots on the rear skirt armor, and leg binder respectively.
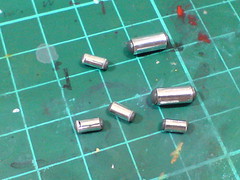
Since there is still room for the tubes to "grow", ^^ silver foil sticker pieces from some of the leftover pieces I collected are used to wrapped around them. The soil sticker pieces are useful as "bases" for the parts to be painted later. ^^

Small holes have been created on the tubes using pin vise with 0.1mm drill bit to allow needle to be used as holders of the parts before they are painted.
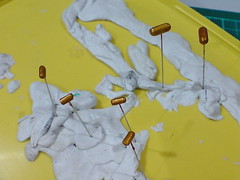
The parts are painted using Gaia Metallic Color No. 122 Star Bright Gold.

With the add-on parts from Pla Unit P-114, and foil sticker skin with gold paint, the base material of the tubes is no longer recognizable. ^^
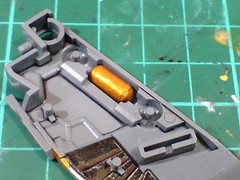
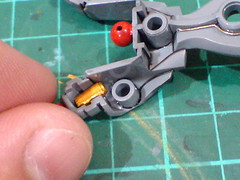
Test fitting the painted parts in their specific slots on the rear skirt armor, and leg binder again.
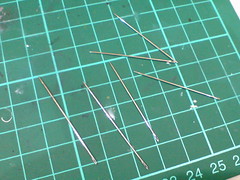
The needles are cleaned using tissue soaked with leveling thinner.
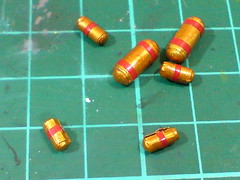
Tiny bars of red foil stickers are used to append a little bit more details, and obviously another color to the tubes. ^^
The slightly larger sized straw pieces get two bars each, while the smaller cotton swab stick pieces get only one each. The number of foil stickers added is due to how troublesome the work is, more than actually considering the details the parts really need. XD
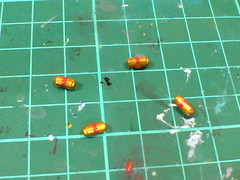
A bit of superglue is used to secure the foil sticker bars to the smaller tube pieces.
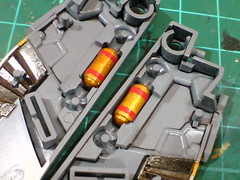
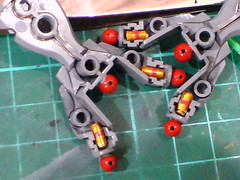
The tubes are attached to their designated slots using superglue.
For obvious reason, the connecting points of the foil sticker bars on each part, which correspond to the holes drilled on them for the needles are placed as the bottom side.

The protruding tubes behind the rear skirt armor frame parts can be painted to highlight their appearance.

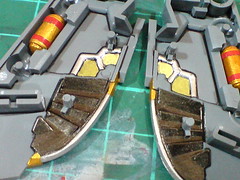
(Left) The protruding tubes are painted silver using Pilot Super Color Silver Extra Fine.
(Right) After excessive silver paint on the parts has been scratched away using a sharpened toothpick, the flat areas next to the tubes are then painted gold using normal pen.
More or less like the added details in Part 11, the six tubes created for the straw and cotton swab stick parts are meant to fill in the very obvious blank spots on the base parts. Any purpose on the actual MS? No idea. XD
Moving on to work on a bunch of "fresh" new parts not shown in the past few postings next. ^^


No comments:
Post a Comment