Continuing with the assembly of MG Sinanju Ver. Ka after the previous posting. ^^
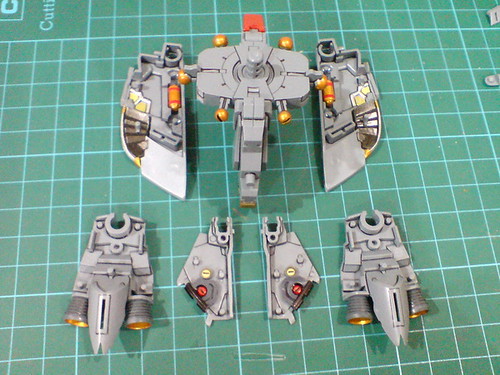
All the skirt armor components need to be detached first.
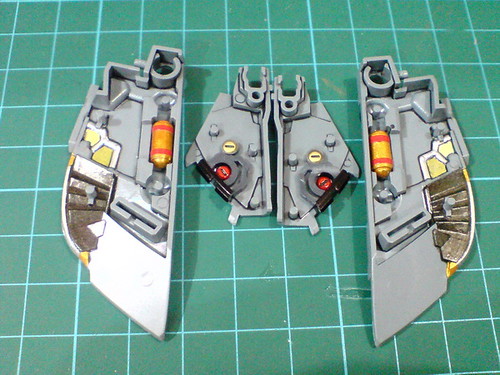
Another look at all the added details on top the front and rear skirt armors' base parts before they are concealed beneath their respective armor parts. ^^
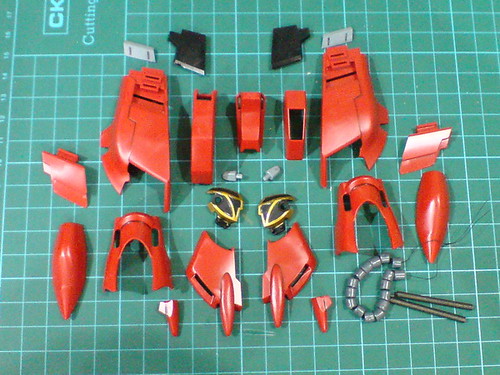
Armor parts for the waist.
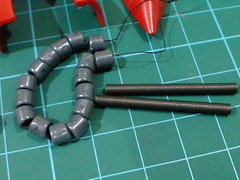
A pair of metallic pipes, and a set of ring pieces to form the skirt armors' conductive pipes.

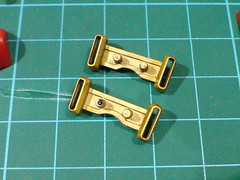
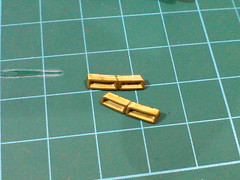
Besides the front skirt armors' top parts, there are four vent parts not shown in the part list image needed to complete the skirt armors.
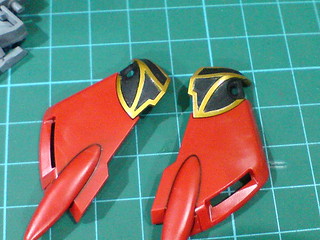
The basic front skirt armor plates.
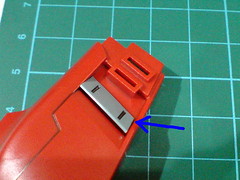
Due to its angled outer face that is quite tricky to hold on to, and having narrow slit on the rear skirt armor as its connector port, the gray vent part turns out to be an interesting challenge to the assembly.
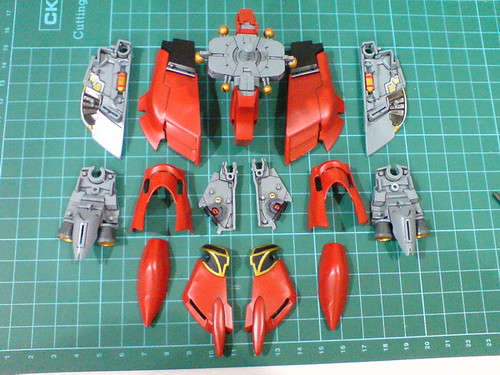
Comparison between the inner frame parts and their skirt armor pieces.
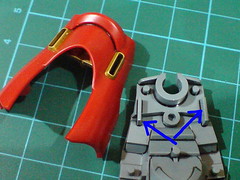

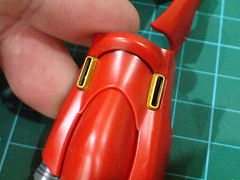
Like the edges of the knee emblem parts in the previous posting, the surface of the vents on the side skirt armors' inner frame parts are details I forgot to paint as well. ^^;
They are painted using normal marker.
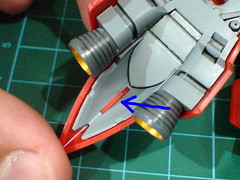
Another part that missed its paint work, a slightly more serious one at that: the connector tab behind the side skirt armor that should be in gray. ^^;
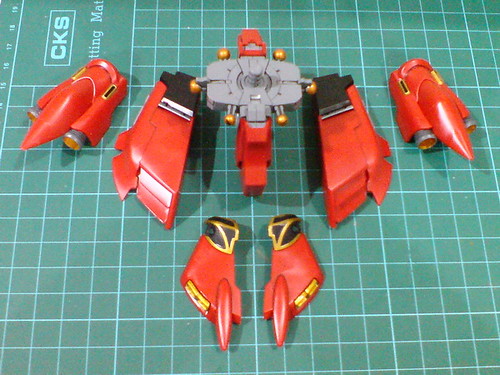
The waist, and all of its armored skirt armor components.
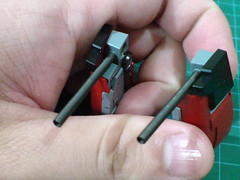
The metallic pipes are fixed to their designated pegs on the rear skirt armors via friction only, but the connection feels tight enough. ^^
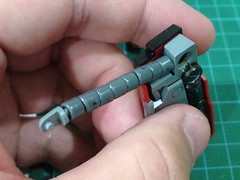
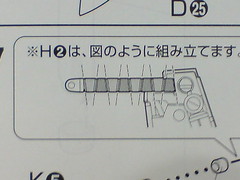
According to the manual, the ring pieces should be assembled onto the pipe with their cross sections arranged in a zigzagging fashion. ^^
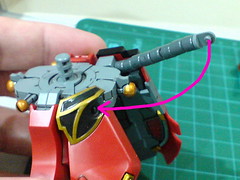
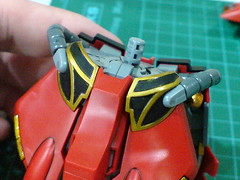
The conductive pipe is attached to the side of the front skirt armors' emblem part to complete the linkage.
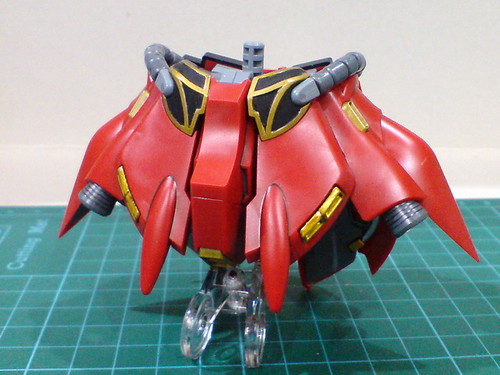
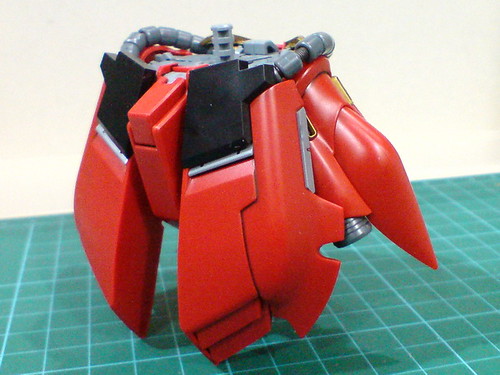
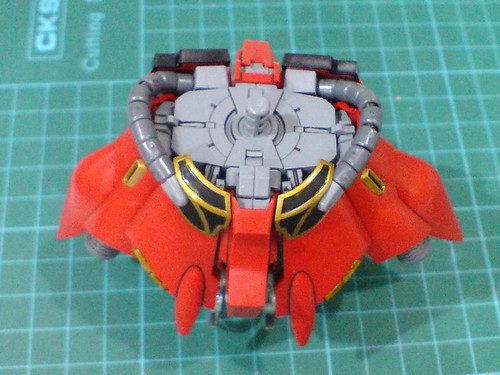
The waist is done. ^^
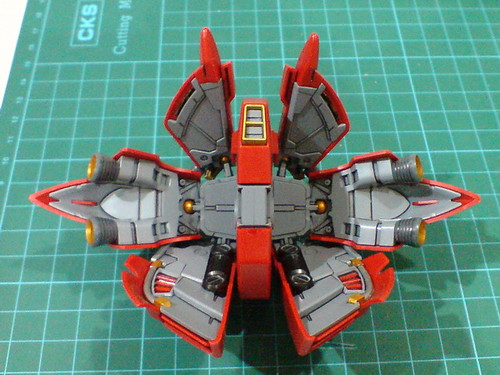
The inner frame details as seen from underneath the waist.
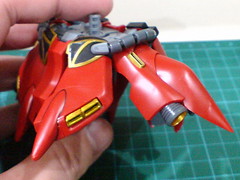
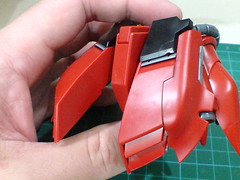
The armor pieces, especially the front skirt armors are now restricted in their articulation range due to the added parts.
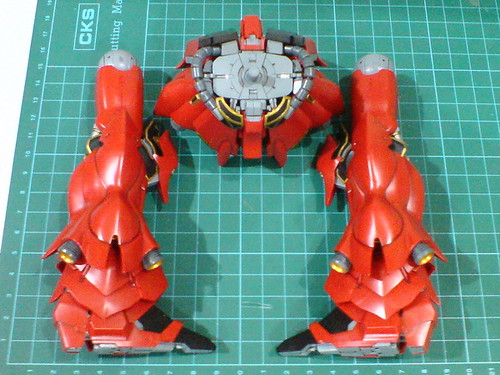
With the legs completed in the previous posting. ^^
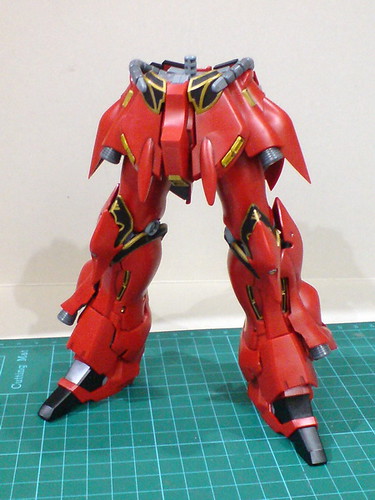
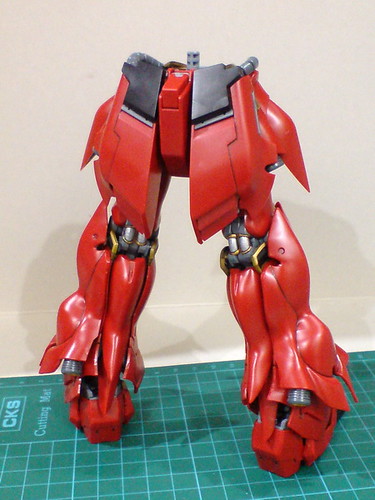
The lower body of Sinanju is now done. ^^
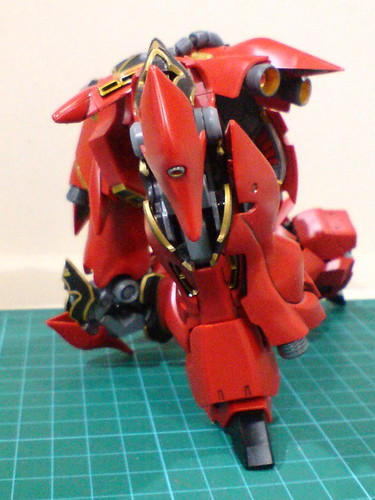
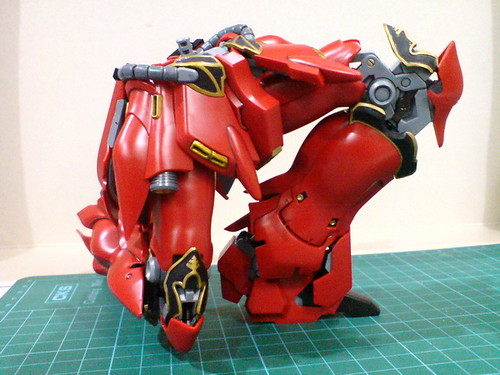
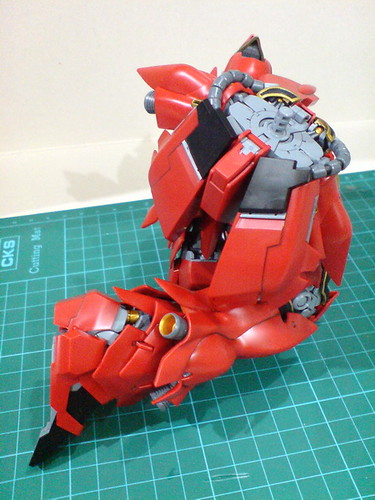

Despite being restricted by the skirt armors, the legs are flexible enough to show off what's to me still a great-looking kneeling pose.
The widely tilted waist peg on top indicates that the upper body would most likely disagree with that statement of mine. ^^;
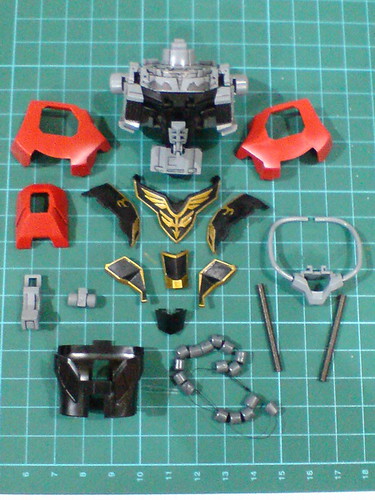
Armor parts for the body.
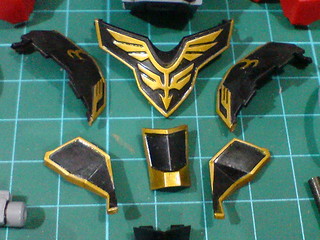
Emblem parts for the collars, chest, and abdomen. ^^
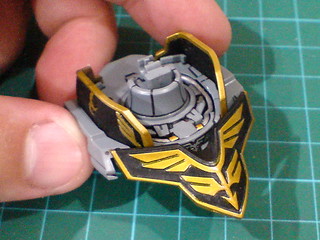
The heavily ornated neck and chest component.
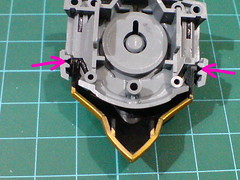
The chest plate is connected to the bottom of the neck plate via a pair of hinges, allowing it to be lifted on the completed model to show off the cockpit hatch.
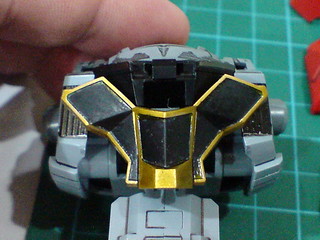
Three separate emblem parts form the abdomen.
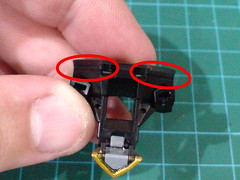
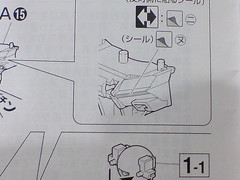
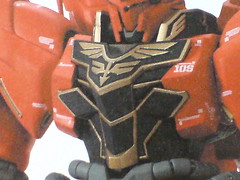
There are a pair of stripes on the chest piece that I completely forgot to paint. ^^;
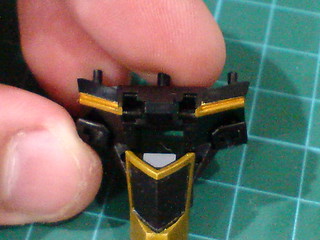
Super desperate, and mighty embarrassing last-minute paint work: the stripes are painted gold using Gaia Metallic Color No. 122 Star Bright Gold.
I went and took a movie break while waiting for the paint to dry, but that was mainly for me to forget the carelessness of missing those two stripes, which are just as important as the rest of the emblem parts to complete the body ornaments. ^^;

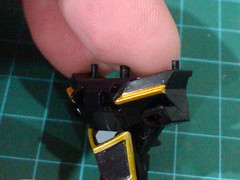
Spilled gold paint at the edges of the stripes are cleaned using cotton swab with thinner.
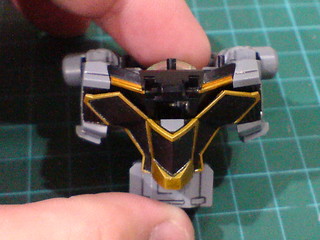
A more complete look for the chest and abdomen panels. ^^
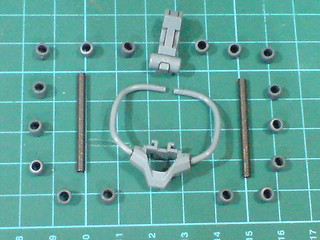
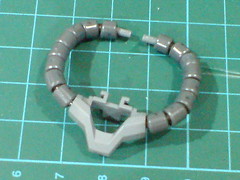
Unlike the pair on the skirt armors, the waist's conductive pipes have a fixed-shape base to hold the metallic pipes, and ring pieces.
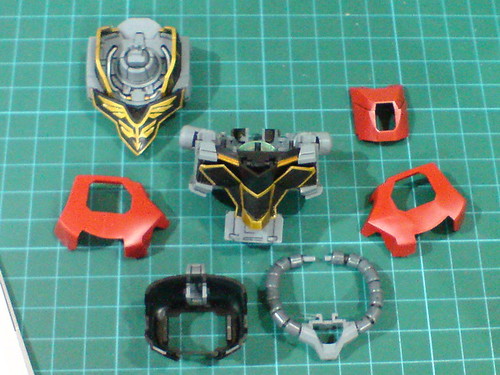
Major components of the body before the final assembly.
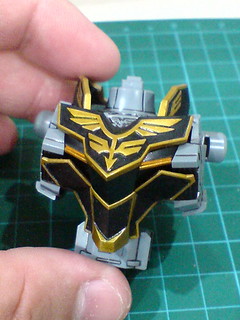
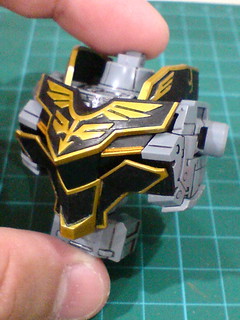
The "core" body block, before the red and black armors are attached to it.
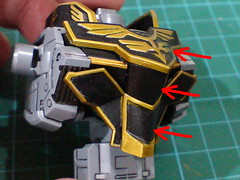
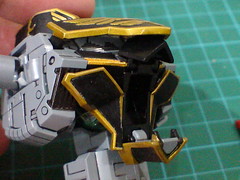
Three separate movable parts need to be hinged open to reveal the cockpit. ^^

After the black one-piece abdomen armor is attached to the inner frame, a pair of tabs on the conductive pipes' base part is slotted into their designated port beneath the armor, which will also lock everything in place. ^^

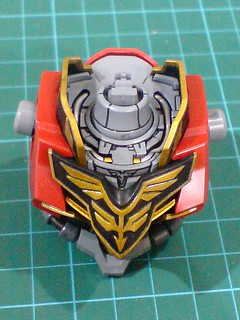
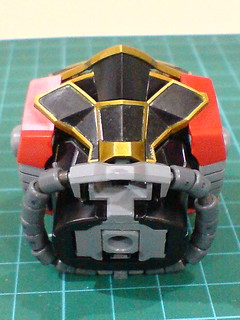
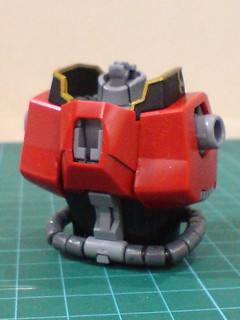
Done for the body unit. ^^
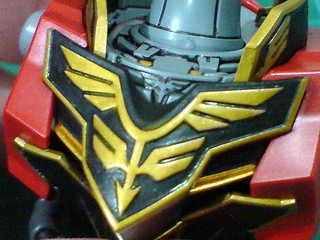
Besides the large and obvious painted emblem on the chest armor, there's a smaller one right in front of the neck (panel lined only, in Part 19) that is equally interesting to see. ^^
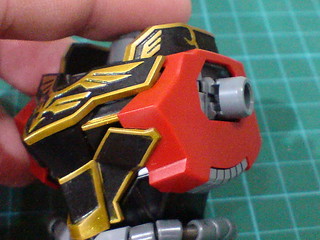
Like the same feature on its HGUC equivalence, the part separation between the red blocks and the black emblem parts is an amazing design point of this Master Grade kit. ^^
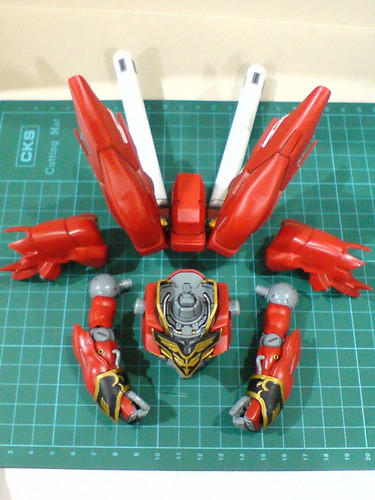
Components to form the upper body.
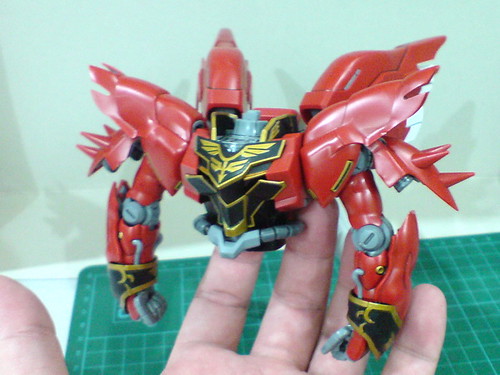
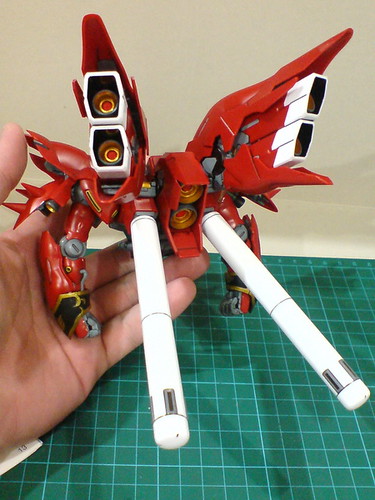
The upper body is completed.
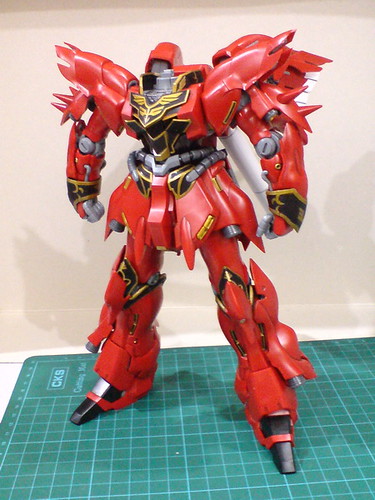
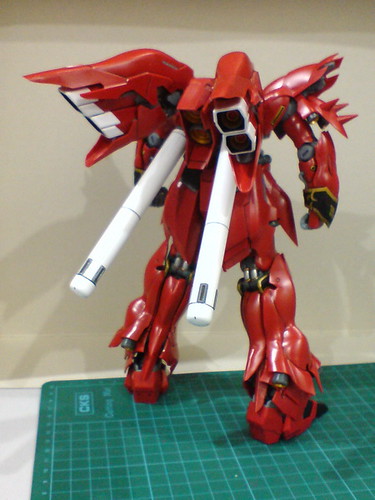
Only the head remains now, before the entire kit is complete. ^^
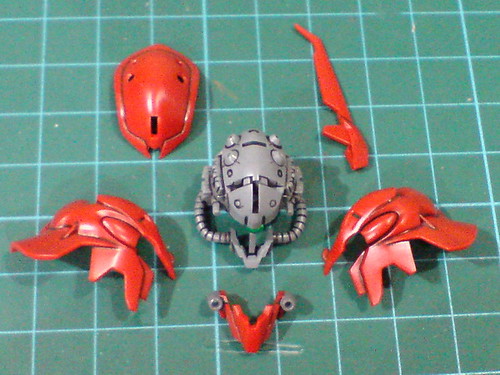
Armor parts for the head.

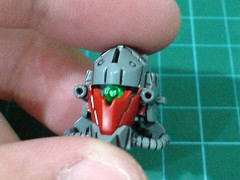
The vulcan-equipped mask is the only difference between an incomprehensible inner frame component with a mono-eye camera sticking out of it, and Sinanju. XD
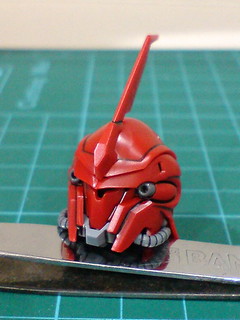
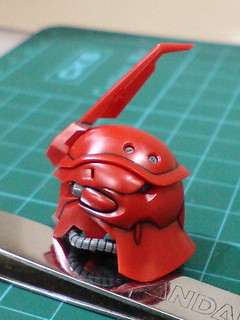
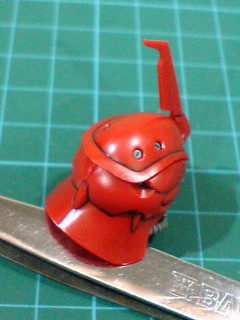
The head is definitely the simplest component to assemble in this MG kit. ^^
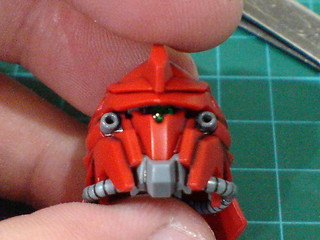
The mono-eye camera is not easily visible from behind the faceplate and low angled visor. ^^;

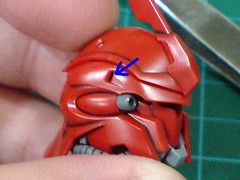
The tiny holes on top the helmet, which expose the screw-like details of the inner frame, and tiny slits above the Vulcans are very nice molded details given to the head. ^^
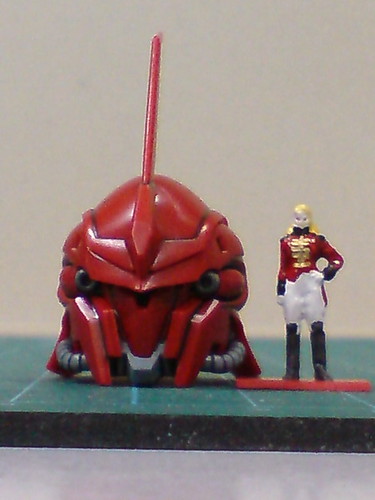
Comparison between the head and the pilot figure of Full Frontal.
Suddenly, the head being the smallest component among the assembled ones seem gigantic now. ^^

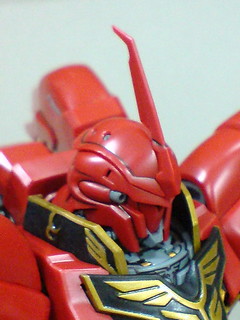
Assembled the completed head onto the neck joint.
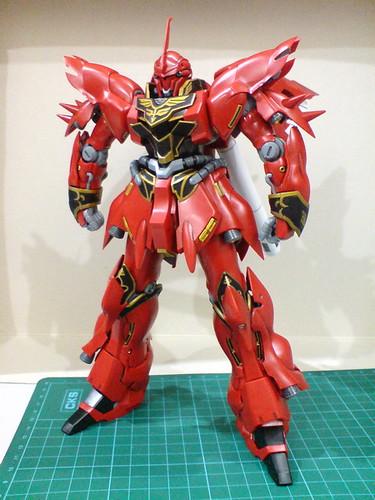
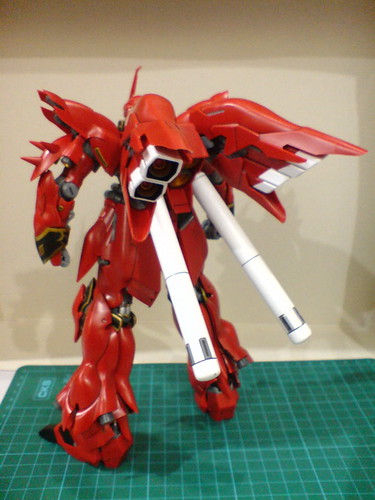
All done for MG Sinanju Ver. Ka. ^^
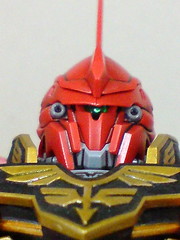
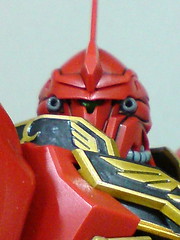
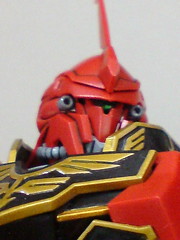

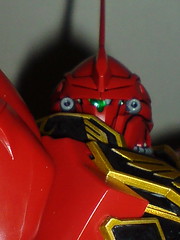
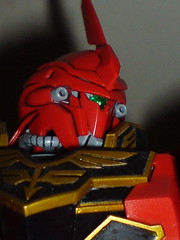
Even with the camera flash turned on, the linked movement between the neck swivel and Sinanju's mono-eye camera is really hard to see. ^^;
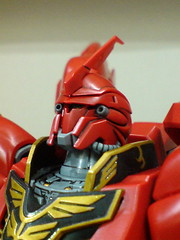
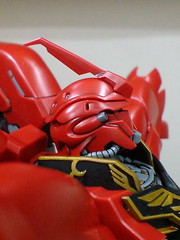
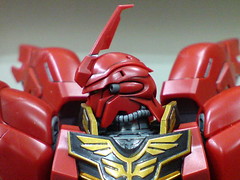
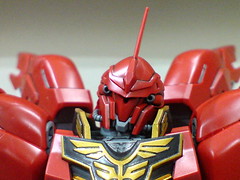
Interestingly, the addition of helmet and collars doesn't affect the articulation range of the neck. ^^
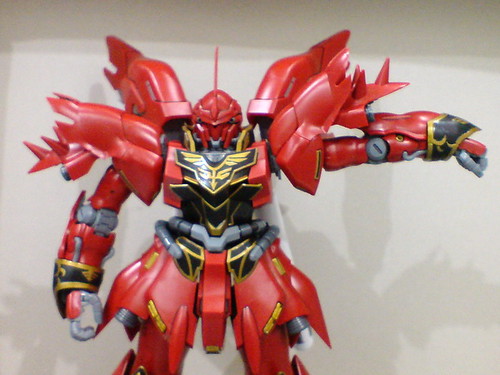
Standard 90 degrees upward lift for the arm from the side of the body.
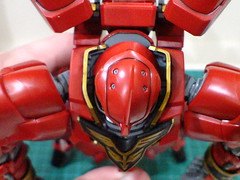
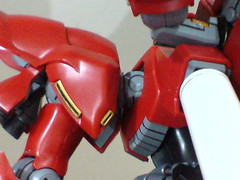
(Left) Forward bending of the shoulder blocks has been limited by the shoulder and chest armors.
(Right) Should have painted the peg surface of the shoulder joint too. ^^;

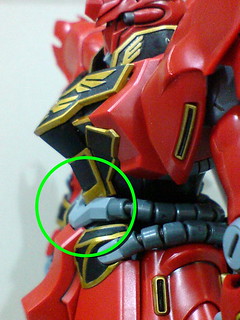
The minor gaps between those abdomen components circled in the two pictures above represent the range of forward/backward hinge currently possible for the waist. ^^;
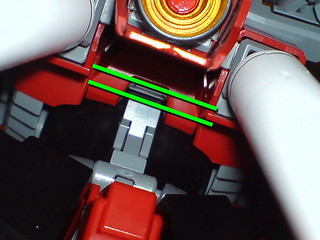
The gap between the two green lines represents how much the upper body can be hinged backward via the joint inside the chest. ^^;
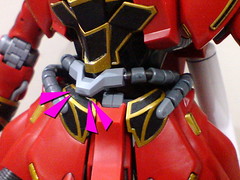
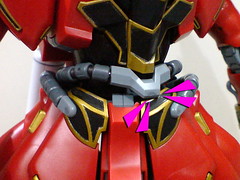
Side-to-side swivel has been limited as well, but not as much as the two articulation points mentioned above. Then again, seeing how the protruding base of the conductive pipes is rubbing against the emblem parts is enough to to make my palm sweat. ^^;
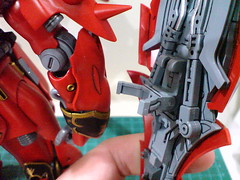
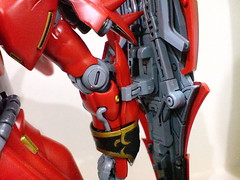
Clipping the shield to the forearm cover via the former's mount rack.
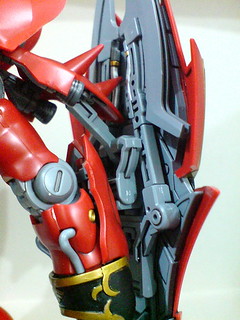
Using the shoulder binder's hook to hold the shield. The arm can help to block the shield from bending inward. ^^
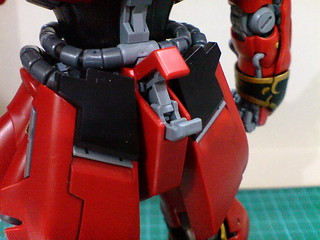
The weapon mount latch behind the waist can be deployed, and while there's no change to the expansion range of the two clips, ...

... the pointy corner of the armor is a spot to avoid in order for the weapon to be mounted correctly. ^^
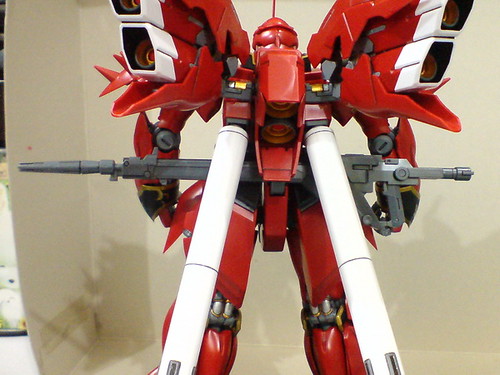
With the beam rifle mounted.
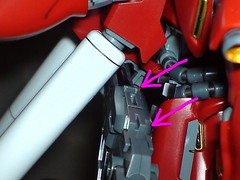
The targeting scope has to be removed for the rifle to be mounted properly.

Given its large-sized barrel, quite a bit of adjustment is needed to attach the rocket bazooka properly to the mount latch. The upper hook that holds on to the opening above the barrel is working really hard to keep the weapon in place. ^^
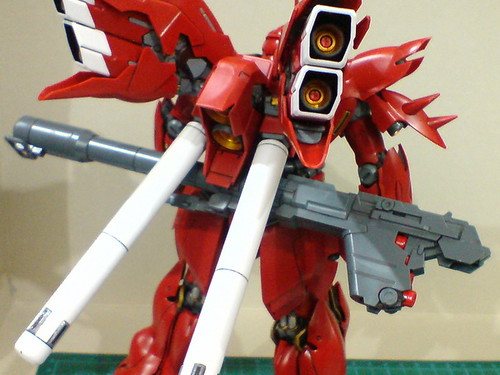
With the rocket bazooka mounted.
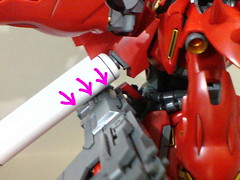
Interestingly, as the bazooka is being squeezed between the propellant tanks and the mount latch, that collision is also helping to keep the weapon in place. ^^
More images of this amazing Master Grade kit coming up in the next posting. ^^


No comments:
Post a Comment