Continuing with the assembly of MG Sinanju Ver. Ka's inner frame after the previous posting. ^^

Parts for the left leg's inner frame.
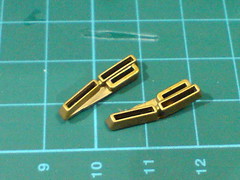
I forgot to include the pair of golden side vents into the picture above, so here they are. XD

Major components of the left leg's inner frame before the final assembly.

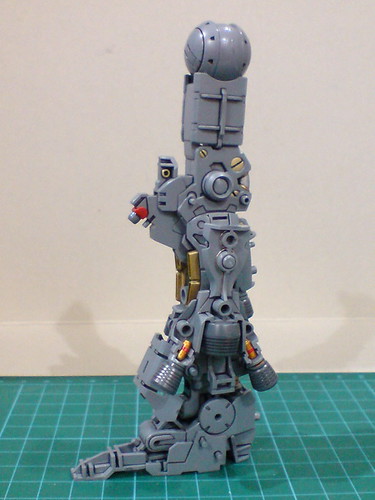
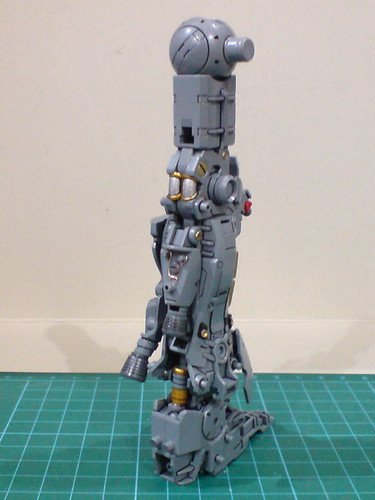
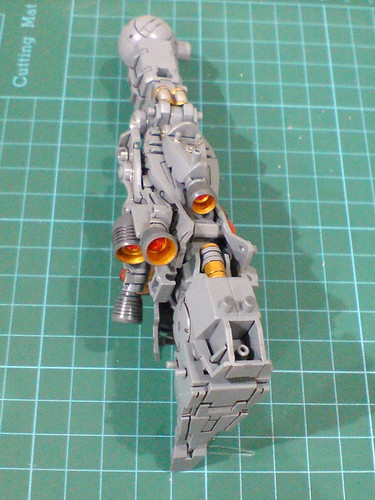
The left leg's inner frame is completed.
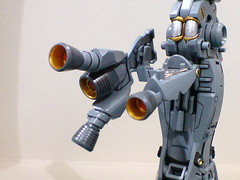
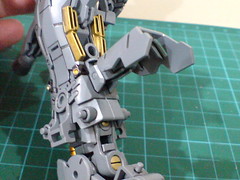
Expansion of the side and calf thrusters, and lifting of the ankle guard are identical to the same features on the right leg covered in the previous posting.
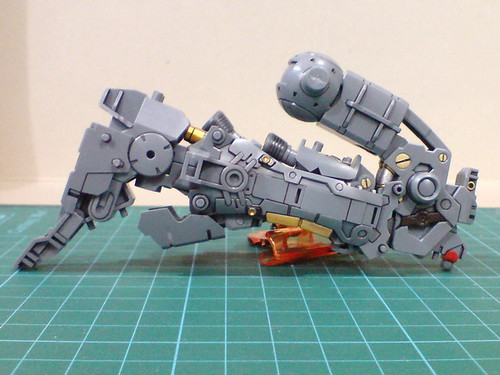
Knee bend of the left leg.
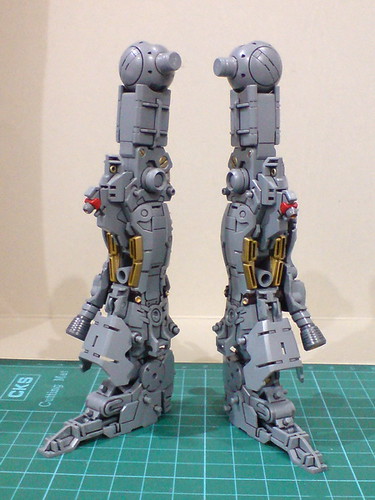
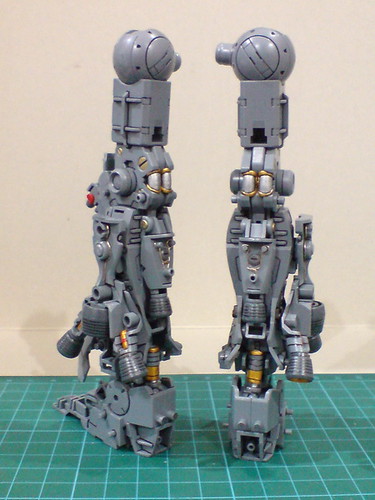

Both legs are now done. ^^
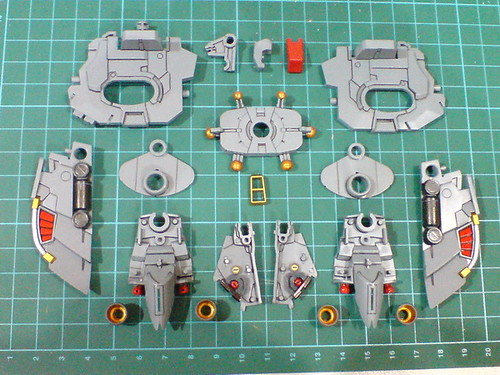
Parts for the waist's inner frame.
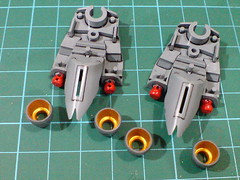
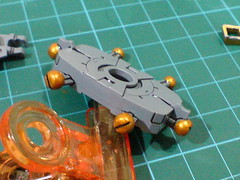
Painted and detailed inner frame parts: thrusters (Parts 8 - gold, 10 - red), joints (Part 15), ...

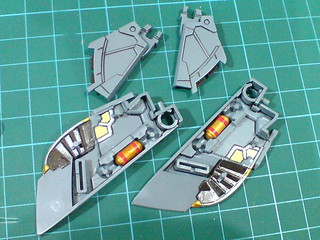
... and detailing on the front and rear skirt armor parts (Parts 9, 10, 11, and 13).
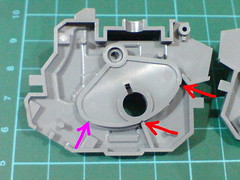
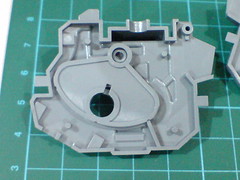
The not-so-special hip swing gimmick. ^^
There are small divots at the bottom of each hip swing joint to control the normal (middle divot) and forward (rear divot) positions for the hip joints. However, given that the two hip swing pieces for both sides of the body are in fact identical pieces, and are reversed when assembled into the waist, it makes sense that there's a useless divot (pointed by a magenta arrow in the left image) in front of each part.
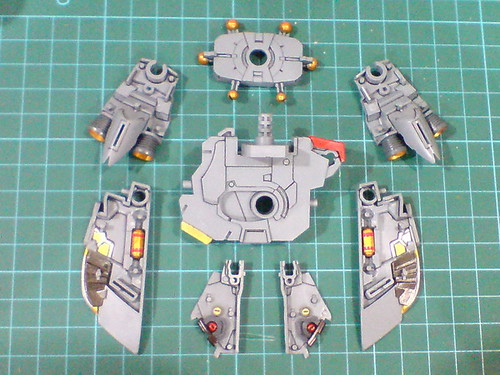
Separable components of the waist before the final assembly.
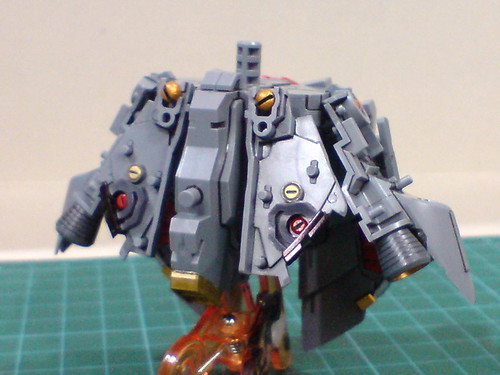
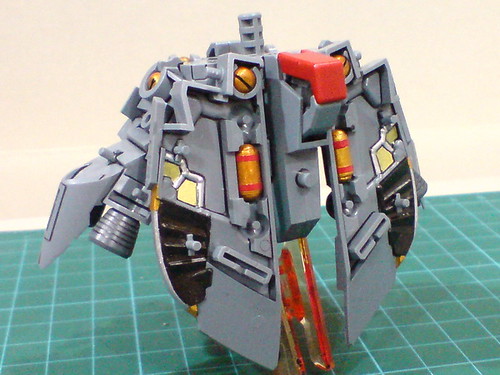
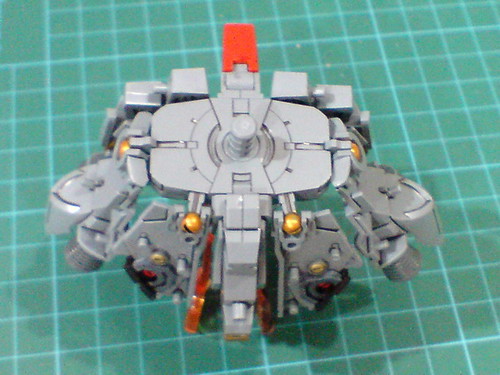
Done for the waist's inner frame.
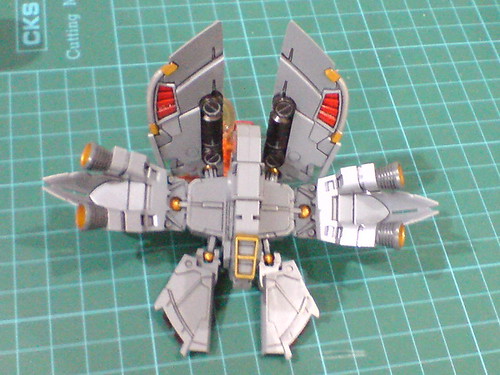
Molded, painted, and panel lined details of the waist on its underside.
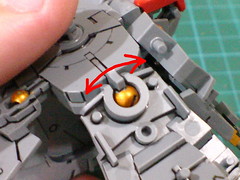

While the joints are all of ball-type, the different connection ports on the skirt armor pieces give them different articulation capabilities. For the side skirt armors, besides hinging outward, they can actually be swung forward/backward as well, surprisingly. ^^ The rear skirt armors have normal, but very limited ball-type movement.
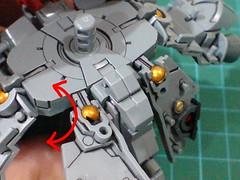
The front skirt armor can be hinged upward for a wide degree.
That flexibility is not going to last when the conductive pipes come in I believe. ^^;

Having slightly shorter nozzles as compared to the leg thrusters, the protruding points inside the side skirt armor thrusters stand out very easily against the golden walls. ^^
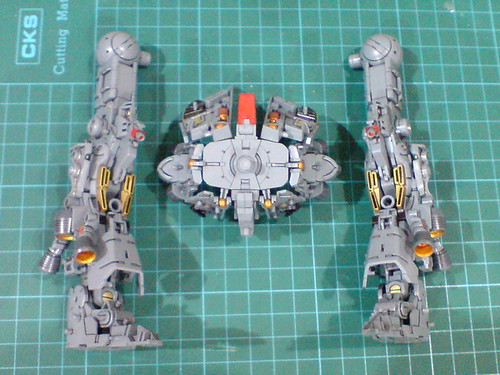
With the legs completed in this posting, and the previous one.
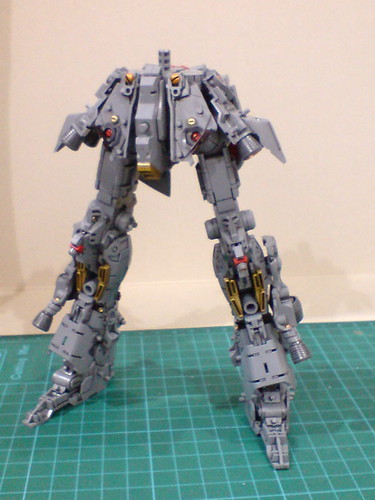
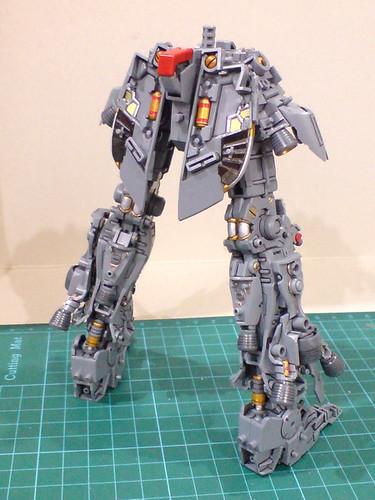
The lower body is done.
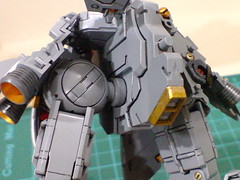
Since the legs are going to be removed when the armor parts are to be appended, I didn't tab the hip joint completely into its designated slot.
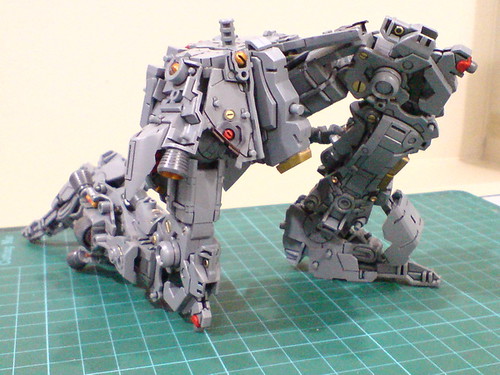
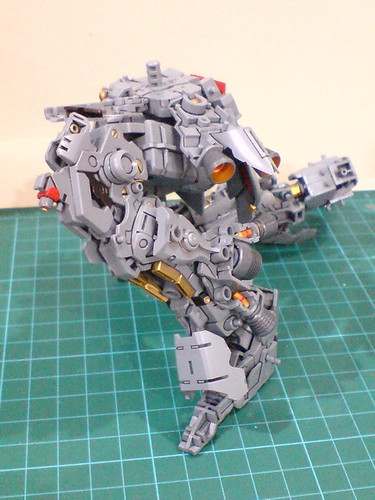

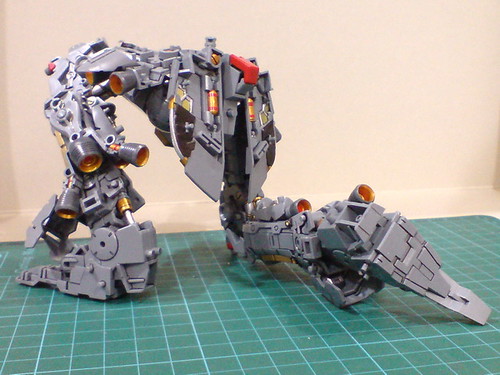
A very natural-looking kneeling pose is possible (judging by the balanced look of the waist's top surface), even without deploying the hip swing gimmick. ^^
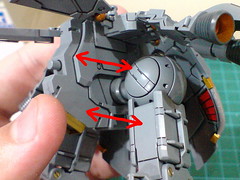
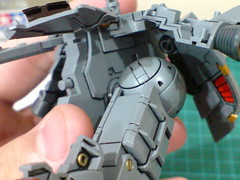
The aforementioned hip swing feature.
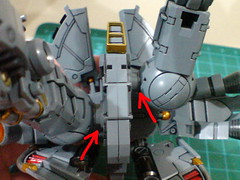
A comparison between the hips in normal (right leg), and forward-adjusted (left leg) positions.
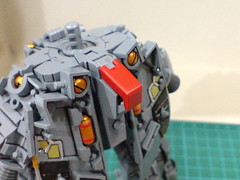

The mount rack behind the waist can be opened to mount either the beam rifle, or the rocket bazooka.
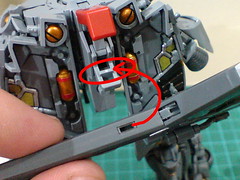
There's a polygonal tab on the bottom mount rack piece that connects to a slit beneath the rifle's forestock to secure it to the back of the waist.
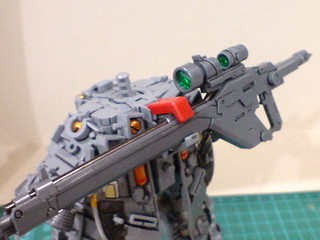
The top and bottom grips are certainly helpful to hold the rifle as well. ^^
When the upper body is done, with the thruster propellant tanks getting in the way of the rifle behind the waist, there'll be no more room for the targeting scope to remain on top the weapon in storage mode. ^^;
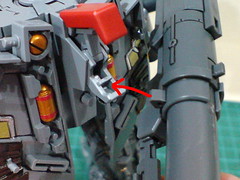
To mount the rocket bazooka, a protruding triangular peg on either side of the barrel can be fitted into the frontmost port on the bottom mount rack piece.
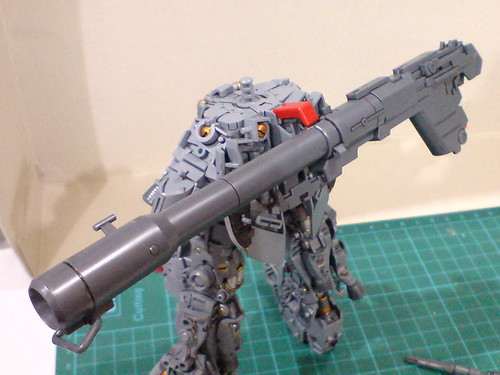
The top grip is also supporting the connection between the bazooka and the mount rack, but not as securely as it does for the rifle.
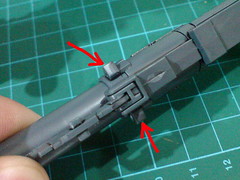
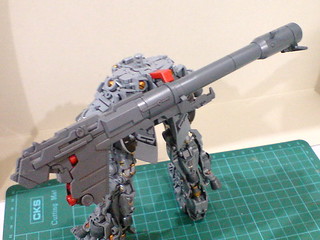
Since there are two mounting pegs, the bazooka can be held facing the other way round.

With the bazooka barrel retracted.
The imbalanced look of the weapon is extremely awkward. ^^;
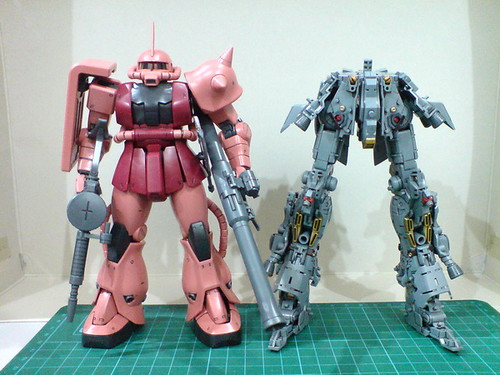
Comparison between the lower body's inner frame and MG Char's Customized Zaku II Ver. 2.0.
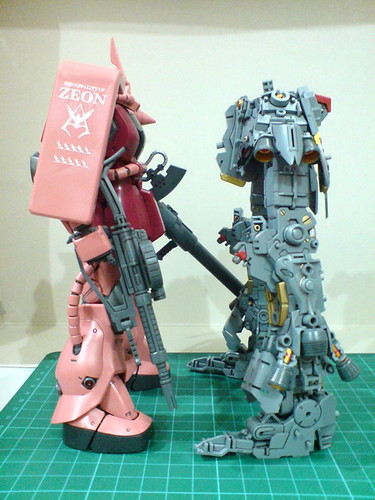
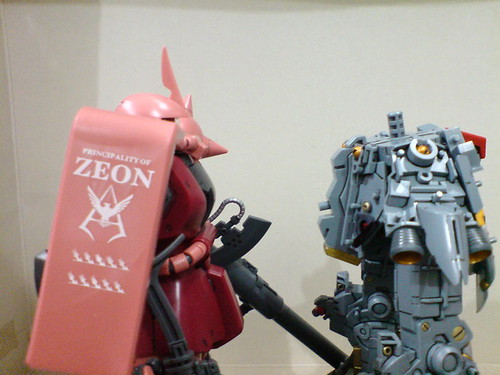
The height discrepancy between the two Red Comets is already so obvious when Sinanju is not even halfway through its completion. ^^
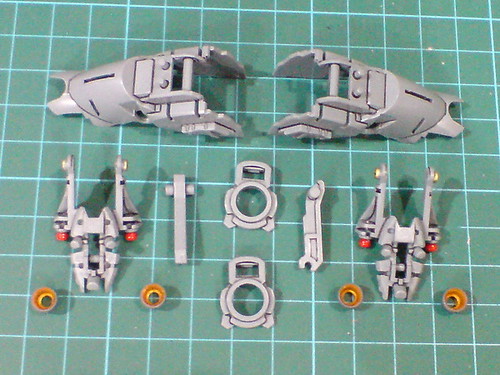
Inner frame parts for the shoulder armors.
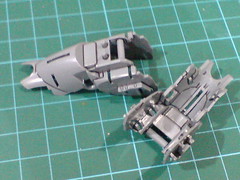
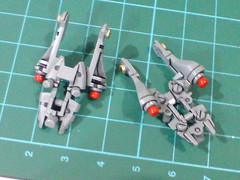
Very impressive one-piece parts for the main armors, and thruster binders. ^^

Just two separable components for each shoulder armor.
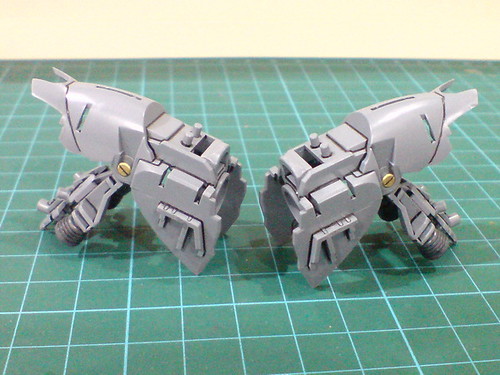
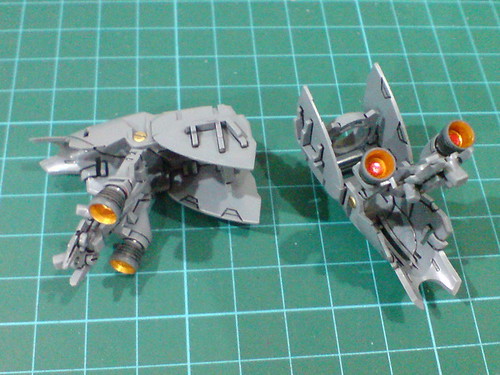
The pair of shoulder armors are completed.
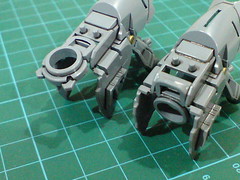
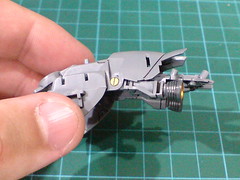
(Left) Hinge joint for the shoulder allows the armors to be lifted upward.
(Right) The thruster binders are connected to the shoulder armor via hinges as well, allowing them to be lifted.
As they fit into the space beneath the armor quite nicely, it would seem like the binders are retracted into the armor when they are hinged upward.
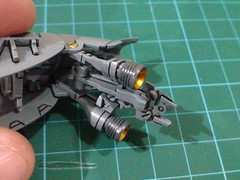
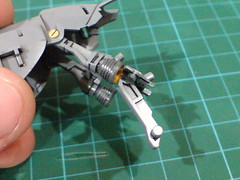
Each thruster binder has a support arm that can be swung downward.

The pair of pegs at the end of the support arm are meant to hook onto a dedicated port behind the shield.

Using the support arm, the shield can be held without using the forearm mount rack.
Then again, the weak connection is unable to keep the shield in a straight position. For that matter, the protruding edge of the shoulder armor that collides with the shield isn't helpful as well. ^^;
As it turns out, every handheld weapon designated for Sinanju has one or two methods to be stored/mounted on the mobile suit itself. For a model kit, that's an ingenious design that allows tons of poseability, and weapon combinations to be configured, even when the main model is in a plain standing pose. ^^
The main torso components will be up next. ^^


1 comment:
Be super careful for the waist joint. On the Ver. Ka edition of this kit, Bandai used ABS for the inner frame. When you add the top portion of the body, the fit is incredibly tight and the peg itself is not a solid peg. It is instead a very thin X shape. If you attach the torso and twist, you will most likely snap off the peg.
Post a Comment