Finally, after yet another long delay between the completion of its detailing work, I'm returning to complete this Gunpla: Master Grade Sinanju Ver. Ka. ^^
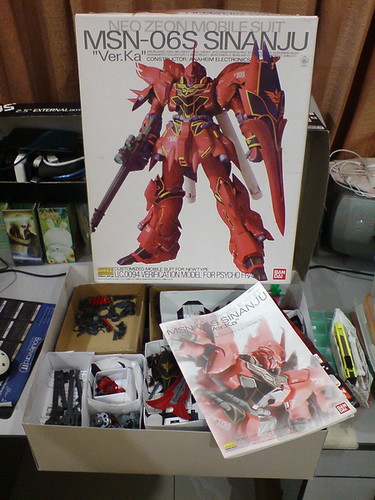
Like the detailing work I did on the kit, which took up half of January to complete, I'm pretty sure this final assembly is going to be very fun, especially since this kit is one of my picks as the best Master Grade releases from Bandai. ^^
The last addition to the overall project, Action Base 1 Sinanju Ver. will go first. ^^ Since it's just a color variant of the good old Action Base 1, I'll be very brief in describing its assembly.

Parts for the stand
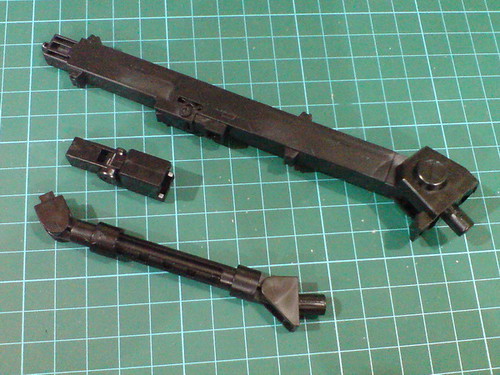
Separable components of the stand before the final assembly.
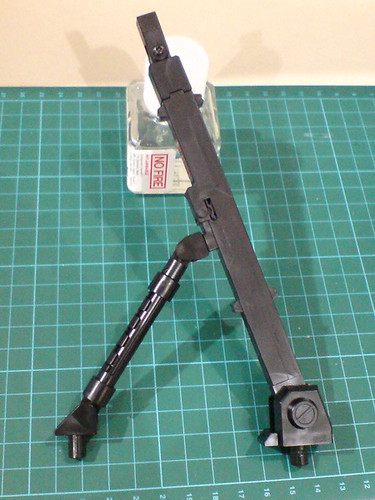
The stand is completed.
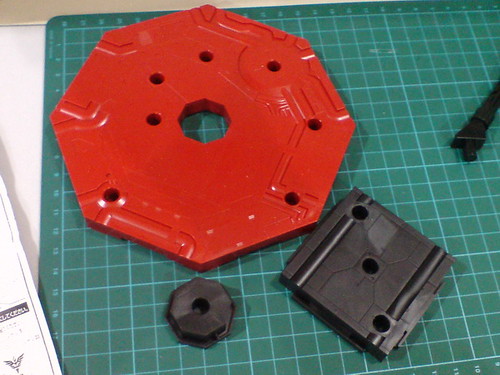
Three parts for the base.
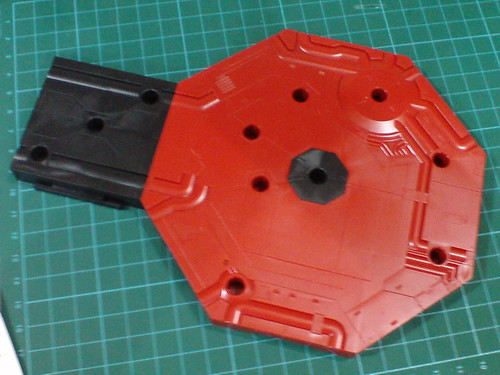
The base is completed.

The black center piece certainly stands out on the red base, but I'm not exactly sure what the color separation means in representing Sinanju's theme. ^^;
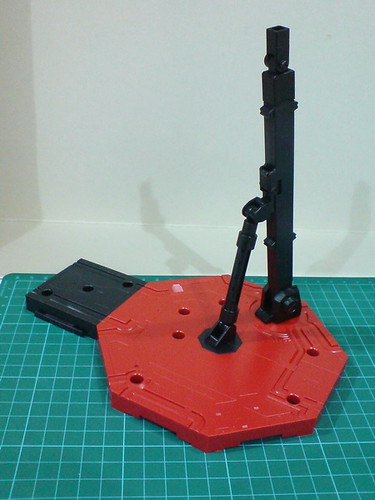
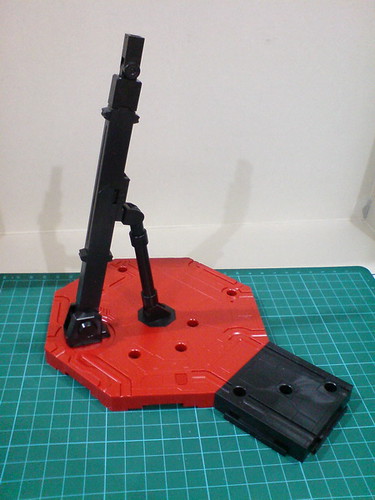
With the stand connected to the base, this Sinanju's customized Action Base 1 is all done. ^^
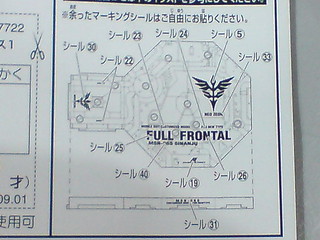
Tons of clear stickers included to declare the owner of the base as loudly and as clearly as possible (XD), but I'm not keen to apply any of them. While it's meant for Sinanju, the dual colored base seems generic enough to be used by another model kit with similar color scheme (like MG Johnny Ridden's Customized High Mobility Type Zaku II Ver. 2.0).
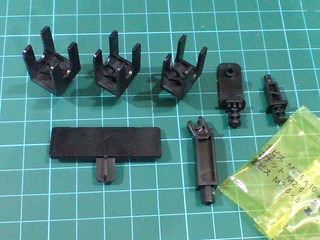
Option parts for the base, mainly mount racks of different sizes to connect to the model kits. None of them is going to be used, since Sinanju has its own included part for the task.

The nameplate, which is left blank (^^;) is attached to one of the stand slots as its appearance isn't too obtrusive on the whole base. ^^
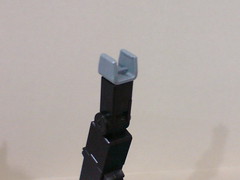
The aforementioned mount latch that came with the Master Grade kit.
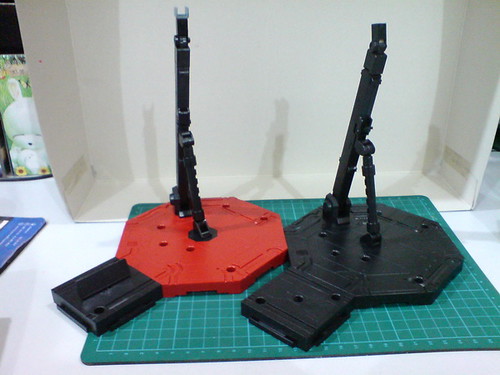
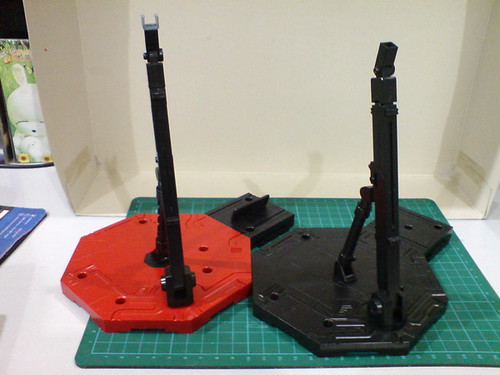
Comparison with the original Action Base 1.

Comparison on just the bases of the two stand sets.
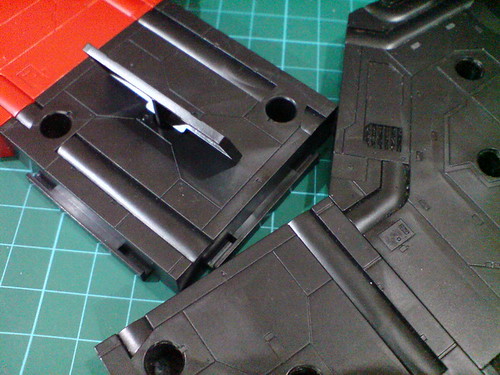
The difference is very hard to distinguish, but I always feel that Sinanju's base has a darker tone of black molded for its parts as compared to that on the original Action Base 1. ^^
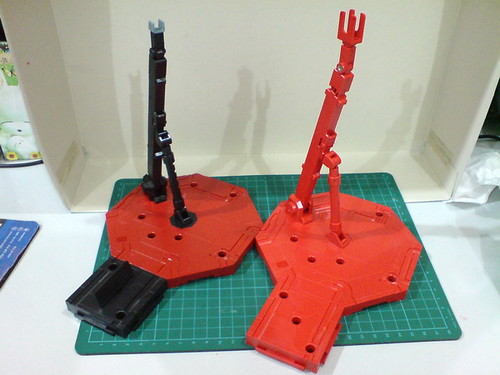
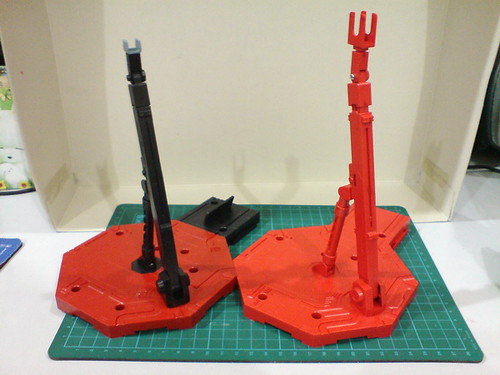
Comparison with Char's customized Action Base 1.
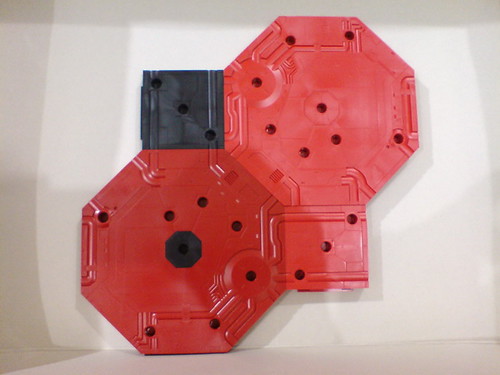
Like all variants of Action Base 1, the bases can be connected to one another.

With the bases now sitting right next to each other, the different shade of red molded for the two bases can be seen very clearly. ^^
Done with the display base, the various weapons, including the rocket bazookas that are not included with the kit itself are the next set of components to be assembled. ^^ Since the weapons are full of gimmicks, on their own or when they are interconnected (that interconnectivity is already a cool gimmick ^^), this part of the review is going to be a bit lengthy, but it's going to be very fun. ^^
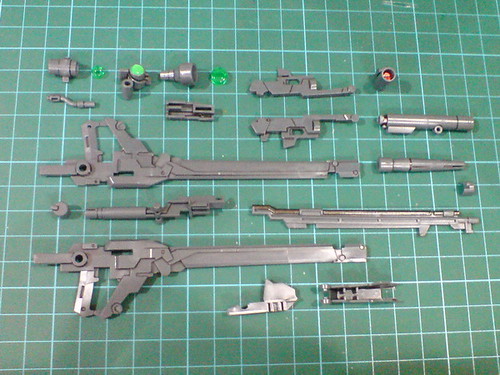
Parts for the beam rifle.
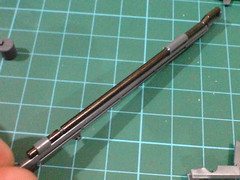
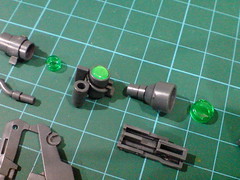
Some of the painted parts for the beam rifle. The pipe on top the beam rifle's barrel was painted Gun Metal in Part 10, while the two "default" targeting scopes were painted clear green in Part 14.
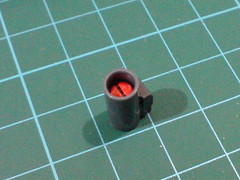
Like the paint work on the targeting scopes mentioned above, the extra grenade part was added into the grenade launcher barrel in Part 14.
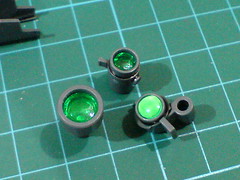
Clear green scopes, two on the left are for the front-facing scopes, while on the right is an "appended" one for the rear scope.
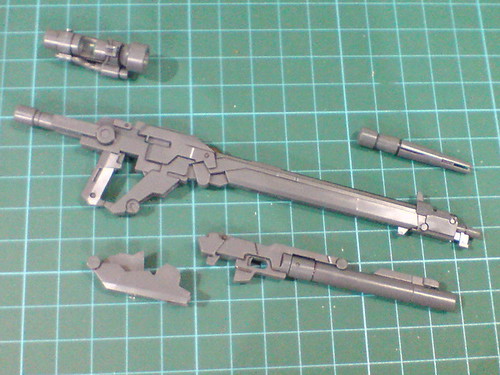
Separable components of the beam rifle, including the grenade launcher before the final assembly.

A rectangular peg connects the scopes to the beam rifle's top.
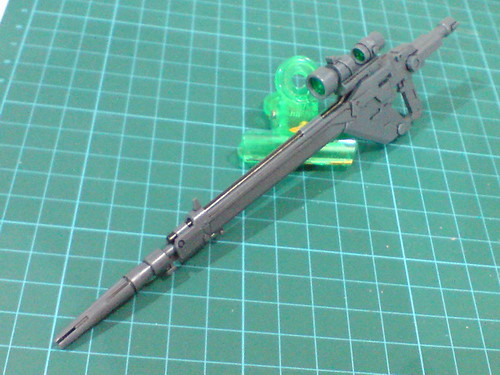
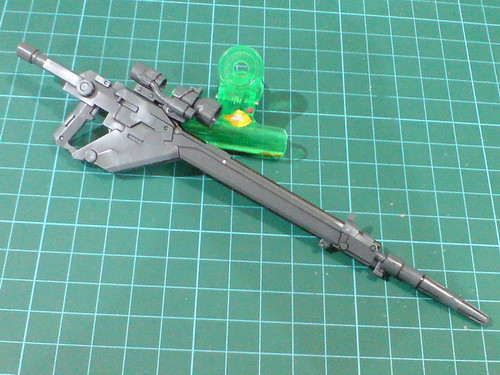

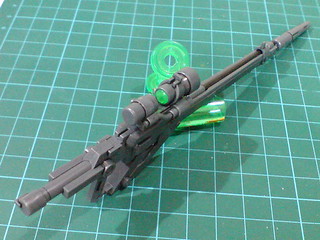
Done for the beam rifle, with the grenade launcher not attached to it.

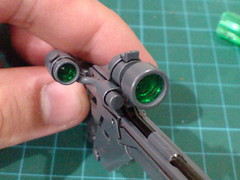
Using the small pipe that connects it to the front scope, the rear scope can be swiveled outward.
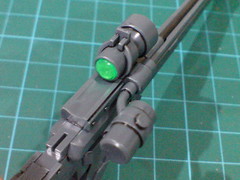
Rear end of the targeting scope.
Since it's on the opposite end, the much brighter clear green (from the clear part itself and a layer of silver painted behind it) doesn't look too out of place on the weapon. ^^

While they don't do anything, the two parts pointed in the image above are actually from the stock. They can be designed as mere molded details on the rifle's body, and no function would be lost from that. They are designed to be from a separate part for the convenience of those who wish to paint the details in another color I suppose. ^^

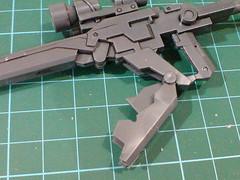
The forestock cover can be hinged downward to reveal the mouth latch for the grenade launcher.

Intricate gap and tab inside the opened latch.
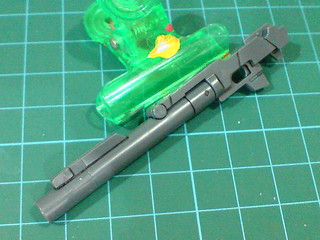
The grenade launcher.
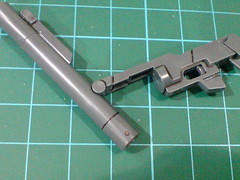
The grenade launcher's barrel can be split from the body via its hinge joint, to simulate the effect of loading another round into the chamber perhaps? ^^
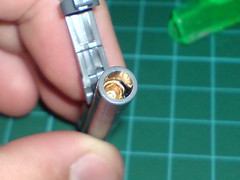
For that matter, an extra part was added into the rear end of the launcher in Part 14 to show it as the grenade's thruster. ^^
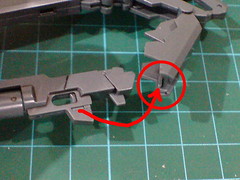
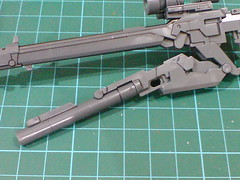
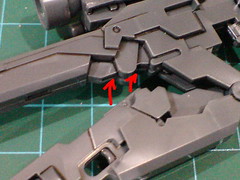
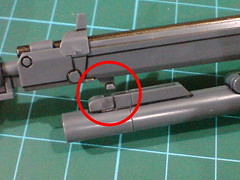
The grenade launcher is secured to the mount latch and the rifle's body via three connection points.
Looking at the design, the gap beneath the forestock is really catered to mounting the grenade launcher. ^^ It's amazing to see that the same latching system also works for the rocket bazooka. ^^
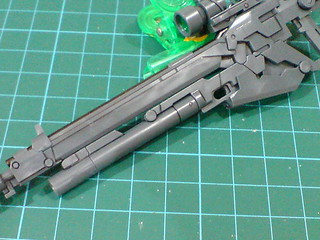
The grenade launcher beneath the beam rifle.
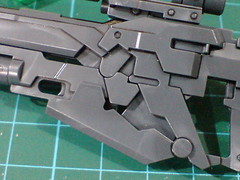
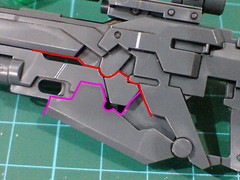
Like I said about the same component in my review on HGUC Sinanju, the intricate details formed by the connection between the rifle's body, the grenade launcher, and the forestock cover really fascinate me. ^^

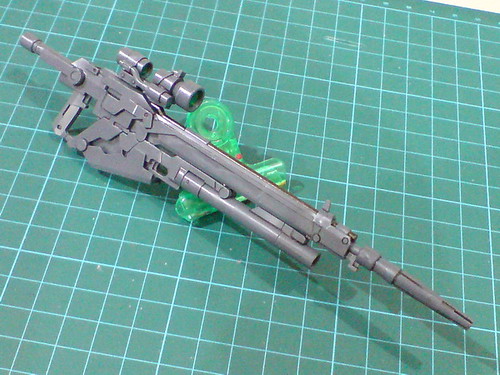
The grenade launcher-equipped beam rifle.
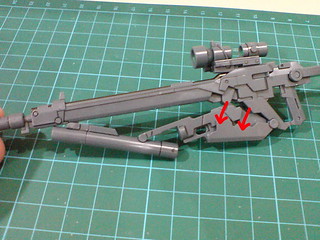
Just hinging the grenade launcher-attached forestock downward is enough to "activate" the grenade loading gimmick. The front barrel will slide back automatically to compliment that hinge action, completing the split look of the weapon.
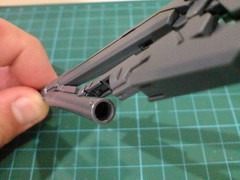
Without camera flash on, the golden thruster behind the barrel cannot be seen at all. ^^;

Overall length of the rifle: a little over 18cm.
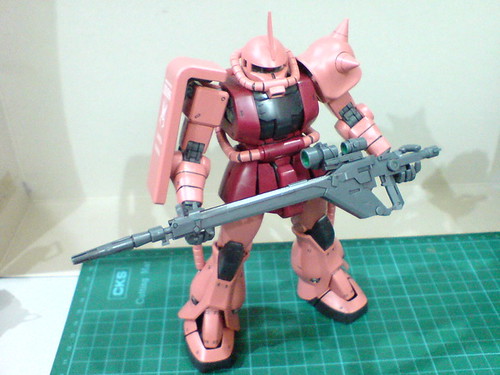
Comparison between the rifle and the original Red Comet, Char's Customized Zaku II. This is the MG Ver. 2.0 kit. ^^
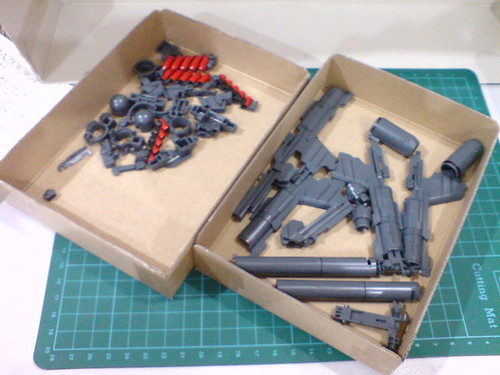
The boxes holding parts for the two rocket bazookas painted and detailed in Part 21.
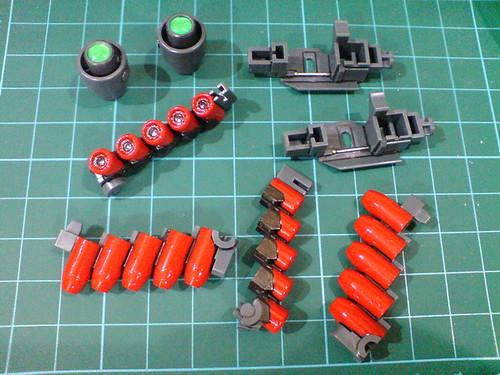
Bazooka parts that were painted and detailed in Part 21.

Parts for one set of rocket bazooka.


(Left) Sliding some of the parts onto the long tube to form the bazooka barrel is quite fun. ^^
(Right) It's interesting to find out that, for such a large weapon, a tiny square tab on a frail ring-like part that is assembled last on the bazooka is responsible of stopping the sliding of the barrel when its deployment is complete. ^^
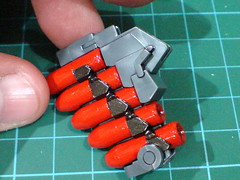
The completed magazine component.
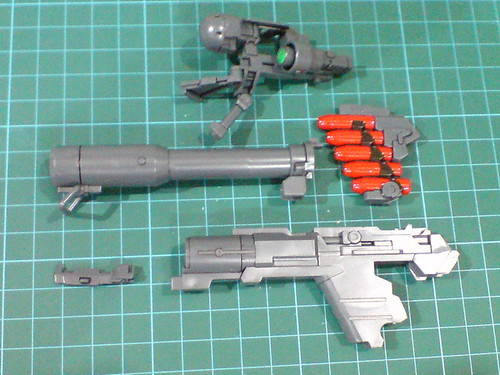
Separable components of the rocket bazooka before the final assembly.
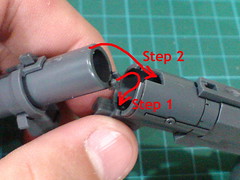
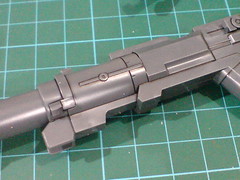
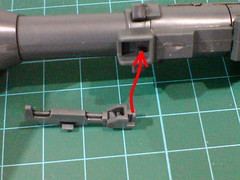
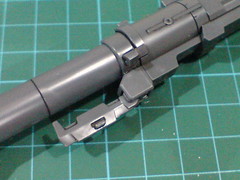

No cement needed for the final assembly. All the components fit together like those part swapping-type weapons on BB Senshi Sangokuden kits. XD
The part swapping feature is actually true for this rocket bazooka, as the weapon can indeed be combined with the rifle or shield via that mechanism.
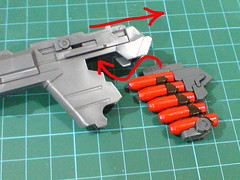
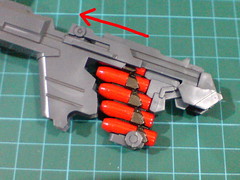

Slide-attach gimmick to load the magazine.
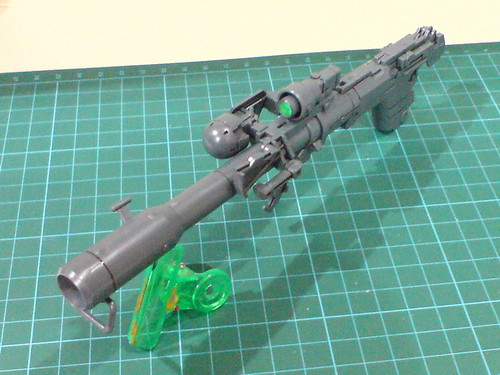
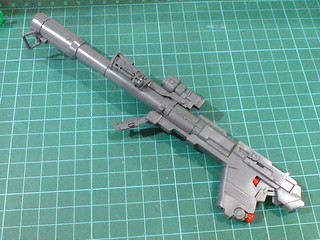
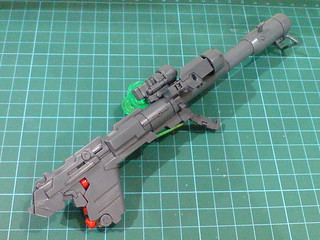
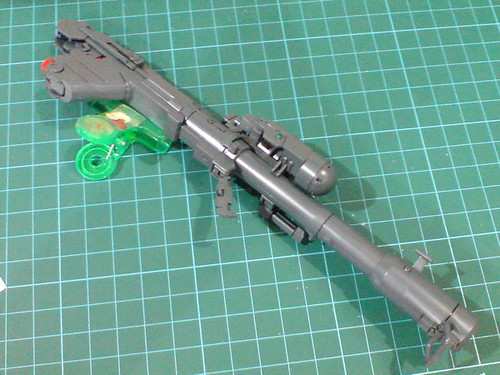
The completed rocket bazooka.
The beam rifle is long, but not necessarily large; this rocket bazooka however, is very intimidating in terms of size. ^^
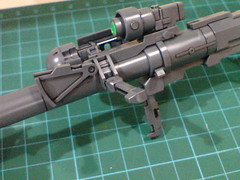

The main and supporting handles are movable.
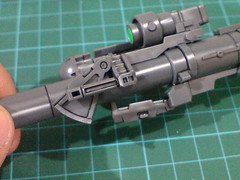
The weird-looking slider (?) in front of the supporting handle can be hinged upward/downward as well. Its actual function for the weapon is unclear though. ^^;
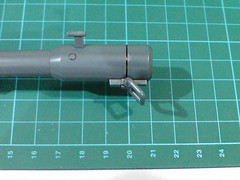
Overall length of the bazooka: 21cm.
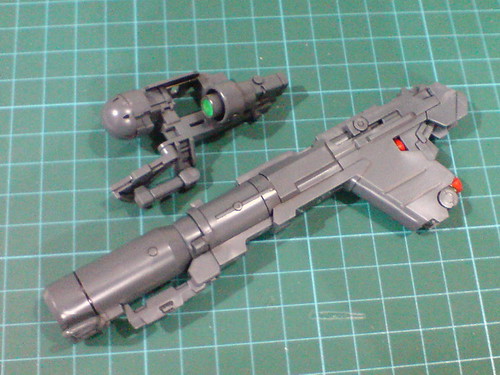
The targeting scope needs to be removed for the barrel to be completely retracted into the bazooka's body for the weapon's storage mode.
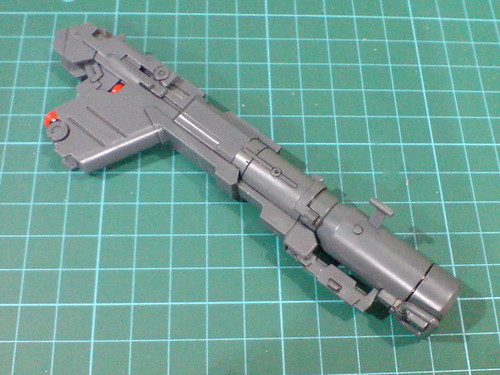
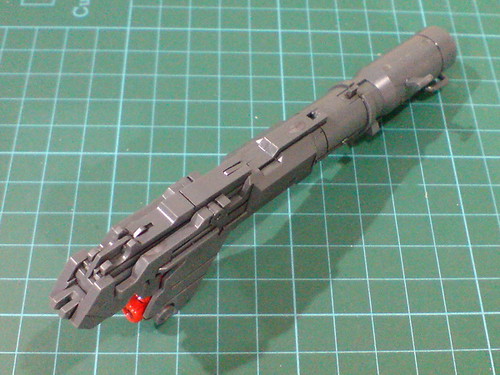
A large section of the bazooka's barrel is now hidden inside the body. ^^
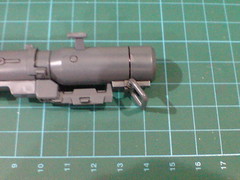
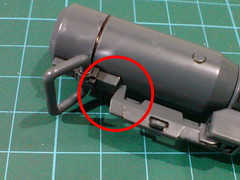
(Left) Overall length of the bazooka in storage: 14.5cm. That's 6.5cm off the deployed mode!
(Right) Amazingly, the bazooka can be completely shrunk without suffering any collision worry between the muzzle and the retracted main handle. The tolerance between the parts is of pinpoint accuracy. ^^

The bazooka barrel can be half-retracted if the targeting scope is kept attached on top the weapon.
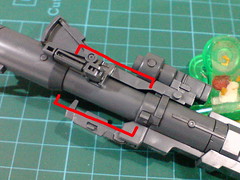
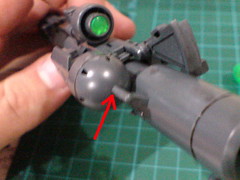
(Left) The remaining tube that cannot be retracted in this improvised storage mode.
(Right) What's stopping the retraction? The small tip beside the front barrel hitting the round sensor.

Comparison between the rocket bazooka and Zaku Bazooka from MG Char's Customized Zaku II Ver. 2.0.
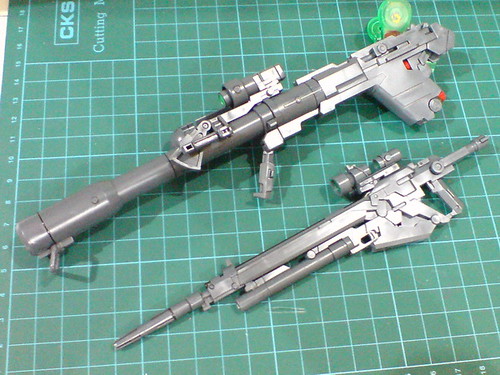
With the beam rifle.
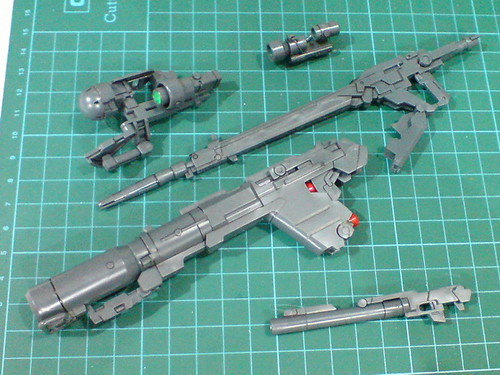
Components of the bazooka and rifles have to be detached first before they can be reassembled into the combined mode.
Beside the bazooka itself, the two sets of sensors from the weapons can be combined as well.
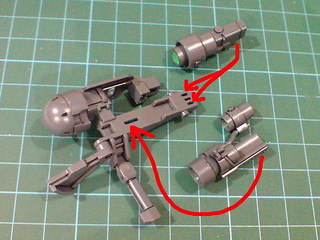
Intricate rearrangement for the sensors: the bazooka scope is detached from its own holder and shifted to the back end. The rifle's rear scope is swivelled outward, giving room to the bazooka's scope, and the entire component is attached to the original position of its bazooka counterpart.
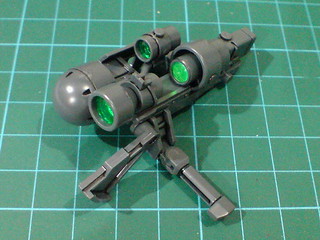
As a result of the parts' rearrangement, all the front-facing scopes can be seen clearly. ^^
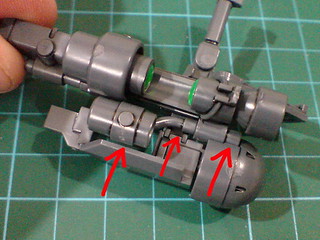
Another example of the pinpoint accurate tolerance between the combined parts: there's designated room on the bazooka's scope holder to accommodate not just the main scope, but the protruding secondary scope, and its whole pipe. No conflict in position at all. ^^
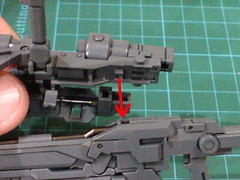
The combined scope is attached to a larger slot in front of the default one on top the rifle.
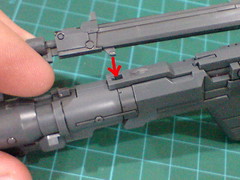
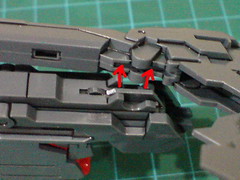
The bazooka can be attached to the rifle's barrel via two of the three connection points used for the grenade launcher. The only one not used is the set of latches inside the forestock cover.

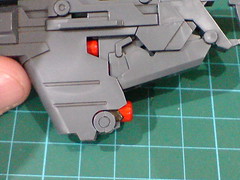
Instead, the large slab of tab that secures the cover to the forestock is used to hold on to the bazooka's butt.

A bonus fourth connecting point to secure the bazooka: a tiny tip above the barrel tabs behind a protruding bar beneath the rifle's barrel. The connection is quite tight, which is most helpful in keeping the barrel in place in front of the bazooka. ^^
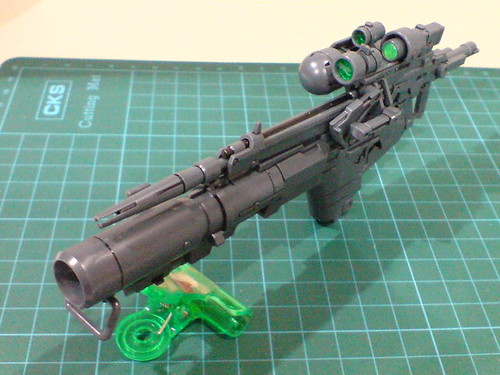
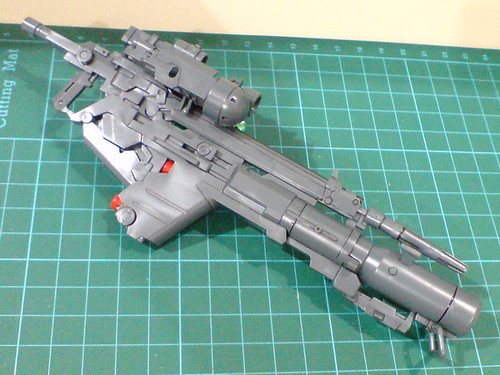
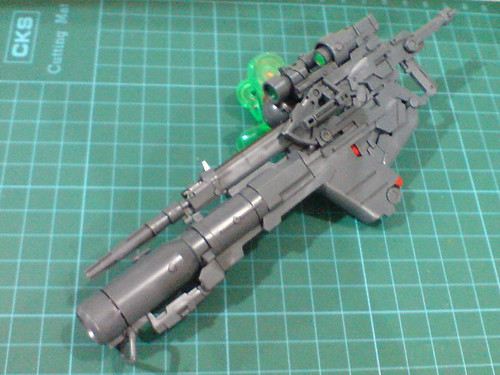
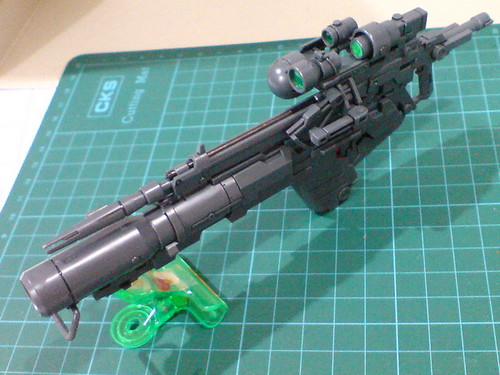
The size is awesome, the details formed by the interconnected targeted scopes are great, the combined rifle is really quite an amazing weapon to behold. ^^
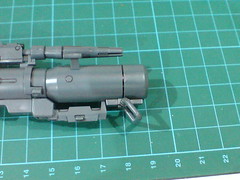
Overall length of the combined rifle: 19cm.
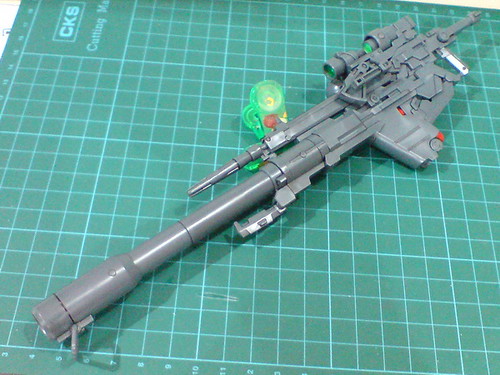
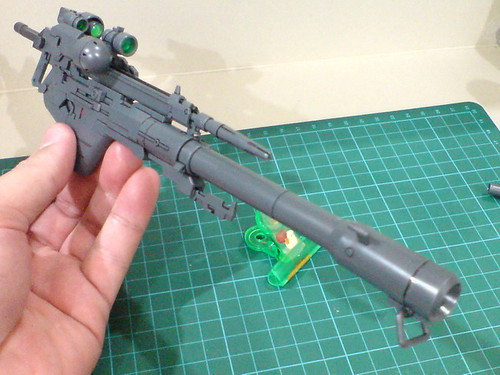
The bazooka barrel is designed to still be extendable, and that feature certainly adds on to the combined rifle's awesomeness. ^^
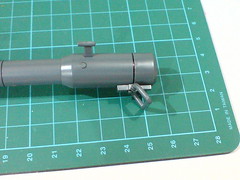
Overall length of the extended combined rifle: close to 26cm. ^^
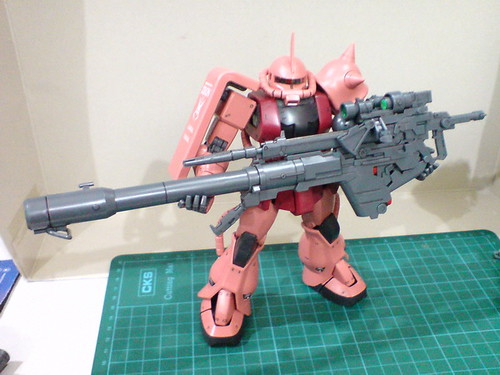
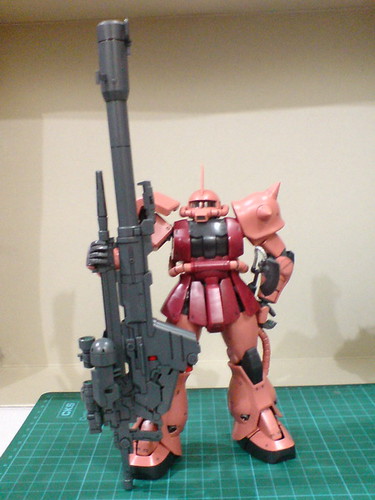
Already a gigantic weapon when compared to an average-sized MG like MG Char's Customized Zaku II Ver. 2.0, the combined rifle foreshadows Sinanju's enormous size when completed. ^^
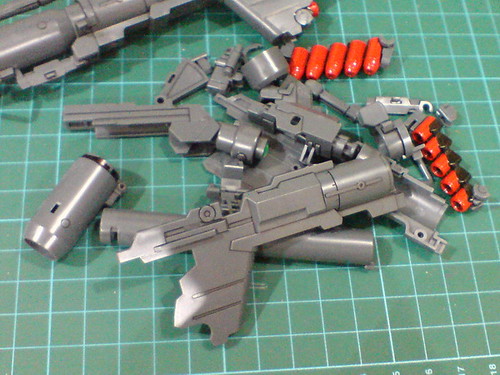
Parts for the second rocket bazooka.
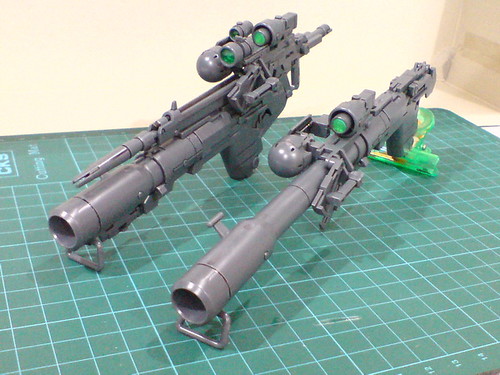
Another rocket bazooka is done. ^^

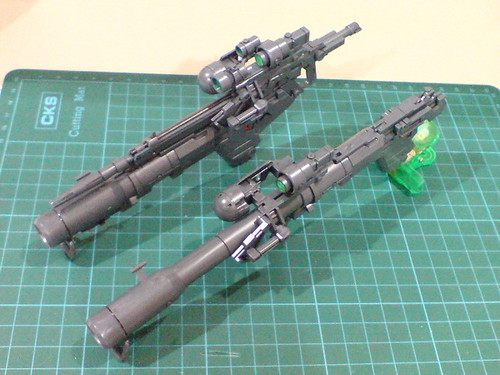
Not done yet with the gimmicks of the rocket launcher, there are a couple more features to explore when combined with the shield when it's assembled, which will be in the next posting. ^^


No comments:
Post a Comment