Without bothering to panel-line the armors, there isn't much work for panel-lining the parts actually. ^^
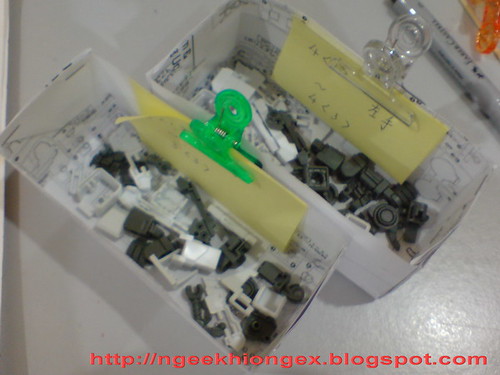
Almost all the parts for the body are done after this review.
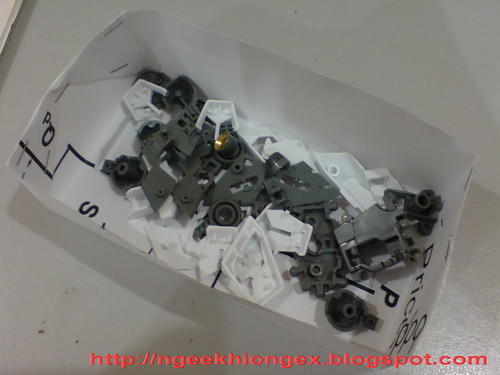
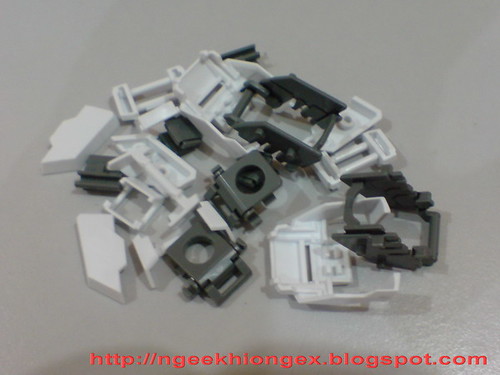
Parts for the waist.
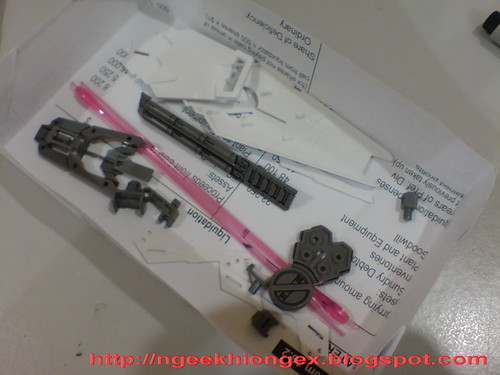
Parts for the shield.
Parts for the arms.
Parts for the shoulder armors.

Parts for the right leg.

As with Part 2, the interior of the thrusters for the rear skirt armors and right leg is painted with Gundam Marker Gold.
Work on the body, including the pilot cockpit and figures in the next review. ^^


3 comments:
what are the odds. I also just finished mg destiny, and the one I'm working right now is also unicorn. this is cool
Hey man. I've been lurking on your site for a while. Gotta say, you put a lot of effort in your stuff. Just one thing though.
Your kits all have that plastic shine on them, which keeps it looking like a toy. Don't know if you've considered this, but go out and grab a bottle of Top Coat Matte. Once you spray it on your kits, it'll kill the plastic texture, making it look more like the professional stuff. It also seals in the hard work you put painting them.
Keep it up.
-Kai
PS: Make sure you press the nozzle hard, and keep a safe distance away from the kit. Otherwise, the coating will come out like water, and cause runs.
Yeah his latest MG Destiny looks detail inside, but the outside looks really amateurish. All the efforts on the inner frame are pretty much wasted, thats why pro modellers usually just paint the exterior with minimal work on the frame.
Post a Comment