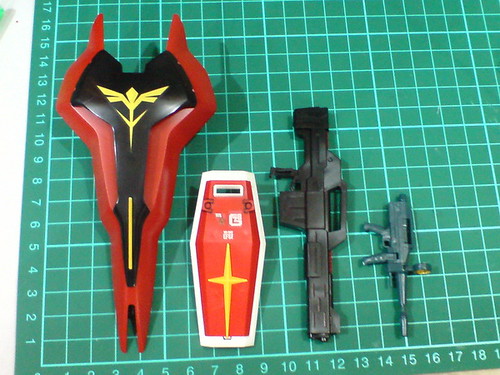
Moving on to the weapons of HGUC Sazabi after the previous posting. ^^
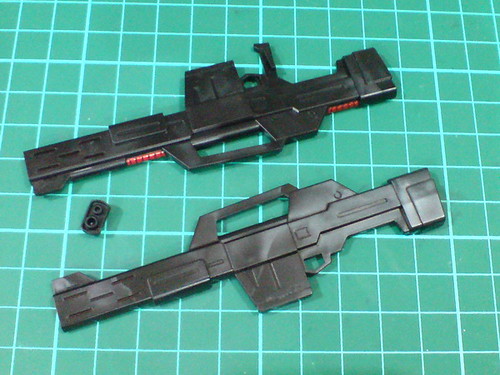
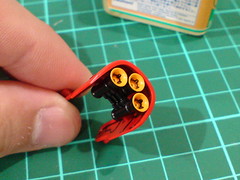
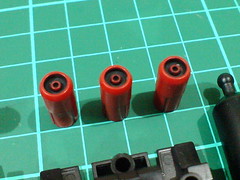
Just three parts for the beam shotgun.
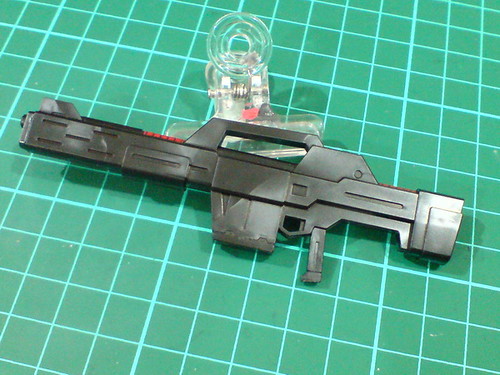
Very easily completed

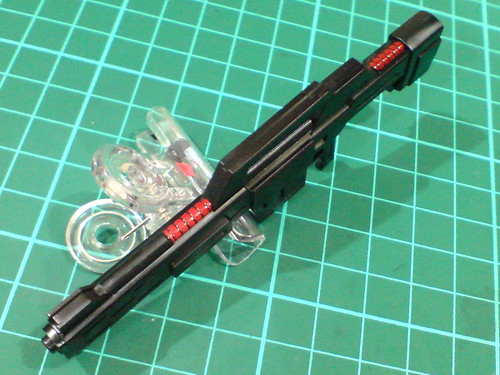
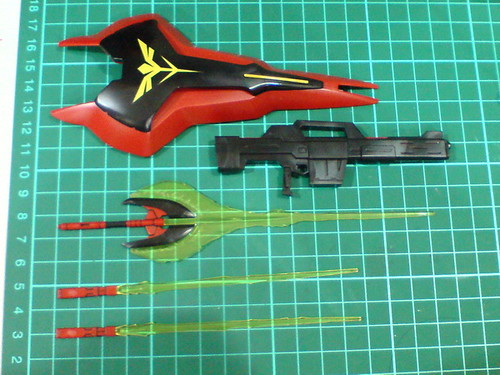
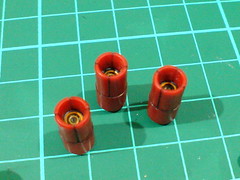
Just three parts for the beam sword/tomahawk as well, and another two one-piece beam saber parts.
Beam sword/tomahawk.

Equipped with the clear yellow beam part.

Overall length of the beam sword is 16.5cm.

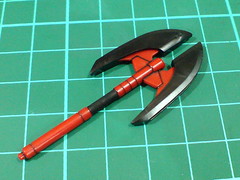
Equipped with another beam part to form the beam tomahawk.
It would be interesting to have another one of the beam part to get a double-edged beam tomahawk. ^^
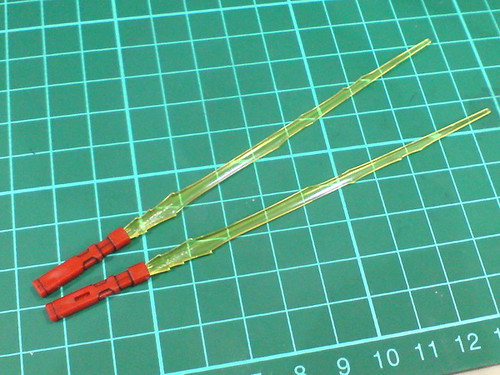
The more "regular" beam sabers XD
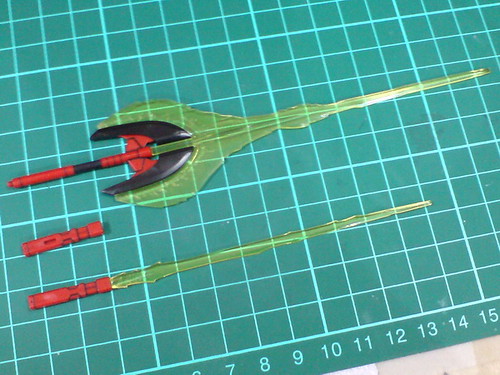
Size comparison between the beam sword and saber.
The former seems much more fitting as Sazabi's melee weapon. ^^

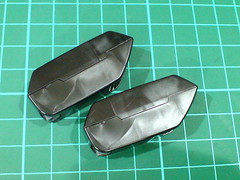
Parts of the shield.
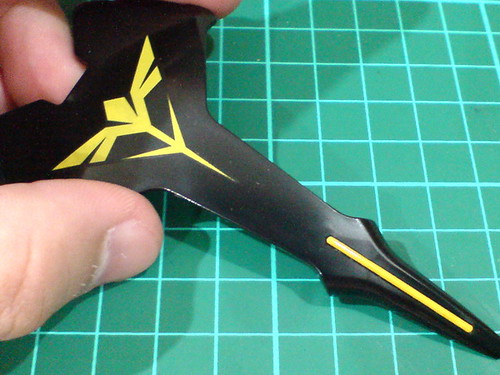
Gundam Decal for the large Neo Zeon Insignia and yellow paint for the long bar at the bottom of the shield done back in Part 7 and 6 respectively.
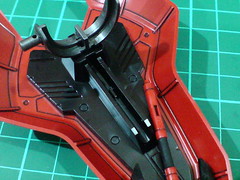
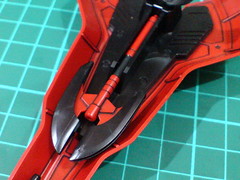
A tab inside the beam sword's mount rack behind the shield helps to secure the weapon's position when it's stored there.


Done for the shield.
It's a huge and beautiful shield. Very nice ^^

The simple line details behind the shield.
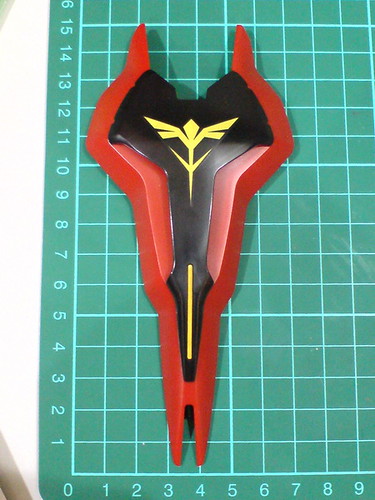
Overall size of the shield: 7cm (width) X 15cm (height).
Overkill! ^^
All of Sazabi's weapons - handheld type I should add, since the Funnels are not shown here.
Size comparison with HGUC Gundam RX-78-2's shield and rifle.
They are not of the same league obviously XD

The shield itself is taller than the Gundam. ^^;
The massive size difference shouldn't be surprising given how big Sazabi is just by comparing its lower body with the Gundam, as shown in the previous posting. ^^

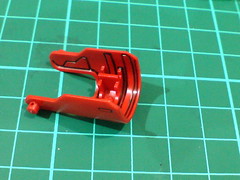
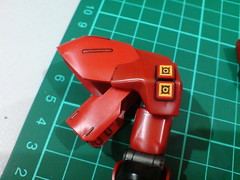
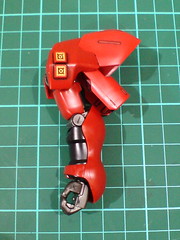
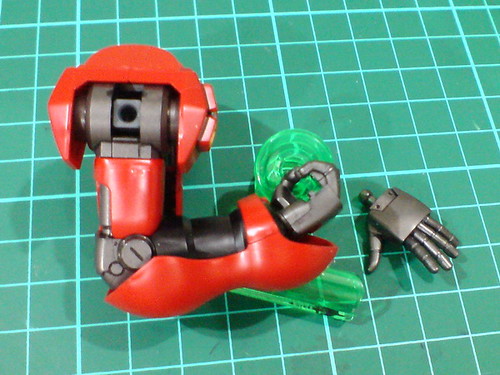
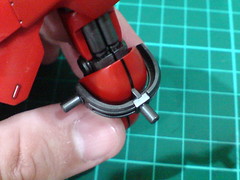
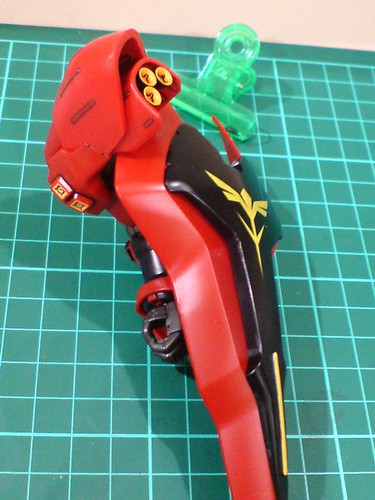
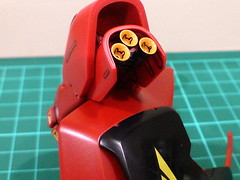
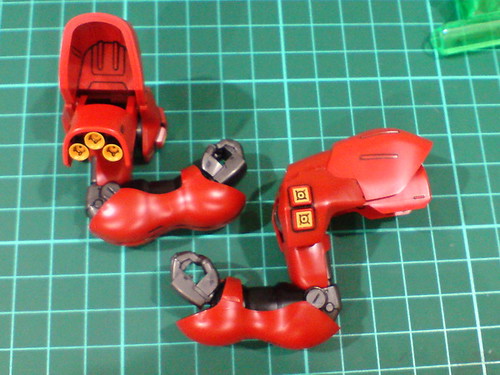
Parts of the right arm.

Painted thruster nozzles from Part 2.
(Left) Minor line details behind the movable shoulder armor.
(Right) The movable shoulder armor with sets of thrusters attached.

Very cool part separation design for the shoulder armor that completely conceal the seam line between the front and rear parts.
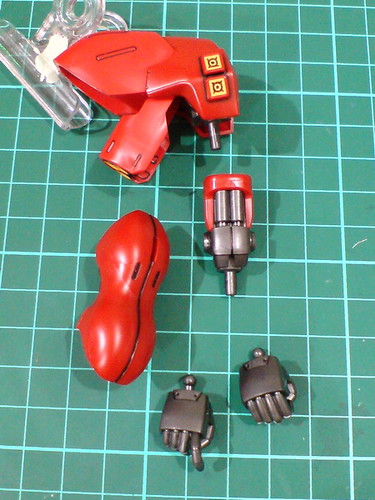
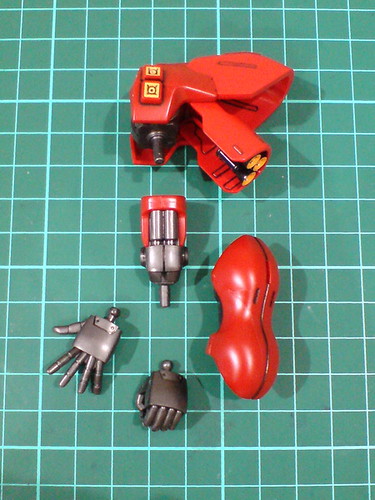
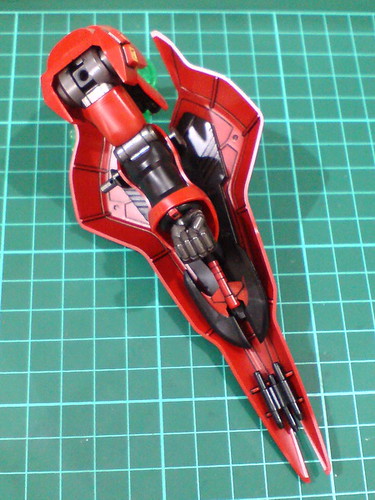
Major separable components of the right arm.
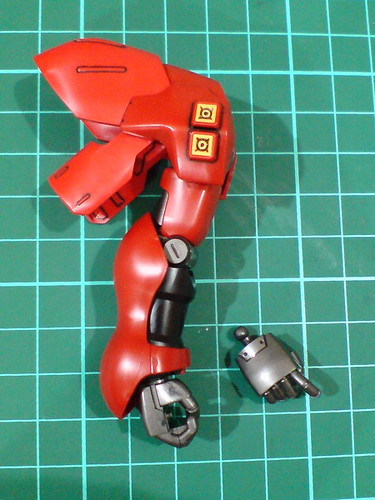
Done for the right arm.
Different shades of red can be spotted between the shoulder armor parts. ^^
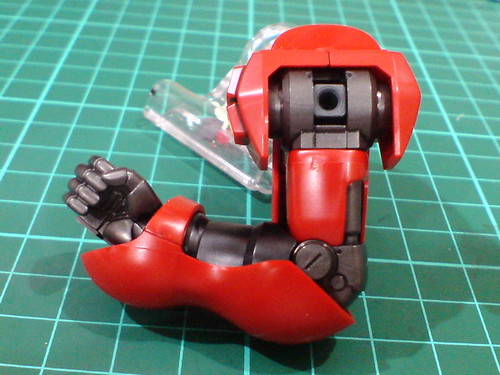
Elbow bend is pretty average.
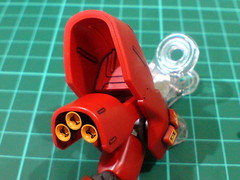

The shoulder armor with set of three thrusters can be flipped upward.
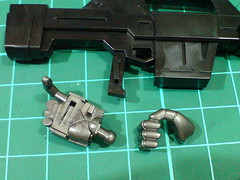
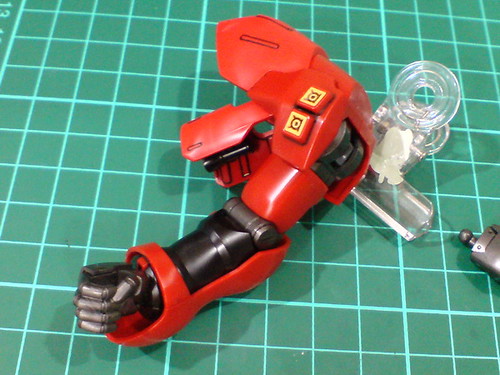
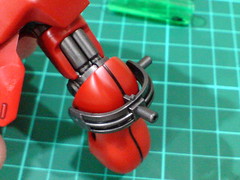
The tab on the beam shotgun's handle can be pegged onto the right hand unit for the latter to hold the weapon securely.

With the beam shotgun mounted onto the right hand.


Unlike most other kits with their rifle's stock hitting the forearm the moment the weapon is mounted, Sazabi doesn't suffer from that problem. The trigger-type right hand unit's peg joint is designed with a slight outward bend, which gives some clearing between the stock and the model's forearm, so the two doesn't collide easily.
That's a very simple but clever design there to avoid a common Gunpla problem. ^^
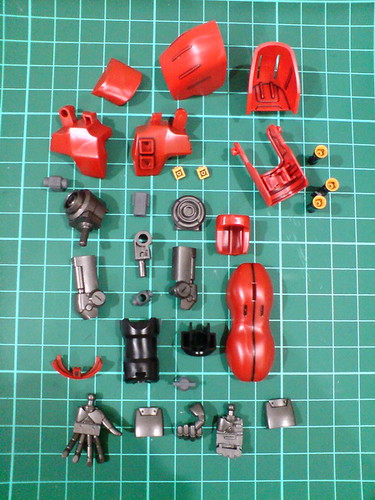
Parts of the left arm.
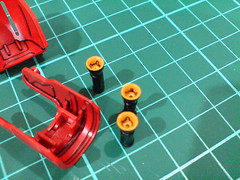
Painted thruster nozzles.

Done for the left arm.
Articulation is of course the same as the right arm.
A generic design mount rack part is given for the left arm to carry the shield.

With the shield mounted.
The shield facing outward from the back of the forearm is the default configuration.
With the mount rack part flipped so that one of the pegs is on the side of the forearm ...
... for the shield to be mounted there.
It's supposed to give some extra flexibility for the shield to follow the arm's movement, ...
... but the "wing" portion of the shield doesn't approve at all. ^^;

Both arms are now done.
An overview of both arms' articulation.
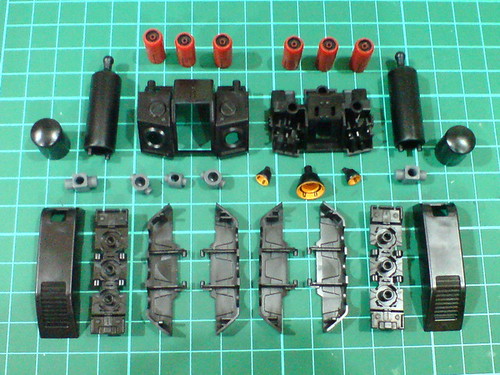
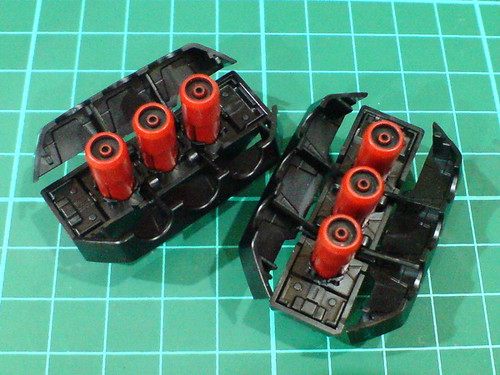
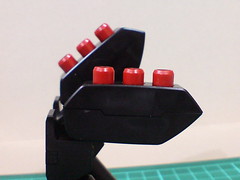
Parts of the backpack.

Painted thruster nozzles.
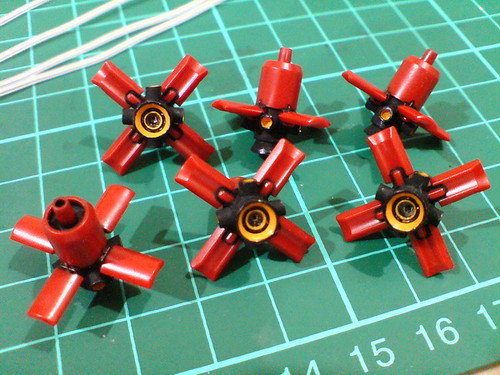
The Funnels in standby mode. ^^

The fully closed Funnel containers.
There are tabs between the panels that help to secure the containers' closure.

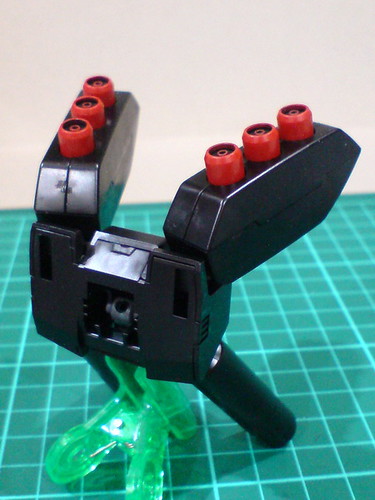
With the panels opened.
Apart from the function of storing all the Funnels, the containers do have some nice molded details inside them. ^^

The containers with the Funnels loaded.

Major separable components of the backpack.
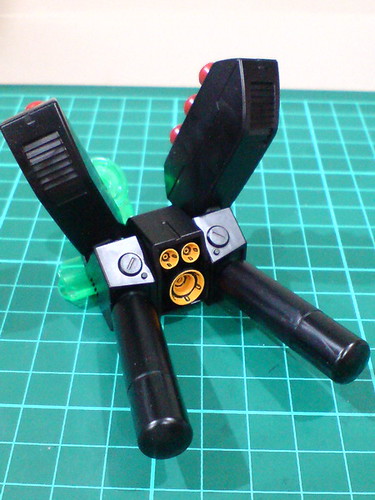
Done for the backpack.
Horizontal and (much limited) vertical movement for the Funnel containers.

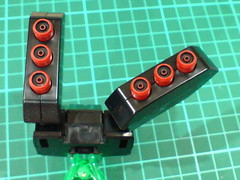
Funnel bits in deployed mode and DIY strings to hold them (done in Part 5).

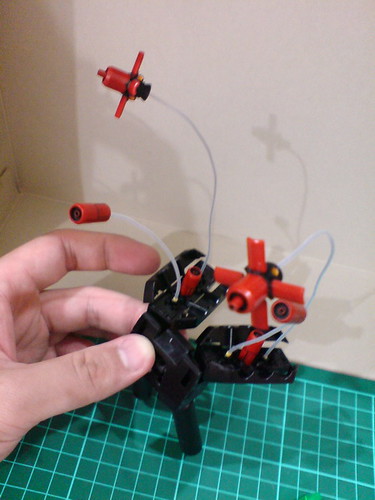
Trying out the Funnel display with the completed backpack. ^^
It works! Big surprise (XD)
Only the body and head remain now. The birth of my HGUC Sazabi is at hand. ^^


No comments:
Post a Comment