Armoring up MG Char's Gelgoog Ver. 2.0 starting with this posting. ^^
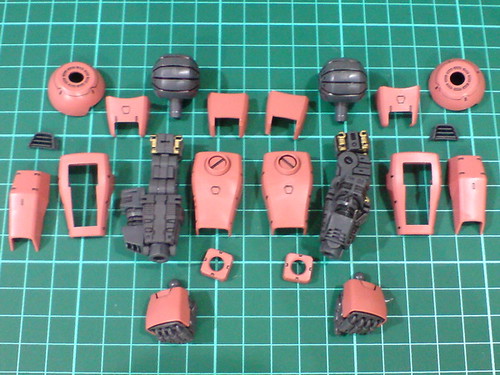
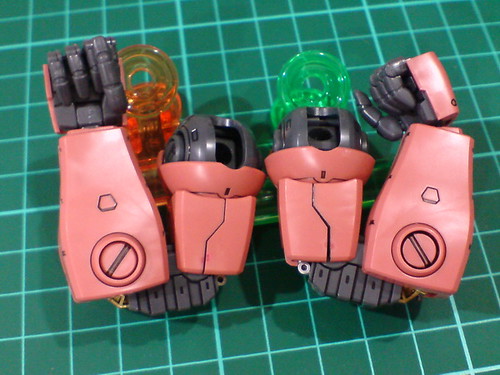
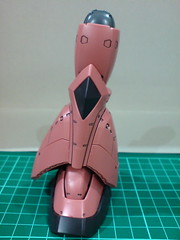
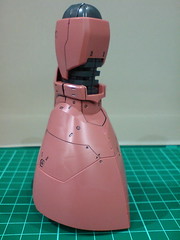
Armor parts for the arms.
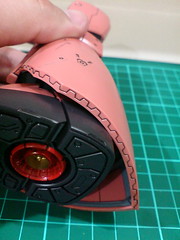
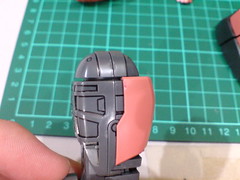
The top forearm armor's design is pretty neat as it can be assembled without needing to remove the vent first.

Done for both arms.
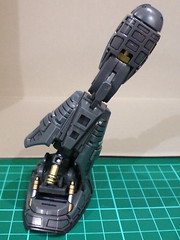
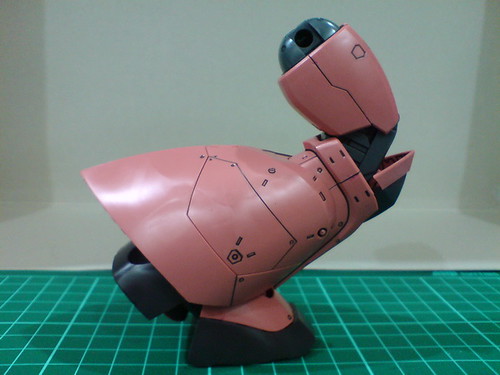
An overview of both arms' articulation.
The armor parts don't obstruct the movement at all. ^^
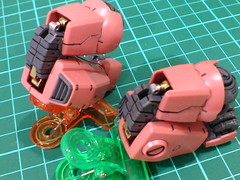
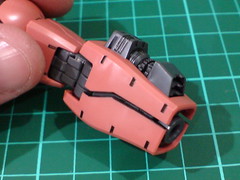
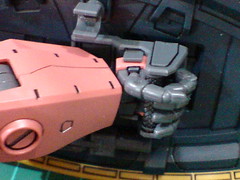
The hydraulic pipes behind the elbow joint can still be seen very clearly when the latter is bent.
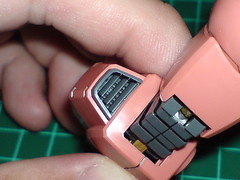
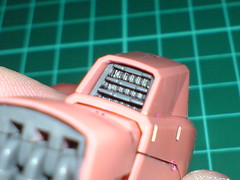
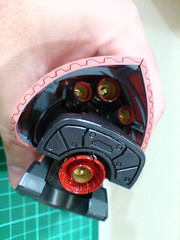
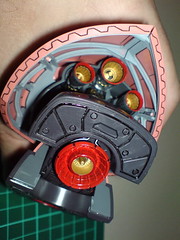
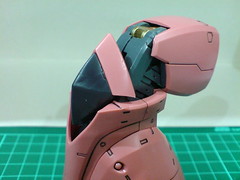
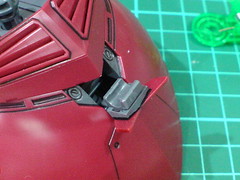
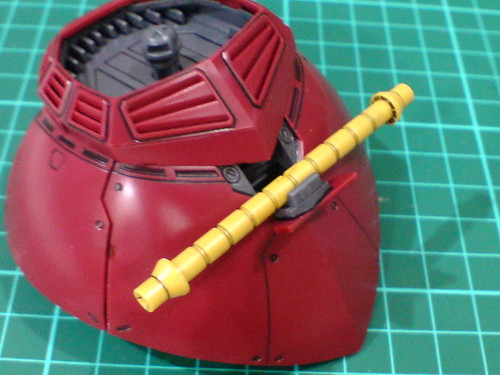
Camera flash turned on to reveal the details of the vents.
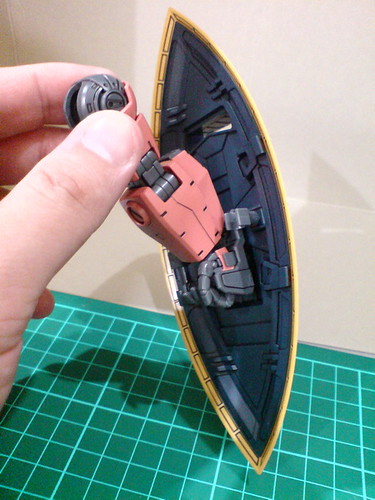
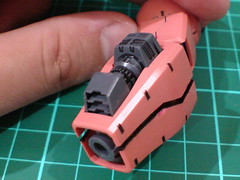
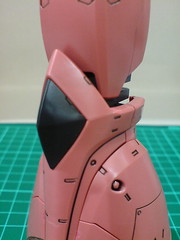
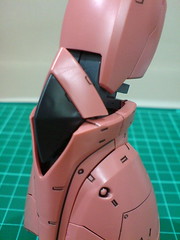
The left arm is equipped with the shield completed in Part 11.
(Left) The shield is secured to the arm via two tabs that snap onto the back of the hand. It's not very firm, just enough to keep the component in place.
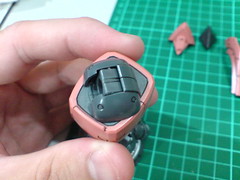
(Right) The vent is hitting the shield's interior in this position.
It would be better if the designer could make use of the shield's shape to give the interior a sunken compartment that stores the forearm vent when the shield is being held.
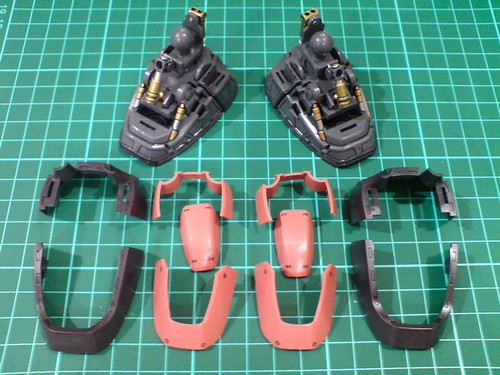
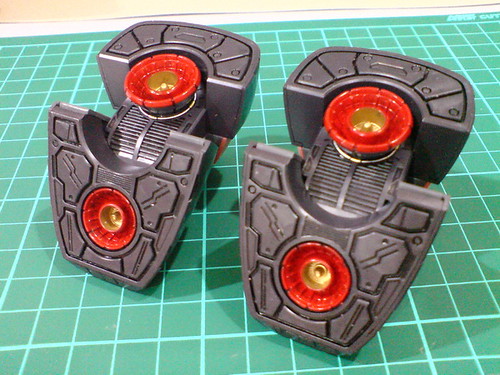
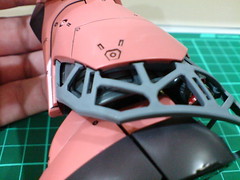
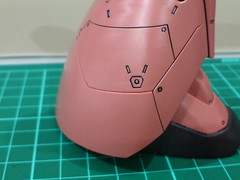
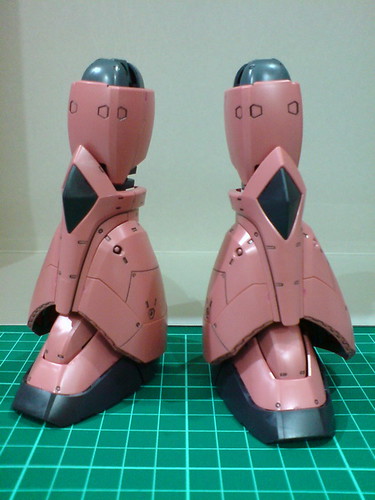
Armor parts for the feet.
Done for the feet.
While the overall shape doesn't change much, it's amazing to see how multiple layers of part collaborate for the assembly to be completed.
You can see two layers of part stacked neatly behind the heel. ^^
The empty area is meant to give way to the propulsion generated by the leg's rear thrusters.
An overview of the feet articulation.

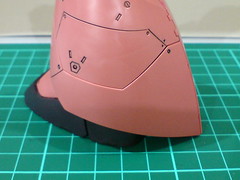
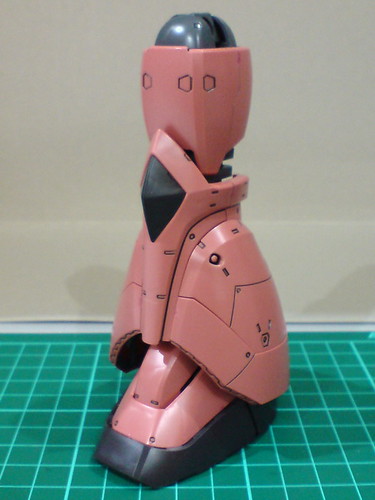
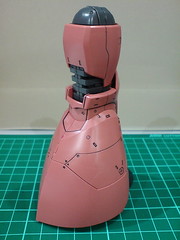
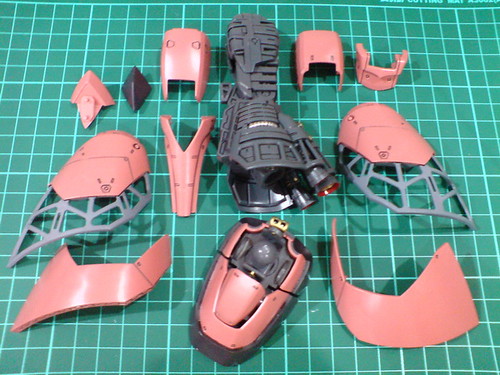
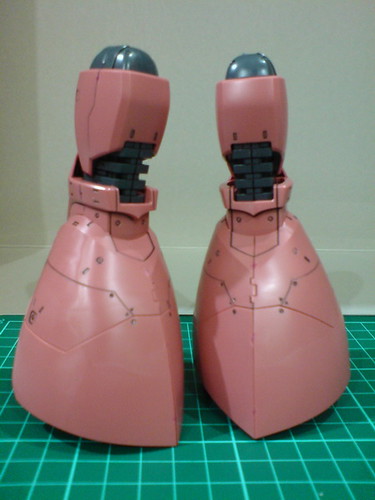
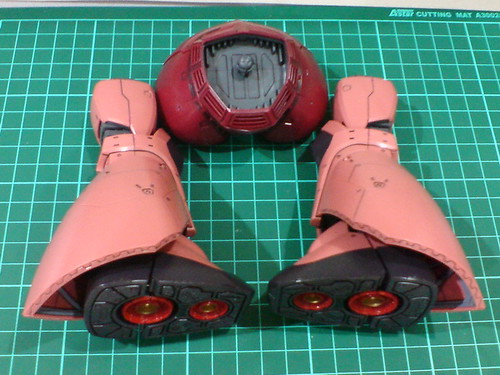
Armor parts for the right leg.
Very few armor parts as well, but all of them are either big or humongous in size. ^^
The two bottom pieces can be detached from the armor - they are yet to be assembled onto the armor in my case. ^^
80% completion for the right leg. ^^

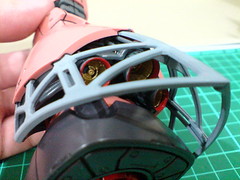
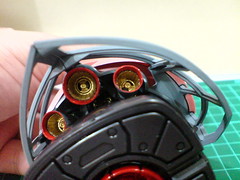
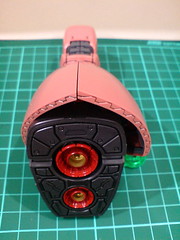
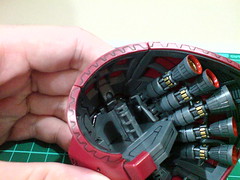
The details of the caged rear thrusters, which is totally consistent with the five thrusters underneath the rear skirt armor's frame done in Part 12.
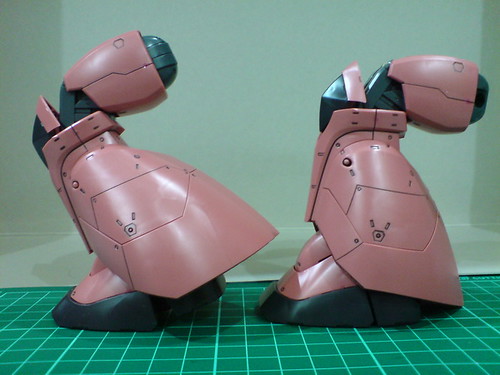
With the armors attached.
It's armor on top of another armor! Very nice ^^
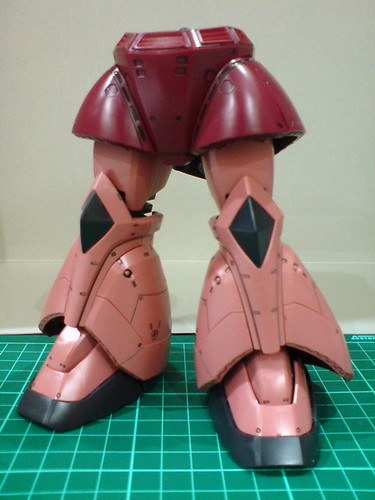
Completely completed right leg. ^
Probably due to a bit of extra thickness from the paint I did for the armor's frame, I just can't get the armors to snap together firmly. ^^; Then again, I didn't want to break anything so I wasn't using too much force during that step. The curvy parts make the task even tougher too. ^^;

No change to the knee articulation with those armor parts added.
Beneath the pinkish-red armors are layers of armors and frame, and a couple of thrusters with bright colors. ^^

A look at how the armor splits and moves upward when the knee is bent to the back. ^^
The armor parts completely limit the ankle's articulation range, causing the leg to lose almost all its horizontal movement range. ^^;
The same point of articulation without any armor from Part 12 is shown as a comparison.
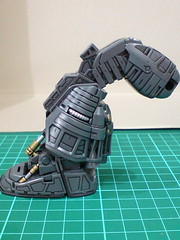
The sharp protruding point behind the armors which touches the surface even in normal standing pose completely prevent the leg from tilting to the back as well. ^^; So that inner frame pose from Part 12 shown on the right there is going to be "impossiburu" now. ^^;
Armor parts for the left leg.
(Left) Something I forgot to mention for the right leg: the narrow gap between the hip joint and thigh is meant for the armor to slide in.
(Right) The painted area on top of the armors sync well with the inner frame it seems.


Done for the left leg.
Everything is very much the same as the right leg, so I'll just keep it short here.
Articulation of the left leg.
The painted details underneath the armors.
The linked movement of the knee and its armor.
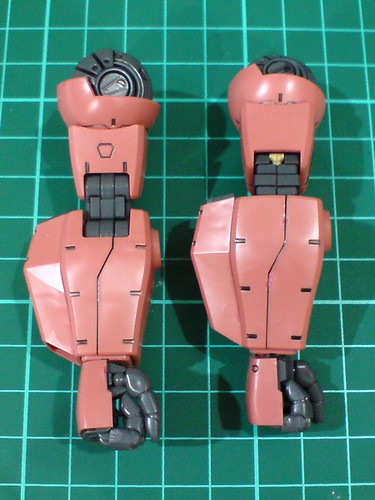
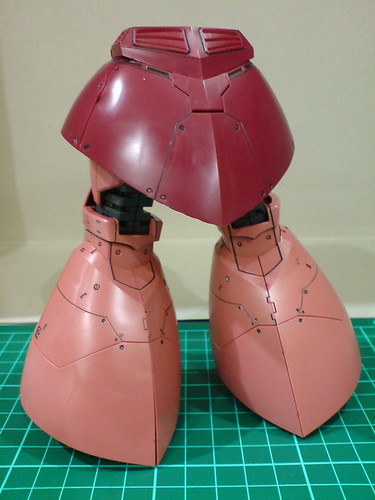
Done for both legs.
An overview of both legs' articulation.
It seems that I did try tilting the leg backward there, XD and it didn't work. Big surprise XD
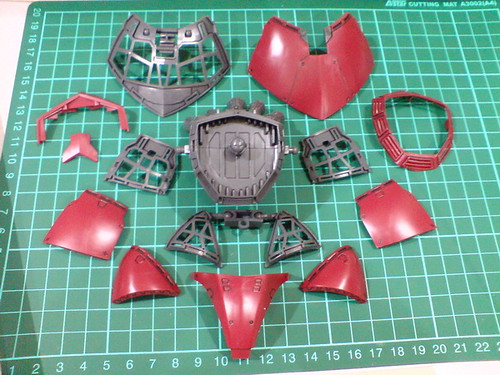
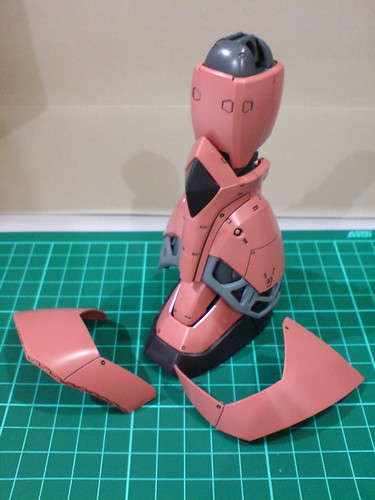
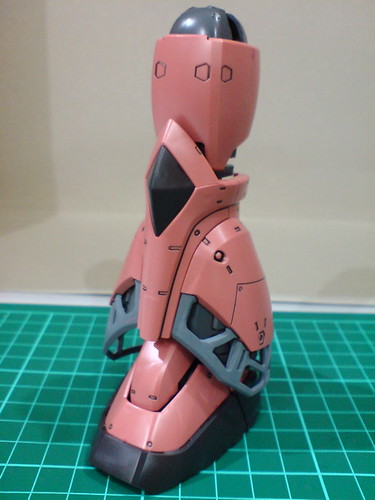
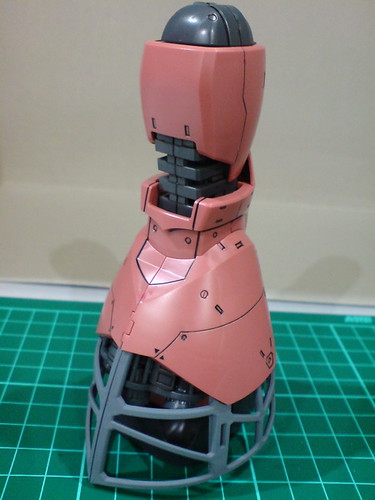
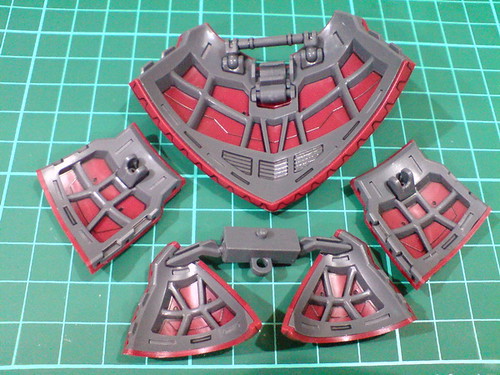
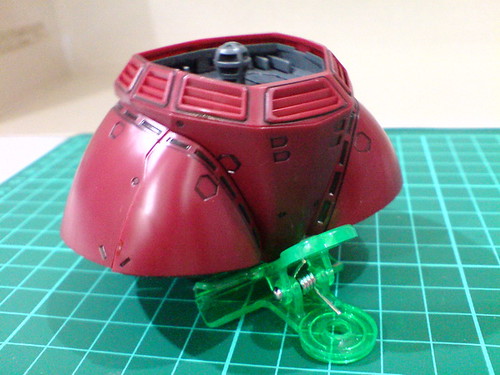
Armor parts for the waist.

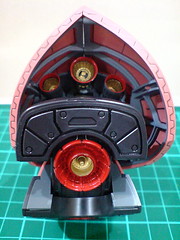
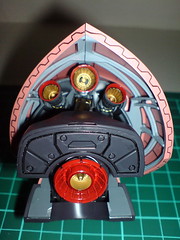
All the "caged" smiley faces behind the armor parts. ^^
The pins on the armors that were painted gray look seamless with the frame they are attached to. ^^
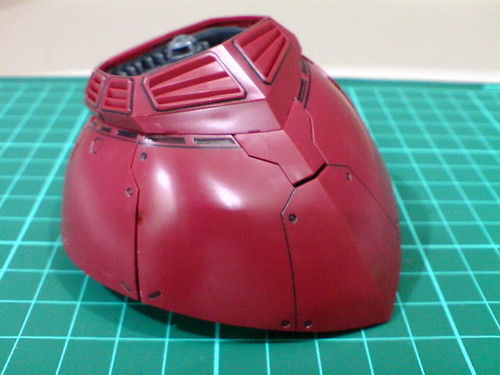
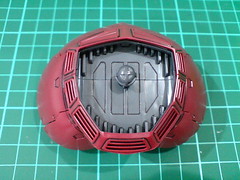
All done for the waist.
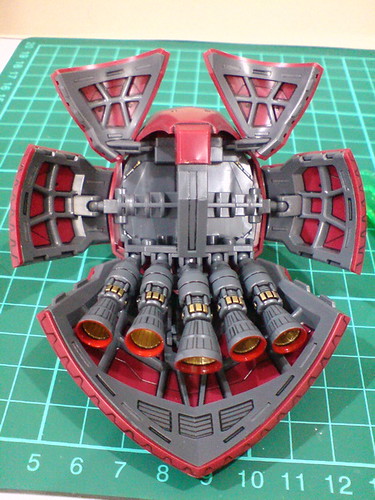
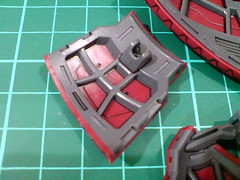
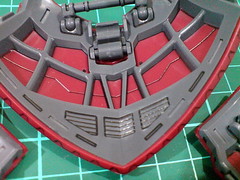
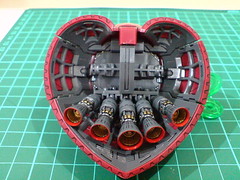
Grand glorious painted and molded details underneath the entire skirt armor. ^^
You can align and position the skirt armor pieces to connect to each other (as mentioned in Part 12).
If you do it well, the formation can be as totally seamless and natural-looking. ^^

The "swing" inside allows the entire lower half portion of the rear skirt armor to slide downward.
With all the armors attached, the outcome seems even more dramatic now. ^^

A mount rack on the rear skirt armor is used to hold the twin beam saber/naginata.
With the legs completed earlier on.
The lower body is completed.
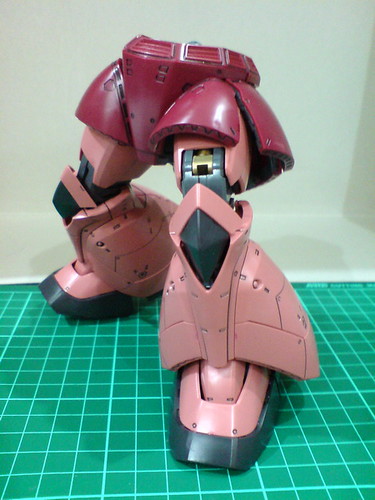
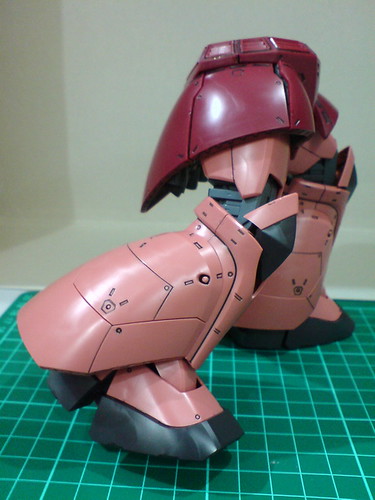
Limited action for the legs. ^^;
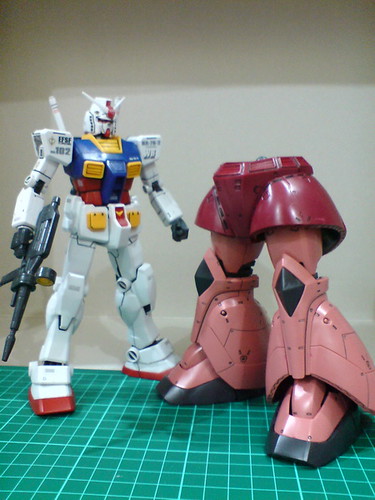
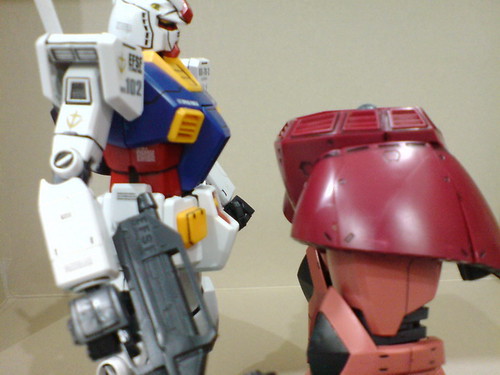
Size comparison with MG Gundam RX-78-2 Ver. 1.5 still look pretty crazy though XD

While it's loyal to the mechanical design of Gelgoog, and I can definitely appreciate that, the limitation imposed onto the legs thanks to the armors is quite disappointing. ^^; Very few parts of the well articulated ankle joint would be needed when the latter is going to be limited so much by the armors. The hydraulic pipes on the heel for example, are rendered almost completely useless since the leg is now unable to tilt to the back.
It would seem that a display stand is mandatory for this MG kit, and its variation which I also have. ^^ It's quite an irony, come to think of it, because even though the kit's huge feet can help it to to stand very steadily on the surface, it cannot make use of that advantage very much, as its ground action will very limited due to its poor leg articulation. ^^;
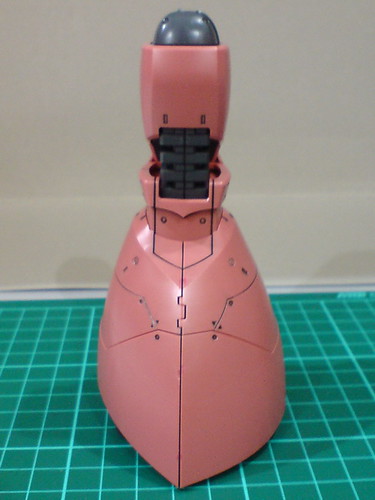
Moving on to armoring the upper body next. ^^


No comments:
Post a Comment