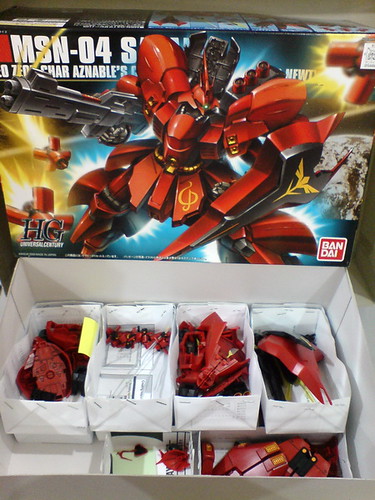
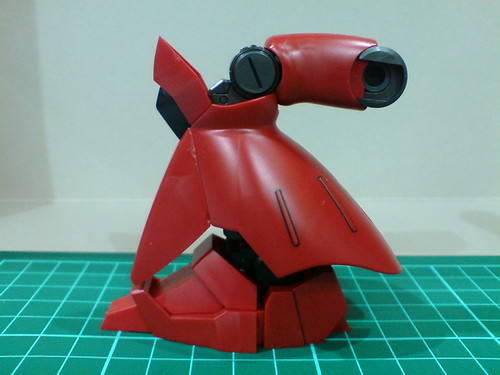
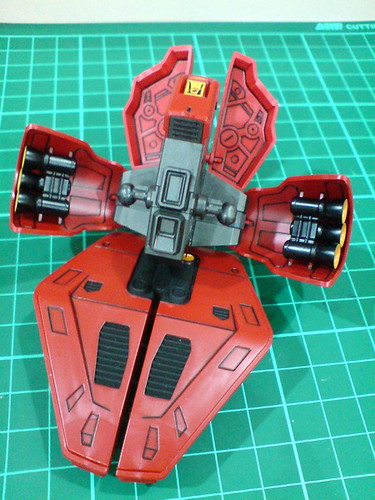
Time to finish up another Gunpla that has been sitting in my closet for a while, since early October to be exact. ^^;
HGUC Sazabi. ^^
Big, red and fierce. ^^ All three characteristics were recursive themes for the month of September on my blog, but they work well for this month too, particularly its redness, which can be associated with the upcoming Christmas. ^^
Sazabi and Christmas? Blasphemy! ROARRRR~ For people who care about something like that, please leave your hatred anywhere you like while I ignore it and continue to enjoy this kit. Thank you very much and Merry Christmas. XD
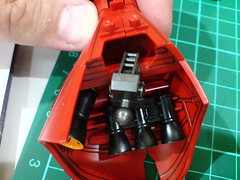
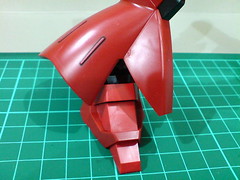
Normally, I would start off with the weapons when assembling a Gunpla, but for Sazabi, I really want to see how huge the legs are first, so I'll deviate a bit from my usual sequence of work. ^^

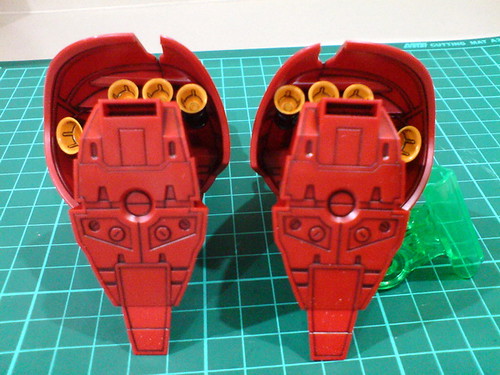
Parts of the right leg.
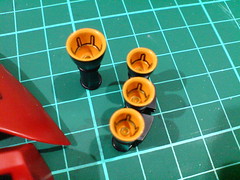
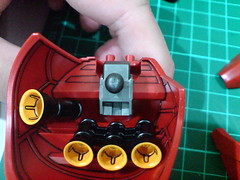
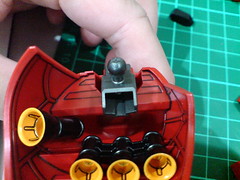
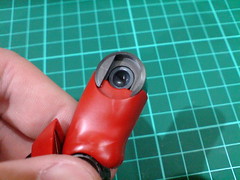
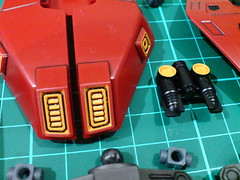
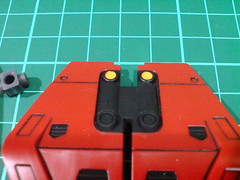
Painted thruster nozzles and detailing of the fixed ankle hydraulic pipes done in Part 2 and 6 respectively.

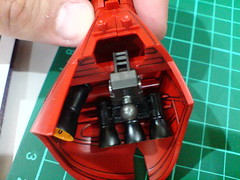
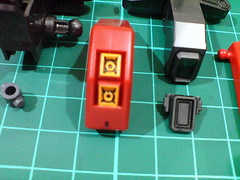
Assembled the thrusters inside the leg armors.
The ankle joint can move to its sides, front and back very well, but I suppose quite a bit of restriction will be imposed on the joint once the foot is attached. ^^;
The ankle component can be lifted from the foot for a slight degree.

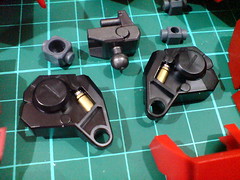
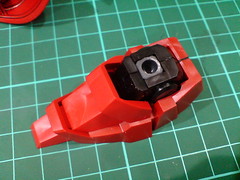
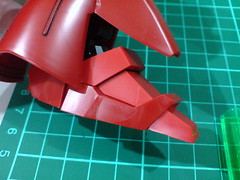
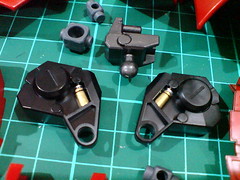
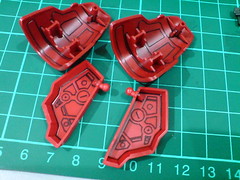
Major separable components of the right leg.
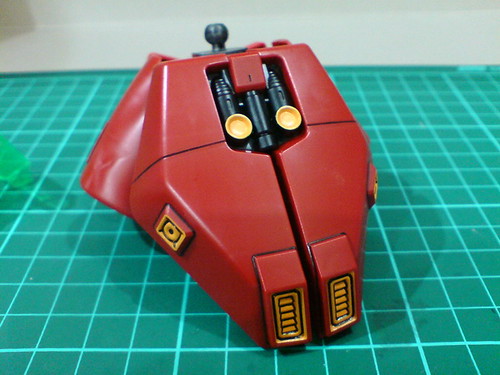
Done for the right leg.
(Left) The small red protruding piece from the thigh should be painted dark gray since it's part of the hip joint, but I don't think it'll affect the look in any way after the skirt armors come on, so I'll just ignore the color discrepancy here. ^^
(Right) Different shades of red can be spotted for the foot. ^^
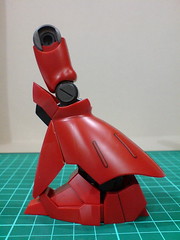
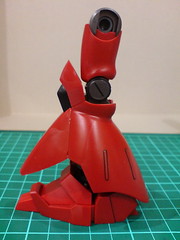
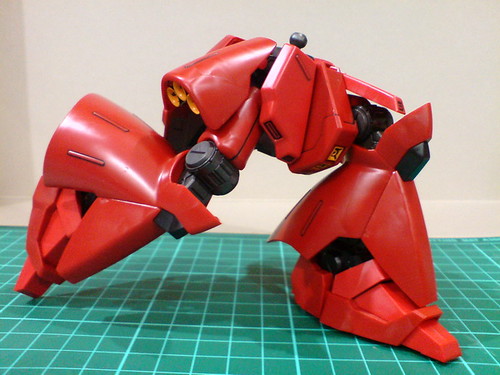
Limited forward bend for the entire leg, but it's very much another MG Gelgoog Ver. 2.0 when you bend the leg backward. ^^;
Knee bend is average.
The ankle's ball-type joint works well in allowing the foot to bend away from the front armor for some extra clearance. ^^

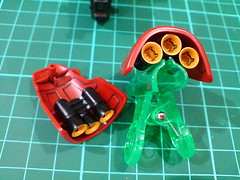
Parts of the left leg.
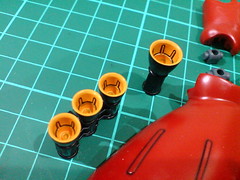
Painted thruster nozzles and detailing of the fixed ankle hydraulic pipes
Assembled the thrusters inside the leg armors.
Major separable components of the left leg.


Done for the right leg.
Articulation is of course the same as the right leg.

Done for both leg.

An overview of both legs' articulation.

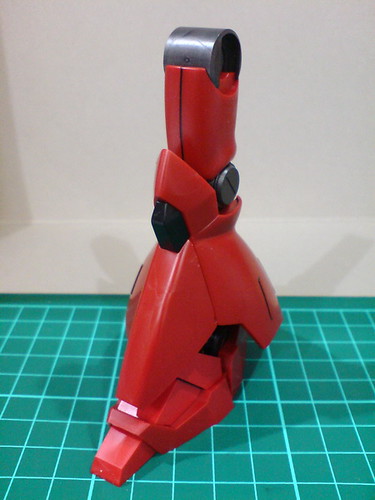
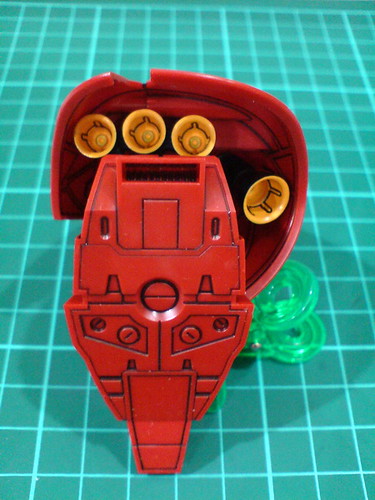
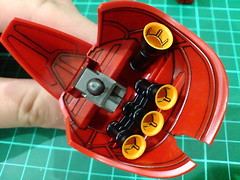
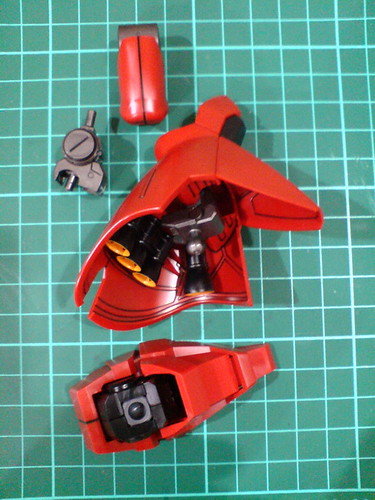
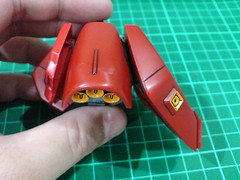
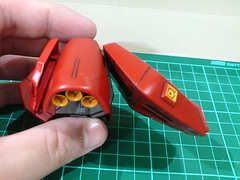
Parts of the waist.
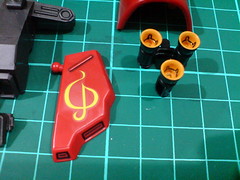
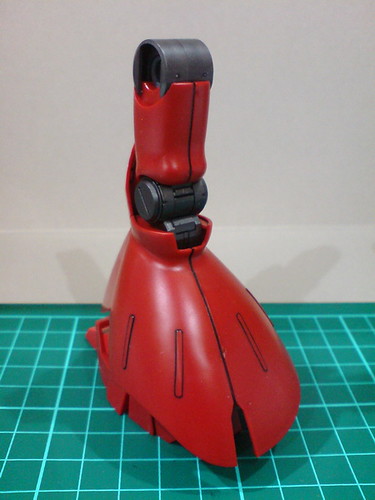
All the painted thruster nozzles from Part 2.
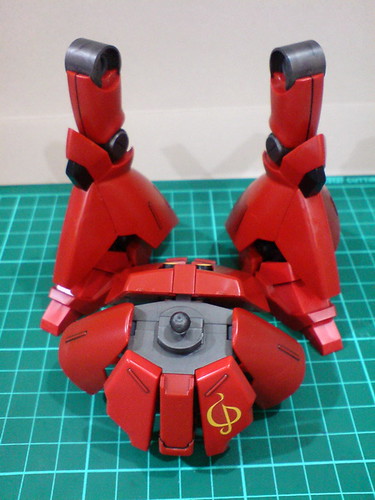
(Left) The minor line details behind the front and side skirt armors.
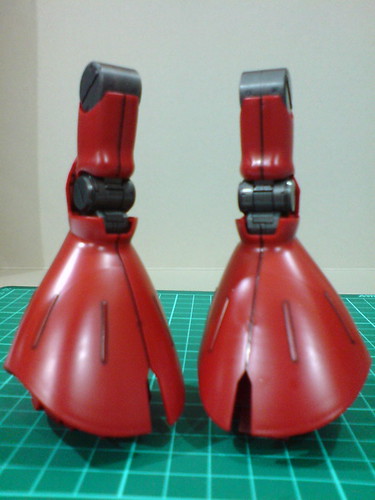
(Right) The side skirt armors with sets of thrusters attached.

Major separable components of the waist.

Done for the waist.
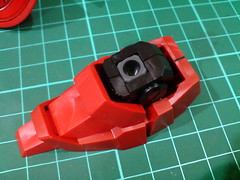
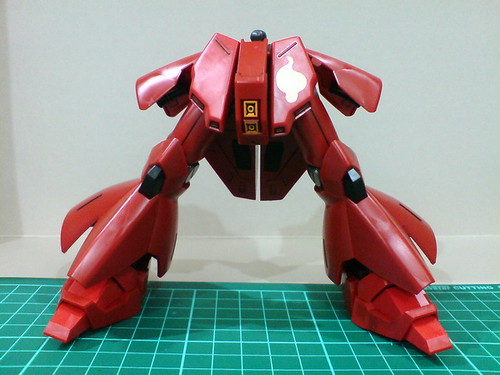
Details beneath the whole component.
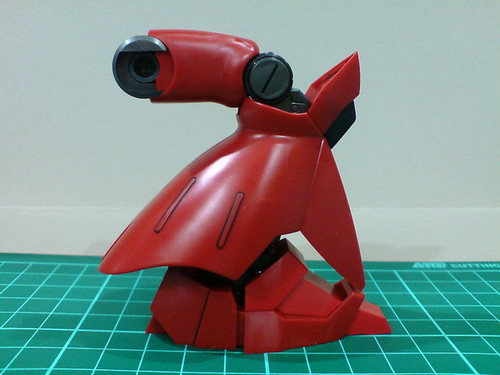
You can see how huge the whole rear skirt armor is. ^^
Connected to a polycap part on the back of the waist, the rear skirt armor can be flipped upward for a slight degree.
With the legs that were done just moments ago.
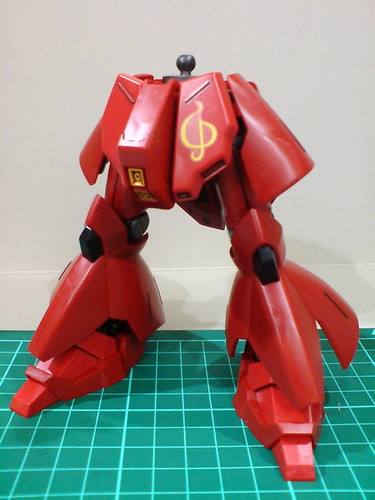

The entire lower body is done. ^^
With a single ball-type joint for each hip, limited horizontal expansion of the legs is well anticipated. ^^;

Pretty wide articulation range for the lower body it seems. The posability is definitely higher for Sazabi in this scale - its weight is not a whole lot of burden to carry for the legs' action.

There's enough room between the waist and front skirt armor to allow the latter to be lifted without hitting the waist.
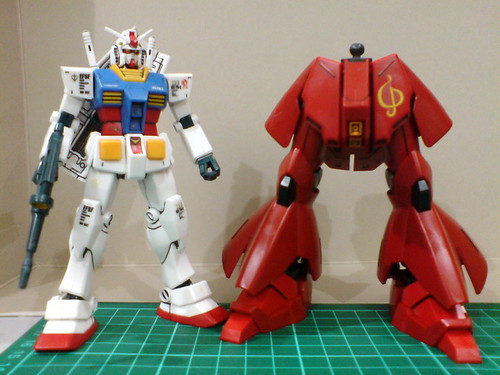
Height comparison with HGUC Gundam RX-78-2.
The lower body itself is already a bit over Gundam's head height. O_O
Talk about crazy size difference. ^^
The assembly on HGUC Sazabi will continue in the next posting. ^^


1 comment:
Happy Holidays to you too Ngee - looking forward as always to seeing the completed build finish. Call me selfish but I think you made the right choice with Sazabi for a Christmas build!
On an even more selfish note, surely you'll be assembling Avalanche in the (early) New Year ???
Post a Comment