As teased in the previous posting, the assembly of MG Char's Gelgoog Ver. 2.0 continues with its legs and waist this time. ^^
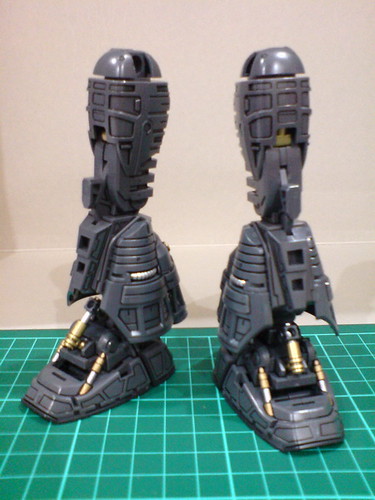
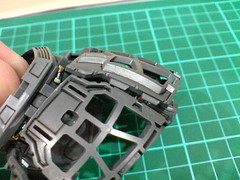
Inner frame parts of the feet.

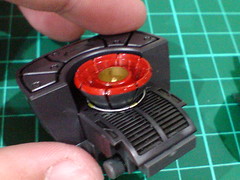
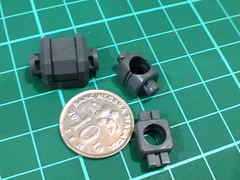
(Left) Normally, I use a 10-cent coin to highlight how small certain part is, but this time, it's to show a monster polycap for the ankle joint - the largest one I've seen as far as I can remember O_O
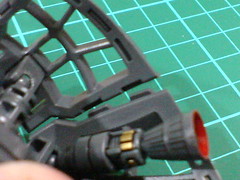
(Right) It's great to see that even with the thruster assembled, the tiny ring around its base can still be seen.
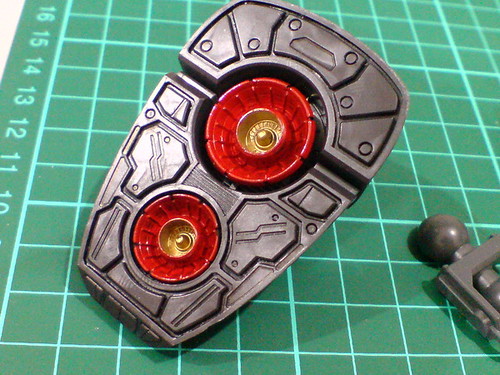
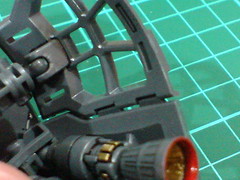
Details of the sole.
With the ankle joints.
Done for the feet.

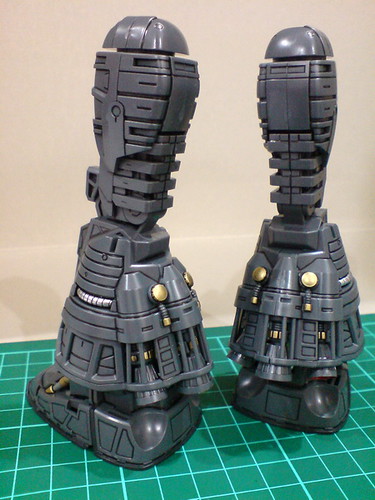
Fixed and movable hydraulic pipes that were painted in Part 2 and 4.
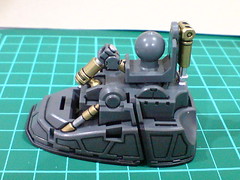
The two halves of the foot are separately movable, for a pretty impressive range too. ^^

While the articulation design of the ankle joint is very much the same as Zaku II Ver. 2.0, the ability of all the components to be movable is still pretty amazing to see. ^^

Another look at the details on the sole. ^^
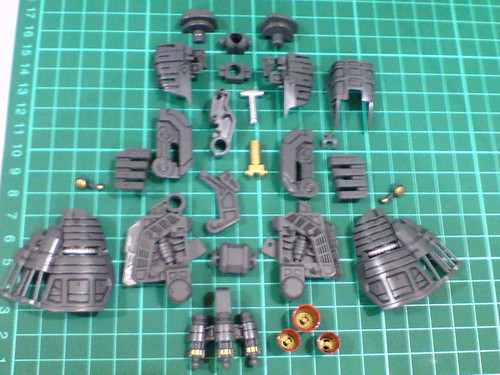
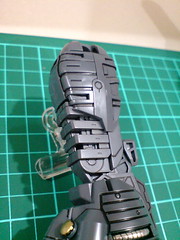
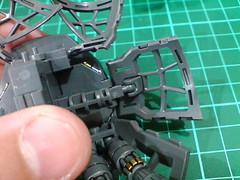
Inner frame parts of the right leg.

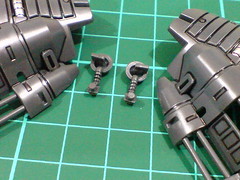
(Left) Three awesomely huge polycaps ...
(Right) and a few really tiny parts, with one of them for the knee joint. ^^
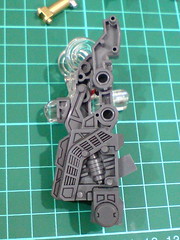
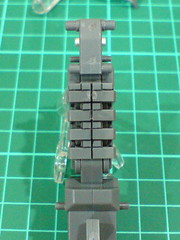
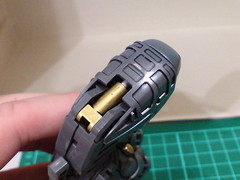
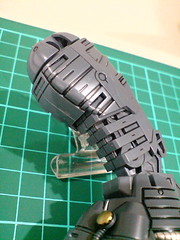
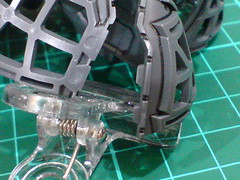
A look at how the knee joint works before its cover comes on.
The good old linked movement is still included, but the parts involved are not the same in terms of design as Zaku II Ver. 2.0.
The cover has a small joint inside it that is linked to the knee joint itself.


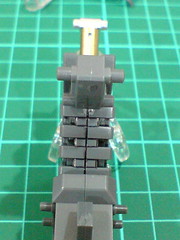
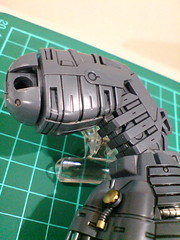
When the knee is bent backward, the cover will slide downward as well. ^^
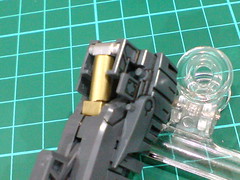
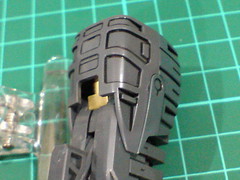
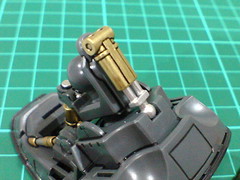
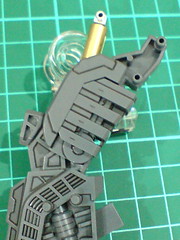
A look at the largest hydraulic pipe (for the thigh) before it's concealed and locked in place by the cover.
The tiny drumstick-like parts mentioned above are for two protruding details on the leg frame.
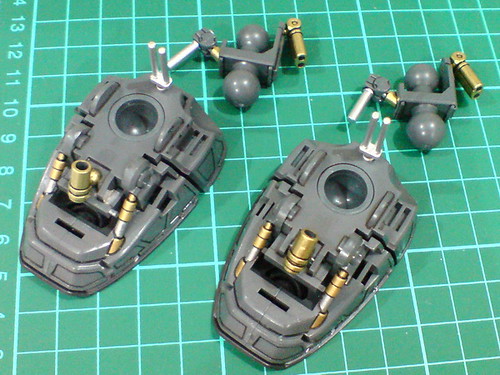
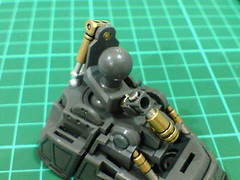
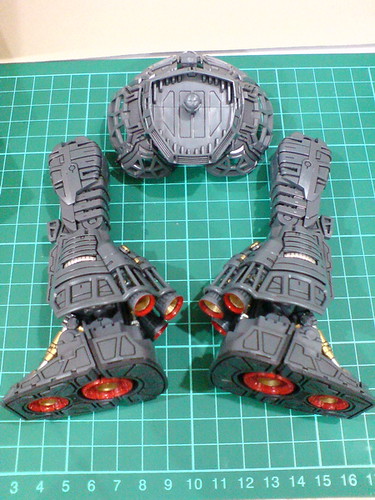
All together four parts for the rear thruster set. The entire base is an impressive one-piece part. ^^
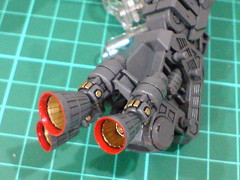
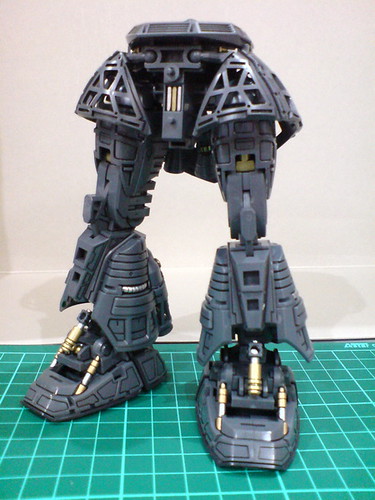
Fixed the thrusters behind the leg.
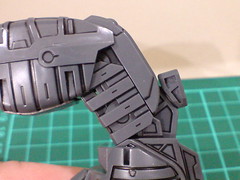
Major components of the right leg's inner frame.

Done for the right leg's inner frame.
While the leg frame puts a limit on how much the thrusters can be bent outward, the details "caged" inside the former is pretty unique and cool to see. ^^
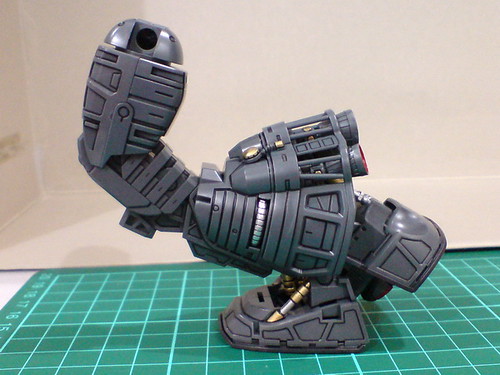

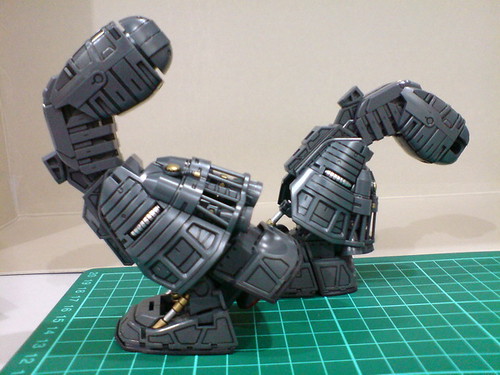
Articulation design of the leg.
Despite its intricate linked movement mechanism, the knee joint is very limited. ^^; It's going to be even more limited than MG Johnny Ridden's Customized High Mobility Type Zaku II Ver. 2.0. ^^;
It's good to see that the hydraulic pipe inside the thigh can be revealed, thanks to the knee joint's linked movement mechanism. ^^
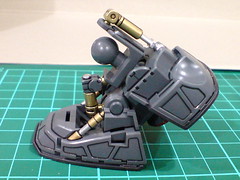
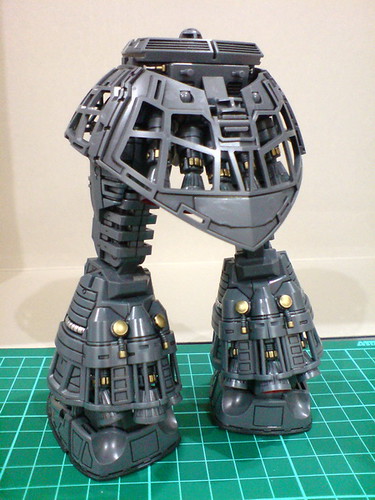
The ankle allows the leg to bend to its side very easily, and given the size of the sole, there's no problem for the right leg to be standing just like that. ^^
While the knee articulation is poor, stability won't be an issue with this MG it seems. ^^
Inner frame parts of the left leg.
Rear thruster set.
Major components of the left leg's inner frame.

And done for the left leg.

Another look at the rear thrusters. ^^
As you can tell, I really like the outcome of this particular component. ^^
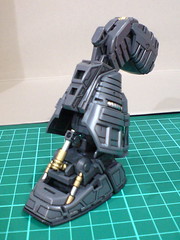
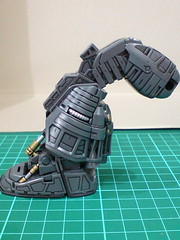
The same discounted articulation for the left leg XD

The hydraulic pipe inside the thigh and the ones on the heel can be seen when the leg is bent forward.

The same knee joint design as the right leg.
Both legs are now done.
An overview of both legs' articulation.

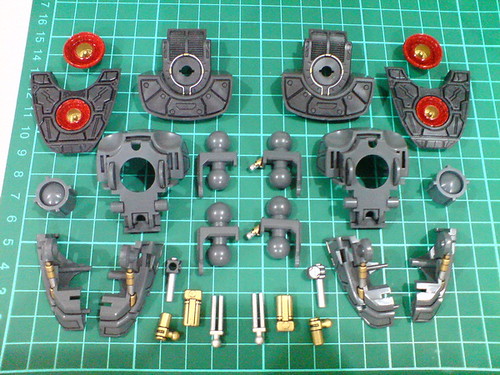
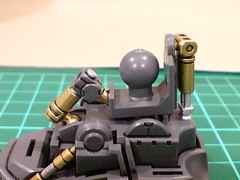
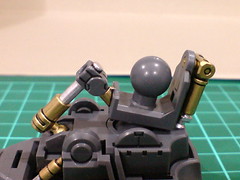
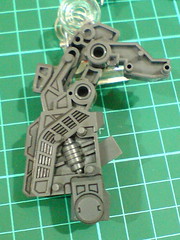
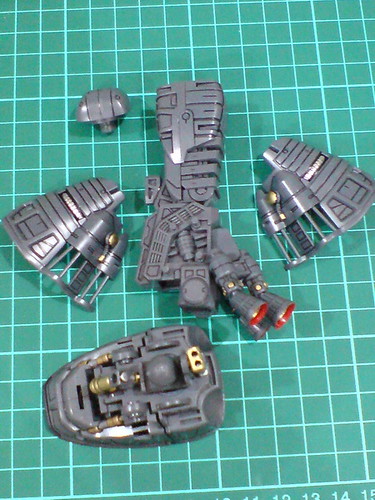
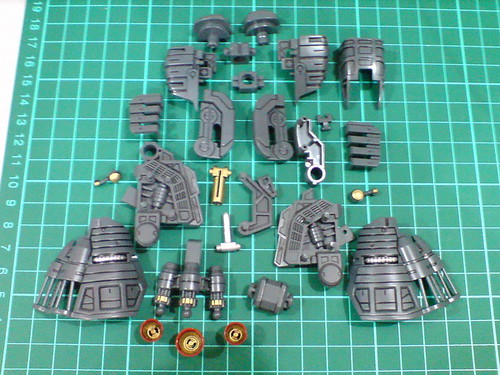
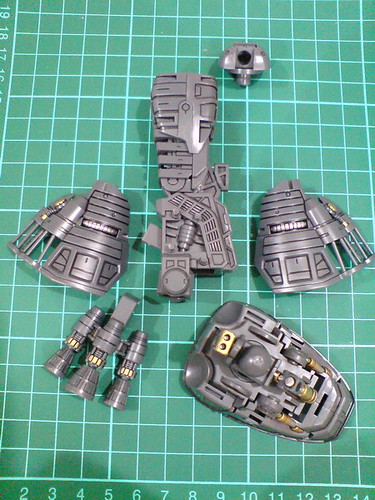
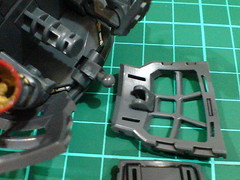
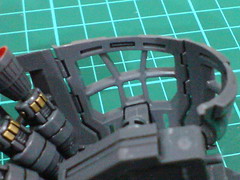
Inner frame parts for the waist.
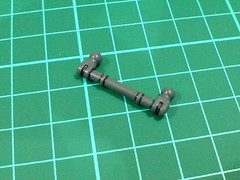
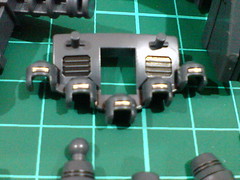
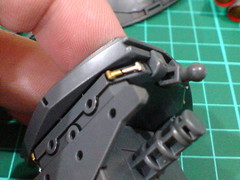
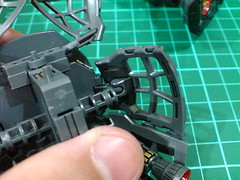
(Left) The "swing joint" for the lower half portion of the rear skirt armor is a part I forgot to include in the picture above. ^^;
(Right) The thrusters' mount rack that is decorated with small pieces of silver foil stickers. ^^
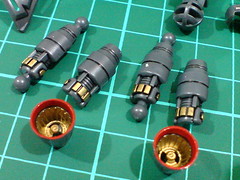
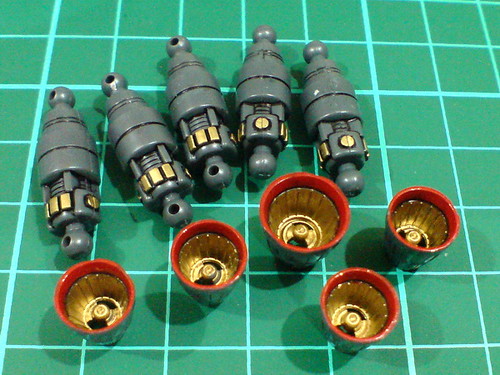
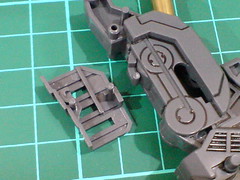
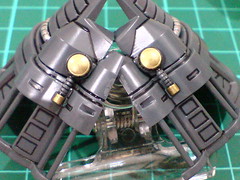
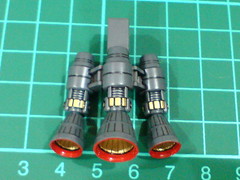
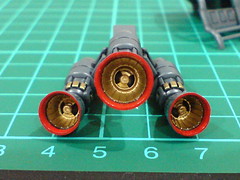
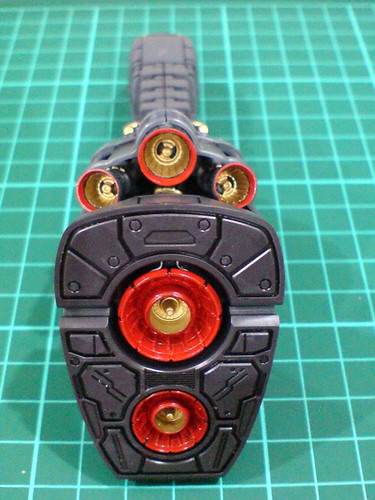
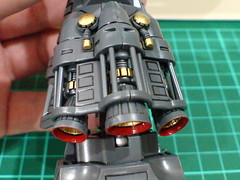
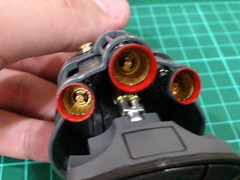
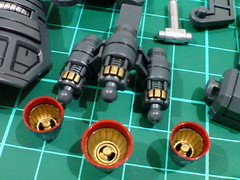
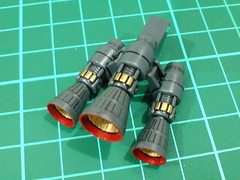
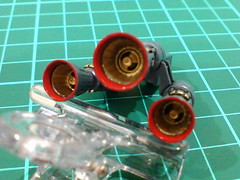
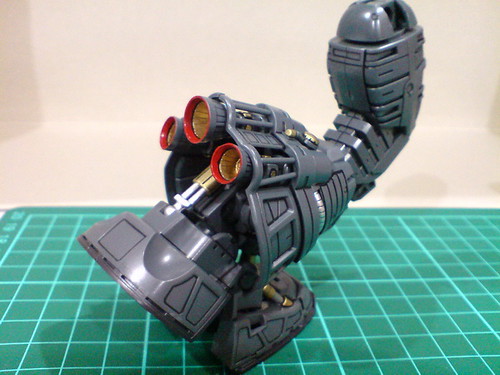
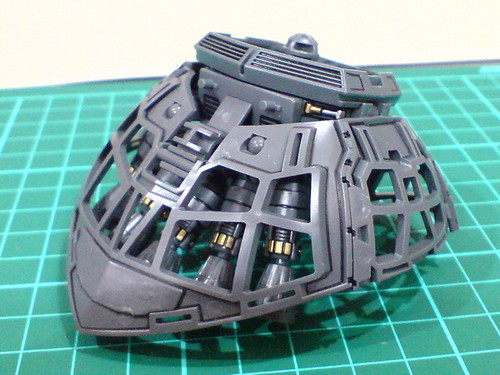
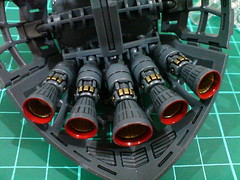
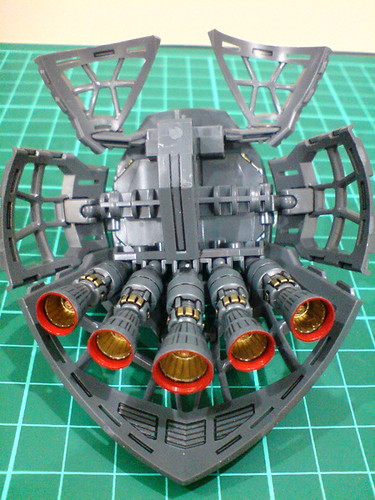
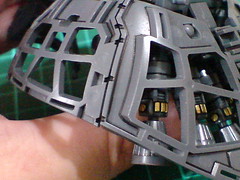
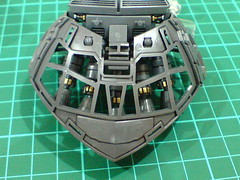
Five sets of thrusters to be fitted underneath the rear skirt armor.
Except for one nozzle that is slightly larger among the five, the assembly for all of them is exactly the same. ^^
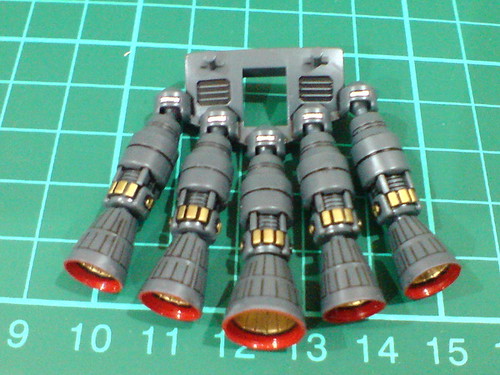
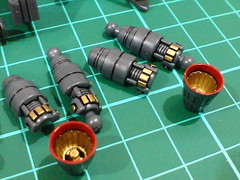
Done for the thruster set.
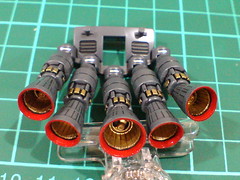

Apart from the nozzles, their bases have ball-type joints that allow them to move.
Unfortunately, together with the flexibility in their movement, the difficulty in controlling the different parts is "included" too. ^^;
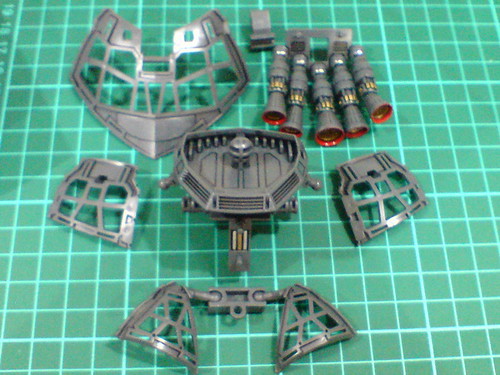
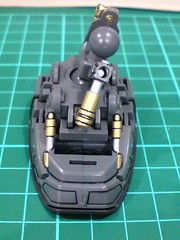
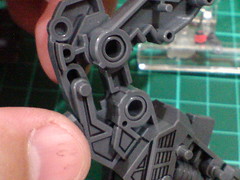
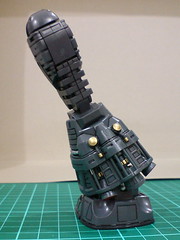
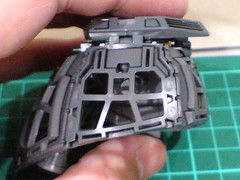
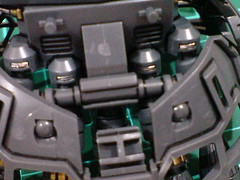
Major components of the waist's inner frame.
The tiny fixed hydraulic pipes around the waist that were painted in Part 9.
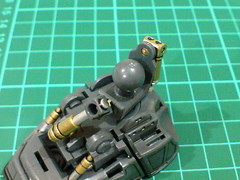
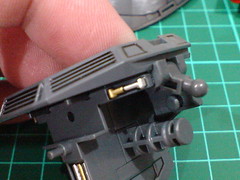
Ball-type joint for the side skirt armor.
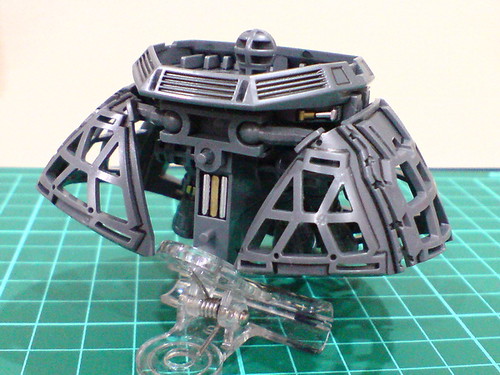
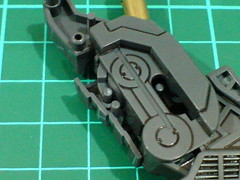
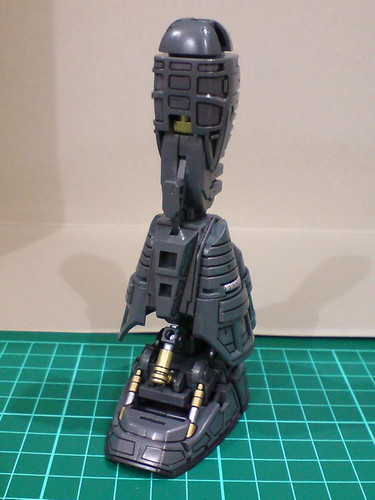
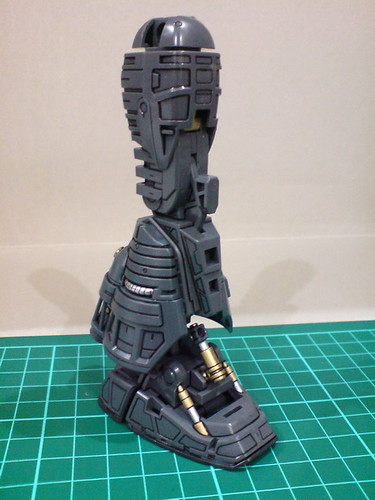
Done for the waist's inner frame.
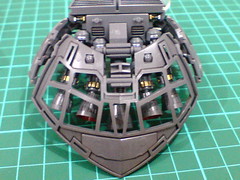
Another monster size component completed. ^^
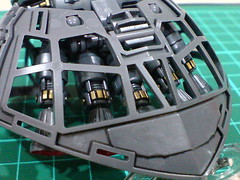
Very much like the leg frame, the rear skirt armor's inner frame allows you to see the five thrusters inside it, and the cells' position is just right to reveal the bars that were painted in gold. ^^
An overview of the details beneath the entire waist.

There are dedicated tabs and slots between the skirt pieces to combine all of them.
The connection isn't tight at all, but it's enough to hold all the pieces in place.
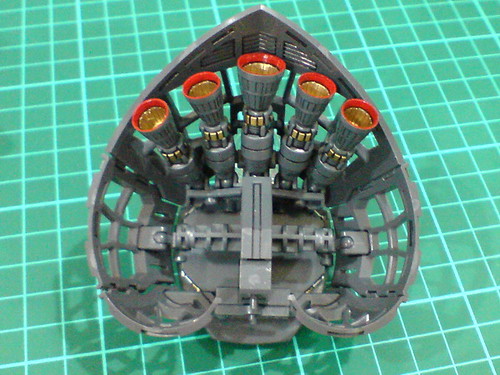
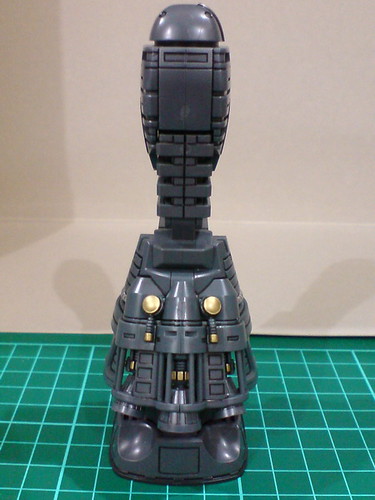
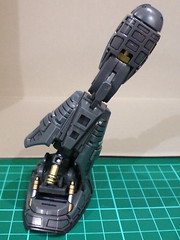
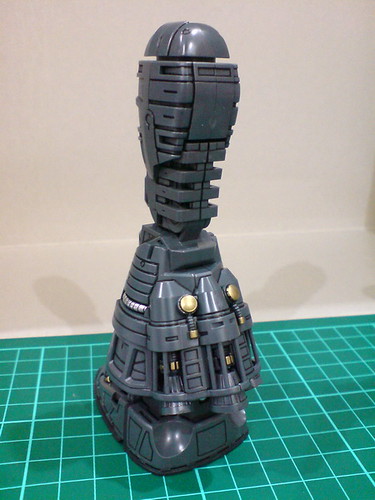
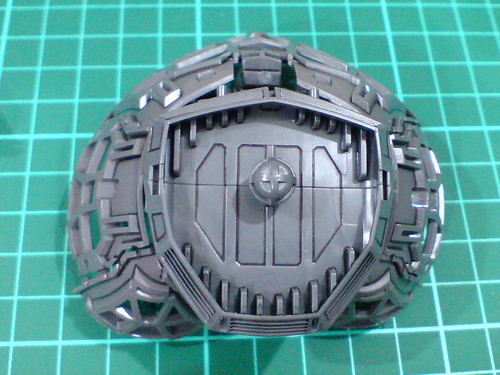
It's an Ace of Spades (almost)! ^^
Once the hip joints are removed and the entire component enlarged, it's perfect as Zeong's waist as well I think. ^^
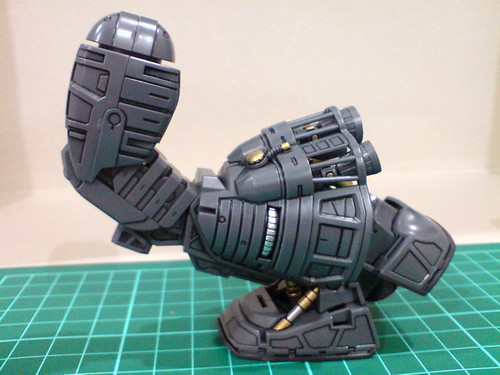
The "swing" allows the entire lower half portion of the rear skirt armor to be slide downward.
Not sure about its exact purpose, but it's very awesome-looking. ^^
Apart from a ball-type joint, the side skirt armor's joint also has a more conventional hinge-type design that allows the armor to expand outward even more.
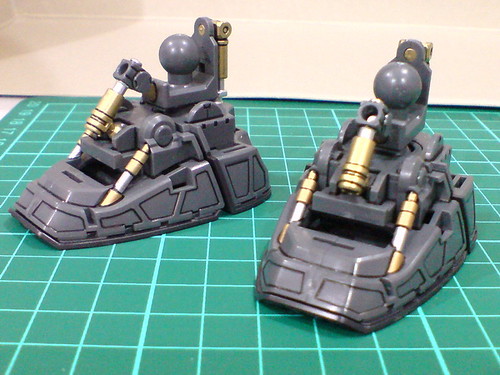
With the legs completed earlier on.
The lower body is completed.
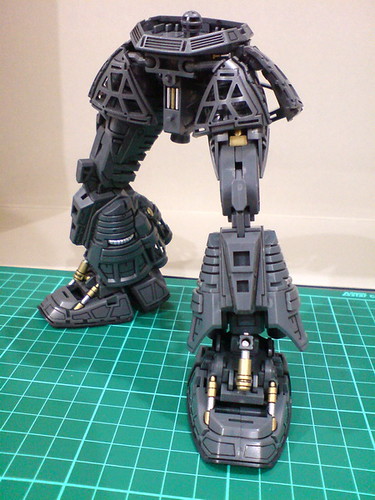
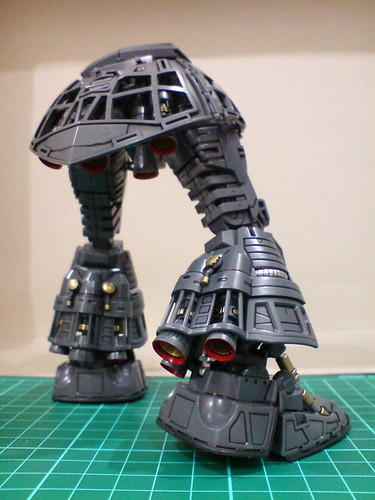
Trying out the leg articulation. ^^
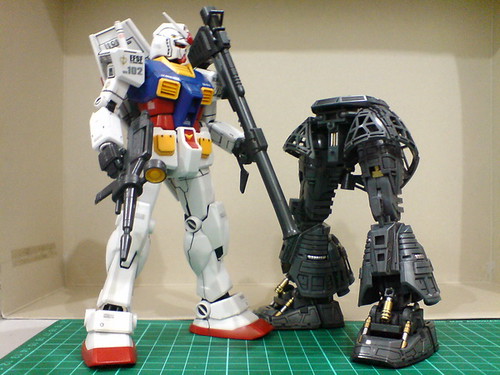
Comparison with MG Gundam RX-78-2 Ver. 1.5.
The difference in terms of height and volume is staggering, even when it's just the lower body that isn't done yet. O_O
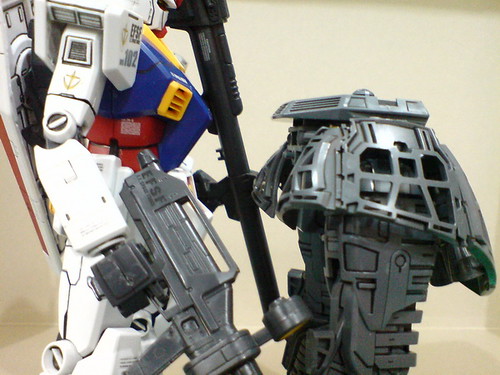
The lower body stands up to Gundam RX-78-2's chest level. ^^
As you can see, the size of this kit is absolutely dominating. ^^
Only the upper body and head of the inner frame remain now, which will be completed in the next posting.


No comments:
Post a Comment