Moving on to the last few components of 1/100 Gundam Avalanche Exia after the previous posting. ^^
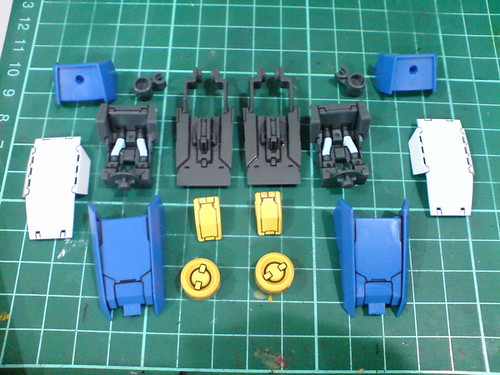
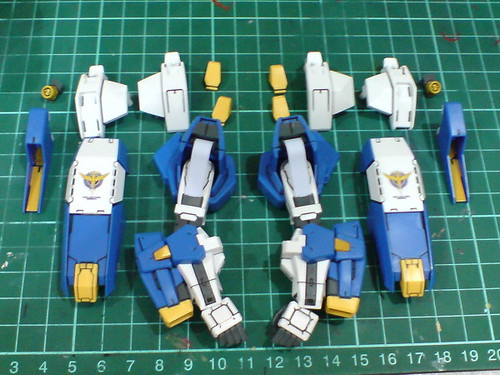
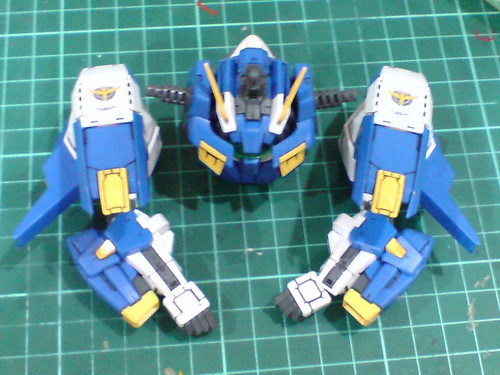
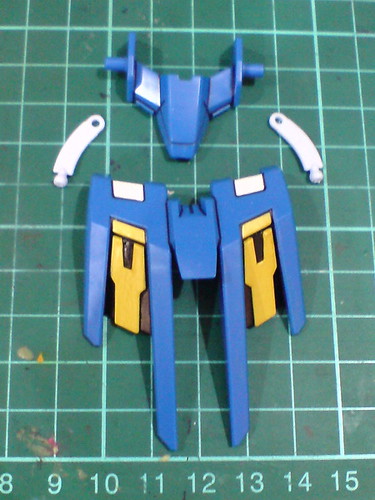
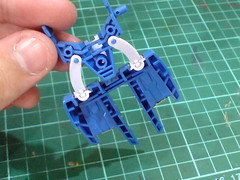
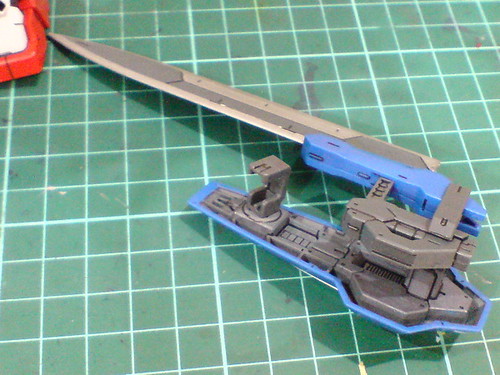
Parts of the extended shoulder armors.
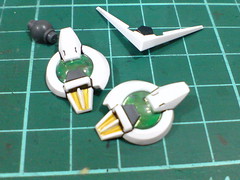
The three gray parts and one large GN thruster shown in the first image link together to form the armor's base.
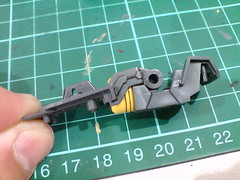

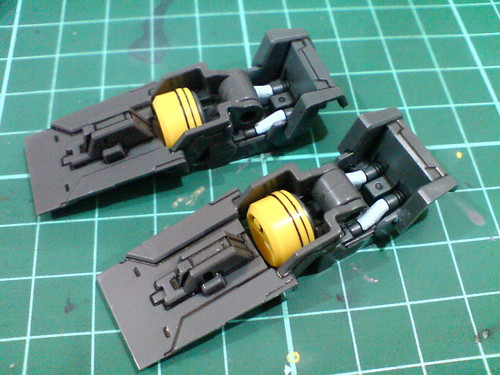
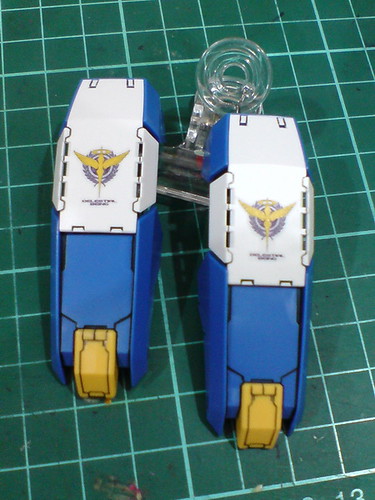
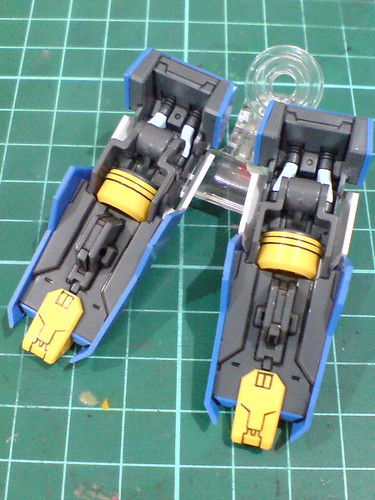
Via hinge joint between the two parts, the lower half of the plate is movable to reveal the GN thruster, but not as much as shown in the right image. ^^;
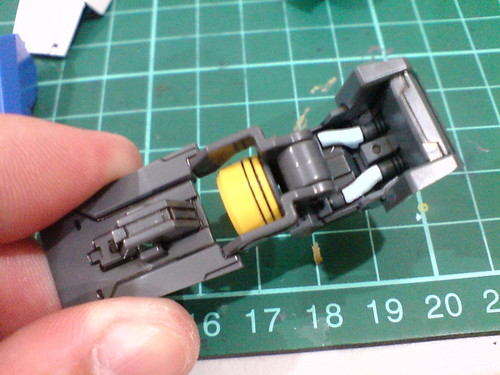
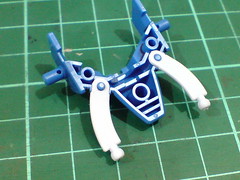
A closer look at the details inside the base which were painted and panel lined in Part 3.

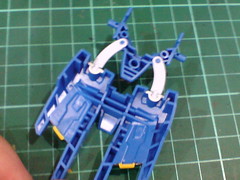
With exterior armor parts added, the shoulder plates' assembly is done.
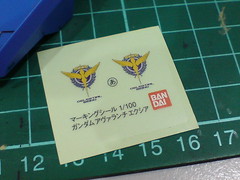

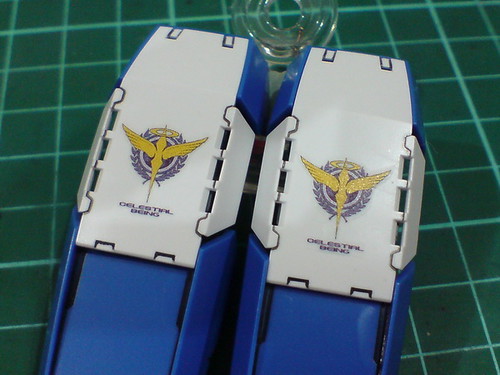
Clear stickers featuring Celestial Beings' emblems are attached onto the armors.
The shoulder plates are "completely" completed. ^^
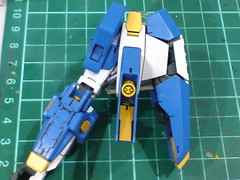
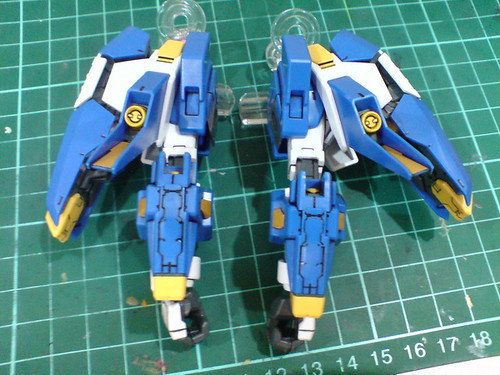
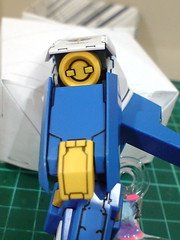
Shoulder armor attachments and rear thrusters of both arms.
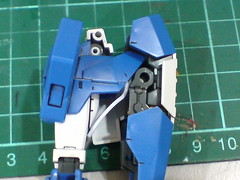
(Left) A look at the various slots and joints before the last exterior armor piece is attached.
(Right) Most part of the shoulder armor, including the GN Stripe are concealed when the entire shoulder is done.
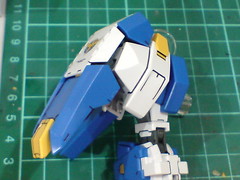
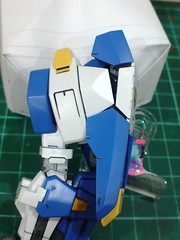
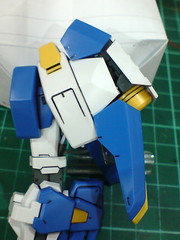
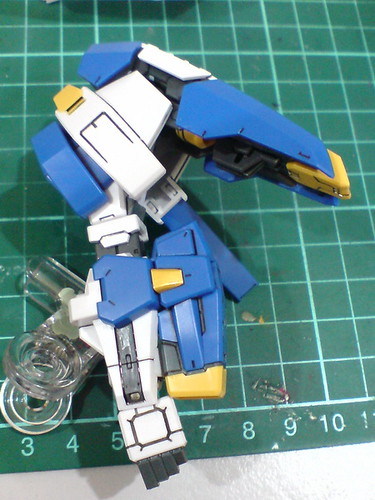
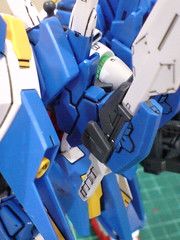
Side and rear views of the shoulder.
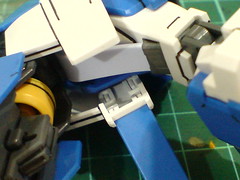
Painting the four connectors from the blue thruster case white in Part 4 was a good call indeed. ^^
The shoulder armor and plate can move separately.
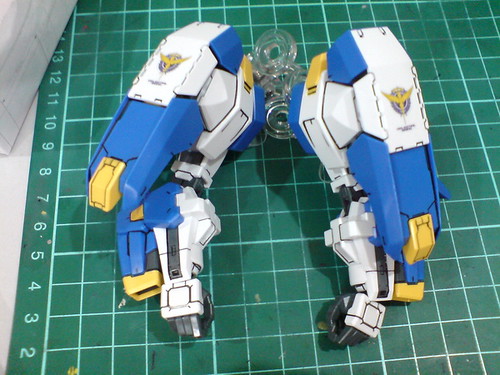
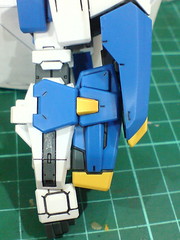
All done for both arms.

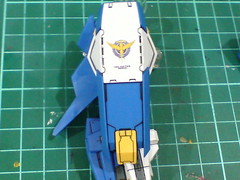
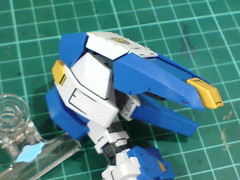
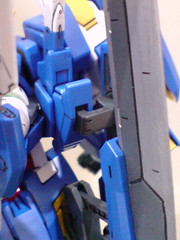
Movement for the shoulder plate.
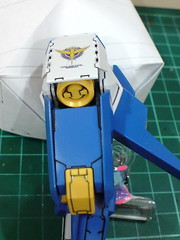
The upper segment can be opened to reveal the GN Thruster.
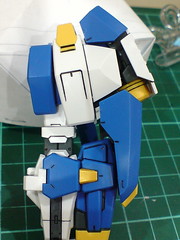
A tab beneath the shoulder plate can be clipped to the back of the forearm attachment to give more room for the upper segment to open up, revealing the GN Thruster for the Gundam's flight mode (?)
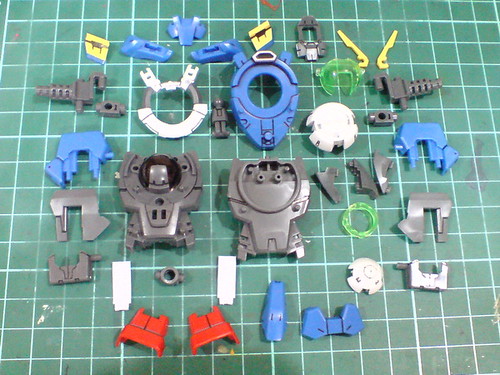
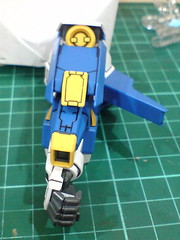
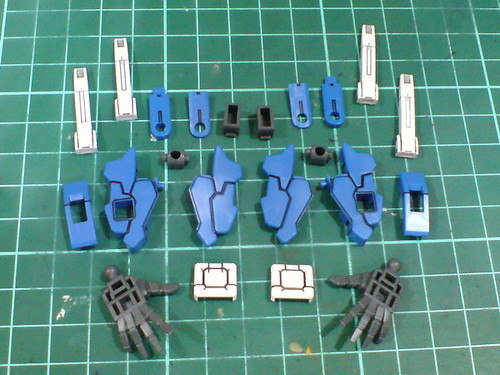
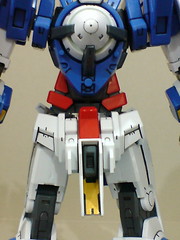
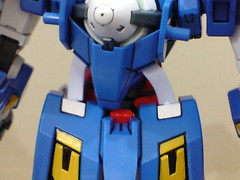
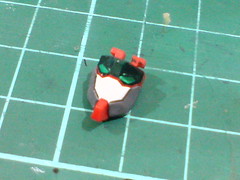
Parts of the body.

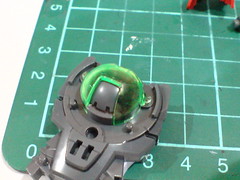
Body part painted with glossy black permanent marker + clear part painted with green highlighter for the GN Drive on the chest.


Just like the original Gundam Exia, foil sticker is attached to the cone on the backpack before the clear part comes on.
Separable components of the body before the final assembly.
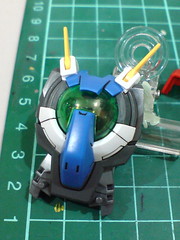
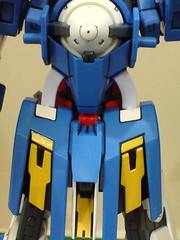
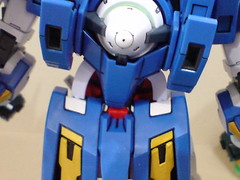
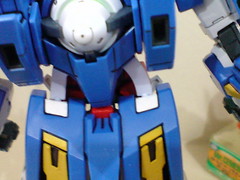
Done for the body unit.
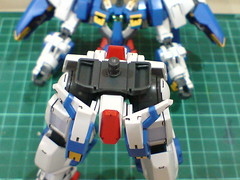
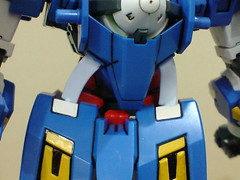
Except for the Zeta Gundam-like protruding chest vents, the entire body unit is exactly the same as the original Gundam Exia. ^^

The blue backpack part is new as well, with the three pins being the additional elements as compared to the original Gundam Exia. ^^


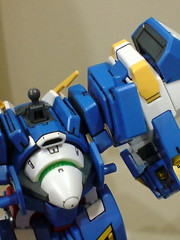
Articulation feature of the two shoulder blocks.
With the arms completed earlier on.
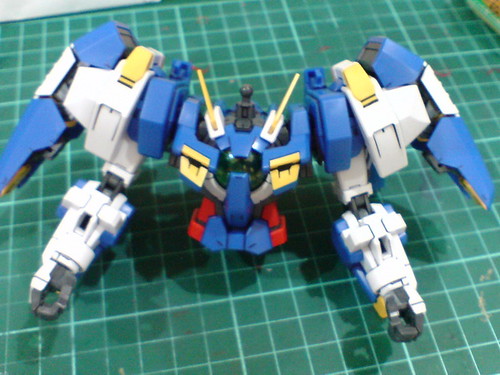
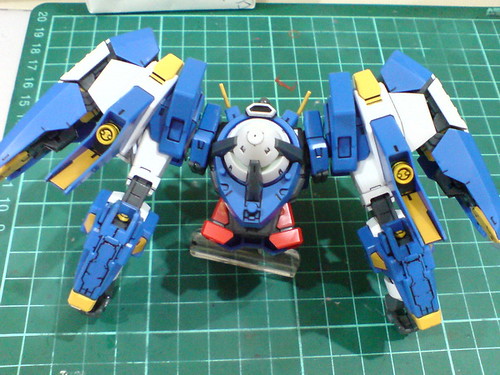
The upper body is about 90% complete at this level. ^^;
Quite a lot of parts for the beam sabers' and daggers' mount racks.
The two spread palms are shown as well.
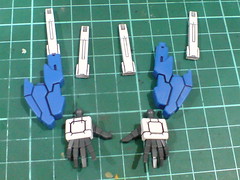
Done for the mount racks and spread palms.
The mount racks only fit two beam sabers/daggers. Another two will go onto the shoulder armors directly.


(Left) The entire attachment can move via a polycap to be attached to the backpack, but shown here, the mount rack can move separately as well.
(Right) It's great to see that the mount racks' design matches the beam sabers/daggers completely. ^^
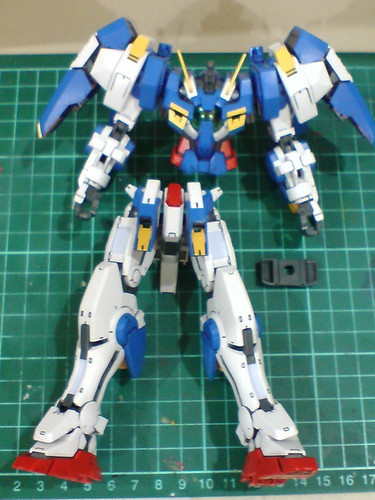
With the lower body completed in the previous posting.
The waist part separates the upper and lower body modules.
The entire body must be completed before the backpack and rear skirt armor can be attached.
Lower backpack attachment, two GN Stripes and the large rear skirt armor.
The two GN Stripes act as connectors that link the lower backpack part to the rear skirt armor.
The connection is pretty sturdy, as the two GN Stripes can hold the large and (proportionately) heavy rear skirt armor firmly. ^^
The rear skirt armor certainly increases the overall size of the waist. ^^
Being of soft material, the GN Stripes doesn't interfere with the waist's original articulation feature. ^^

Attaching the beam sabers/daggers and the two mount racks to the shoulder armors and backpack.
Two slots behind the mount racks are reserved for GN Sword, GN Short and Long Blades.
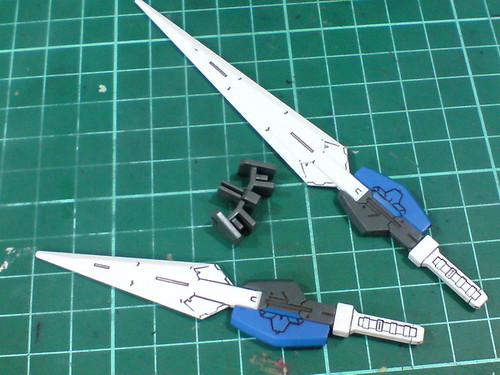
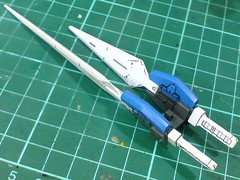
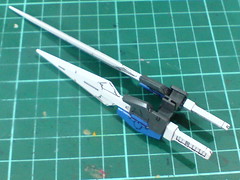
A simple dedicated mount rack part for GN Short and Long Blades.
A bit of adjustment is made to GN Sword's mount latch (reversed its position).
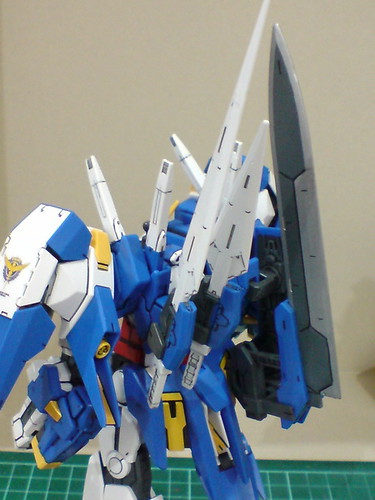
Mounted the three weapons onto the two backpack components: GN Short and Long Blades to the left; GN Sword to the right.
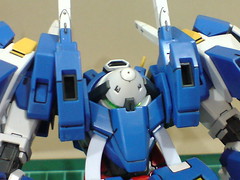
Only the head remains now. ^^
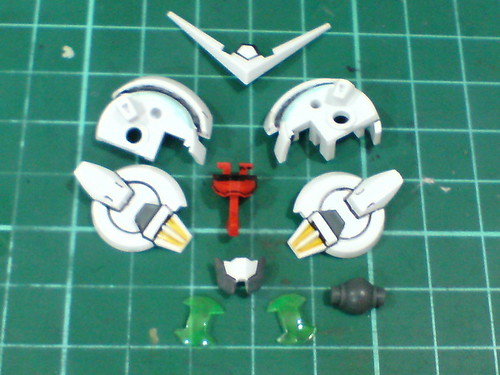
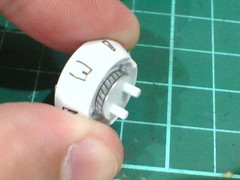
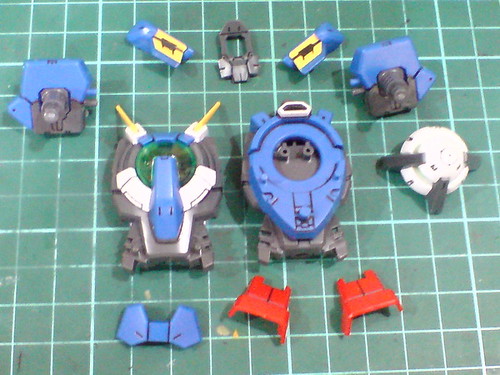
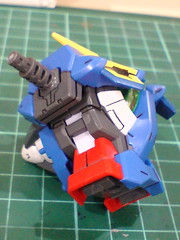
Parts of the head.
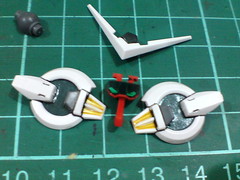
Foil stickers are used for the GN Condensers on either side of the helmet before the clear parts are assembled.
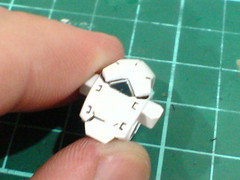
Foil stickers are used for the eyes and rear sensor.
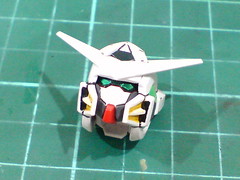
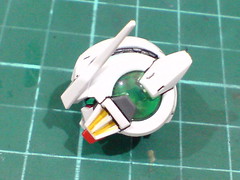

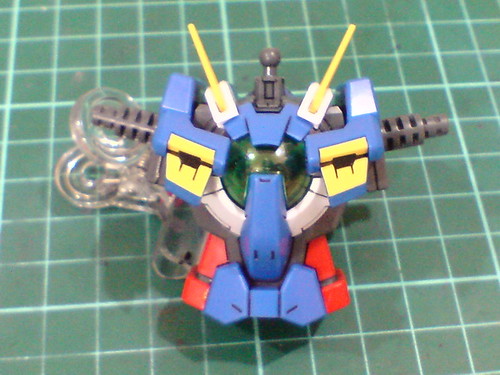
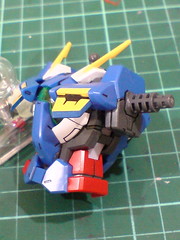
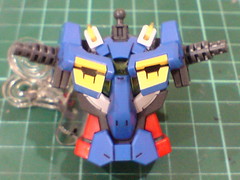
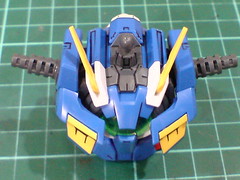
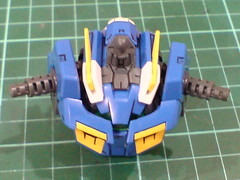
Done for the head.
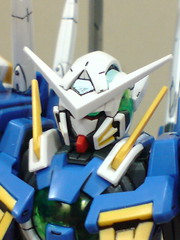
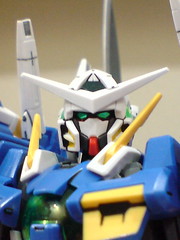
Assembled the head onto the neck joint.
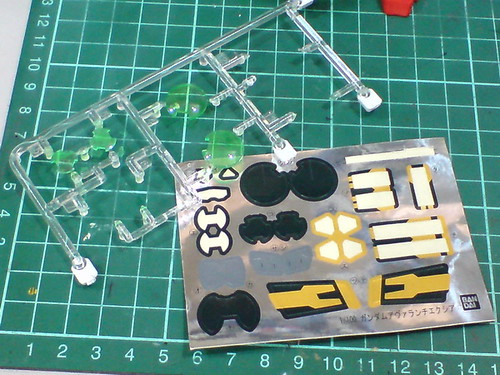
Four clear parts - two each for the forearm and leg plus quite a lot of foil stickers are the leftovers this time. ^^
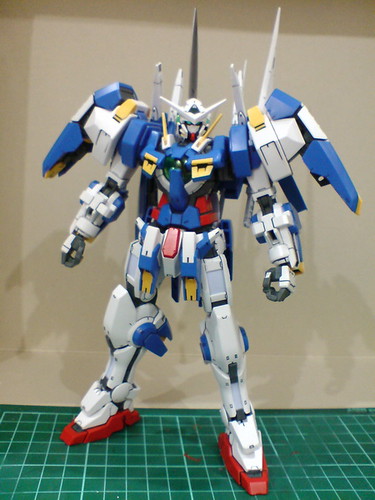
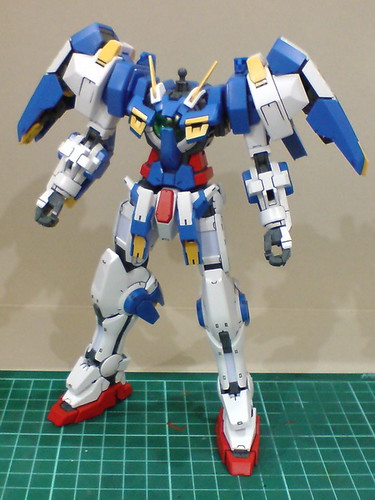
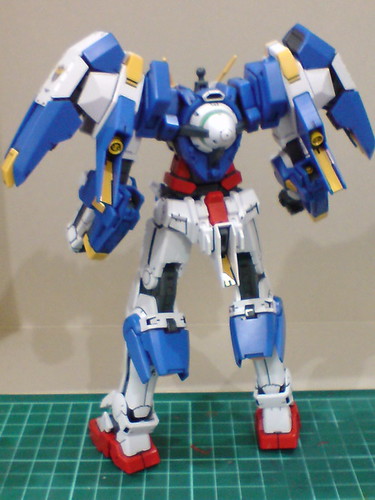
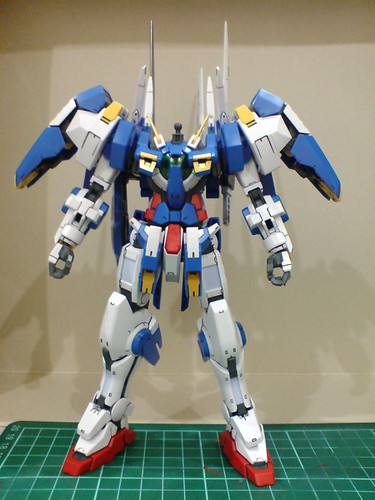
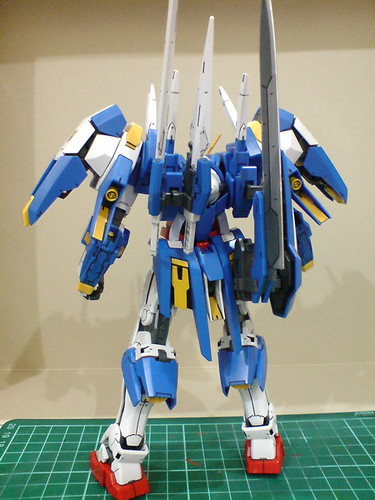
All done for 1/100 Gundam Avalanche Exia.
Quite an extensive and fast build this time for this Gunpla, but everything is done now. ^^ More images of this completed kit in the next posting. ^^


No comments:
Post a Comment