Starting to work on MG Zaku II F2 EFSF Ver. after the lengthy introduction in the previous posting. ^^
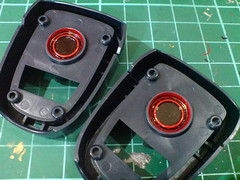
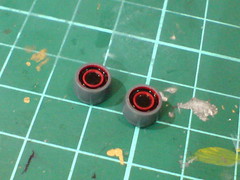
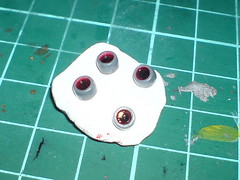
Painted the six smaller thrusters/vents on each sole part using Gundam Marker Gray before panel lined all the molded details.
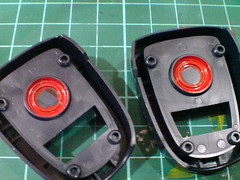
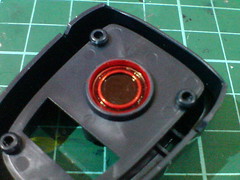
Painted the large thrusters beneath the black feet parts red using Gundam Marker as well.
The large nozzle is painted using normal black marker when the paint has dried.
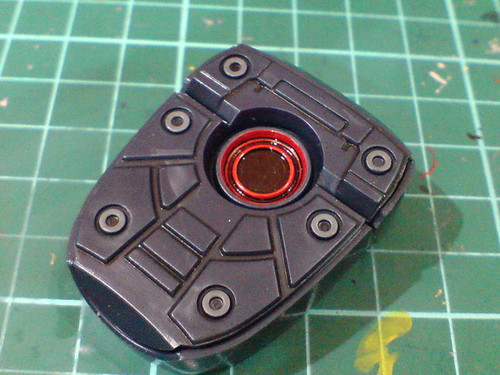
Test fitting the parts to have a preview of how the completed foot would look like. ^^

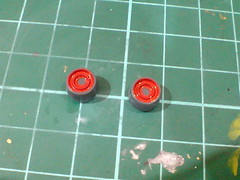
All the large and small thrusters around the legs are painted using Gundam Marker Red.
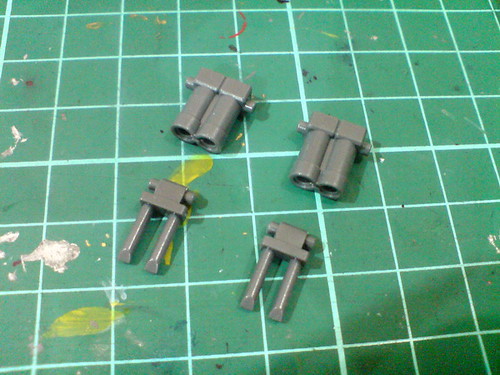
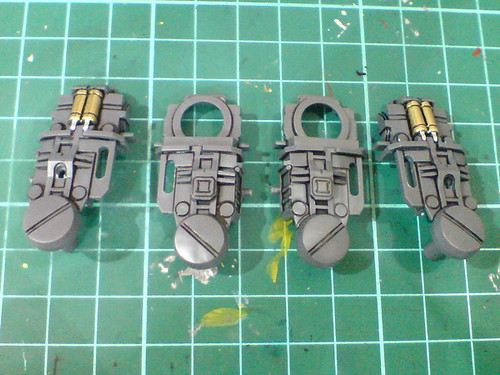
It's been quite a while since my last work on such hydraulic pipes. ^^;

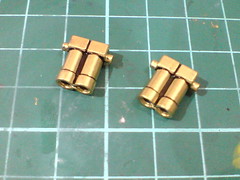
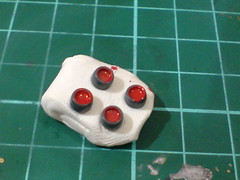
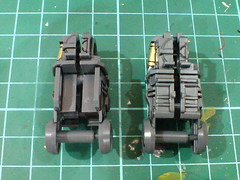
The hosts are painted using Gundam Marker Gold.

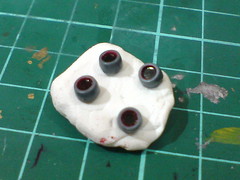
The pipes are painted using Zebra Paint Marker - Silver.
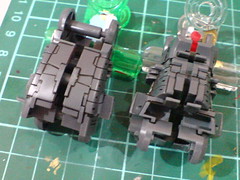
A pair of shiny hydraulic pipe sets for Zaku II F2. ^^
The thighs' inner frame parts have pairs of fixed hydraulic pipes to paint as well.
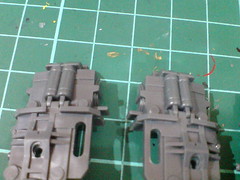

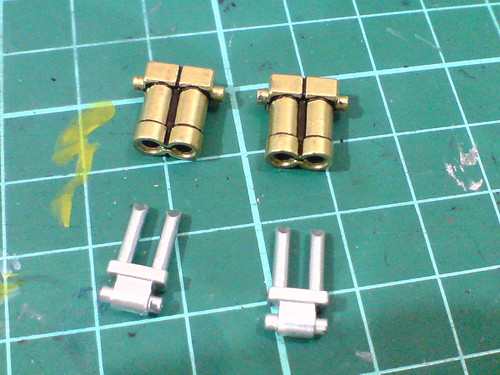
The targeted parts are panel lined first.
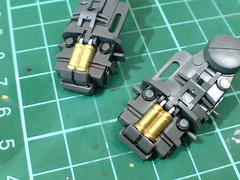
(Left) The golden hosts are painted using Gundam Marker Gold, while the tiny bit of silver pipes is painted using Pilot Super Color Silver Extra Fine.
(Right) Panel lines are added when the paint has dried.
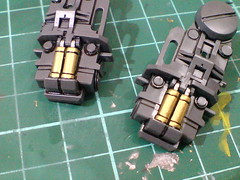
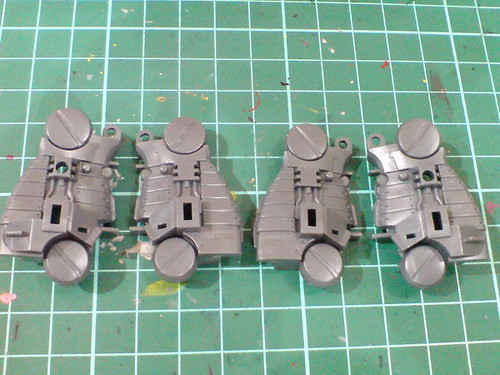
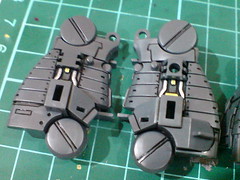
With panel lines added to all four parts.
Test fitting the parts to have a preview of how the completed thighs would look like. ^^
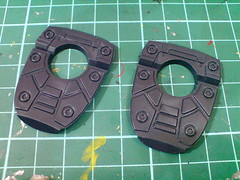
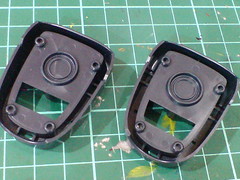
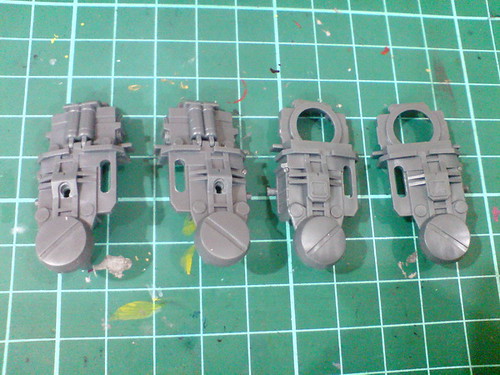
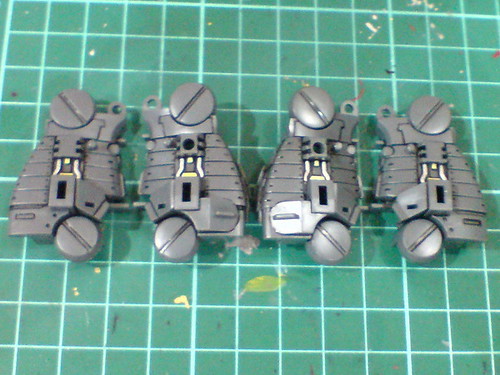
Just normal detailing work would do for the legs' inner frame parts.
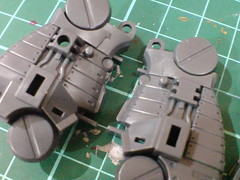
A few tiny cables can be painted to give the parts some extra details. ^^


Painted the parts and pipes gold and silver respectively using normal metallic pens.
I have no idea what those painted parts are supposed to be for on this MS really. XD
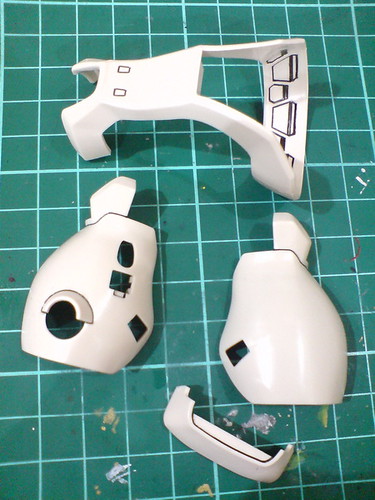
Panel lining done for all the parts.
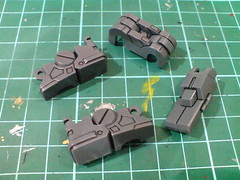
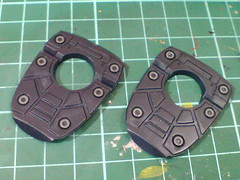
(Left) Details in front and behind the parts are panel lined as well.
(Right) Simple panel lining for the other leg parts.
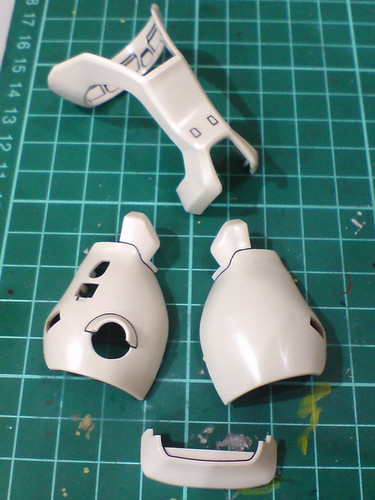
Almost effortless panel lining work for the details on the leg armor parts.
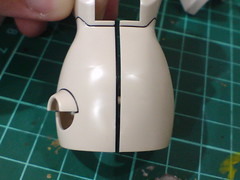
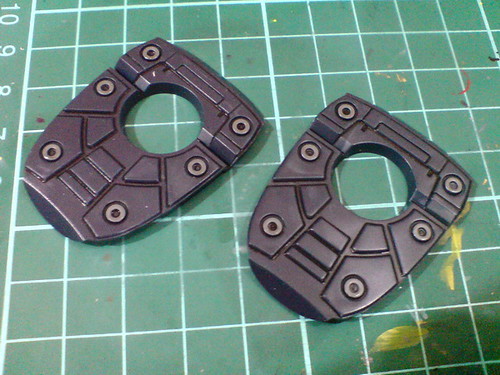
(Left) The molded parting line between the left and right armor parts is explicitly revealed using normal black marker.
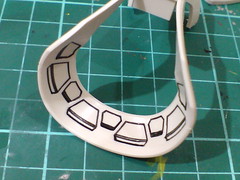
(Right) Panel lining for the details beneath the "bell-bottom". ^^
Repetition of the panel lining work on the armor parts of the other leg.
An older MG kit it is. All the work is very much reminiscent of how I used to detail Master Grade models in the past, with the difference being having more tools to play with now in order to apply all the paint and panel lines. Even though there's no special feature that is particularly exciting about all these parts, the simplicity is definitely something to be enjoyed in this hobby. ^^
Moving on to more paint and panel line work in the next posting. ^^


No comments:
Post a Comment