Moving into the final phase of MG Gundam AGE-1 Normal's assembly already. ^^
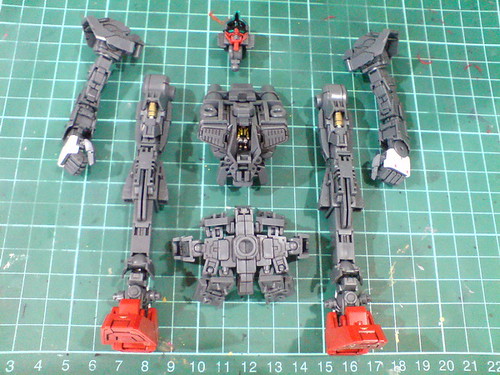
The inner frame displayed in the previous posting is separated so that its armor parts can be added onto the model component by component.

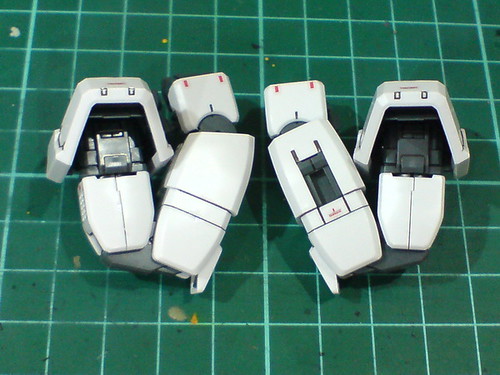
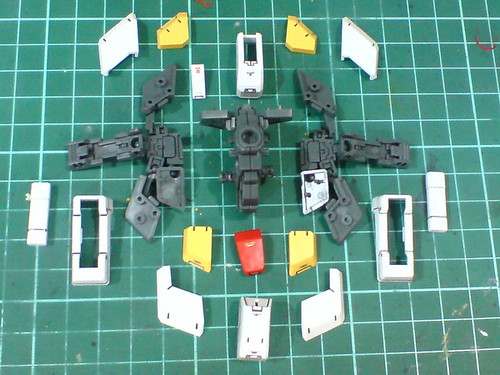
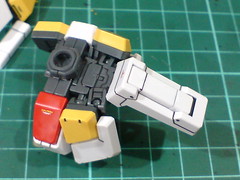
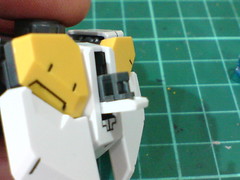
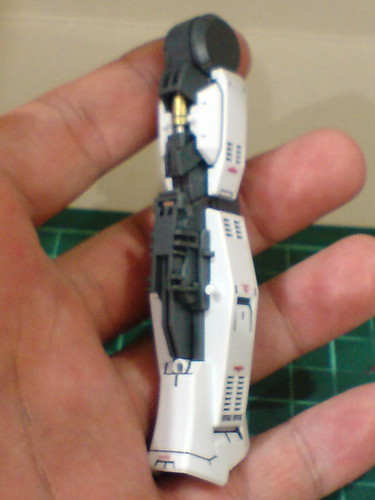
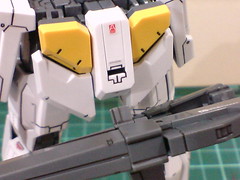
Armor parts of the shoulders and arms.
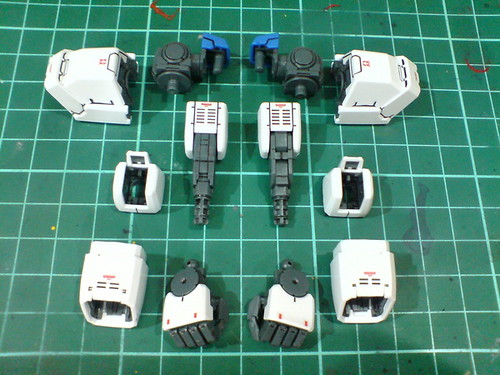
Separable components of the arms before the final assembly.
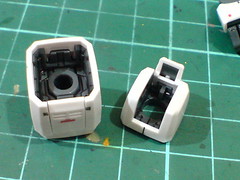

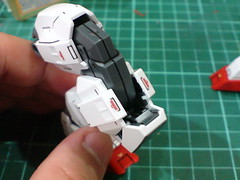
The most significant inner frame details of the arms can still be seen, albeit harder that is. ^^;

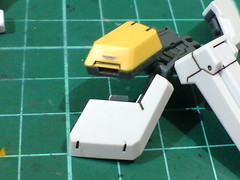
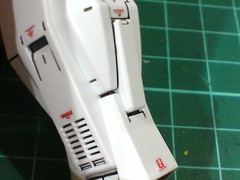
The black border on the bottom face of the armor parts painted in Part 5 will form a natural-looking panel line between the split forearm near the elbow area. ^^

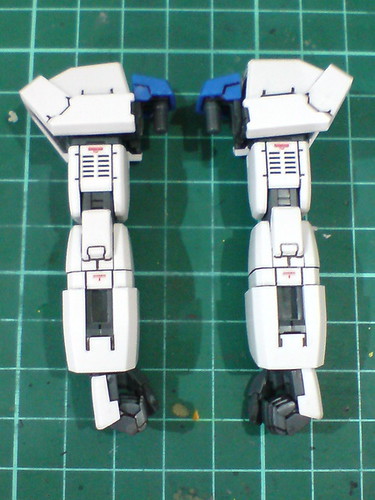
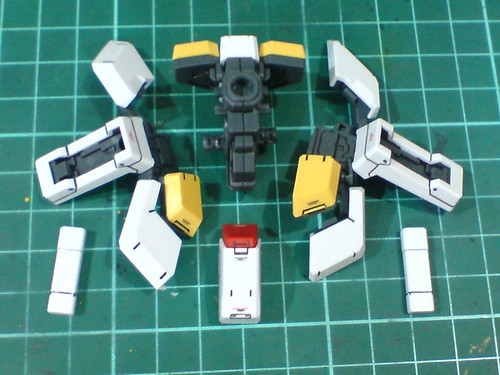
Done for both arms.
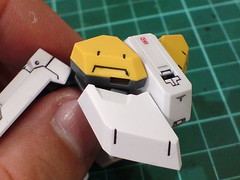
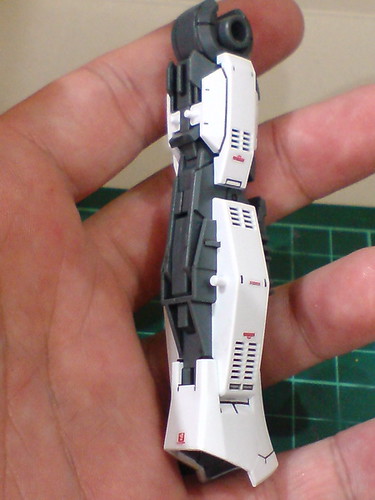
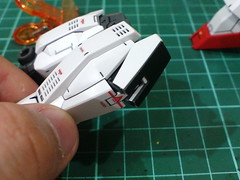
Rotation of the front forearm shown again after Part 7, with armor parts on this time. ^^
A different look for the arms when their forearms are turned. ^^
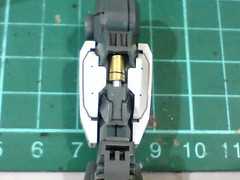
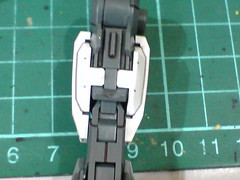
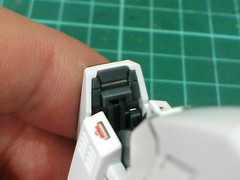
Articulation of the elbow.
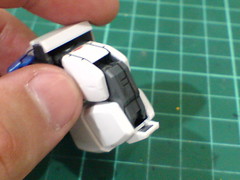
A little bit of details behind the elbow joint prevents it from being too simple-looking on this MG kit when viewed from behind. ^^;
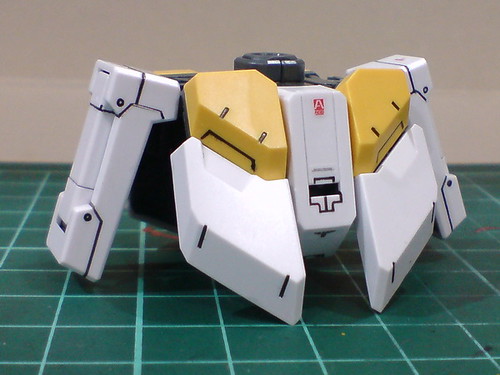
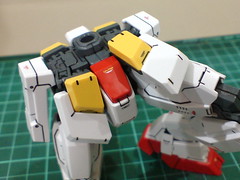
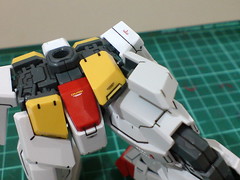
Armor parts of the skirt armor.
Separable components of the skirt armor before the final assembly.

Storage rack for the beam sabers/dagger seems more complete now with the side skirt armor part added. ^^


Separated block design of the front and rear skirt armors demonstrated again after Part 8. ^^
The modularity of having the side, front and rear skirt armors as a single block connecting to the waist is unaffected with the armor parts added onto all of them now.

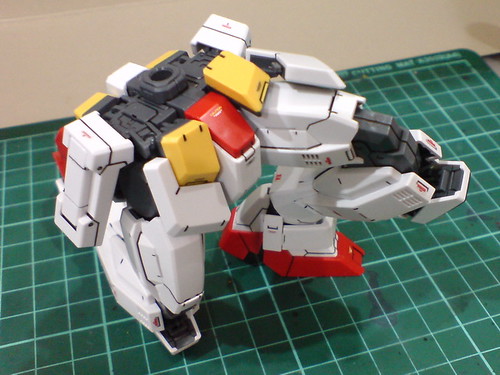
Done for the skirt armor.

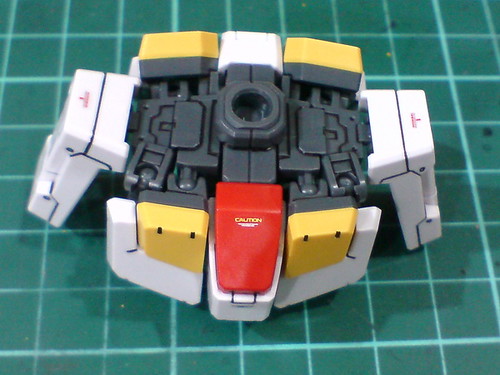
Line details on the bottom face of all the skirt armors' frames.
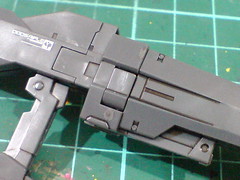
The mount rack behind the skirt armor.
Can you see the little tab between the mount rack pieces painted in Part 4? ^^

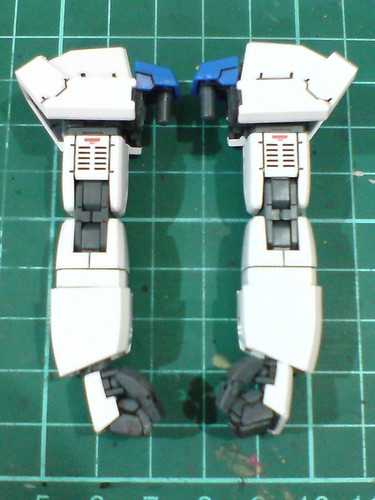
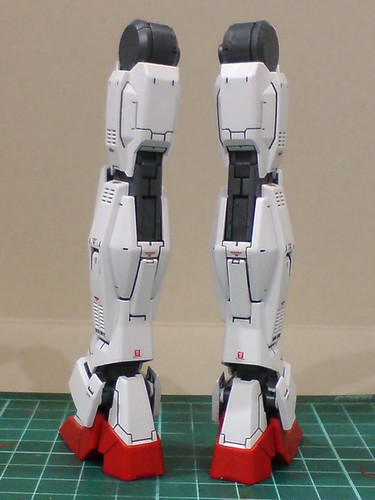
Armor parts of the legs.
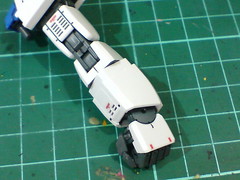
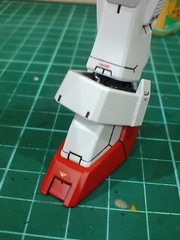
Two layers of parts give the ankle guard a thicker and more solid look. ^^

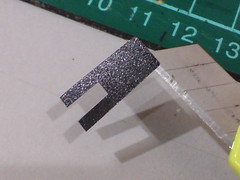

Special black PET stickers with rough surface for the knee armors.
It's interesting to see that apart from slits and connectors, the side armor parts of the thigh are latched onto the inner frame via the spaces between the frame. ^^
A partially completed leg. ^^
(Left) The parting lines painted in Part 3 create the image of having tiny gaps between the armor parts. Small and rather insignificant to many people, I still think it's a very nice design idea. ^^
(Right) The paint on the connector behind the knee armor (done in Part 3) hides the connection between the frame and armor. ^^

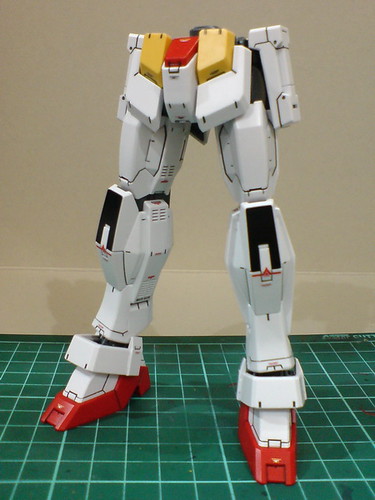
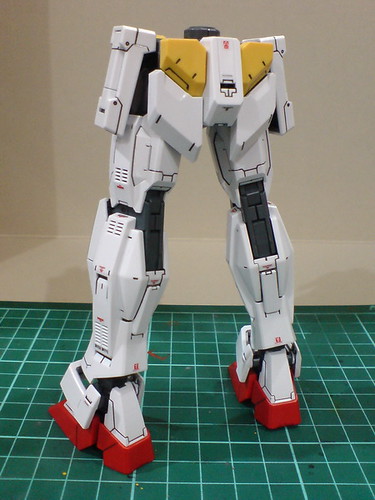
All done for both legs.

An overview of the legs' articulation.
The independently-movable knee armor and the details of the knee joint.
Bending the legs to their sides is completely unaffected by the armor parts. ^^

The ankle guard is capable of its own flexible movement via the bowl-like frame part shown in Part 8.
With the skirt armor completed earlier on, the lower body is now done. ^^

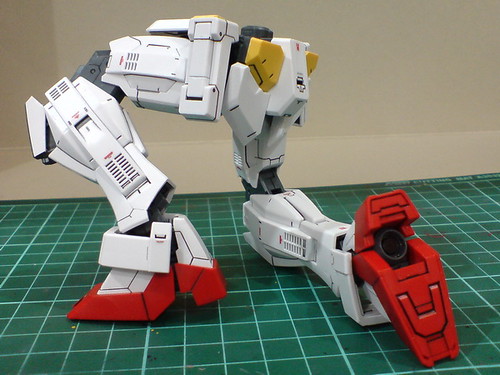
The same natural-looking kneeling pose from Part 8, but the look is obviously more complete now. ^^
Another unique points of this MG kit: the front skirt armor can be split to give more room to the thigh in supporting the model's kneeling pose.
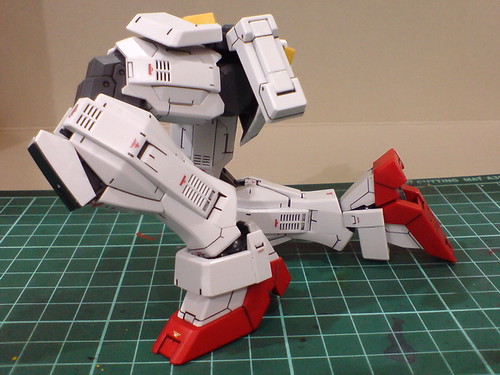
While not necessary (as seen from the kneeling pose without splitting the skirt armor), extra flexibility is always welcomed. ^^

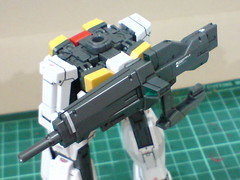
A tab on the side of DODS Rifle's barrel can be flipped downward to mount the weapon to the back of the skirt armor.
Just the body and head to go before the completion of MG Gundam AGE-1 Normal. ^^


No comments:
Post a Comment