A new round of work on MG Zaku II F2 EFSF Ver. after the previous posting. ^^
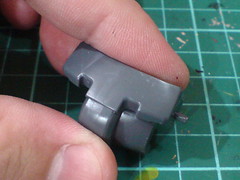
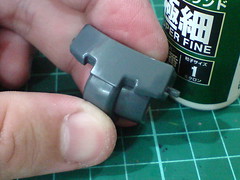
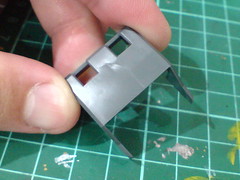

The stress marks on the chest and backpack armor parts are rubbed off using Mr. Compound Super Fine 8000 from Mr. Hobby. ^^
This is a trick I learned from the work on HGUC Sazabi. ^^
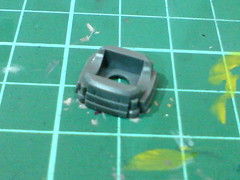
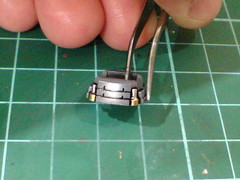
The fixed hydraulic pipes on the neck joint are painted using normal gold and silver pens.
This part looks just like the neck joint of MG Char's Gelgoog Ver. 2.0. ^^
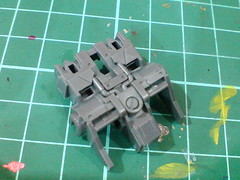
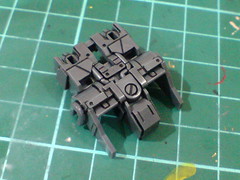
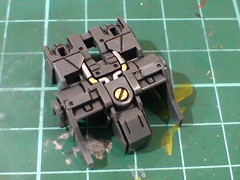
Painted the pipes and screw-like details on the backpack's inner frame part using normal gold and silver pens.
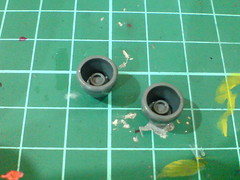
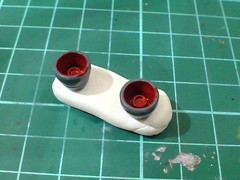
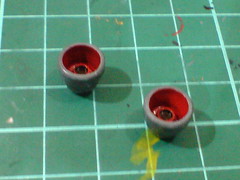

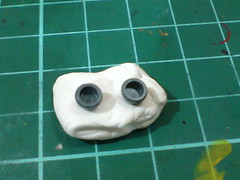
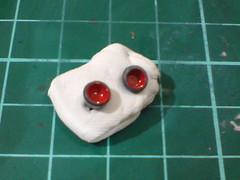


Painted all the backpack thrusters red using Gundam Marker.
The nozzles are painted using normal black marker when the paint has dried.


Simple panel lining to realize the details behind and in front of the skirt armor parts. ^^
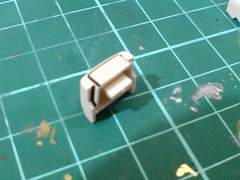
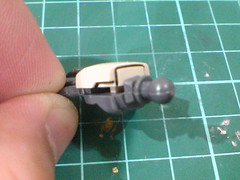
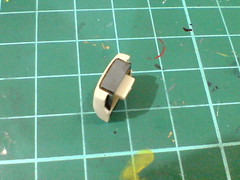
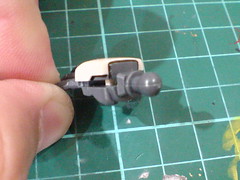
The sunken area beside the hand armor and the flat protruding area behind it are painted using Gundam Marker Gray to link it closer to the actual hand unit.
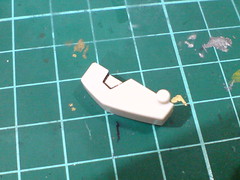
Two small sunken areas on the elbow armor part are painted gray as well, albeit not shown here.
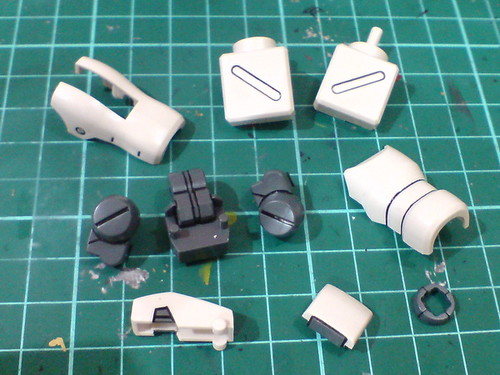
Simple panel lining for the rest of the left arm's parts.
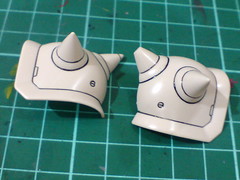
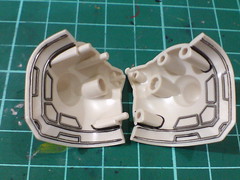
Simple, very straight-forward line details on the left shoulder armor parts that are extremely easy to panel line. ^^
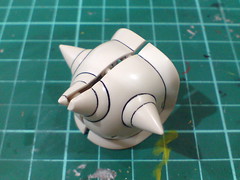
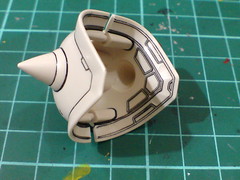
Test fitting the parts to have a preview of how the completed left shoulder armor would look like. ^^
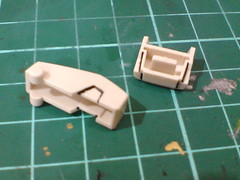
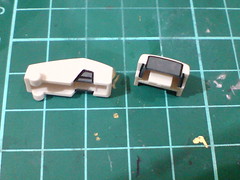

Repetition of all the paint and panel line work on the right arm's parts.
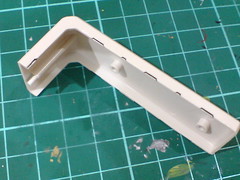
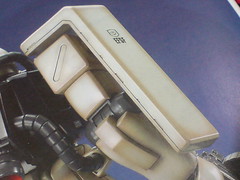
Apart from the obvious "segments" on the shoulder shield's edges, the parting line between the parts is an important detail of the shield as well.
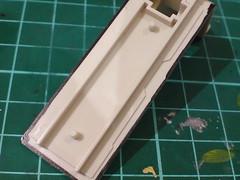
The parting line is done by painting the edges of the bottom shield part black using normal marker. The very tiny bit of exposed black paint will form the line. ^^
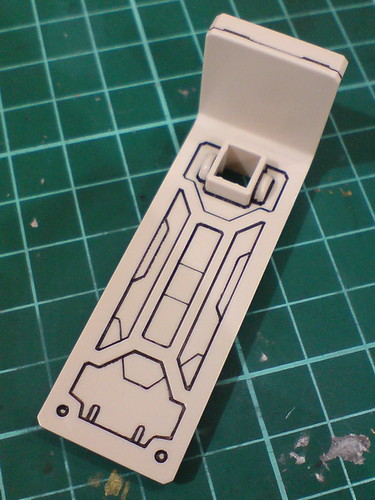
Typical Zaku II shoulder shield details on the rear face of the shield. ^^
Like Part 2 and the previous posting, not much special features to be displayed in this round of work either. ^^ Still, the simplicity and familiarity in the work is pretty enjoyable. ^^
Will be finishing up the work on this MG kit with the next posting. ^^


No comments:
Post a Comment