Another round of assembly on the last two remaining components of MG Gundam AGE-1 Normal after the previous posting. ^^

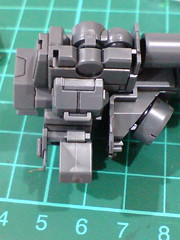
Inner frame parts of the body.

Pilot figure of Flit and cockpit part painted in Part 4.
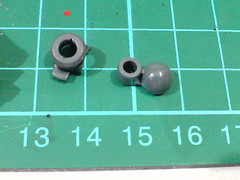
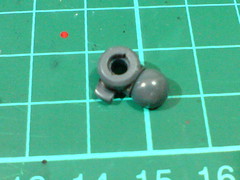
One PS and one polycap for each shoulder joint.
Almost too simple there. ^^;
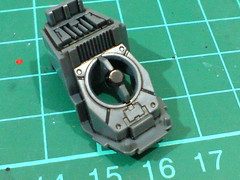
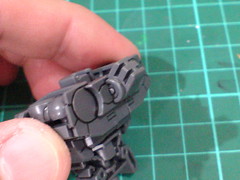
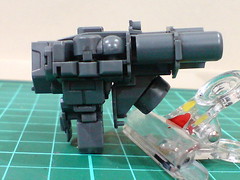
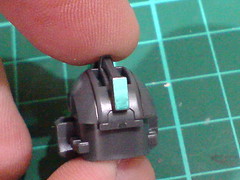
Last minute paint work: the backpack thruster area is painted black using normal marker before the nozzle part is assembled on top of it.
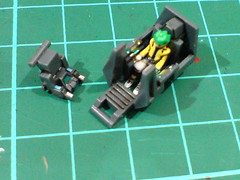
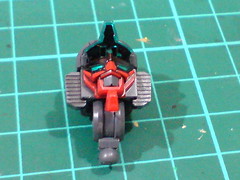
Assembled the pilot figure into the cockpit.
The little front monitor part on the left is to be assembled onto the blue chest (armor) part, no this inner frame, so it'll have to be returned to its temporary container.


Fitting the monitor part onto the cockpit area, this is how the completed cockpit module would look like. ^^
When the armor parts are assembled onto the inner frame later on, I don't think it'll be possible for the cockpit to b separated anymore, so this will probably be the last time for it to appear as an independent module. ^^

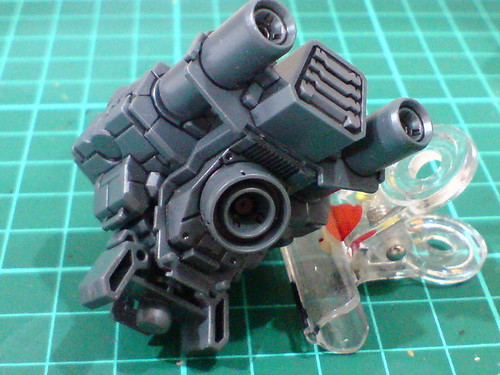
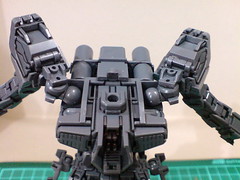
Inner frame components of the body unit.

The tiny wires on the backpack inner frame part that were painted in Part 4.

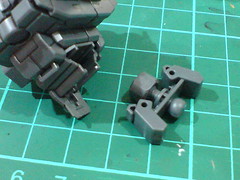
A pair of tiny pegs confirmed on the waist part, which will be used to hook onto the "track" on the side the abdomen part.


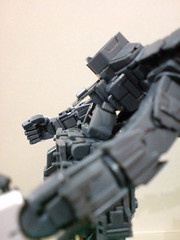
The tiny joints highlighted above allows the chest to swing forward and rearward for a slight degree.

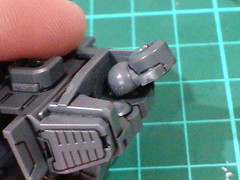
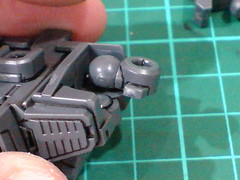

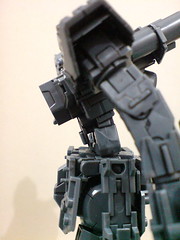
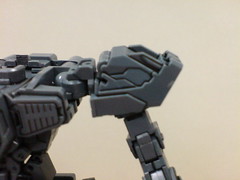
Even before the arms come on, the flexibility of the shoulder joint can be seen very clearly through its ball-type joint movement. ^^
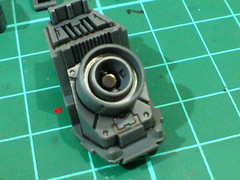
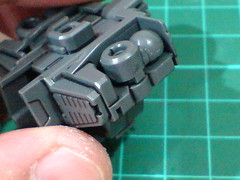
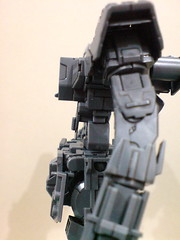
The large polycap part on the back ...

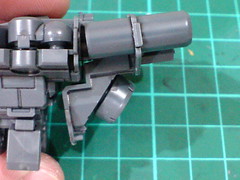
... allows the entire backpack to be bent upward for a small degree.
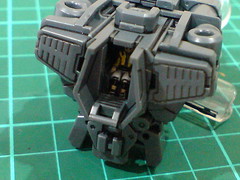
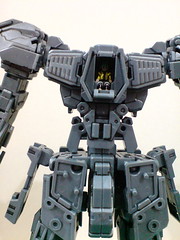
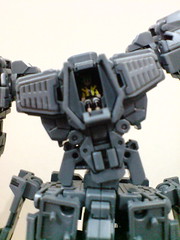
A look at Flit sitting inside his Gundam's chest. ^^

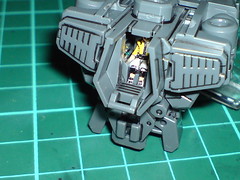
Conveniently, the entire cockpit can also be pulled outward to reveal Flit without camera flash XD
At this uncompleted stage, the entire cockpit can be slide out from the chest. ^^

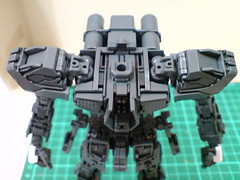
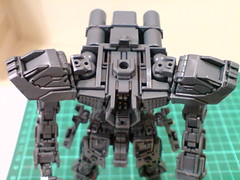
The body's inner frame is completed.
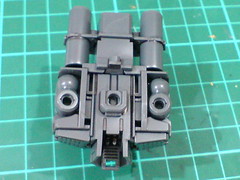
Considerate level of line details to be seen from the bottom view of the backpack. ^^

(Left) Much like the ankle polycap shown in the previous posting, the one between the waist and abdomen is completely exposed. ^^;
(Right) As it's attached to the waist block, you can actually pull the polycap out from its position inside the abdomen, but it's not exactly easy per se. ^^


Extremely flexible forward and backward bend for the waist.

With the arms and lower body completed in Part 7 and the previous posting respectively.

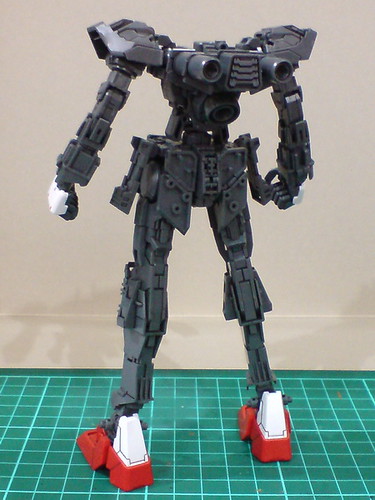
The entire body is now done.

The waist can bend to its left and right sides very easily as well. ^^
Flexible forward and backward bend of the waist shown again. ^^
Using the shoulder joints' ball-type polycap parts, folding the arms forward or bending them to the back is extremely easy, and well executed. ^^
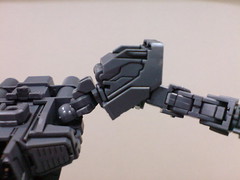
Vertical movement for the shoulder is also possible with the same polycap part. ^^

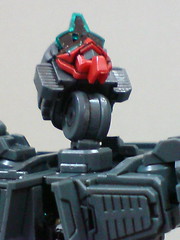
Inner frame parts of the head.
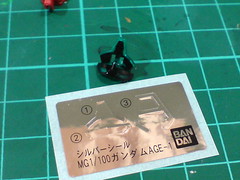
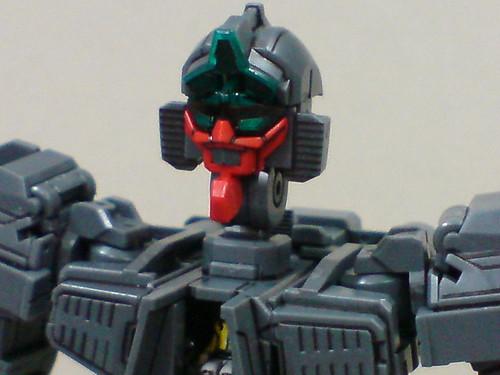
Shiny silver sticker to be applied to areas behind the forehead and eyes.

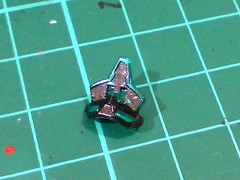
While the shiny effect isn't very clear for the forehead sensor, the silver color behind the eyes is unmistakable.
Foil sticker used for the rear sensor.
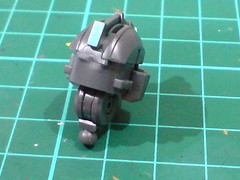
Done for the head.
Assembled the head onto the neck area.
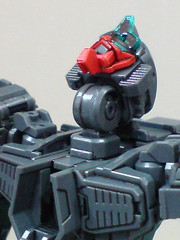
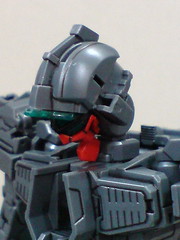
As the neck joint is a separated component, unconventionally wide upward and downward tilt for the head is not a problem at all. ^^
And the entire inner frame of this MG kit is done. ^^
Like the arms (Part 7), legs and waist (the previous posting), the body unit is rigged with movable points in pretty much every position where there's equivalent human movement (and more really, since we don't carry a backpack or has a pair of shoulder armors XD). ^^ The most interesting thing about the overall design in my opinion, is how all those articulation points are achieved via very simple parts. Most of the joints are just made up of three or four PS and polycap parts in total, but the articulation capability enabled by those few parts is very impressive.
The difficulty level of this kit's assembly is very low, with pretty standard part count (291) for a MG kit, but there are many things to be observed about the details, part design, joints and articulation, which are noteworthy in the review, resulting in a rather lengthy coverage just for the inner frame so far. ^^;
It's a very fun kit to build. The whole assembly is just about 60 percent done at this moment, obviously since the armors are still kept in their boxes, but the unconventional part design and excessive movable points are very fun to experience. ^^
More images of the inner frame and some of its action poses to be featured in the next posting. ^^


No comments:
Post a Comment