Finally dusting off a Gunpla kit that has been sitting in my closet since August last year to give it its much deserved completion. ^^;
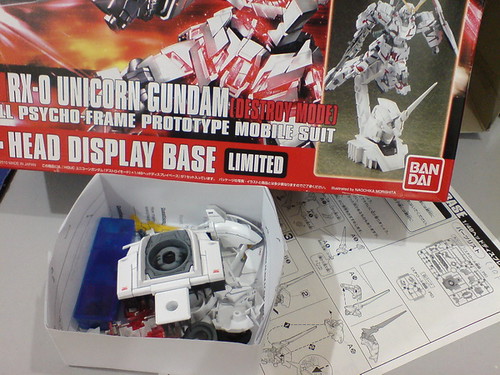
The box shown above is actually from HGUC Unicorn Gundam [Destroy Mode]. Even though the head display base is bundled with that HGUC kit as a limited regional release, I treated them as separate kits, hence the different reviews. Ultimately, the completed head display base is going to be used exclusively by HGUC Unicorn Gundam [Destroy Mode] and [Unicorn Mode]. ^^
The head display base itself is capable of transformation between the two modes. Following the instruction sheet, the Unicorn Mode is the default form of the base, which will be the focus of this first part of the assembly. ^^
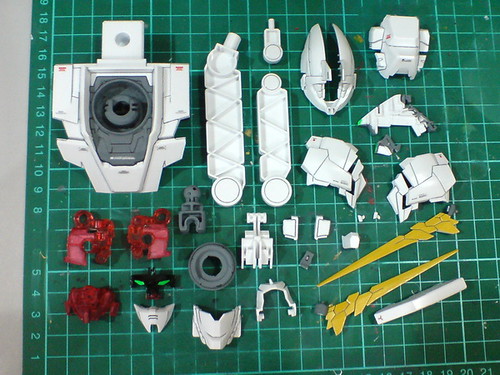
All of the head display base's parts.
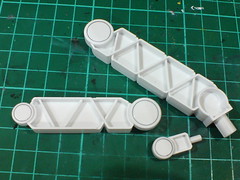
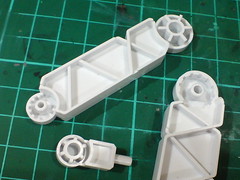
(Left) Three parts for the display stand.
(Right) With their tabs and slots, the two joints are non-movable and would require part-swapping to configure their angle of display. The profuse number of slots allows a very wide range of configuration for the joints. ^^
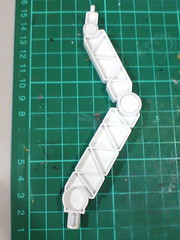
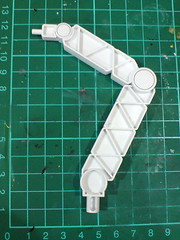
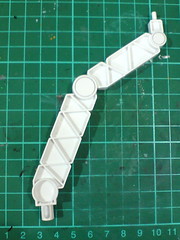
A few combinations for the display stand's joints.
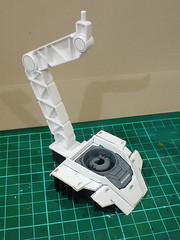
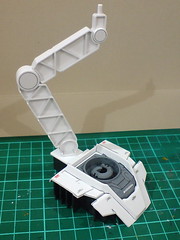
The large rounded peg connecting the stand to the base doubles as the stand's swivel joint. ^^
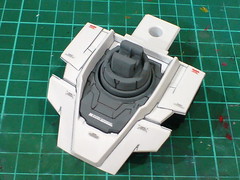
Snapped (literally ^^) the neck joint onto the base part.
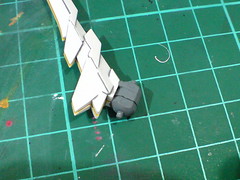
The ring between the V-fin parts was fixed to the joint of the top part and painted in Part 3.
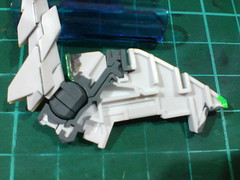
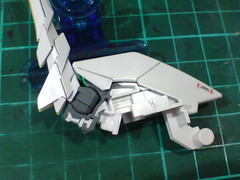
(Left) The horn is snapped onto the forehead block via two dedicated slots, which will lock the parts but still permit them to be movable.
(Right) The top part of the head is attached to the forehead block.
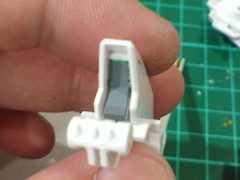
The rear sensor painted in Part 3 is completely off the mark as you can see. XD The actual sensor is the large patch right beneath it. ^^;
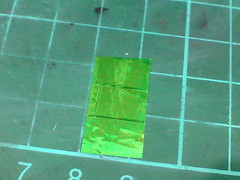
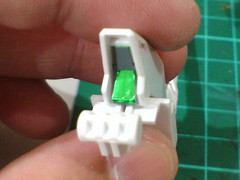
Last minute "salvation" work (XD): metallic green tape is used to create the new rear sensor.
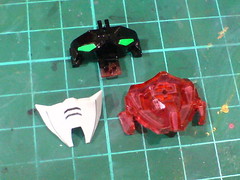
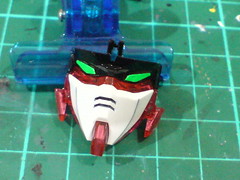
The Destroy Mode's face parts are now assembled firmly, finally. ^^

Snapped the face to the forehead block.
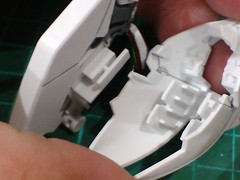
(Left) The top helmet part has a set of tabs beneath it to connect to the forehead block.
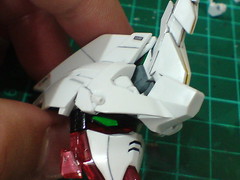
(Right) Assembled the really puny Vulcan parts to the side of the helmet.
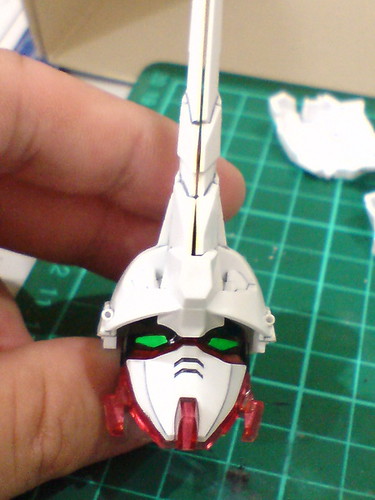
Checking the two Vulcans' alignment from the front of the head. ^^
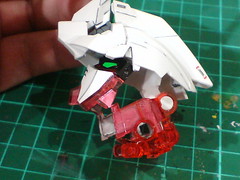
Added the "core block" of the entire head, which will serves as the placeholder for side helmet parts, compartment to store the mask part in [Destroy Mode] and the connecting point to the neck joint.
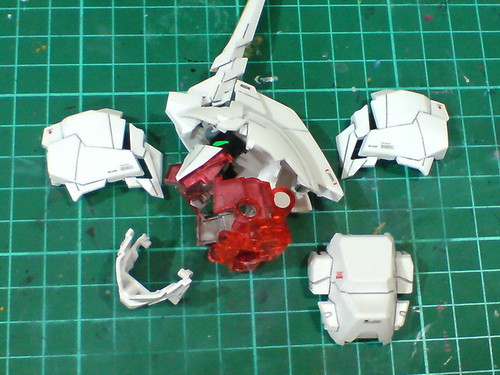
Another four components to "cover up" all sides of the current unfinished model. ^^
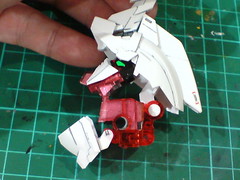
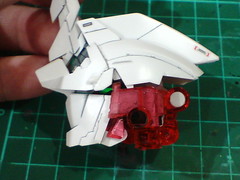
(Left) Attached the Unicorn Mode's mask part to the core block.
(Right) The mask is adjusted upward, covering the retracted face component of the Destroy Mode.
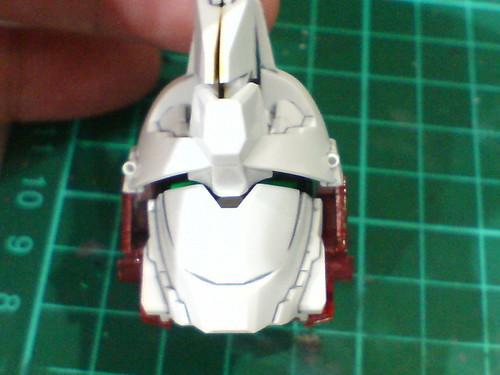
Front view of the face reveals the eyes that can still be seen partially through the slit between the forehead and mask.
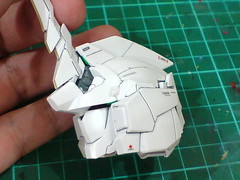
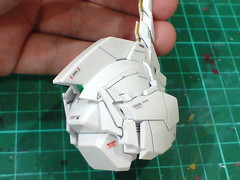
Added the two side helmet parts to complete the entire head's assembly.
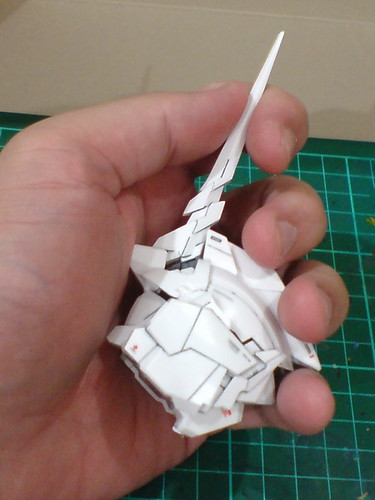
Size comparison between the head and my palm. ^^

With the head attached to the base, the entire assembly is done. ^^
The entire assembly is very simple, since this is technically the second time I did it. ^^ Then again, the first test fitting back in July last year doesn't feel like a particularly useful experience, since the need to apply force to snap certain parts together was absence during the first attempt. ^^; Even though they are clearly indicated in the instruction sheet, I was still very nervous when putting those parts together due to fear of breaking them.
On the other hand, I found out that I wasn't paying much attention to the paints needed for various parts in that first test fitting experience. ^^; The painted rear sensor that was mile off its designated location was a laughable mistake. ^^; So much examination on the part before the paint work and I still managed to miss the actual spot. ^^; I'm pretty sure that forehead block was laughing at the mistake for around four months while sitting in the box waiting to be assembled. "I wonder what expression the idiot will wear when he assemble me and find his paint work to be a mistake?" XD
Another disappointing missed spot is the front section of the forehead block. Anticipating that not much of it is going to be revealed in either mode, I didn't paint much of it. As it turns out, regrettably, the missing paint work is pretty obvious right in front of the horn. ^^; As everything was already firmly snapped in place at the moment when I found the error, I don't feel like taking the whole thing apart to work on the missing paint. It's going to be covered up in Destroy Mode when the forehead block is pushed forward as part of the transformation design. I'm thinking I should keep the whole model in Destroy Mode just to conceal that unpainted area. ^^;
More images of the complete head display base:
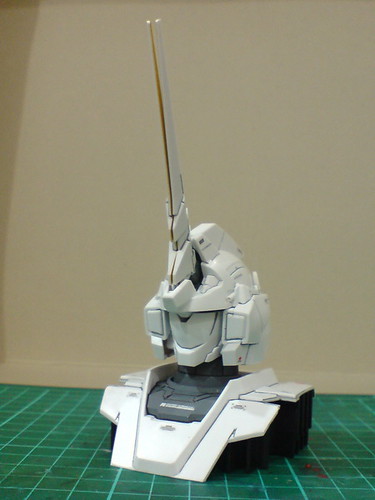
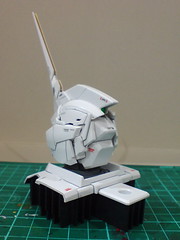
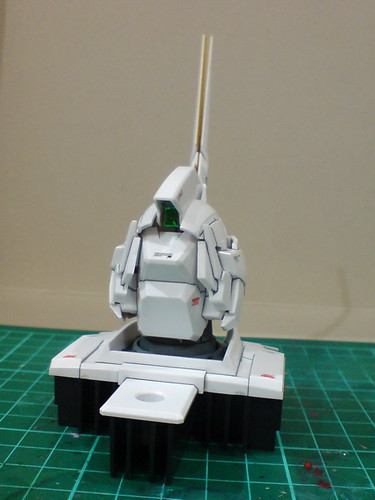
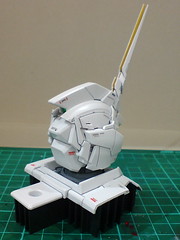
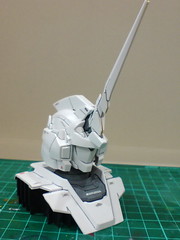

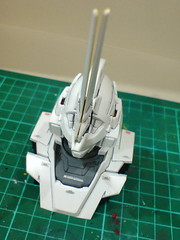
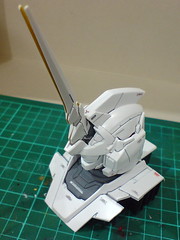
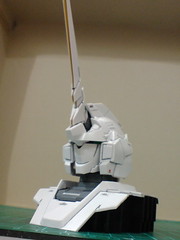
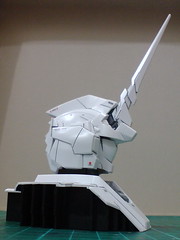
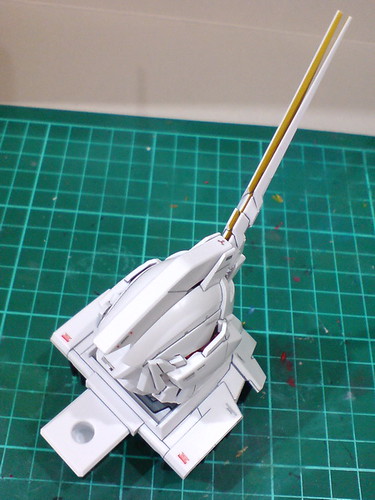

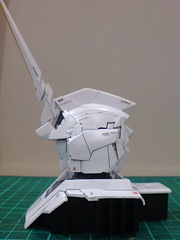
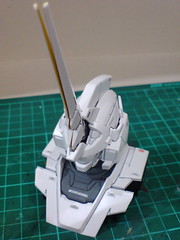
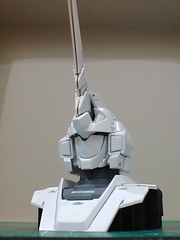
Closeups on the details:
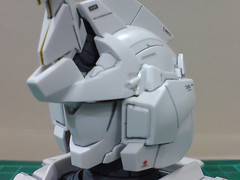
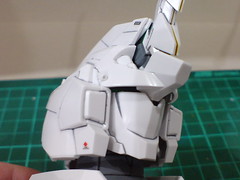
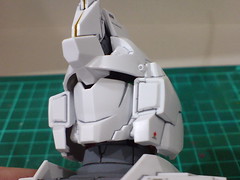
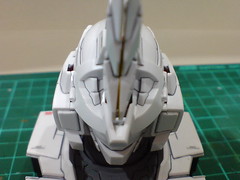
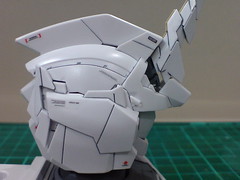
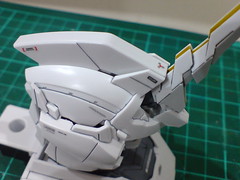
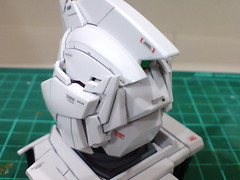
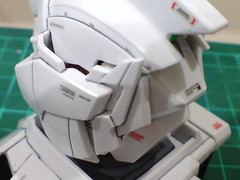
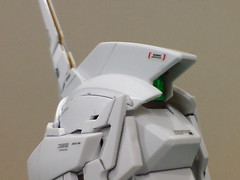
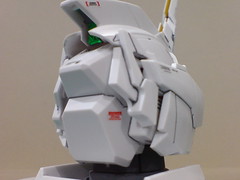
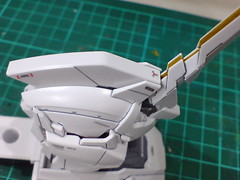
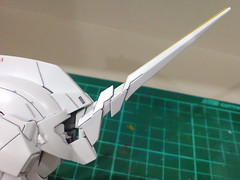
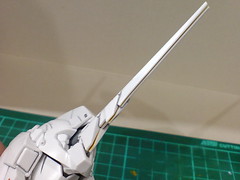
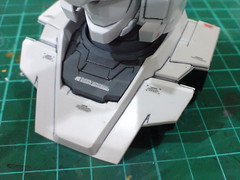
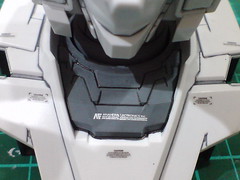
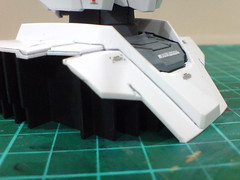
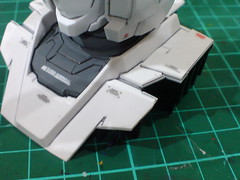
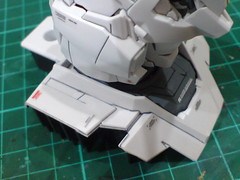
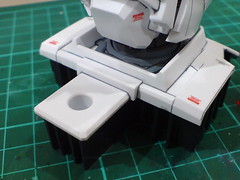
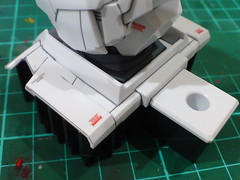
Using the double point neck joint, simple movement is possible for the head.
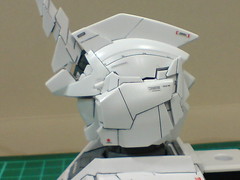
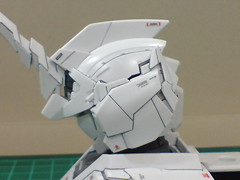
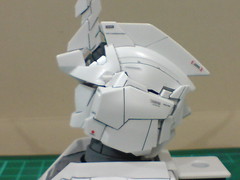
Hinge joint allows the head to be bent vertically. The ball-type joint at the base of the neck helps to increase the range of movement for this articulation point.
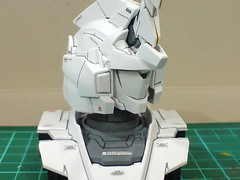
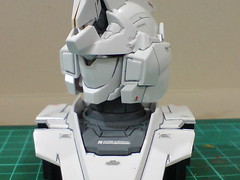
Tilting the head from side to side is very easy using the neck joint's base.
A look at the application of the head display base to support HGUC Unicorn Gundam [Unicorn Mode]:
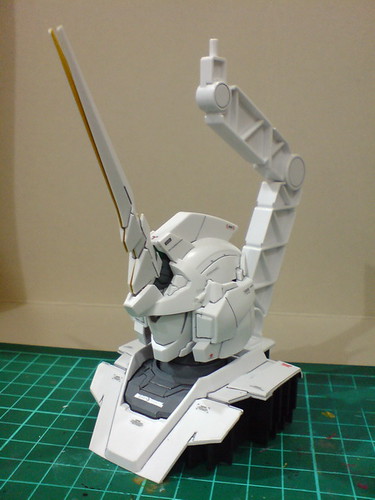
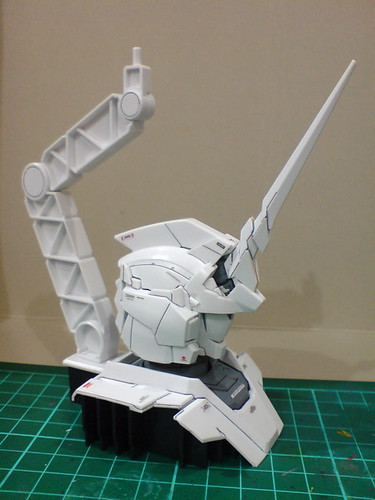
With the display stand attached.
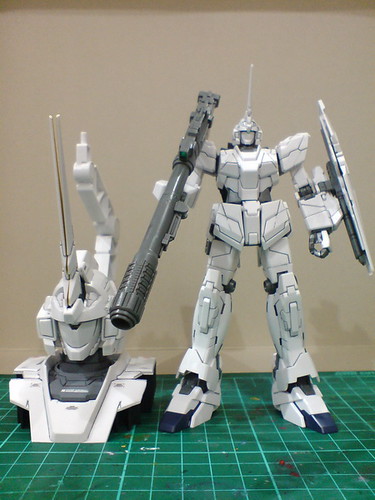
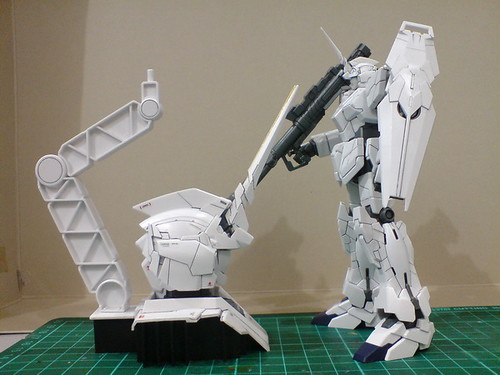
Comparison with HGUC Unicorn Gundam [Unicorn Mode].

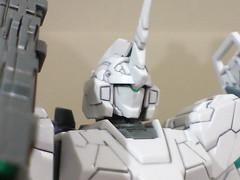
Closeups on the two kits' face show that they are in fact pretty close in terms of proportion design. ^^
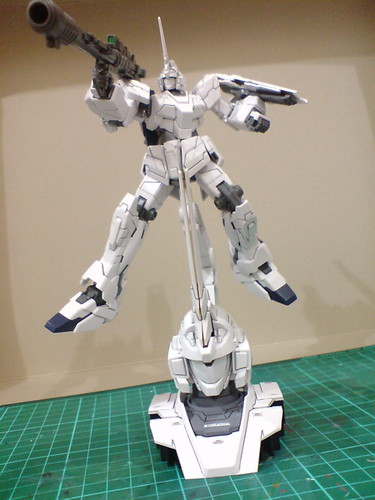
Mounted the Gundam model onto the head display base.

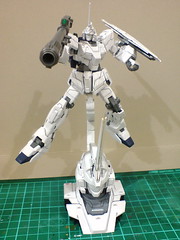

It's Unicorn Gundam [Unicorn Mode] posing on top of Unicorn Gundam [Unicorn Mode] XD
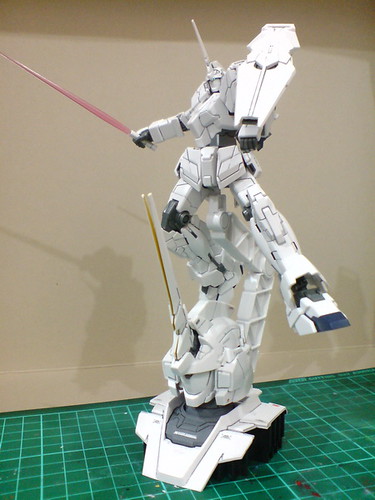
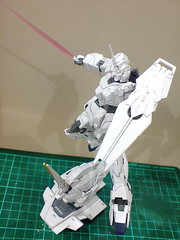
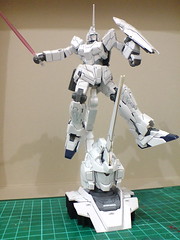
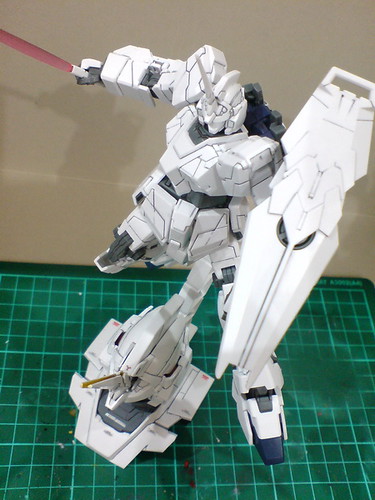
Comparison between the head display base with another two display bases meant for Gunplas:
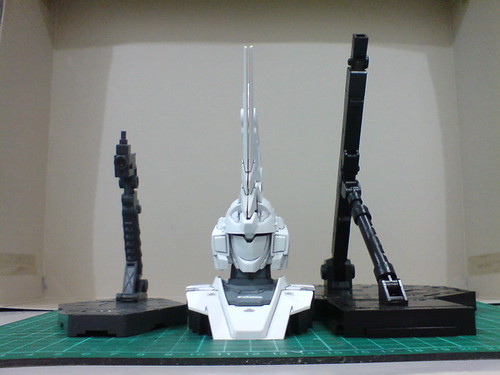
With Action Base 2 (left) and 1.

Taken aside the display stand's height, the base's size seems fairly similar to that of Action Base 2. ^^
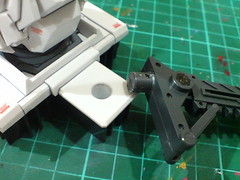
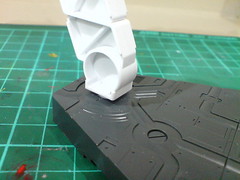
Despite their very similar look, Action Base 2's stand joint is slightly larger than that of the head display base, so it's too tight to be fitted into the head display base's slot. ^^;
The looseness of the head display base's stand joint in Action Base 2's slot is an indication of this subtle but impactful size difference as well. ^^;
A look at the head display base's transformation to Destroy Mode next. ^^


No comments:
Post a Comment