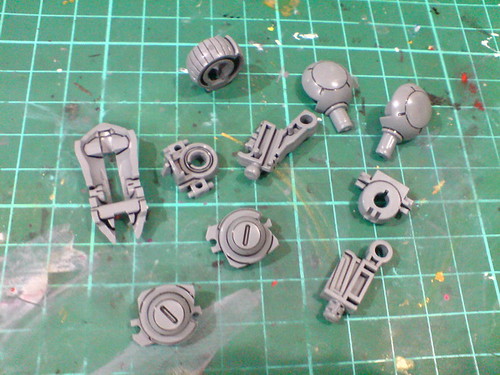
Slowly approaching the end of the entire work on Master Grade Sinanju Ver. Ka after the previous posting. ^^ The focus in this round of detailing and painting will be on the shoulder armor, and arm parts. ^^
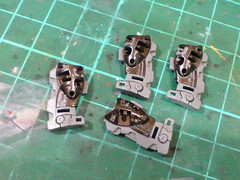
The peg joints that connect the shoulder thrusters to the shoulder armor frame part can be painted just like the many knee pegs detailed in the previous posting.
Unlike similar parts shown in previous postings, the line detail is already molded onto the peg, thus requiring no extra work to create. ^^
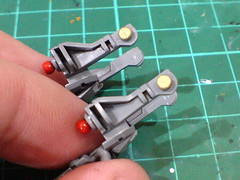
(Left) The surface of the pegs are painted using Gundam Marker Gold.
(Right) The line detail is panel lined.

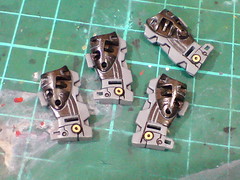
Minor touchup on the panel lining of the shoulder thruster frame parts, which was originally applied in Part 10.
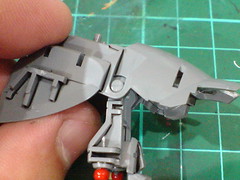
Test fitting the detailed parts to see how the shoulder armor would turn out when assembled. ^^
The molded line details on the brachioradialis area of the forearm parts are panel lined using Tamiya's Panel Line Accent Color (Gray).

Small ring details near the wrist are painted gold using Gundam Marker.
The combination of gun metal parts, and golden rings on the forearm frame relates to the knee joints which feature similar color scheme. ^^
With the rings panel lined, the work on the forearm frame parts is done. ^^
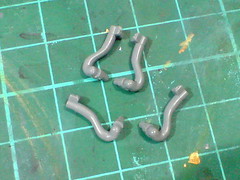
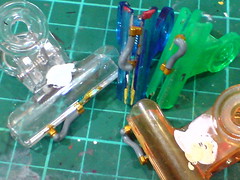
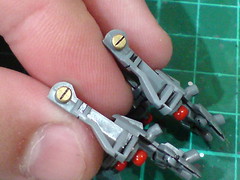
(Left) The pair of connectors on both ends of the forearm pipes can be painted to highlight their appearance. ^^
(Right) Painted the targeted parts using Gaia Metallic Color No. 122 Star Bright Gold.
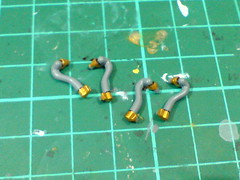
The borders between the connectors and the pipes are panel lined.
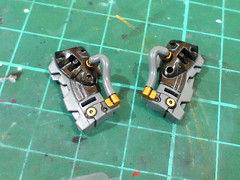
Test fitting the painted parts to see how the forearm frame would turn out when assembled. ^^

Unlike the same part on the shoulder thruster, the peg joints of the beam saber mount rack's connector feature no molded line detail. ^^;
Repeating the minus mold pattern on joints, the surface of the connector's peg is cut using a knife to create the desired line detail.
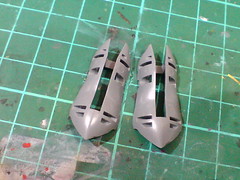
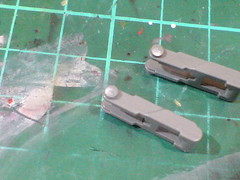
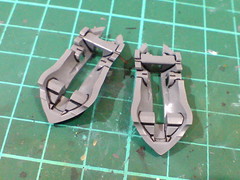
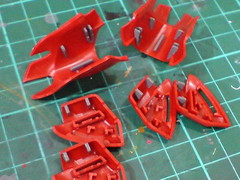
The beam saber mount racks themselves look pretty bland on their upper face. ^^; The many slits to hold the armor part are passable as molded details, but there are still a large chunk of "blank spots" in the middle section. ^^;
Not wanting to create elaborate patterns that might not come out properly later, I decided to just append simple line details to the parts, which are aimed to just somewhat reduce the "blankness" of the surface. ^^
The lines are marked using normal panel liner before the cutting process.
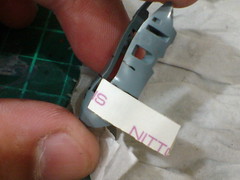

(Left) A piece of double-sided tape is a very useful guiding tool for the cutting process.
(Right) The line details are cut using Tamiya Handy Craft Saw.
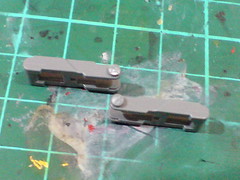
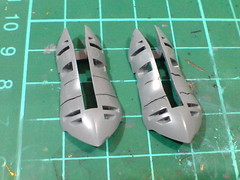
The entire surface is sanded thoroughly using paper file to get rid of the flash that popped up when the parts are cut.
As a result of the rigorous sanding, the surface now has a lighter color when compared to all the frame parts. ^^

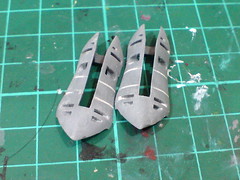
The newly created line details, as well as the molded details beneath the parts are panel lined using a combination of normal panel liner, and Tamiya's Panel Line Accent Color (Black).

Test fitting the detailed parts to see how the beam saber mount rack's connector would turn out when assembled. ^^
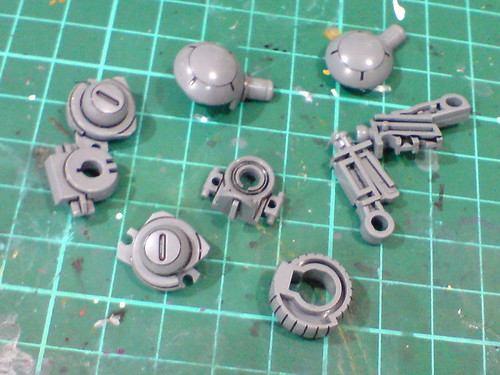
Simple panel lining for the other arm parts.
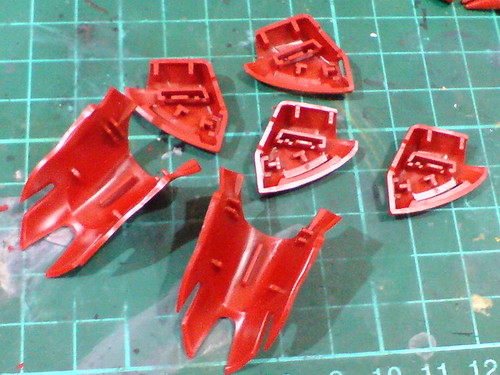
Following the paint practice on similar parts behind the leg armors (Part 15), most of the connecting tabs beneath the red shoulder armor parts are going to be painted gray to make them look more cohesive to the frame parts they are attached to.

Test fitting the parts to find out the specific tabs that require the paint work mentioned above.
The targeted tabs are painted using Gaia Color 073 Neutral Gray III.
Paint brush is a much more convenient painting tool to deal with the sharp corners, and narrow slits of some of the connecting tabs, as compared to Gundam Marker.

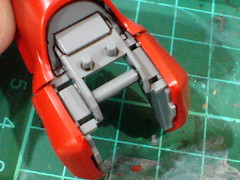
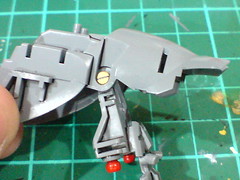
Test fitting the painted parts to see how the connectors would turn out on the shoulder armors when assembled. ^^

The shoulder armors' frame parts themselves are panel lined using a combination of normal panel liner, and Tamiya's Panel Line Accent Color (Black). ^^
Will move on to the backpack next. ^^


1 comment:
I think I'll start this weekend.
Post a Comment