After the introduction, this posting will focus on all the accessories and option parts included for Composite Ver. Ka Cybaster. ^^
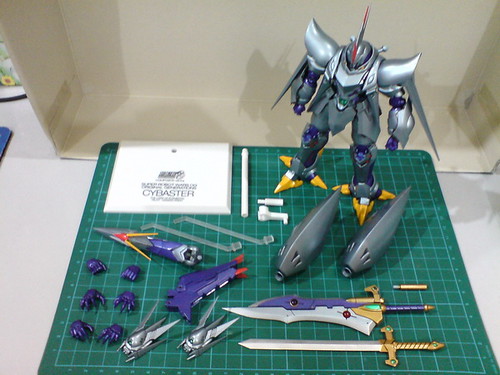
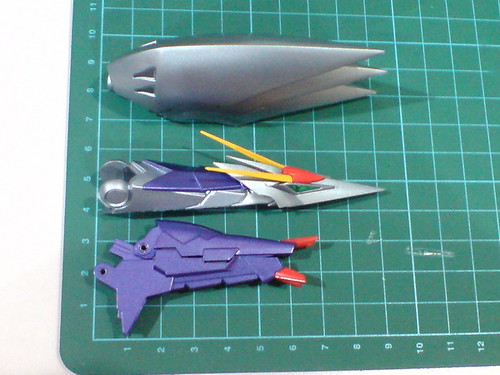
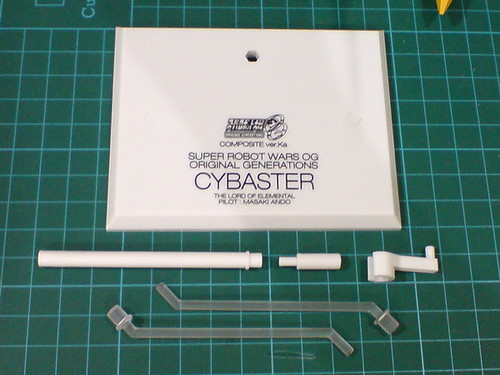
The main figure, and all the separate components removed from the two trays.
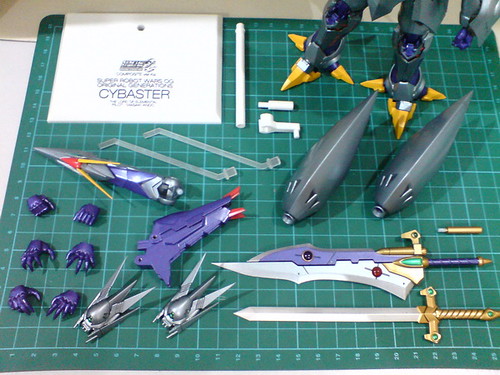
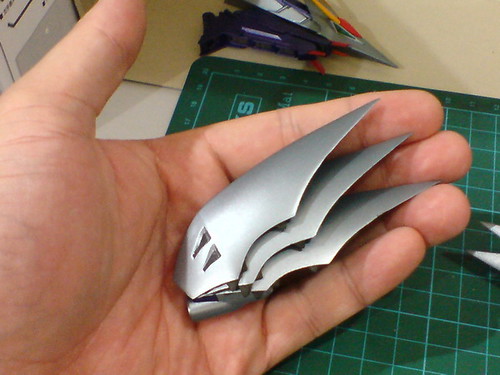
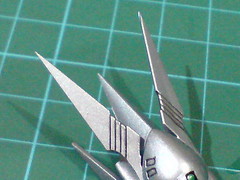
The four back components to complete Cybaster.
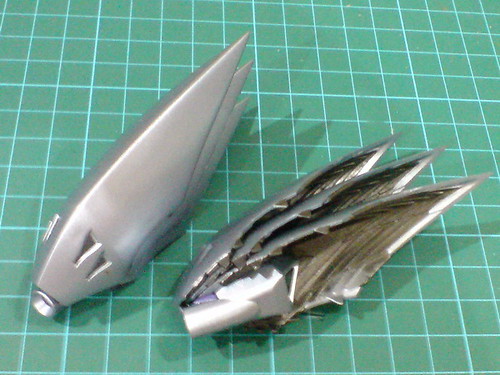
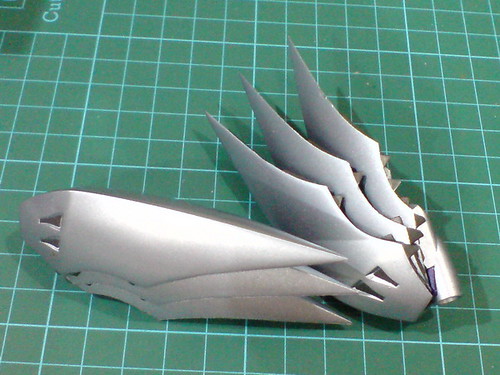
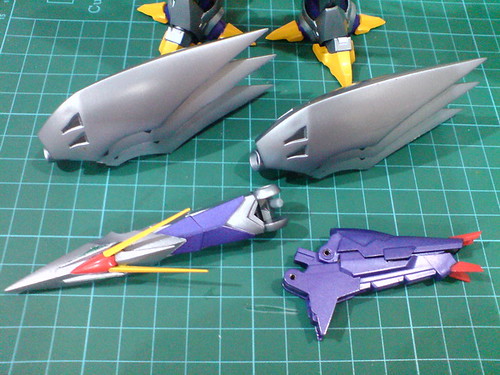
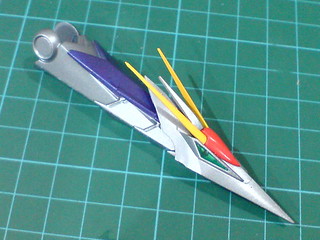
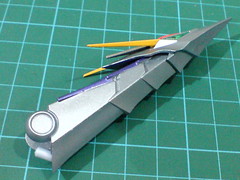
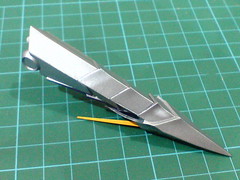
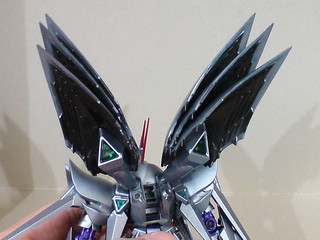
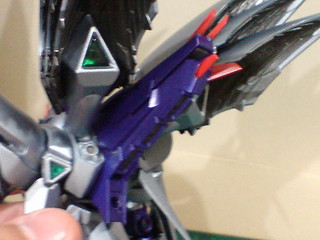
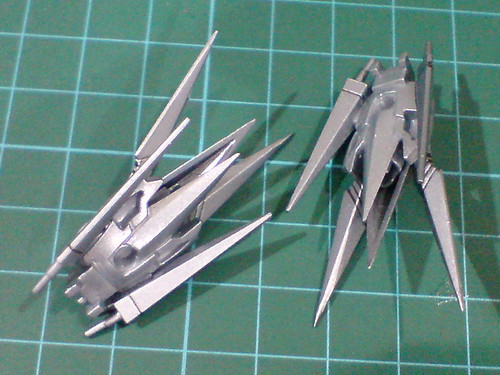
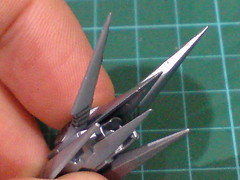
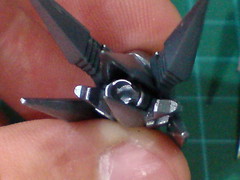
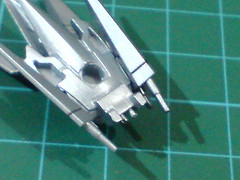
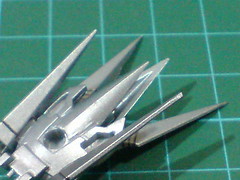
Two large wing clusters.

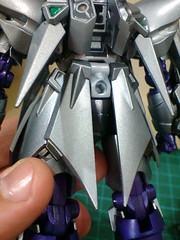
The first thing to notice about the parts is the shininess of their metallic silver paint scheme.

Very nicely molded details for the interior of wings, with rows of teeth-like appendages stretching outward on the edges. ^^
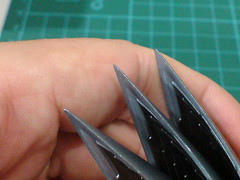
The three wing tips on each part are pretty sharp. ^^
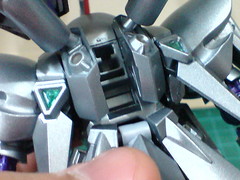
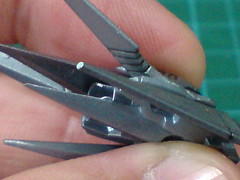
Rather crude paint work for the vents. The black paint looks like tiny pieces of stickers that are a bit too small for the parts they are meant for. ^^;
Comparison between the wings and my palm.
On a separate note, while they look big, they are actually pretty lightweight. ^^
As you can see, each part is made up of three wings, which are layered over one another. The wings are completely fixed.
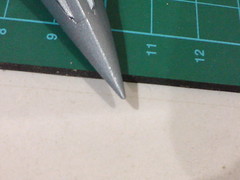
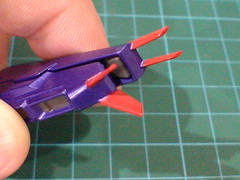
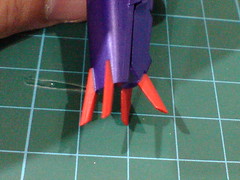
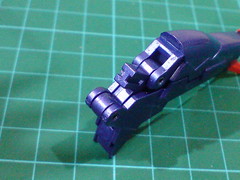
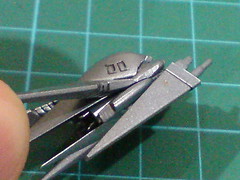
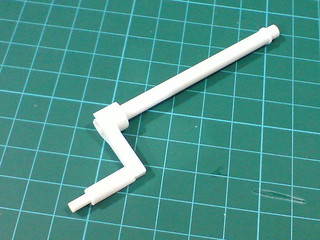
The tail.
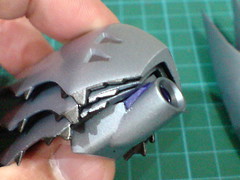
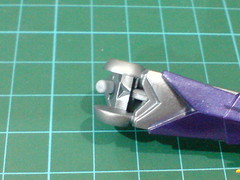
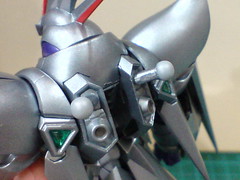
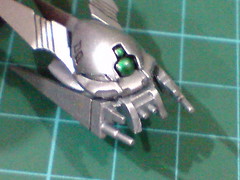
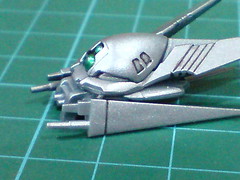
The beak, horns, and tip behind the head are very pointy.

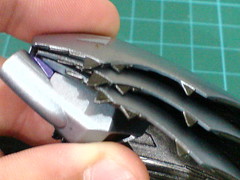
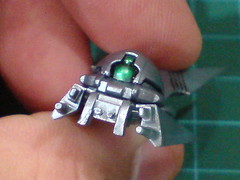
The eyes are evidently made of clear green parts.
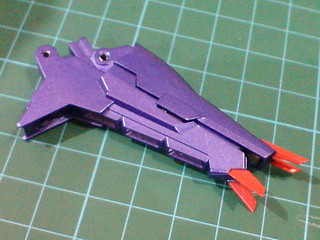

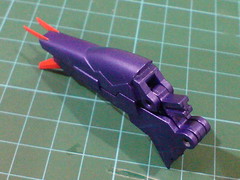
The backpack.
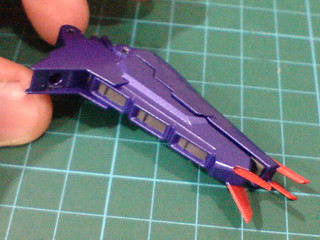
Very nice paint work for the thruster interior, and the four red fins.
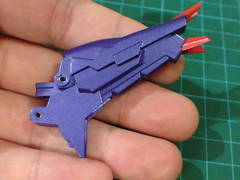
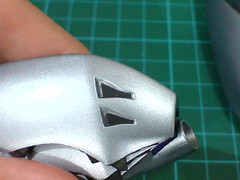
For its Cybird mode transformation, the top and bottom sections can be split apart.
The cross section between the split backpack has some molded details that are painted equally well as the thrusters.
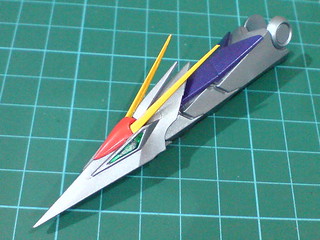
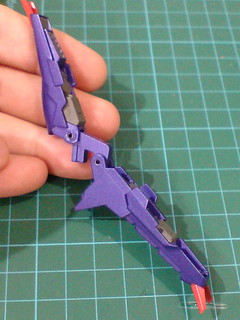
Length comparison of the wing, tail, and backpack.
To equip the tail to the back of Cybaster's waist, the rear skirt armors have to be lifted first, just to get them out of the way.
The peg on top the tail that is going to plug into the large slot behind Cybaster's waist.
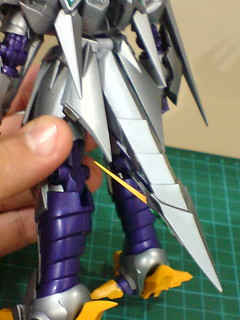
The tail is attached to the figure.
A pair of ball-type joints on pretty long pegs will be used to hold the wing clusters.
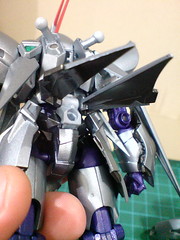
The wings are attached to the figure.
(Left) The "I"-shaped tab in front of the backpack, ...
(Right) ... and its designated slot in the middle of the figure's back.
The backpack is attached to the figure.
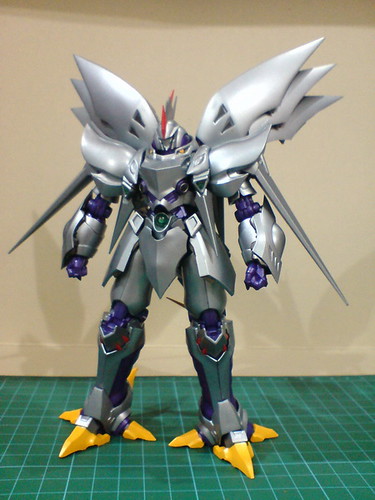
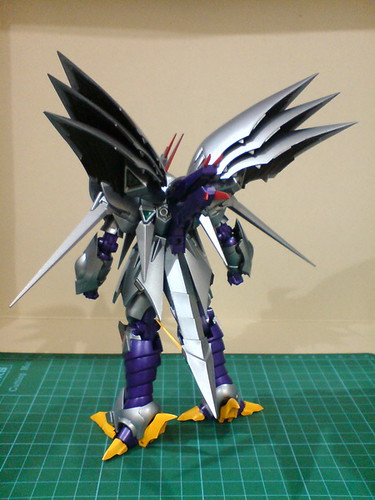
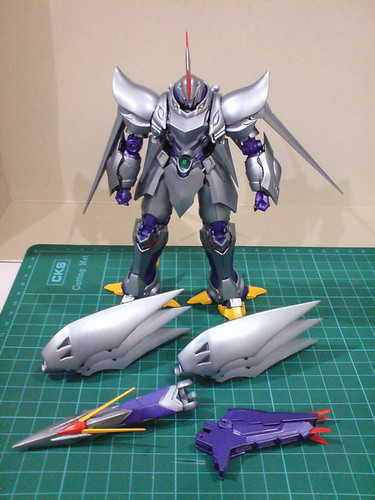
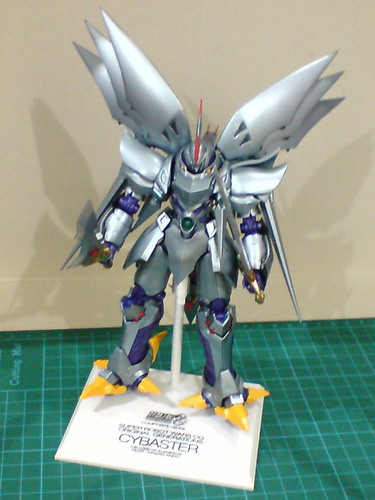
Cybaster in its completed form, but it's still weaponless at this point. ^^;
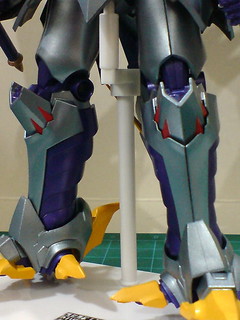
While the individual components are pretty lightweight, having all of them appended to the figure's back does give it a considerable amount of extra weight to carry, in a literal sense. XD The figure doesn't exhibit any issue of being back-heavy at the moment, perhaps of its brand new condition right now. However, the extra weight on the back of the figure is definitely something that I'll keep in mind when playing with it in the future. ^^
Moving on to all the accessories and option parts:
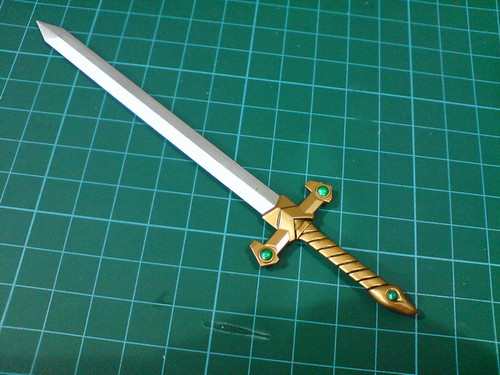


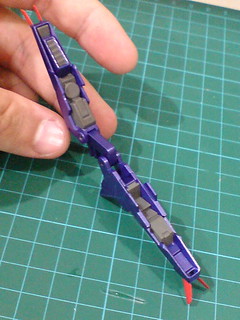
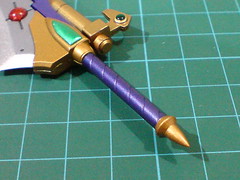
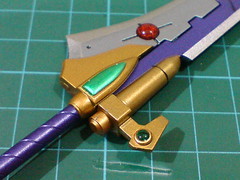
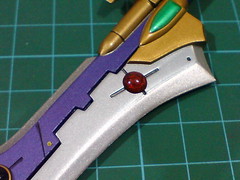
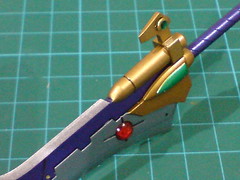
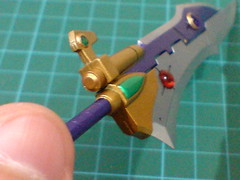
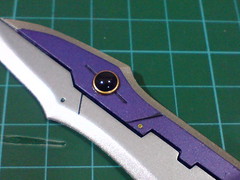
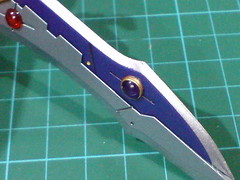
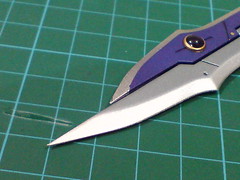
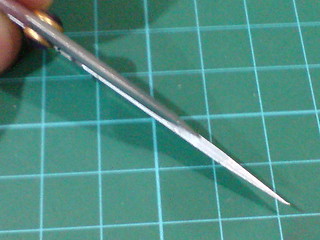
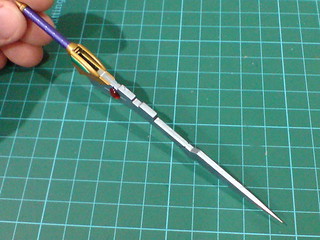
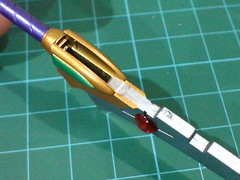
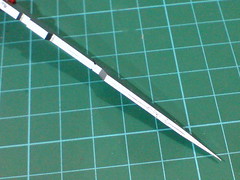
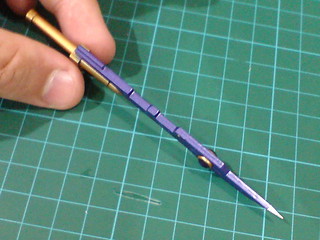
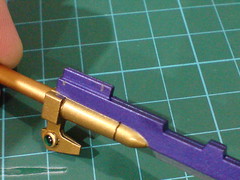
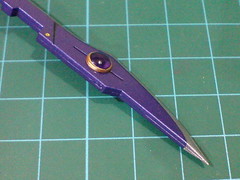
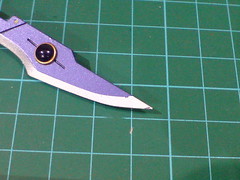
Discutter (ディスカッター), Cybaster's main sword.
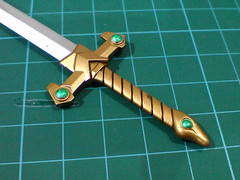
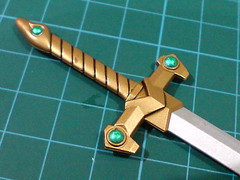
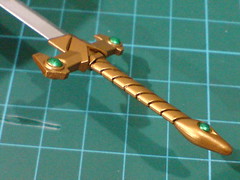
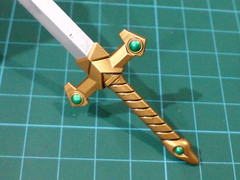
The shininess of the six green orbs on the crossguard and pommel are immediately noticeable on Discutter's golden hilt. ^^
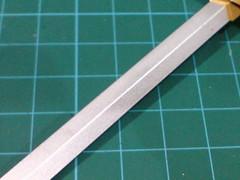
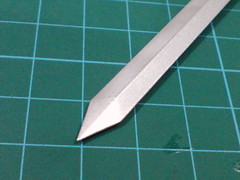
The blade is straight, sharp, and very pointy at its point. ^^
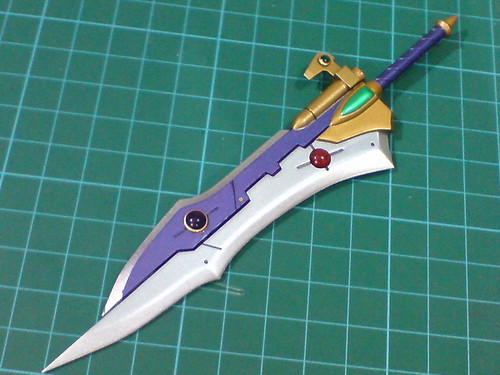
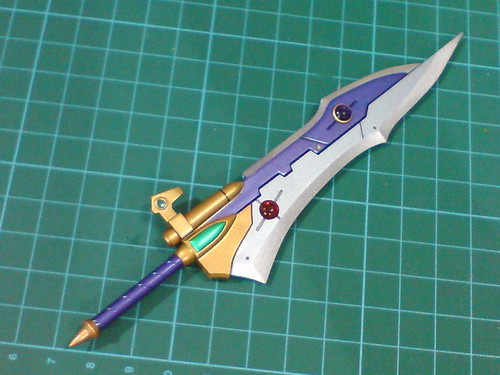
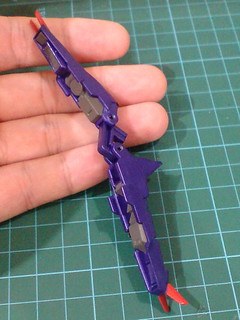
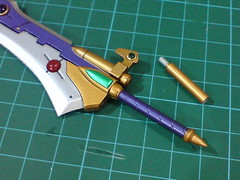
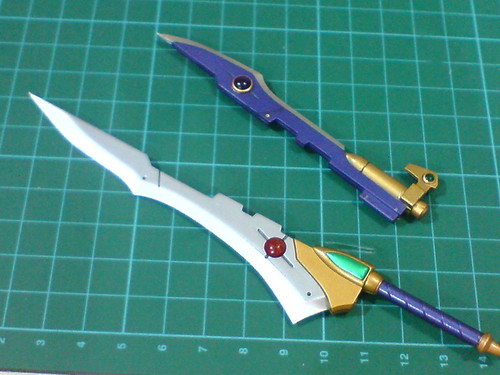
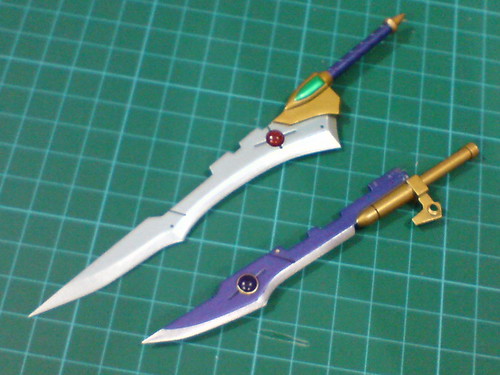
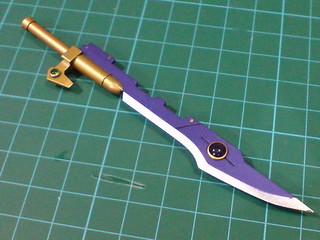
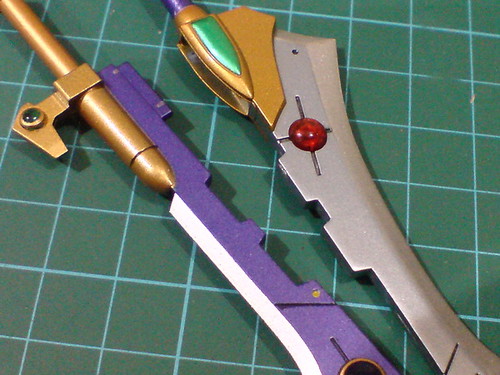
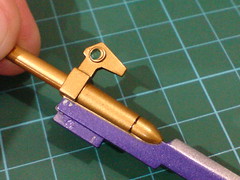
Vanity Ripper (バニティリッパー), the upgraded version of Discutter.
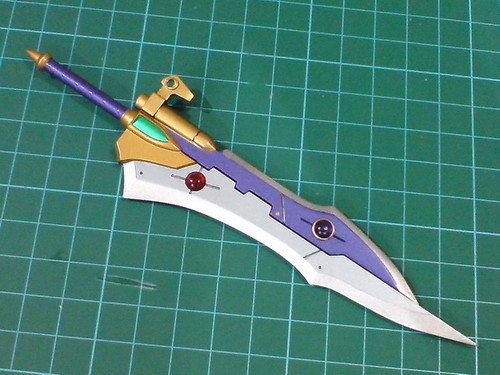
Instead of calling it an upgrade, Vanity Ripper can be considered a completely different sword. ^^


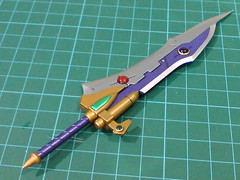
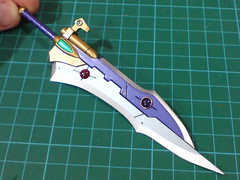
Closeups on the details.
Besides having more colors than Discutter, the sword features more shapes, and molded details. Curves, and protruding points are added to the edge on both sides of the blades as well. ^^
As a combined sword, the two sword parts don't line up accurately in the middle. ^^; This slight flaw is noticeable due to the difference in the two sword's length, which exposes the shorter blade's tip that has "strayed off" its straight alignment. ^^;
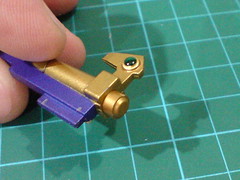
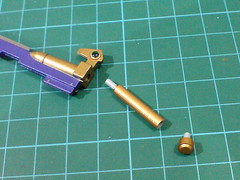
Part swapping is needed to realize Vanity Ripper as two separate swords.
An extra handle part is included for this configuration.
The sword is split in half right down the middle.
The "cap" beneath the shorter blade is actually the individual sword's pommel.
Interestingly, no special name is mentioned for the individual swords in the instruction sheet. The longer one is systematically named "Vanity Ripper A", and as you might guess, the shorter one mentioned for the image above is "B". ^^
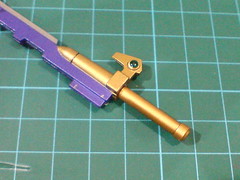
Very simple assembly to give the shorter sword its hint.
Vanity Ripper as two separate swords. ^^
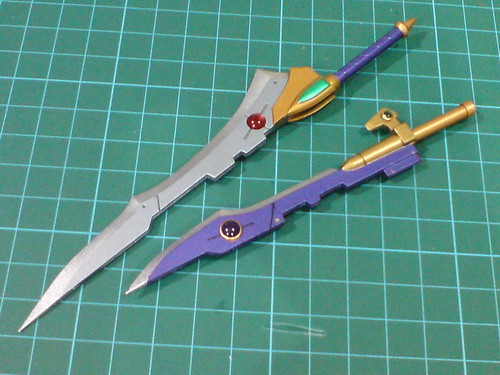
Vanity Ripper A
Vanity Ripper B
The accurate color separation between the blade area and its edge is the most fascinating strength about each sword's detailing quality to me. ^^
I've managed to realize similar paint result, though quite a bit of work, on the sword parts of my Gundam Exia model kits, so I really appreciate the excellent outcome of the color separation on these two swords. ^^
Some minor untreated excess paint spotted on the crossguard area, and near the front edge on Vanity Ripper B, but they are too minor to really affect the overall appearance anyway.
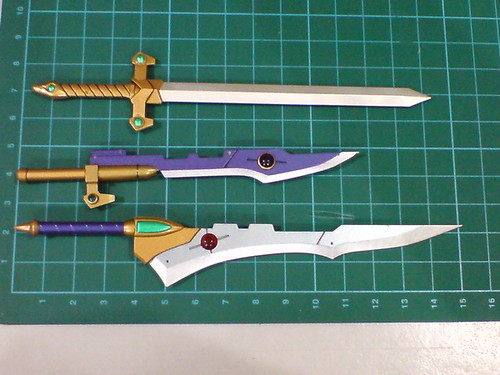
Length comparison of three swords.

Vanity Ripper A = 15cm, B = a little over 11.5cm, Discutter = close to 14.5cm.
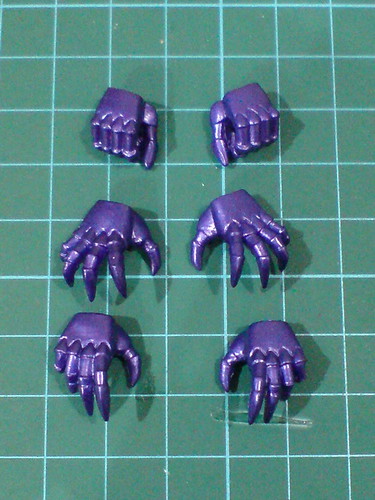
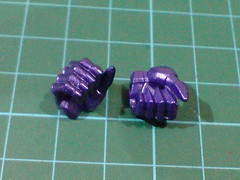
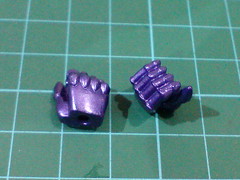
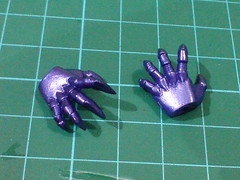
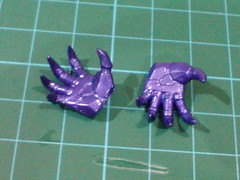
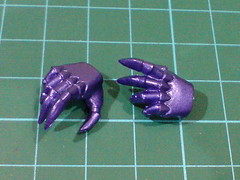
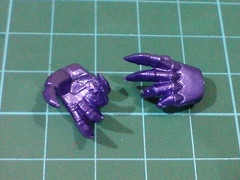
Three pairs of option hand units included for Cybaster.
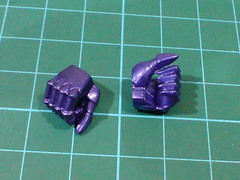
A pair of open fists to hold the swords.
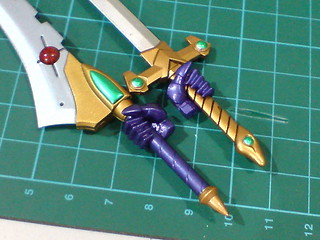
While their shiny purple paint work might hints otherwise, the hand units are made of soft plastic. You have to force the pommels through the top opening to fit the handles of Discutter, and Vanity Ripper A into the hands. There's no such issue with Vanity Ripper B, since the handle can be detached from the crossguard. Sliding the tip of the handle's peg into the hand from the bottom opening is very easy. ^^
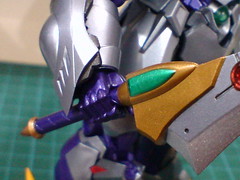
With the weapon-type fist swapped onto the main figure.
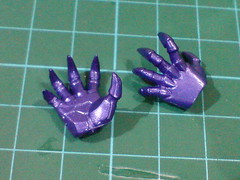
A pair of expressive-looking spread palms.
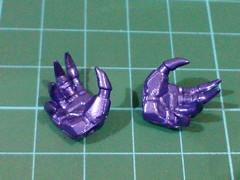
A pair of slightly subtle-looking spread palms.
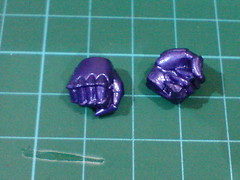
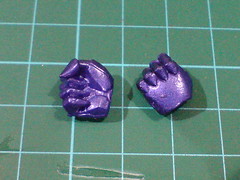
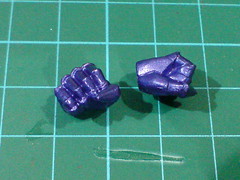
The default pair of closed fists.
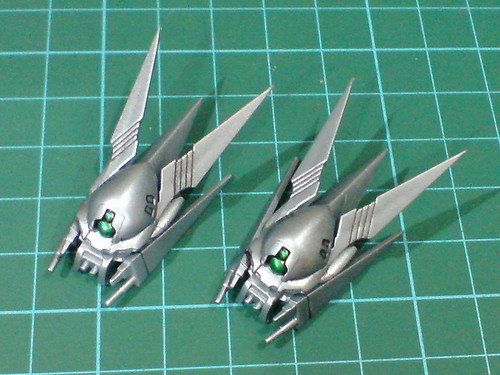
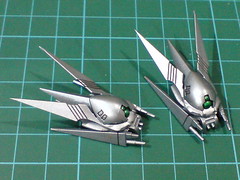
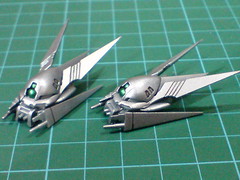
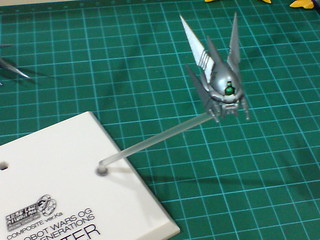
Familiars, a pair of remote-controlled, drone-like mini crafts operated by Masaki's two cats, Kuro and Shiro.

Besides the metallic green eyes, the three pair of tiny cannons in front of each Familiar are great details to look at. ^^
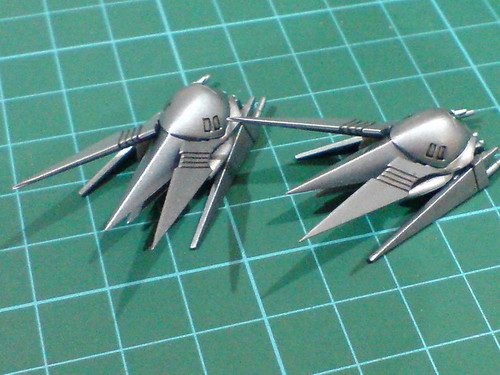
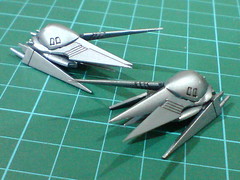
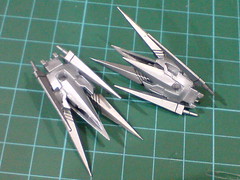

Each Familiar has six long, sharp, and pointy fins sticking out on the back.
Closeups on the details.
Can you spot the round thruster that is surrounded by the six spikes behind each Familiar?
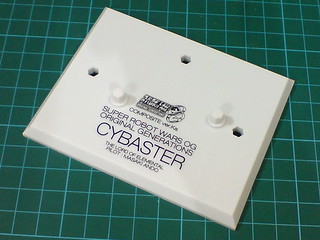
Parts for the display base.
The all white display base and stand should look familiar to those who collect Gundam Fix Figuration figures, a product line which was supervised by Hajime Katoki, who also worked on Composite Ver. Ka. ^^
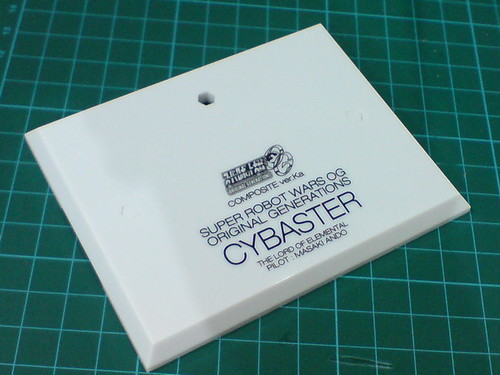
The display base.
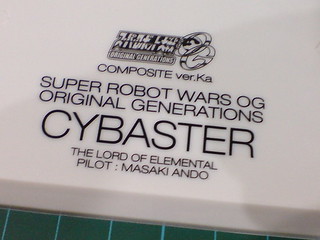
Essential info about Cybaster as the tampo printed details on top the base.
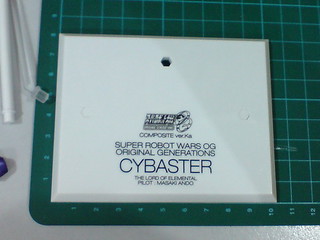
Size of the base: 10cm (width) by 8cm (depth).
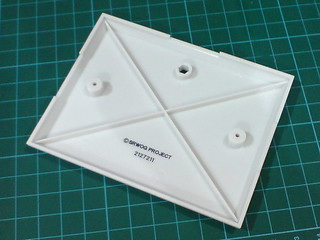
Bottom view of the base.
Very simple copyright text.
A pair of hexagonal buttons on the left and right sides of the base can be detached. The slots are designed for the clear display stands to mount the two Familiars.

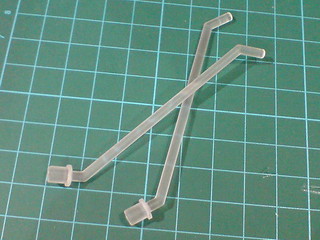
Three parts to form the rather short display stand.
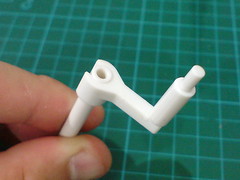
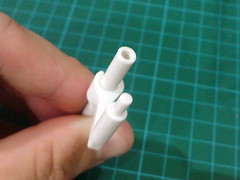
The mount rack is a simple clip-on to the stand. Using the clip, the mount rack's position can be adjusted along the stand, or rotated around it.
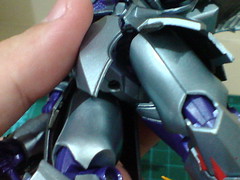
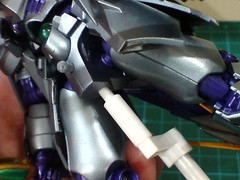
The mount rack connects to a large slot beneath the figure's hips.
Cybaster on its display base, supported by the stand.
The clip-on mount rack seems to be sturdy enough to support the figure's weight. ^^
A pair of clear stands for the Familiars.

Each clear stand connects to a slot beneath the Familiar.
The bottom peg of the stand connects to the aforementioned hexagonal slot on the base.
Since both its tips are rounded pegs, the Familiar's position on the base can be adjusted very easily. ^^
More images of Composite Ver. Ka Cybaster mounted on top its customized display base coming up next. ^^


No comments:
Post a Comment