Continuing the review on the first kit from Kabaya's Brave Legend Brave Gum shokugan series with the assembly of King Loader, after completing the really tiny Exkaiser in the previous posting. ^^

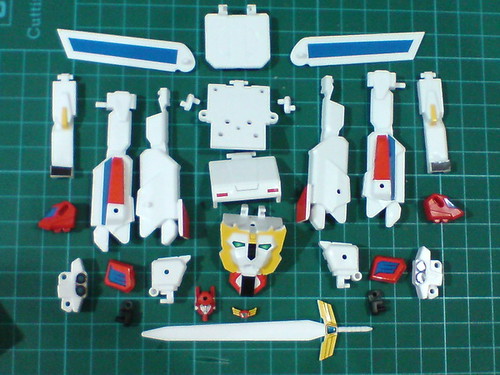
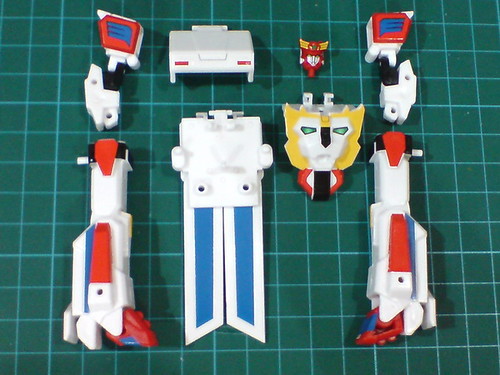
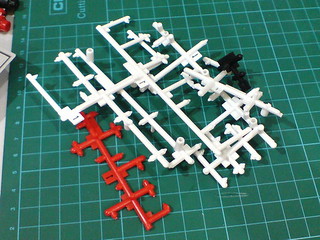
All the parts for King Loader, before all the stickers are applied.
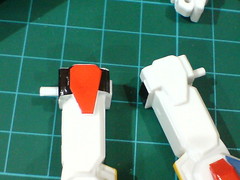
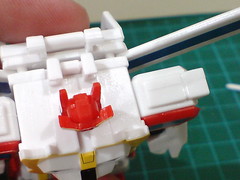
The stickers for the shoulder armors help to conceal the pair of square slots that are molded above the parts' hinge joints.
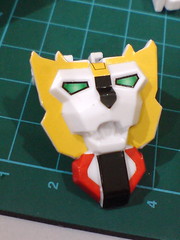
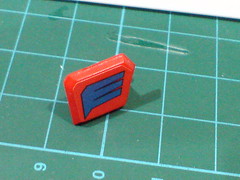
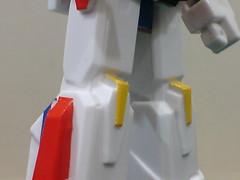
Details of the lion head chest, and front skirt armor are realized entirely through stickers.

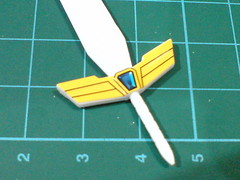
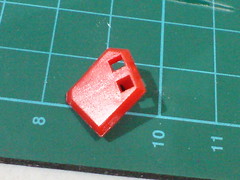
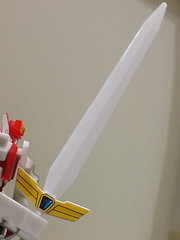
An "artificial" jewel on Kaiser Sword's crossguard. ^^


Stickers for the face, sideburns, and headcrest.
Despite their small size, the stickers are designed with precise fitting for all the parts. ^^
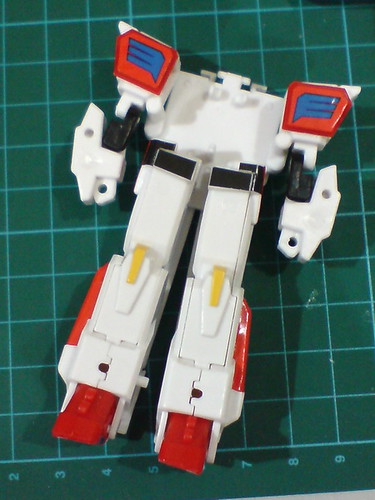
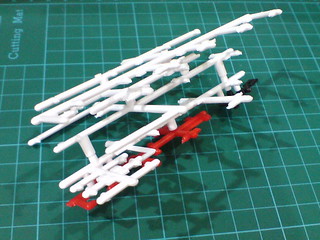
All the parts for King Loader, with stickers applied to them this time.
The sticker that wraps around the thigh can only be applied when the parts for each leg have been snapped together.
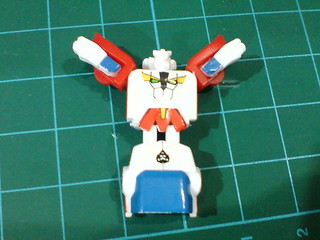
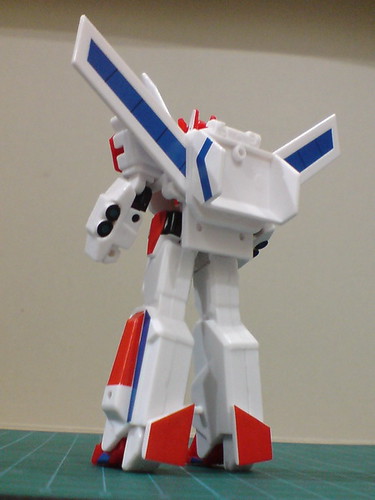
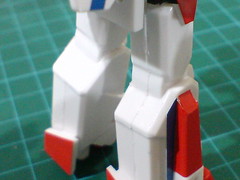
Separable components of King Loader before the final assembly.
Since the pegs connecting the limbs to the main body are supposed to be movable in robot mode, however limited the articulation range may be, and will be used for the components' shifting during transformation, no glue is used in the final assembly. ^^
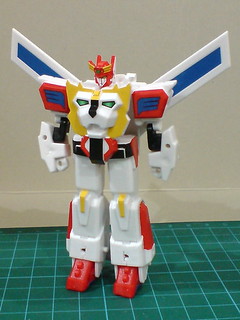
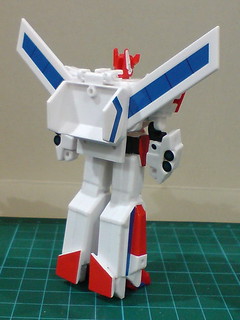
Done for King Loader. ^^
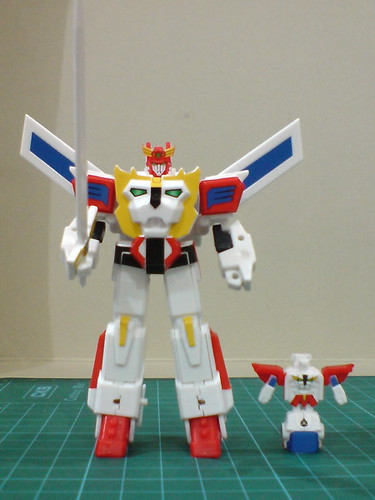
Since Exkaiser will be completely hidden within the chest cavity after King Exkaiser is formed, this is how the completed combiner robot looks like as well. ^^
Tiny empty trees after all their parts are removed. ^^
The pegs and slots that connect between the runners as mentioned in the previous posting can be (re)used to hold the empty trees together for a more "systematic" disposal. ^^
All the sticker pieces were used during the assembly.
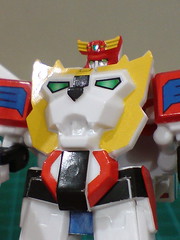
Comparison between King Loader and Exkaiser in robot mode.
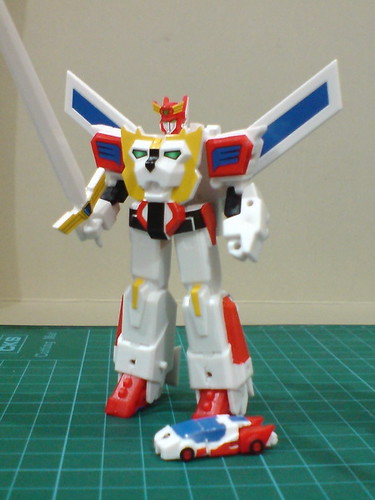
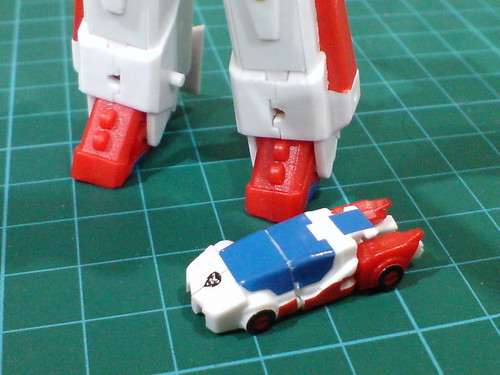
With Exkaiser in vehicle mode.
Instead of revealing King Loader's large size, the comparison does a better job showing off just how tiny Exkaiser is, in either robot or vehicle mode. ^^
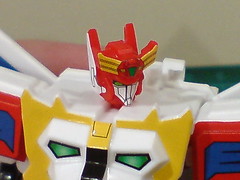
The combination of Exkaiser and King Loader to form King Exkaiser is essentially just hiding the tiny robot inside the chest of King Loader. ^^

Exkaiser has to be transformed into robot mode first.
The arms and shoulders are lifted on both sides on the body.

The chest panel of King Loader is hinged open.
As with the thigh panels.

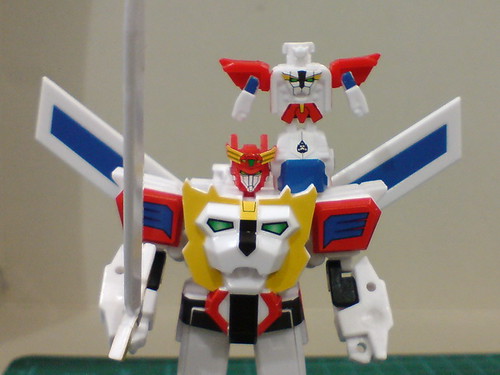
Exkaiser is inserted into the empty chest area. A set of three pins inside King Loader help to secure the mini robot to its designated place via connection to its head and hips. As you can see, there's enough room around the hips and shoulders to prevent any collision between the combiner robot's movement and Exkaiser that is stored inside.
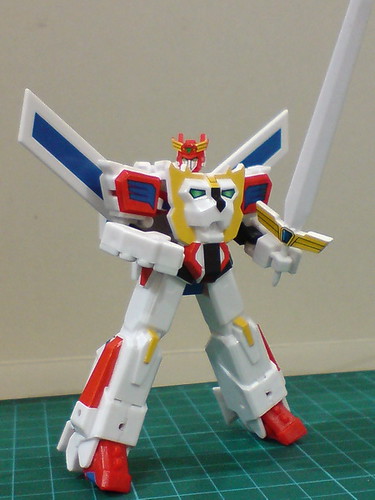
More images of King Exkaiser:
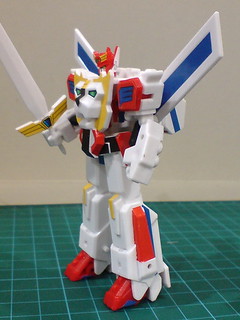
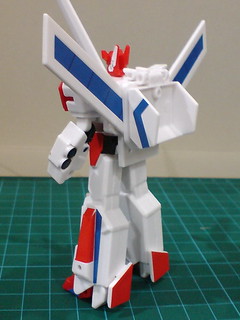
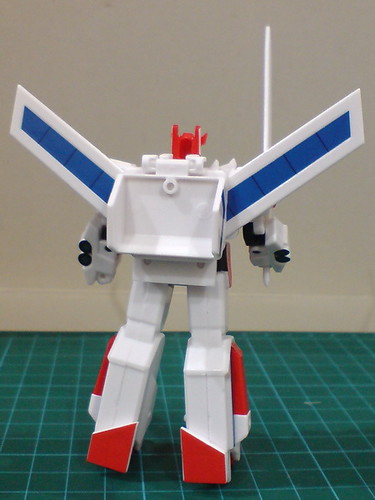

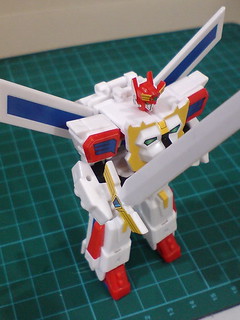
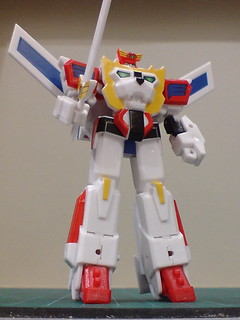
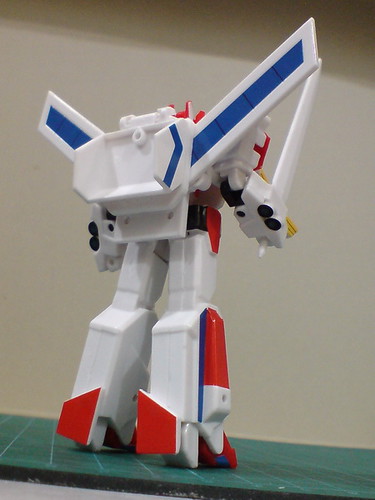
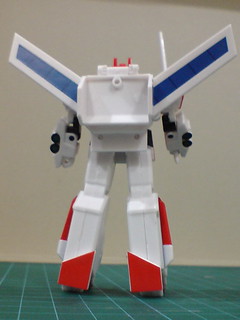

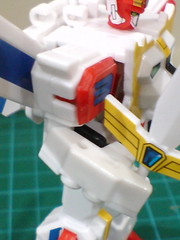
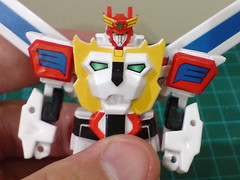
Closeups on the details:
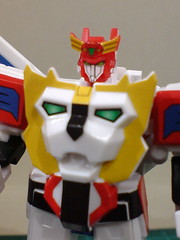

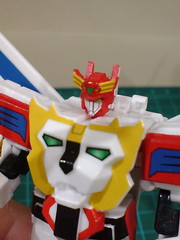
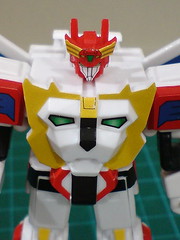
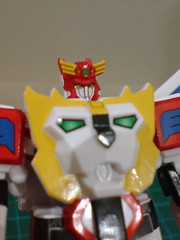
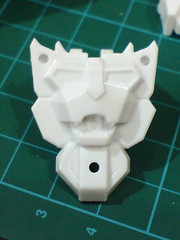
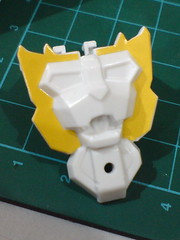
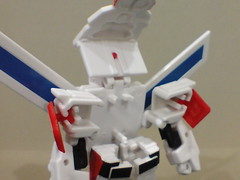
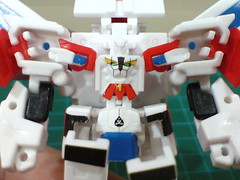
[Head, and body]
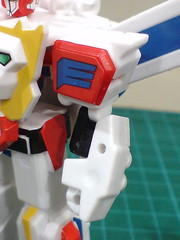
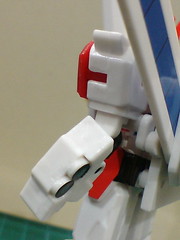
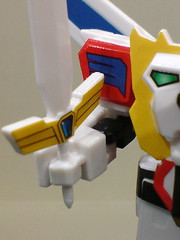

[Arms]
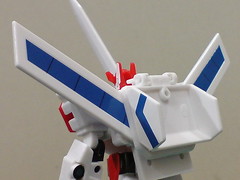
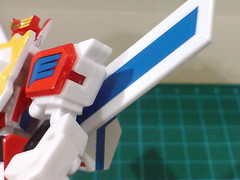
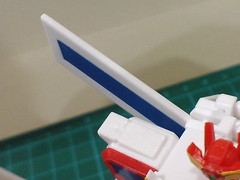
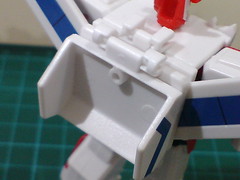

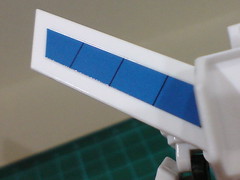
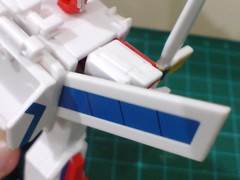
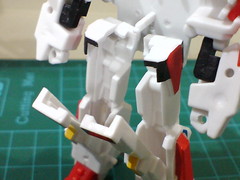
[Backpack]
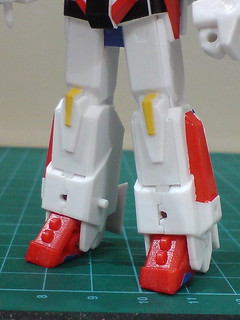
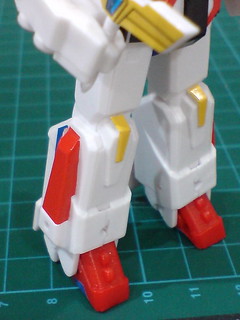
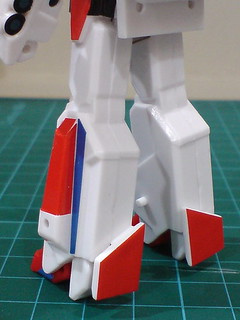
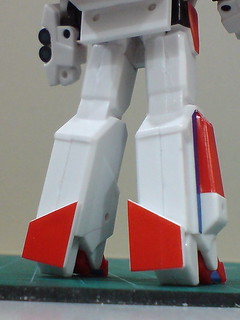

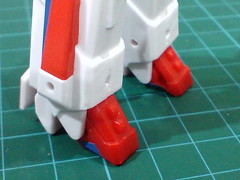
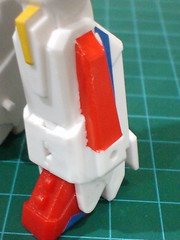
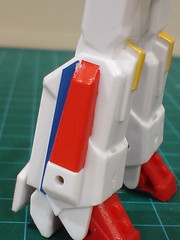

[Legs]
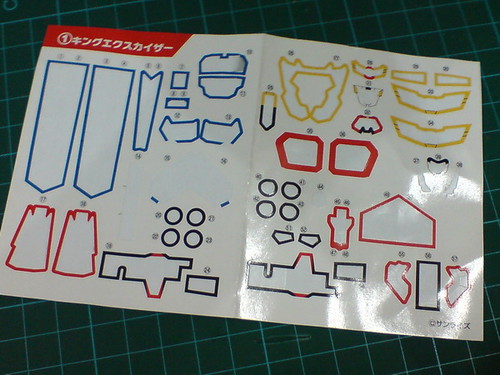
Given that all the details on the entire model kit are realized through stickers, how well they are attached to their designated parts plays a huge part in deciding the outcome of King Exkaiser's appearance. ^^ There were a couple of pieces I didn't manage to apply accurately to the kit, namely the ones on either side of the legs, and for the thighs. The stickers' messy edges on those components are not exactly lovely to look at. ^^; Luckily, they don't seem too obtrusive on the model to drag down the overall appearance. Better sticker work for the chest, shoulder armors, face, and wings, which are more prominent components to view on King Exkaiser are helpful in "hiding" the aforementioned flawed parts I supposed. ^^
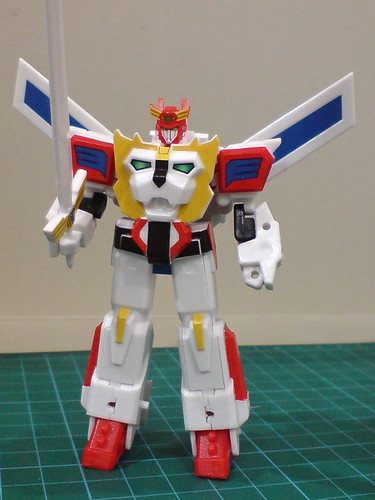
Despite having all stickers for its details, the model is actually not too bad at all. ^^ As a matter of fact, for a 300 Yen (exclusive of tax) shokugan, the design of it being a model kit, and its ability to combine and transform make this is pleasant surprise as a fun little robot. ^^
Here's a clip from the "Brave Exkaiser" (勇者エクスカイザー) showing how King Exkaiser is supposed to transform, from the combination of King Loader in carrier mode, and Exkaiser.
Video clip is from Youtube. Follow this link to the website if you can't see anything.
As you can see, the shokugan figure's transformation design really isn't bad at all. ^^ It's not able to realize the faceplate's closing, the lion head's reveal, and the backpack thrusters, but the opening and closing of body panels are close. ^^
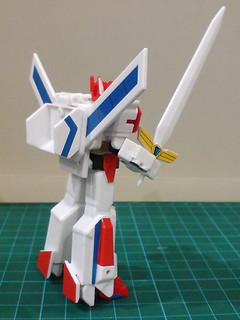
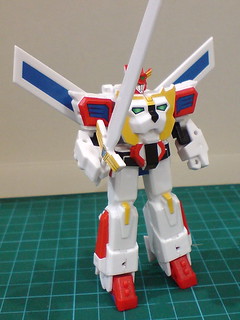
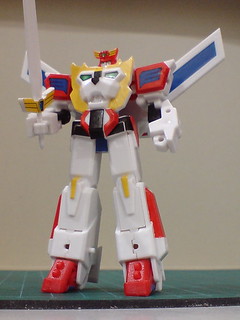
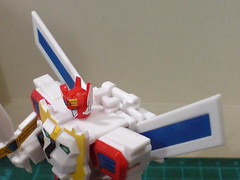
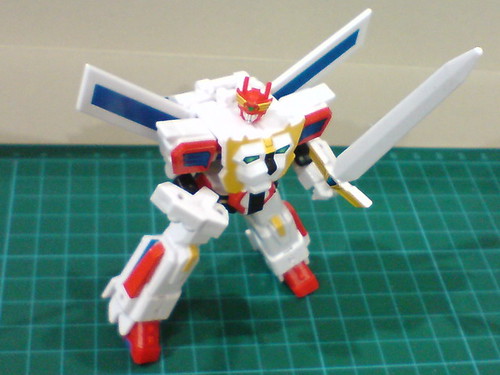
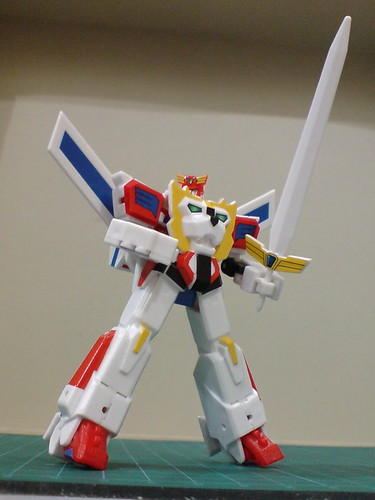
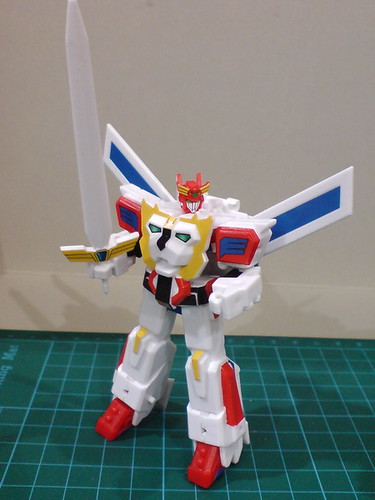
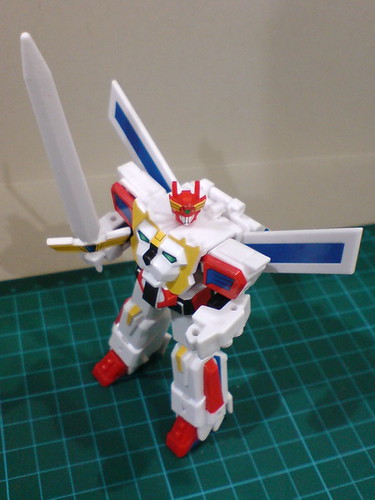
There are actually another two modes (technically speaking) yet to be introduced about the figure of King Loader, but before that, a look at King Exkaiser's articulation design, and some action poses:

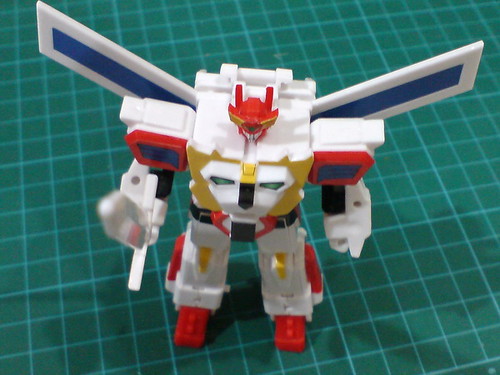
The head can be turned from side to side.
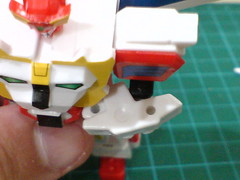
The shoulders can be hinged downward, but not to the opposite direction. The shoulder hinges cannot get pass the top edge of the body to perform that movement.
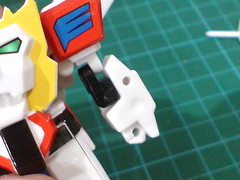
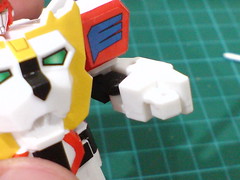

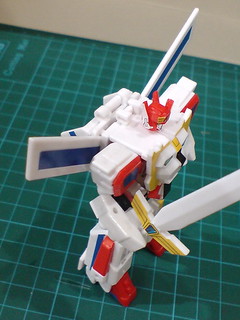
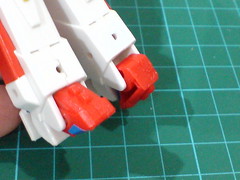
(Exactly) 90 degrees for the elbow bend.
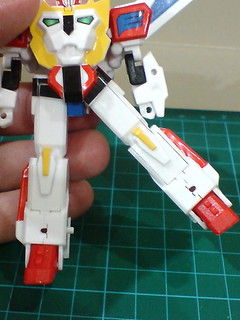
At its elbow level, the forearm can be bent inward as well.
Using the peg that connect it to the main body, each leg can be hinged outward for a wide degree.
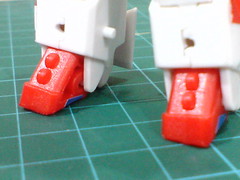
Each foot can be hinged downward as well.
The rather exceptional design for the arms' articulation is mainly for King Loader's carrier mode transformation, but it's flexible enough to be used for its robot mode anyway. ^^ The lack of any knee movement is the biggest drawback to the entire figure in terms of articulation design in my opinion. Then again, King Exkaiser is capable of some simple action poses with the articulation capabilities mentioned above. ^^

Comparison between the model and other objects to have a better idea of its size:
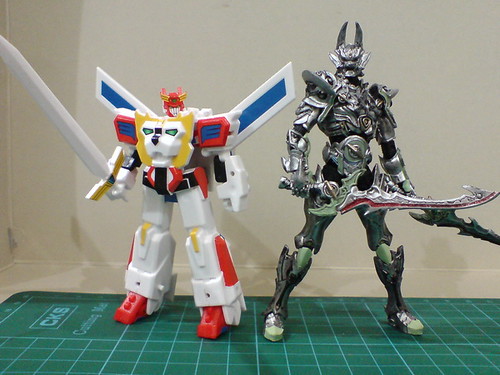
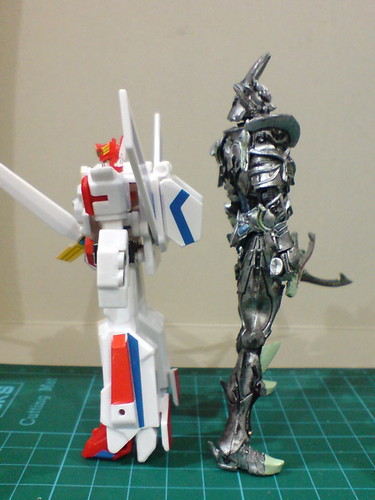
With Garo Kiwami Damashii Zero.
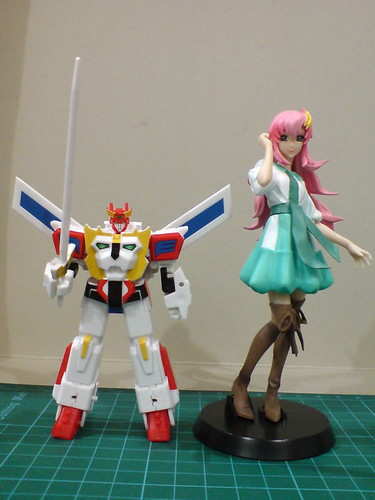
With Lacus Clyne from MS Gundam Seed Heroines 9 gashapon set.
A look at King Loader's carrier mode transformation next. ^^


No comments:
Post a Comment