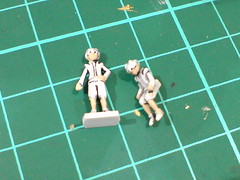
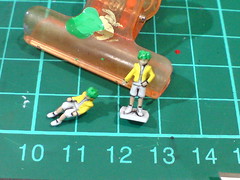
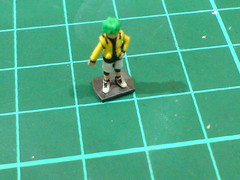
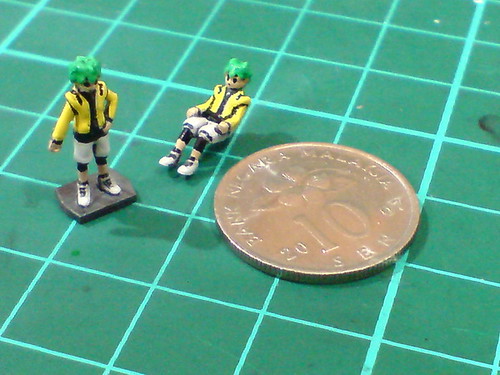
More panel line and paint work on MG Gundam AGE-1 Normal after the previous posting, starting the two figures of Flit Asuno: ^^
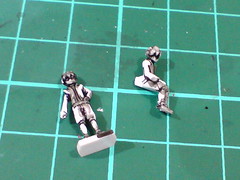
Panel lined using Tamiya's Panel Line Accent Color (Black), the result seems rather messy and dirty, but excessive paint can be cleaned off very easily using cotton swap with enamel thinner.
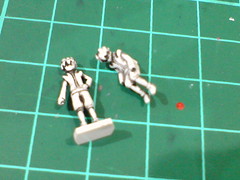
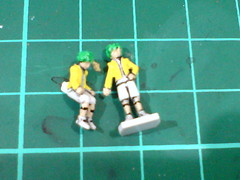
The two figures after another round of more delicate and careful cleaning.
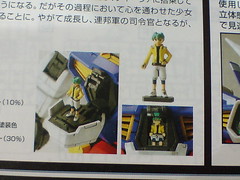
Images of the painted figures shown in the manual are used as color guide to this paint work.
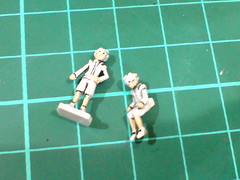
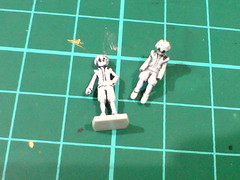
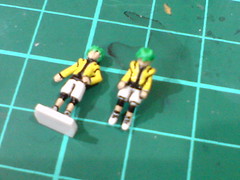
(Left) First color in: Mr. Color 51 Flesh Semi Gloss for the face, hands and legs.
(Right) Highlighted some of the borderlines between Flit's legs and his shorts and socks using normal panel liner.
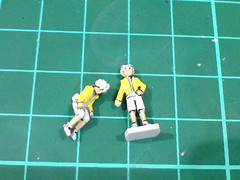
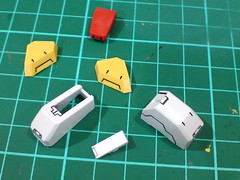
Painted the shirt area yellow.
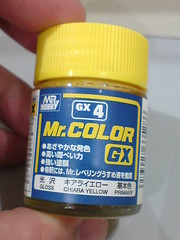
The paint used is this one: Mr. Color GX 4 Chiara Yellow Gloss.
Painted Flit's hair green using Gundam Marker GM09 Eye Green.
(Left) Marked a small "segment" on the legs beneath the shorts before ...
(Right) ... painting it black, along with the middle area of the shirt using panel liner. ^^
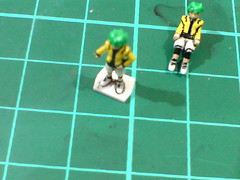
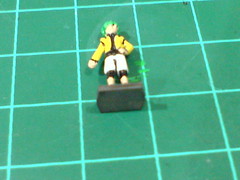
The base of the standing figure is painted using Gundam Marker Gray.
Painted the eyes and mouth using normal panel liner, which makes the figures completely unlike Flit XD
Also, from the manual, the standing figure is actually holding the Age Device, but I find the little attachment too small to paint so I didn't bother doing so at all. ^^;
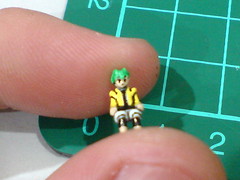
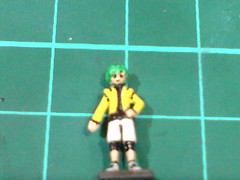
The paint work on both figures are now done.
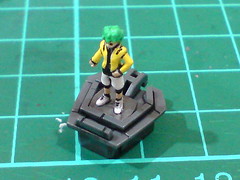

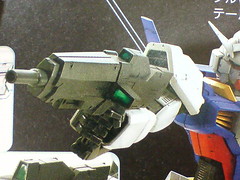
(Left) One of the model kit's features: the standing figure's base can fit inside the middle area of the cockpit hatch to show Flit standing outside his Gundam. ^^
(Right) Secured in separate compartments in a small medicine box to avoid any damage to the paint. ^^

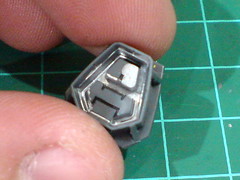
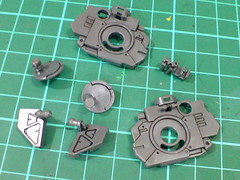
The pilot cockpit is already molded with a couple of monitor, panel and button-like details, so I don't think I want to try anything spectacular with this part anymore. ^^;
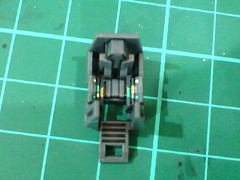

(Left) Added various colors to the control panel.
(Right) Just three normal pens used this time: gold, metallic green and silver. ^^
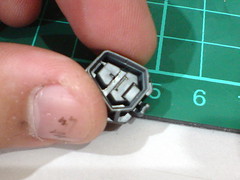
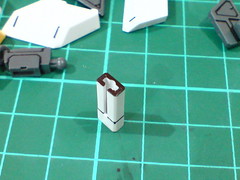
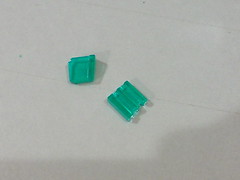
For the chest piece, the part that will hold the clear green "A" crest has a piece of shiny silver foil sticker included to give the crest a bit of extra bling-bling. ^^
A bit of paint work can be done to up the level of bling-bling XD.
(Left) Painted the interior of the chest piece, especially on all its walls with Pilot Super Color Silver Extra Fine.
It's more like trying to floor the entire "valley" inside the part with that marker and then divert the "paint flow" onto the walls. XD

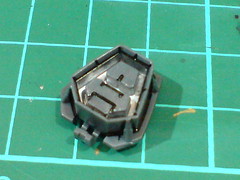
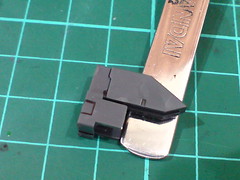
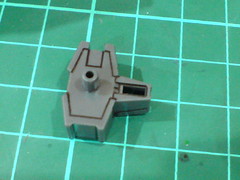
(Left) With excessive paint inside the part cleaned away using enamel thinner.
(Right) Panel lines are added when the paint has dried.
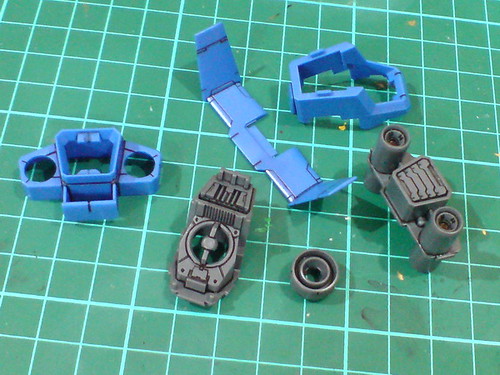
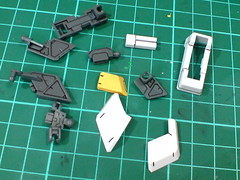
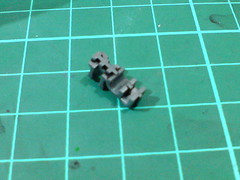
Panel lining for the backpack parts, a lot which are just "enhancement" on the original lines did in Part 2.

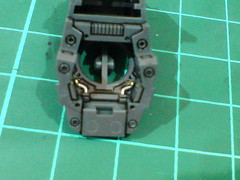
Two tiny pipes inside the backpack part near the thruster nozzle are painted gold and silver using normal markers.
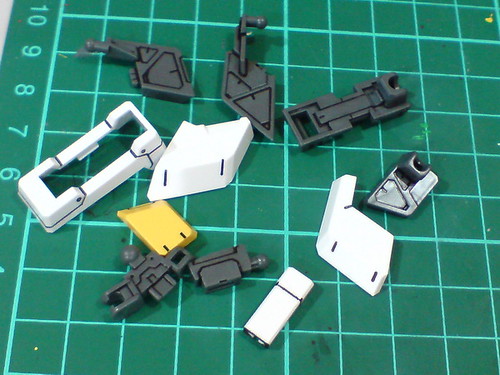
Simple panel lining for the waist and skirt armor parts.
Repetition of all the work on the opposite set of side skirt armor parts.
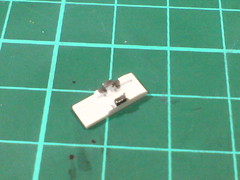
The borderline between the two separated beam saber parts is painted black using Gundam Marker.
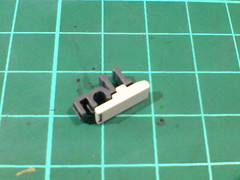
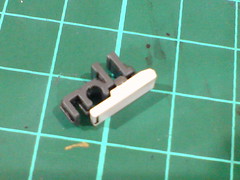
Even though it's not going to be used in this Normal form, the mount rack for Gundam AGE-1 Sparrow's Shiguru Blade has two tabs on the white exterior part that are painted gray (using Gundam Marker) for an explicit separation between interior (rack) and armor parts. ^^
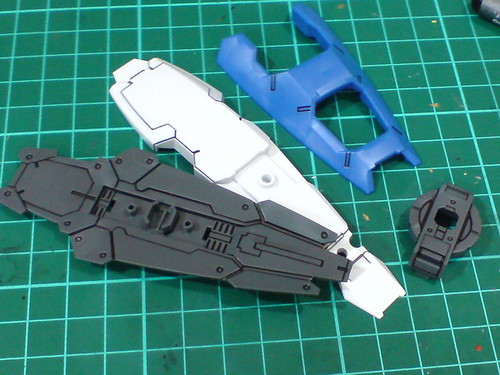
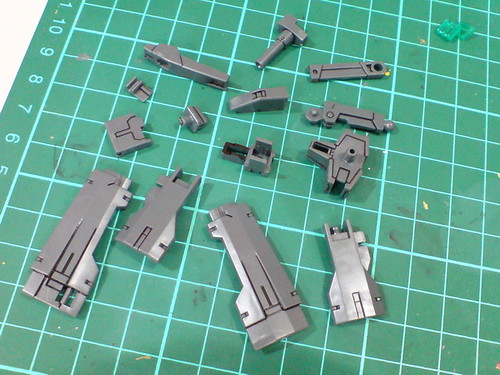
Just simple panel lining for the shield's parts.
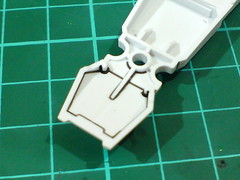

A little bit of panel lining applied to the two edges inside the white shield part.
These are the spots that would be missed by the gray rear plate when the whole component is assembled, so a little bit of panel lining is important to get everything covered. ^^
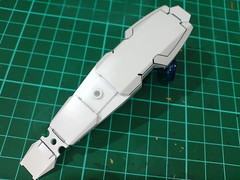
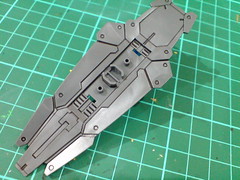
Simple line details in front and behind the shield really reminds me of the same component used by 1/100 Gundam Exia.
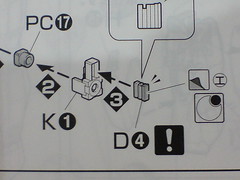
Simple panel lining for DODS Rifle's parts.
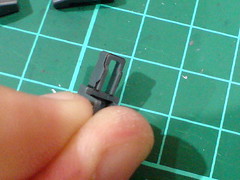
A tiny borderline behind the rifle's targeting sensor is painted black using Gundam Marker.
To be hidden inside their respective cases on the rifle when it's assembled, a bit of paint work is needed to assist in revealing the sensors. ^^
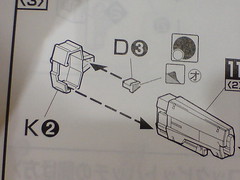
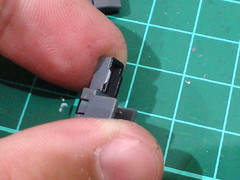
Paint work on the sharpshooter mode's sensor (right image) has to be done carefully, because the sensor can be seen in front and behind the weapon.
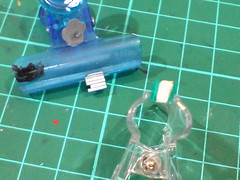
(Left) Painted the body area of the part silver using Zebra marker: the entire rear end of the top sensor but just the middle segment for the sharpshooter mode.
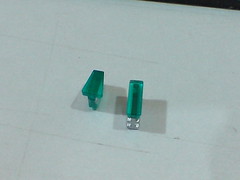
(Right) A somewhat shinier outcome for the two sensors when viewed from the front. ^^
Will move on to the arms next. ^^


No comments:
Post a Comment