It has been quite a while since I last worked on a model kit, painting and detailing parts to be exact, not assembling one since I just recently did MG Gelgoog Ver. 2.0. ^^ Completing that kit and the one before it, BB Senshi Sangokuden Tenshouryu Koumei Nu Gundam made me wonder where all the model kit work I left out from this blog all this while. ^^; So, it's back to that with a kit I really left unattended for more than a month now, the last set from Keropla God Keron, Dororo Robo Mk-II. ^^
In a twisted way, this long period of abandonment seems fitting for Dororo's character setting in the show, as he was constantly being forgotten by the Keroro Platoon on countless occasions. ^^;
On a more serious note, Dororo Robo Mk-II is going to be quite a challenging kit to work on. ^^; As I look through the parts and comparing them to the completed model, I feel that Dororo Robo Mk-II is most probably the one requiring the most amount of paint work in this entire bundled set, ^^; even though luckily, no special color like orange used on Kururu Robo Mk-II is needed. Still, Handling this amount of work will certainly be quite a dramatic way to complete everything before the overall work is finished. ^^;

Paint work required for the little control vehicle's "headlights".
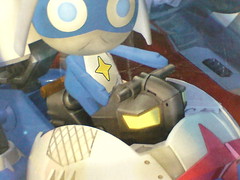
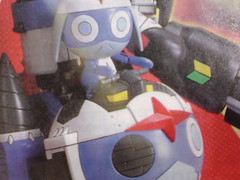
The designated color for the headlights, as depicted on the box art and cover page of the construction manual is light yellow.
I think light blue would be a better color to match with Dororo's skin color.

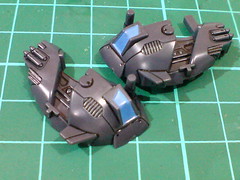
The headlights are painted with a mixed paint from Gundam Markers Blue and White.
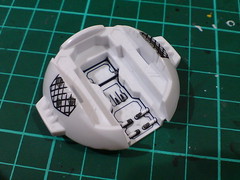
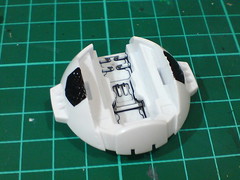
(Left) Mecha details of the cockpit area are done using normal panel liner and Tamiya's Panel Line Accent Color (Black).
(Right) The two grid patterns are painted using Gaia Color 022 Semi Gloss Black.
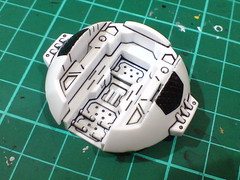
Excessive panel line paint inside the cockpit area is cleaned off using a combination of cotton swab soaked with thinner, as well as the toothpick.

Simple panel lining for the other body parts.
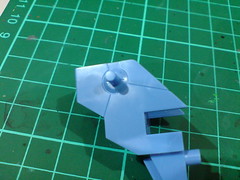

Much like Kururu Robo Mk-II's backpack, the same component on Dororo Robo Mk-II has tons of details that need to be treated separately. ^^;
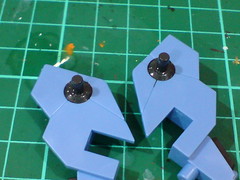
The peg joints are painted using Gaia Color 074 Neutral Gray IV.

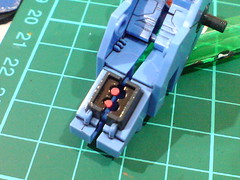
The thruster wall is painted using Gaia Color 074 Neutral Gray IV as well. The sunken area inside the thruster is painted black using normal sharp tipped marker, while the two nozzles are painted using Gundam Marker Red.
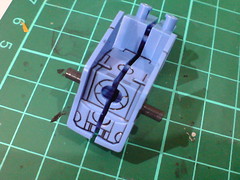
Normal panel liner is used to realize all the line details on the two parts.

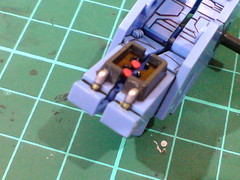
Two small pipes beneath the thruster are painted gold and silver using normal pens of those two metallic colors.
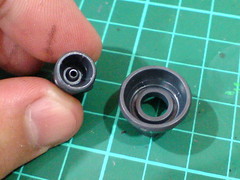

The nozzle interior of the two rocket thrusters on the backpack must be painted red.
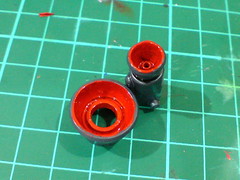
The parts are painted using Gaia Color No. 003 Bright Red Gloss.
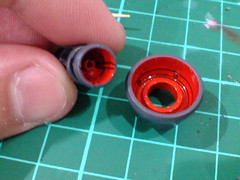
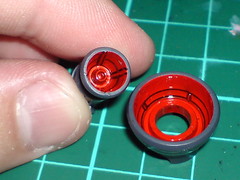
Excessive paint around the nozzles' mount is scratched away using a knife.
Line details inside the nozzles are panel lined when the paint has dried.

Line details outside the nozzles are done using normal panel liner.
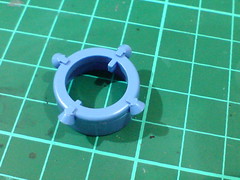
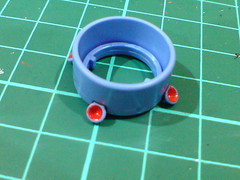
The "cap" around the main rocket thruster has four smaller thrusters molded around it. To keep the overall look consistent with the main thruster, all the nozzle interior are painted red using the same red bottle paint.
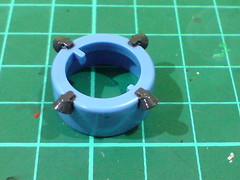
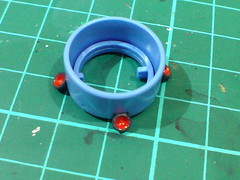
The thrusters themselves are painted using Gaia Color 074 Neutral Gray IV.
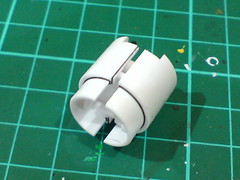

Painted black for the "borders" between the thruster's body parts so that the entire line would be very obvious when assembled.
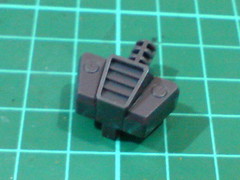

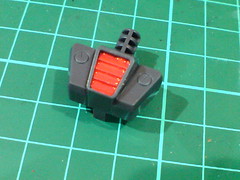
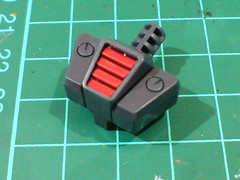
Following the colors shown in the box side image, the vents on the back of the waist are painted red using Gundam Marker Red.
Everything is still rather simple and straight-forward at this moment. I'll tell you when it's going to get more complicated in the next batch of work. ^^;


No comments:
Post a Comment