Moving on to assembling the upper body's inner frame and weapons of MG Gelgoog Ver. 2.0 after the previous posting. ^^
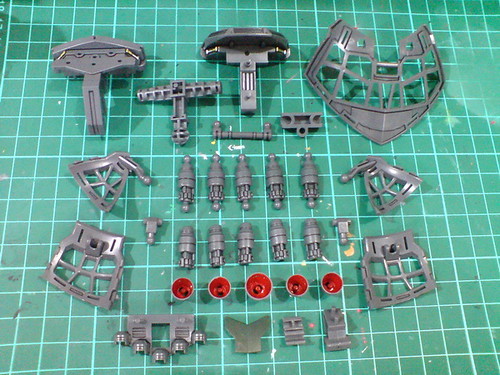
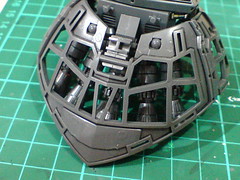
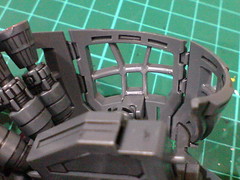
Inner frame parts of the waist.

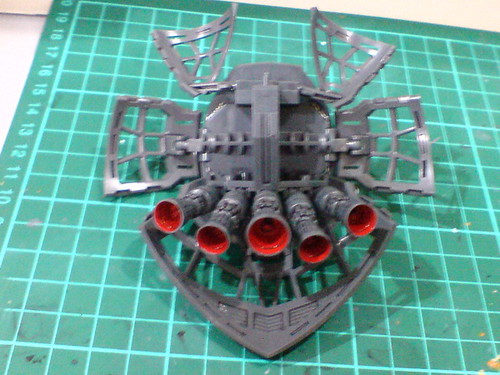
Major components of the waist's inner frame.

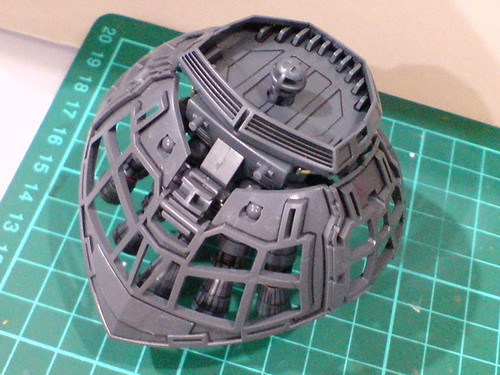
Done for the huge waist. ^^
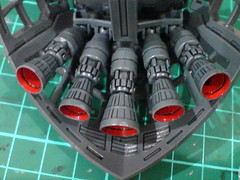
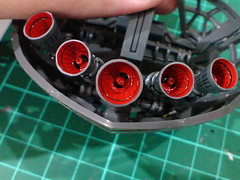
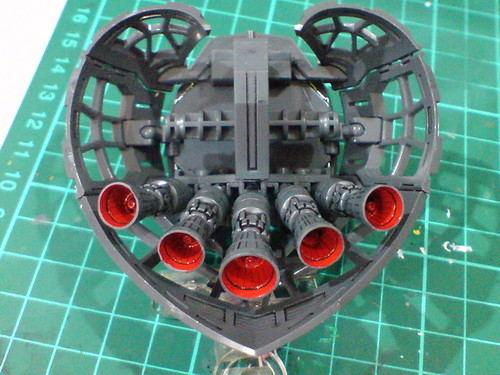
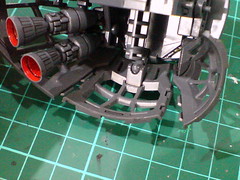
The red interior of the five thrusters were painted in Part 2.
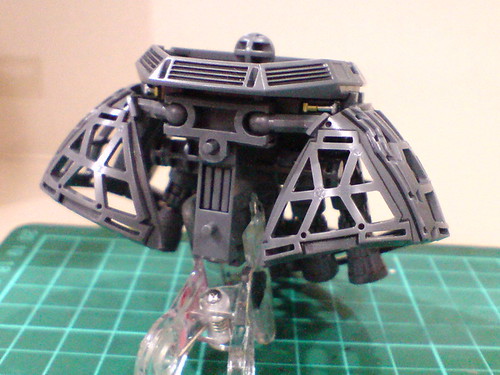
An overview of the details beneath the entire waist.
The handle-like bar joint allows the entire lower half portion of the rear skirt armor to be slide downward.
Dedicated tabs and slots between the skirt pieces to combine all of them.
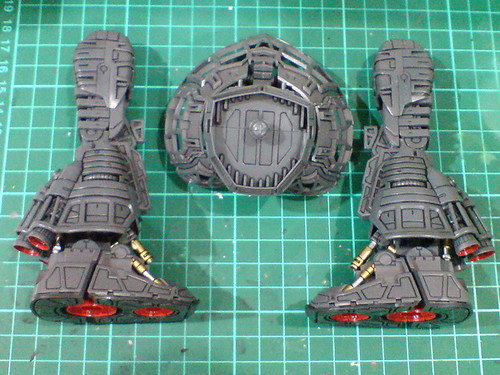
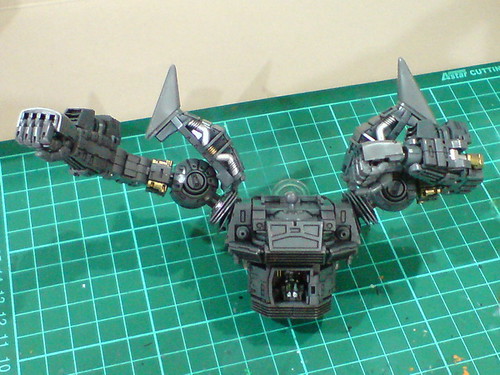
With the legs completed in the previous posting.
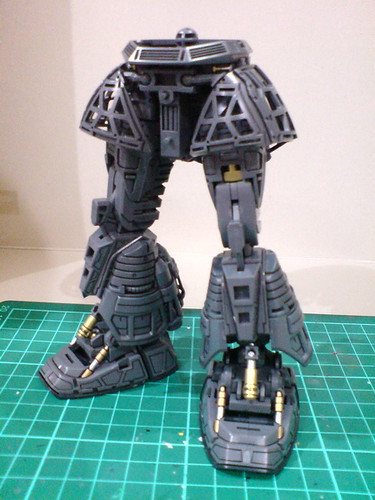
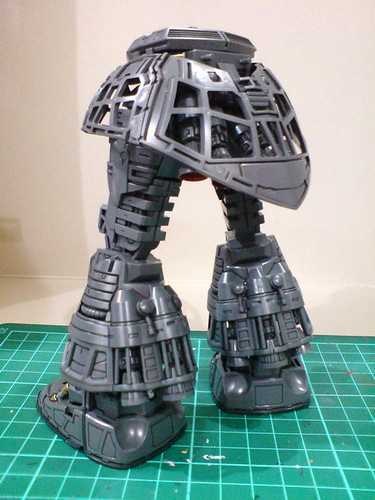
The lower body is completed.

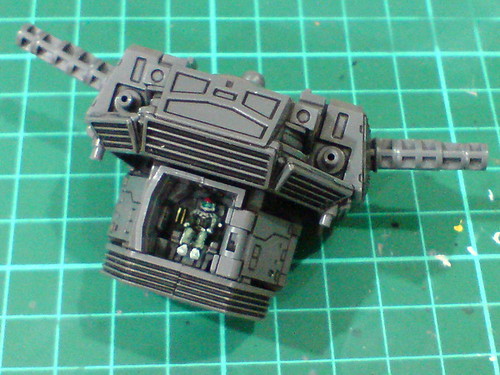
Inner frame parts for the body.

The cockpit and pilot figures were painted and detailed in Part 6.

The cockpit needs to be fitted into the abdomen to snap it to the hinge joint in there.
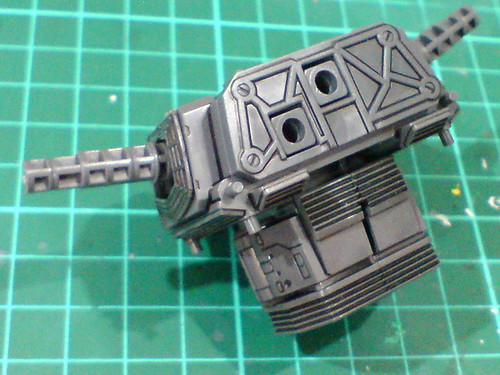
Done for the body's inner frame.
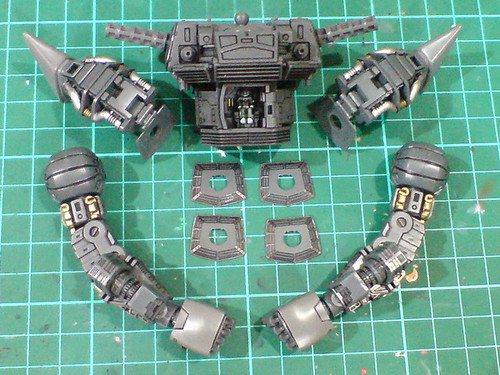
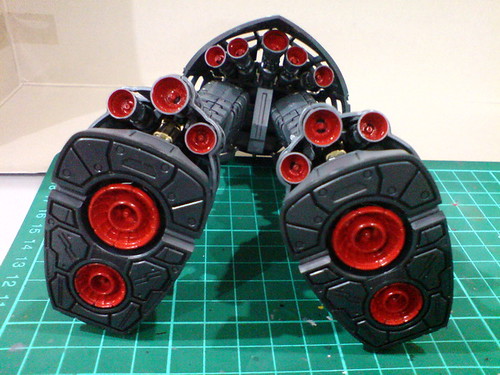
With the arms and shoulder armors' inner frame completed in the previous posting, plus four fins that will sit between the shoulder joints and the armor parts.
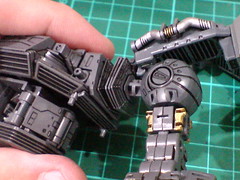
One on the armpit, one on the shoulder joint plus another two individual pieces gives each arm four fins.
The panel lining was on eight of them, and it was quite boring. ^^;
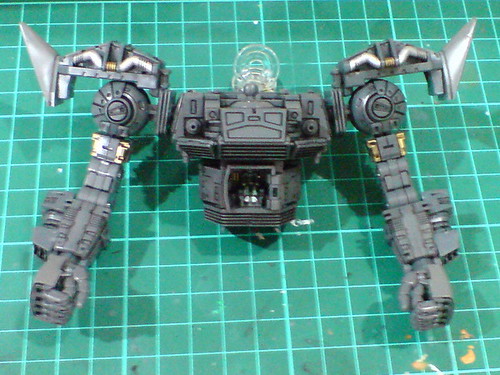

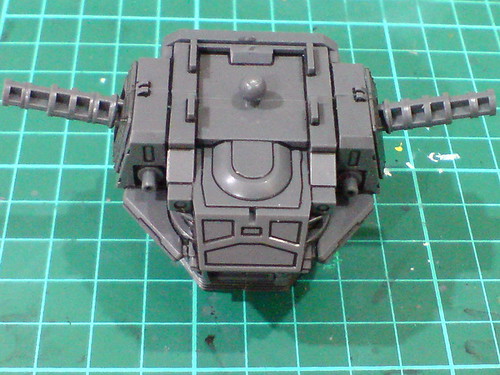
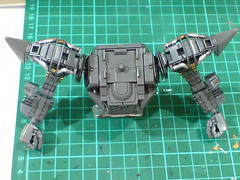
Done for the upper body. ^^

With such long peg joints for the shoulders as seen in a couple of pictures above, forward and backward movements can be adjusted very easily.
Together with a separate hinge joint at the base of the shoulder joints, the shoulders can be bent upward for a very wide degree as well.
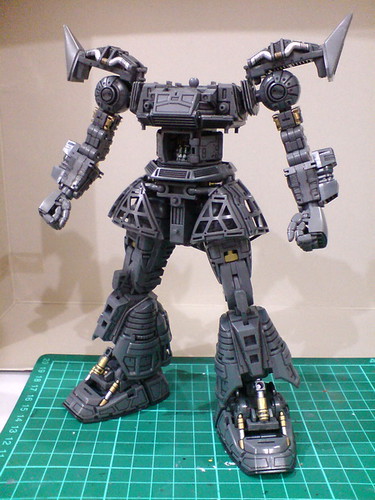

The entire body is done. ^^
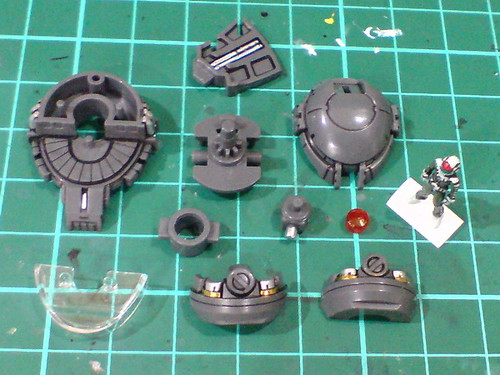
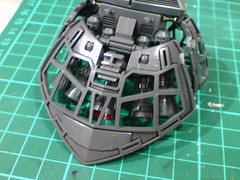
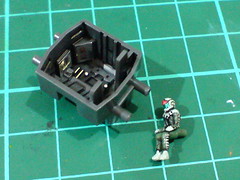
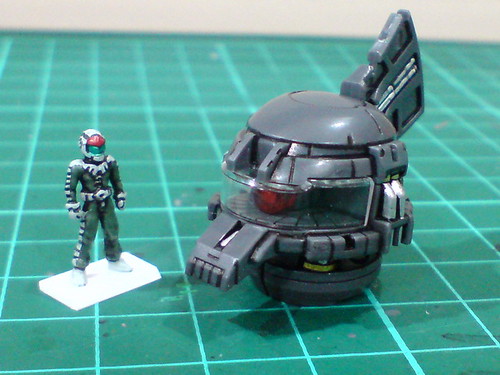
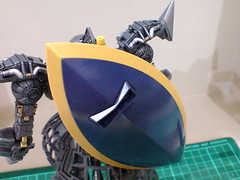
Inner frame parts of the head.
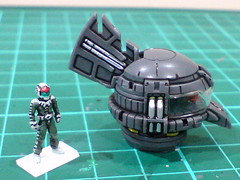
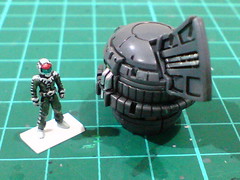
The standing figure is in just for decoration, otherwise he would be totally useless in this kit. XD
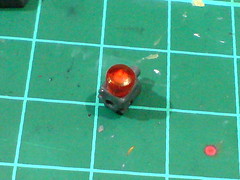

The painted mono-eye camera part and its base.
Done for the head.
As a scale model, the standing figure next to it should give you an idea how large Gelgoog's head would be if it's real. ^^
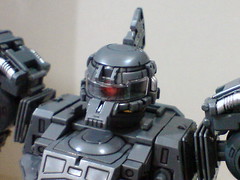

Fitted the head onto the neck joint.
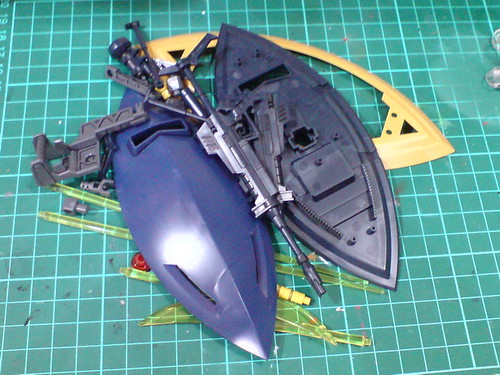
All weapon parts of MG Gelgoog Ver. 2.0.
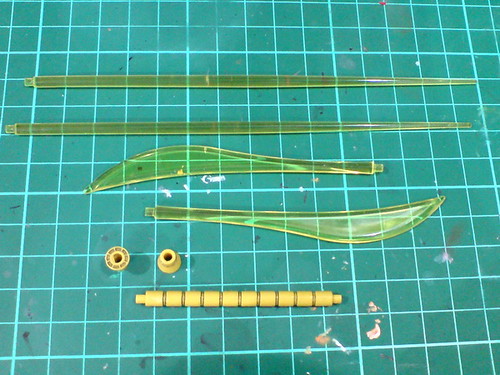
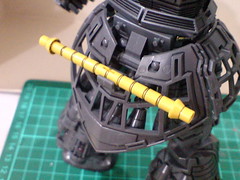
Parts of the twin beam saber/naginata.
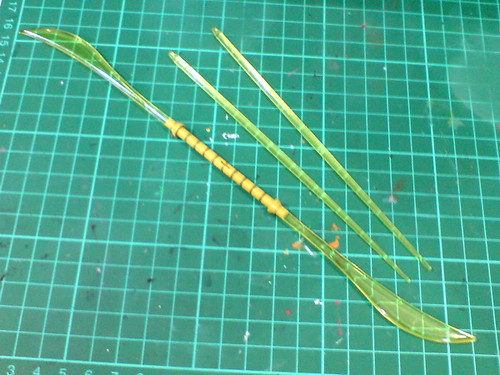
Beam naginata.
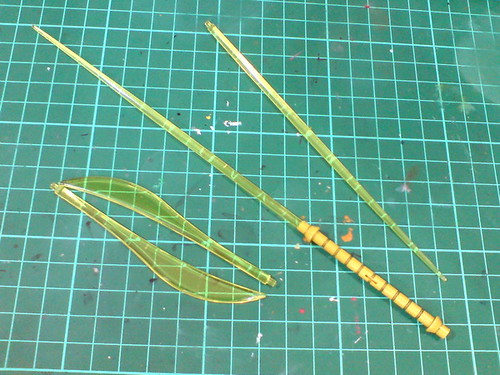
Twin beam saber.
A dedicated tab on the rear skirt armor to mount the handle.
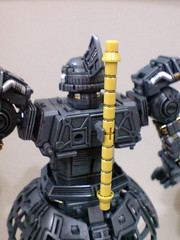
A separate peg holder allows the beam saber to be mounted on the model's back.
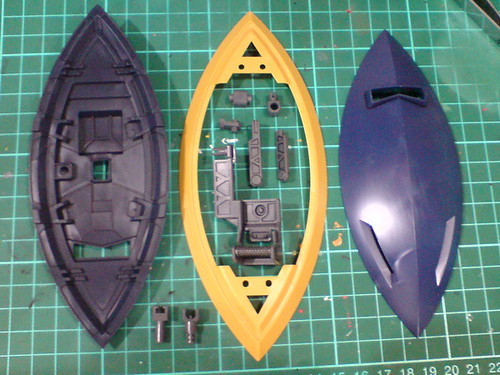
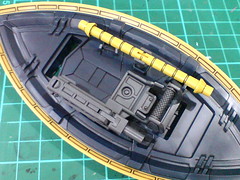
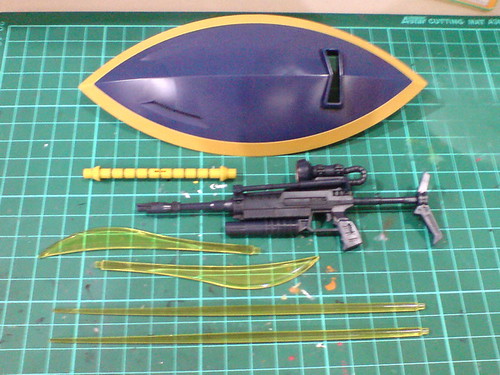
Large and some very small parts of the shield. ^^

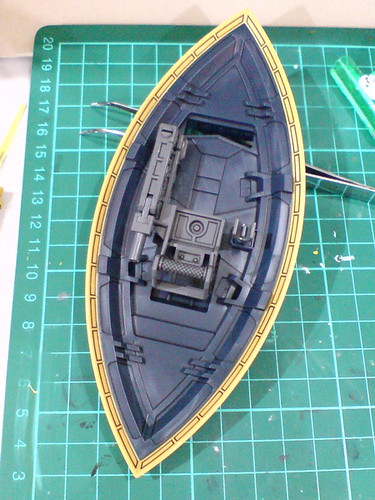
Done for the shield.

The entire handle rack is movable on the shield. The movable handlebar on the rack serves to connect the shield to the back of the kit.
The peg joint shown earlier on can be used to mount the beam saber to the back of the shield.
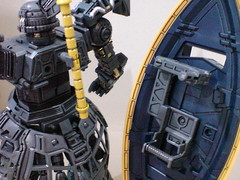
A separate slot on the back is used to hold the shield.
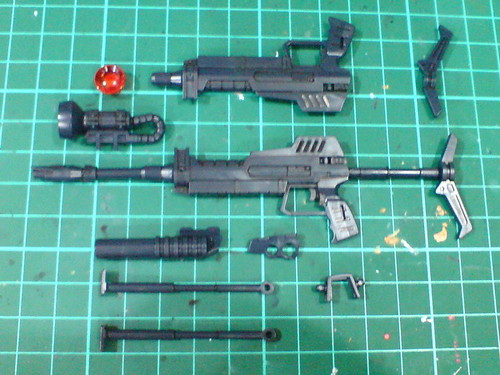
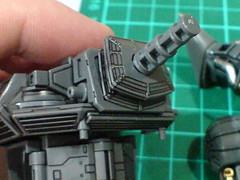
Parts of the beam rifle.
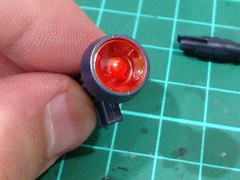
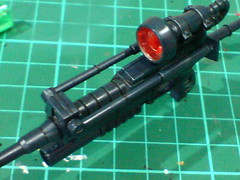
The targeting scope was painted in Part 5.
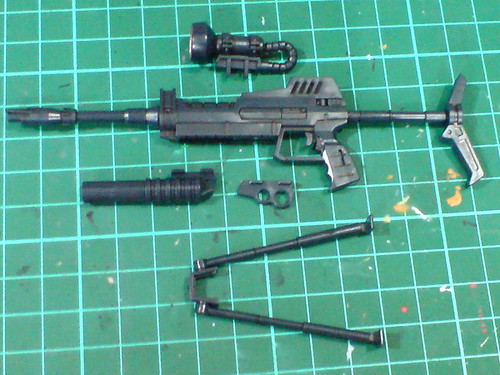
The main rifle body plus four separable components.


Done for the beam rifle. This is the "default" type with no special add-on used by Char's Gelgoog Ver. 2.0.
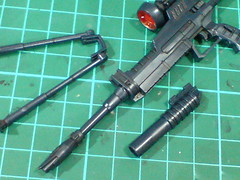
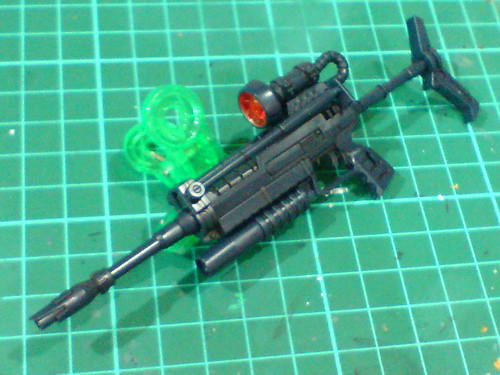
The special add-on components for the rifle: a support stand and a grenade launcher.
The formers clips onto the top portion of the barrel band, while the grenade launcher will replace the "rings" on the forestock.
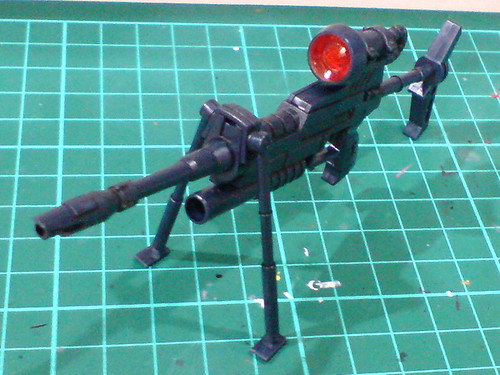
The beam rifle with its support stands deployed.
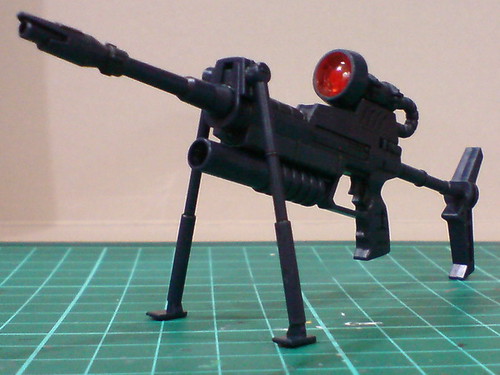
Supported by the stands in front and the butt on the rear, the rifle can stand very easily and securely. It's a very nice add-on gimmick in that sense. ^^
With the stands retracted.


One of Gelgoog's unique "features", at least for the two Master Grade Ver. 2.0 kits: two fingers inside the trigger guard to hold the rifle. ^^
A gathering of all the weapons for this kit.
More images of the entire inner frame of MG Gelgoog Ver. 2.0 coming up next. ^^


No comments:
Post a Comment