The return of Lego review after Technic No. 9392 Quad Bike back in mid August this year. ^^
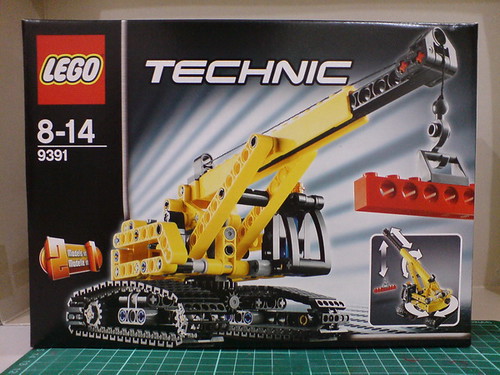
Also from the Technic series, this is No. 9391 Tracked Crane. And just like No. 9392 Quad Bike, this is a 2012 model, which I got together with Quad Bike. ^^ Comparing the two, Tracked Crane has a smaller box size, which can be taken to imply that the completed model is going to be smaller in size as well, even though its part count (218) is slightly higher than that of Quad Bike (199).
The part count and model size don't seem to add up for Tracked Crane when compared to Quad Bike it seems. Apart from having more smaller parts, Tracked Crane has 68 individual parts to form two caterpillars for the models, and all of them are pretty small. On the other hand, Quad Bike's four wheels consist of four sets of large wheels and rims. So if you're wondering about the strange inconsistency between the two models' part count and model size, comparing the wheels and the caterpillars will give your the answer. ^^
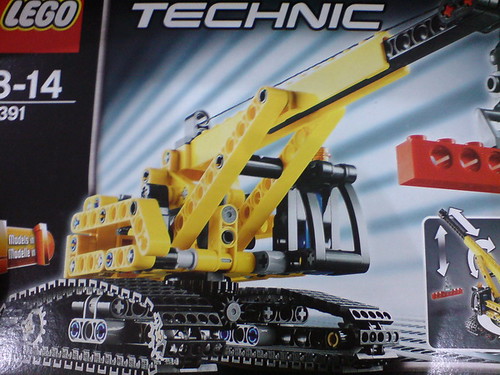
The caterpillars are really the main attraction of this Lego model to me. ^^ Although the overall model is small, the caterpillars do move, which shouldn't be surprising given they are assembled from 68 individual parts as mentioned earlier on. That gimmick is really fascinating to me, because it involves linked movement of all the individual caterpillar pieces for the entire track to work. ^^ Obviously, it's a Lego feature I never tried before. It used to be available on much larger Technic sets like No. 8043 Motorized Excavator which is over my budget, ^^; or smaller sets like No. 8259 Mini Bulldozer and No. 8047 Compact Excavator which I couldn't find at all. ^^; When I saw it on the list of available sets at an online Lego store I frequently visit, I grabbed it right away. ^^
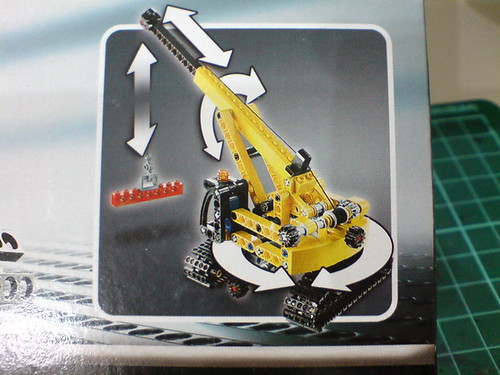
In terms of gimmicks, the movable tracks is not the only one designed for this model. The other gimmicks include:
(1) The body can be rotated for 360 degrees,
(2) the boom can be raised or lowered,
(3) the boom can be extended, and
(4) the hook at the end of the boom can be lowered or retracted.
For the last gimmick mentioned in the list above, the hook is bound to a thread that mimics the auxiliary hoist of an actual crane, and is adjustable using its own separated button. Combining the assembly between conventional Lego parts and a thread is something I never tried before in previous sets, so it's a very refreshing feature to me, just like the caterpillar pieces mentioned earlier on. ^^
The alternate model for Tracked Crane is a mini bulldozer. It'll be shown in greater details in its very own offshoot review in the future. ^^
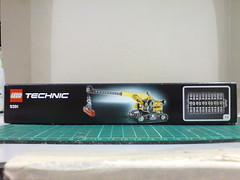
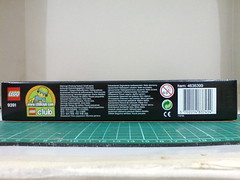

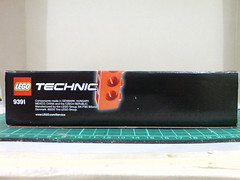
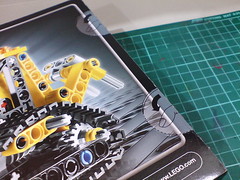
Very simple box side design.
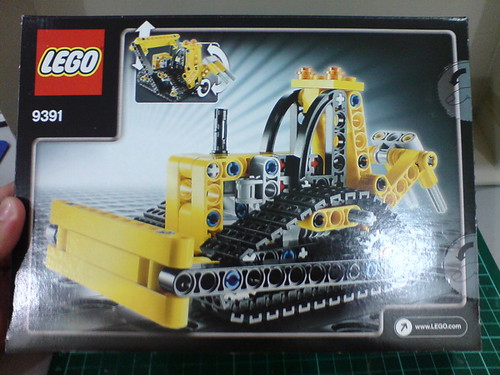
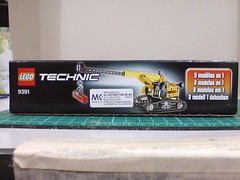
The alternate model - a mini bulldozer is shown on the back of the box.

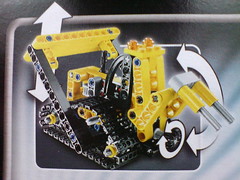
Excluding the movable tracks, the mini bulldozer has two gimmicks: the blade and rippers can be raised/lowered.

Box open.
To preserve the box, I didn't open it using the two convenient press points on the other end.
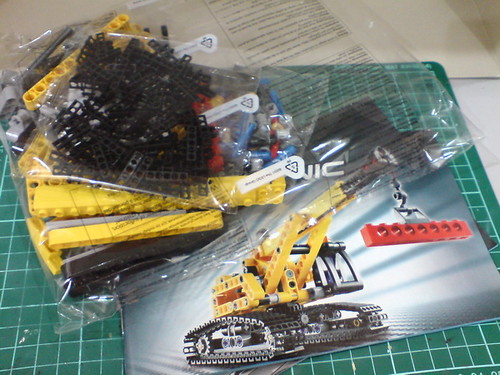
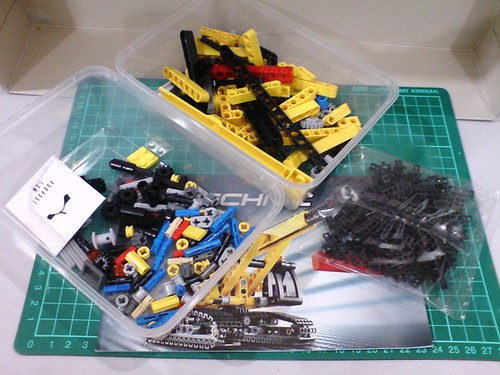
Content
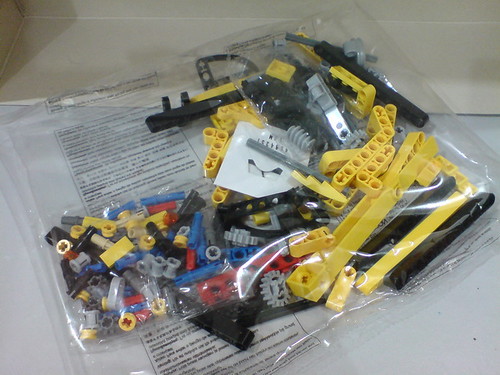

All the pieces are organized into different packages according to their rough sizes.
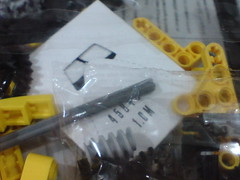
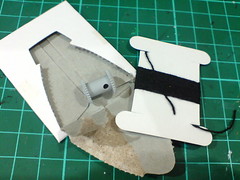
(Left) Small paper pocket to hold the thread
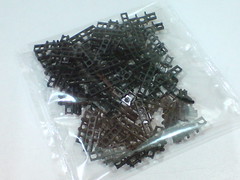
(Right) The caterpillar parts are stored inside a separate sealed package.
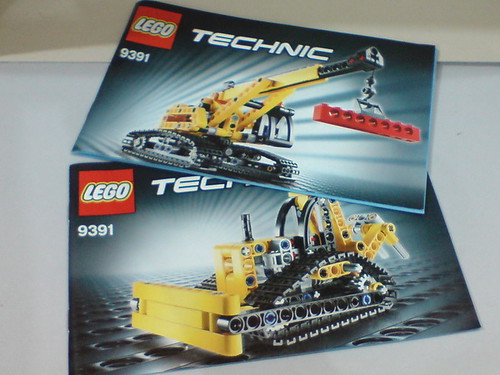
Two manuals included for the two models.
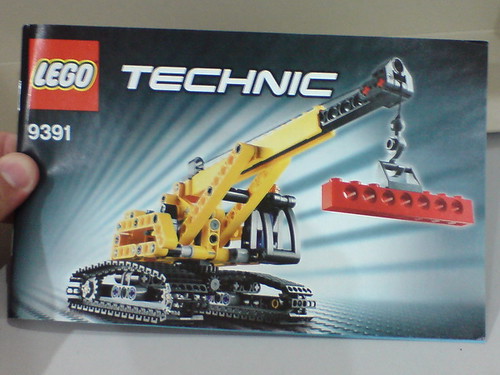
The manual for the main model.

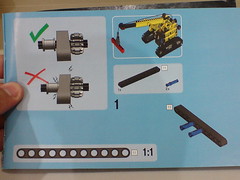
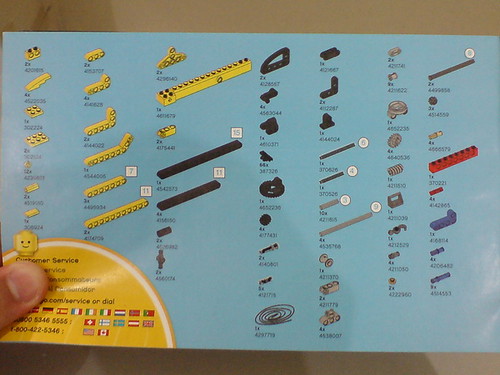
(Left) Simple pictorial guide on organization of the bricks.
(Right) Warning on not to apply too much stress to the gear and movable parts.

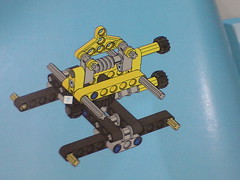
Some images of Tracked Crane's assembly from the manual.

Promotion for lucky draw campaign on a product survey initiated by Lego I think.

The manual for the alternate model.
Some images of the race buggy's assembly from the manual.


Promotional images of No. 9394 Jet Plane, Quad Bike and promotion for the official site of Lego Technic and Lego Club on the last two pages of the manual.
As usual, the main model will be assembled first, but before building anything, a bit of organization of the parts is necessary. ^^
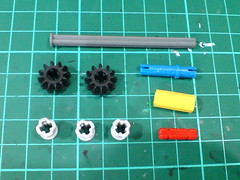
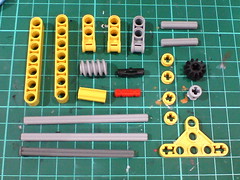
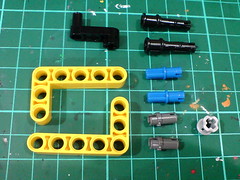
The main body will be assembled first:


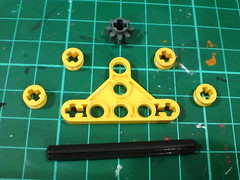
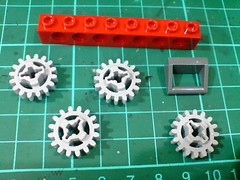
Large gear parts to enable the body's 360-degree rotation.

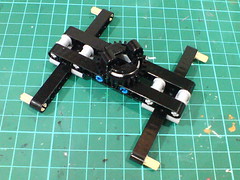
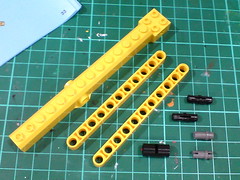
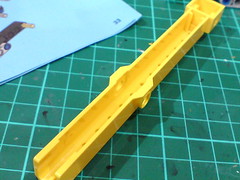
The four bars are assembled into the basic frame for the body and tracks.
Added the knob to control the body's rotation.
Video clip showing how the knob is used to turn the large gear part.
Video clip is from Youtube. Follow this link to the website if you can't see anything.
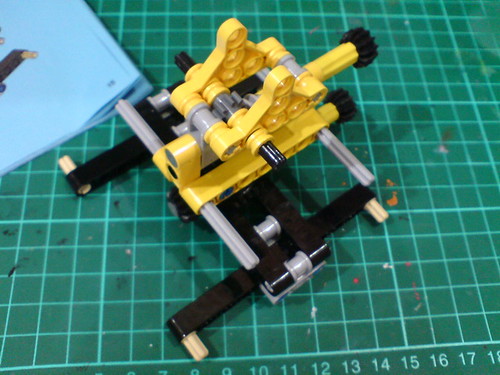
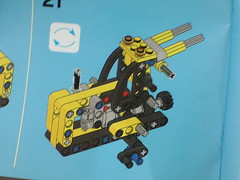
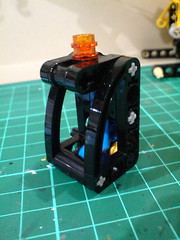
Adding in parts to form the main hoist.
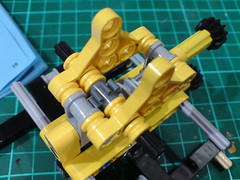
A few gear parts inside the main hoist will be used to raise/lower the boom.
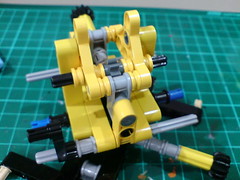
More parts are added to build up the body.
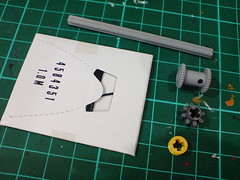
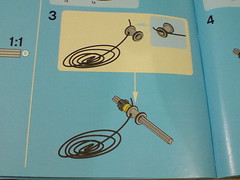
The thread is curved around a small paper card for storage.
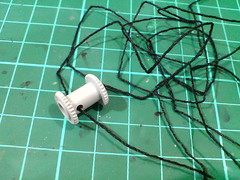
A small wheel with dedicated space is used to hold the thread.
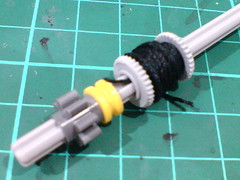
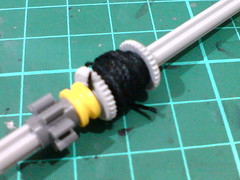
No tied knob is needed to keep the head of the thread in place. It's simply sandwiched between thread wheel and the round yellow part.

To secure the end of the thread before tying it to the hook, I use a paper clip as a counterweight to keep it in place. ^^


Added parts to lock the auxiliary host to the body.
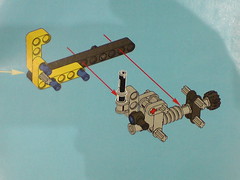
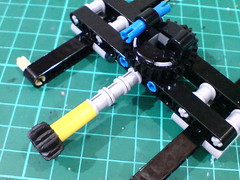
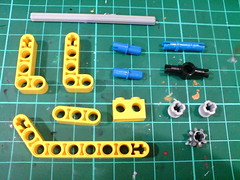
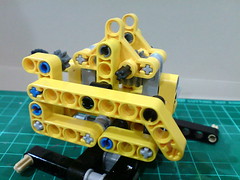
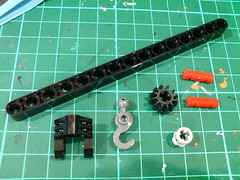
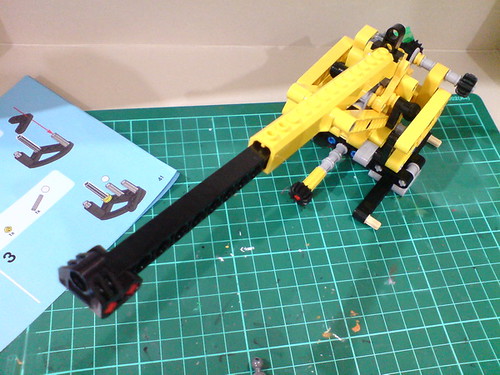
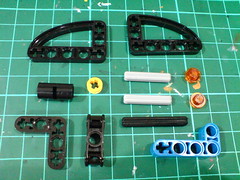
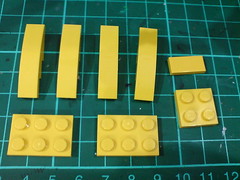
Large parts to form the boom's base.
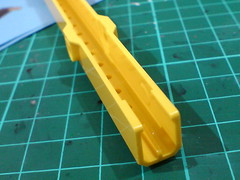
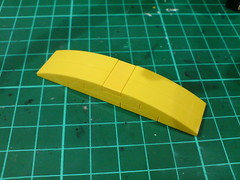
A unique one-piece part to form the bottom half of the boom.

Done for the boom's base.
Connected the boom to the main hoist, but it's not secured yet.
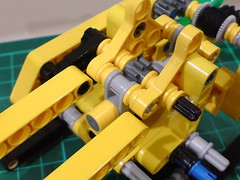
Mirroring parts and rod are needed to lock the supporting arms to the body and to connect between the boom's base to the main hoist's joint area respectively.


Done for the main hoist. ^^
Video clip showing how the second knob is used to raise/lower the boom.
Video clip is from Youtube. Follow this link to the website if you can't see anything.
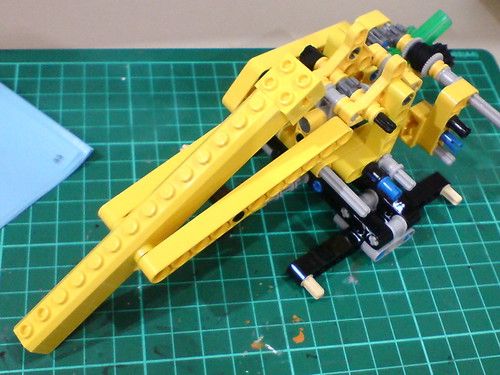
Added the extended arm in front of the boom.
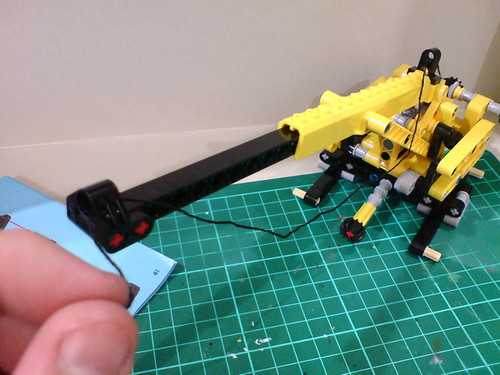
The end segment of the thread is pulled and slide through a small slot right in front of the boom.

Instead of tying a knob to secure the thread to the hook, I applied superglue to the thread to make the connection more natural-looking. ^^
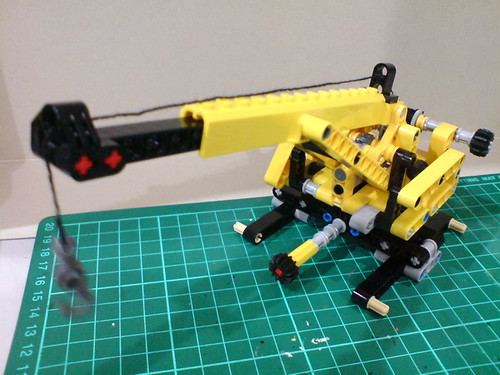
The entire boom is done.
The hook is swinging "happily" there as the fan was behind me during this assembly. ^^

Assembled the cockpit module and added it to the main body.

Despite being just a fixed component with no special gimmick, details such as the signal light on the roof and a blue seat in the middle of the cockpit are still been included, and I appreciate them very much.

Assembled the rear platform and added it to the back of the main body.
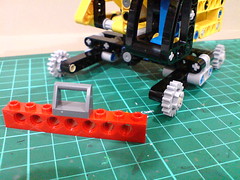
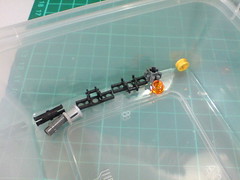
Parts to form an "object" for the crane to lift (that sounded super vague XD) and wheels for the caterpillars.
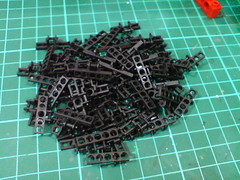
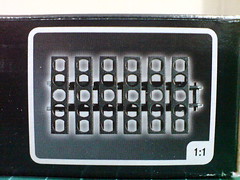
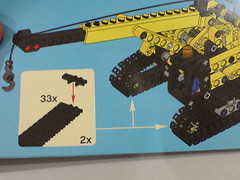
All 68 caterpillar parts included in this model.
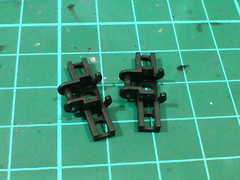
Super simple clip-on mechanism to connect between the track pieces.
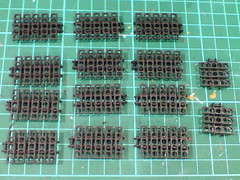
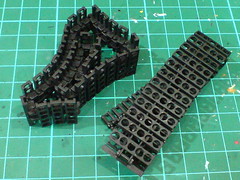
(Left) Each track is formed with 33 pieces. I arranged the pieces to be assembled into groups of five for easier organization.
(Right) The tracks' flexibility can be observed easily even before they are assembled onto the main model. ^^
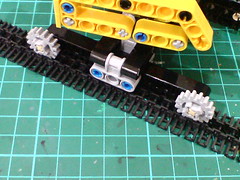
Fitting the tracks to the wheels.
Done for the tracks. ^^
They wrapped around the wheels very accurately, ...

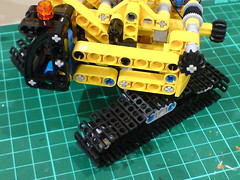
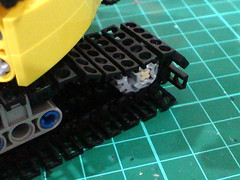
... but not when the whole model is lifted though.
Although they look like the tracks on an actual crane, they are still made of lightweight plastic, and it's mighty easy to tell through the image above.
Video clip showing the tracks in action.
Video clip is from Youtube. Follow this link to the website if you can't see anything.
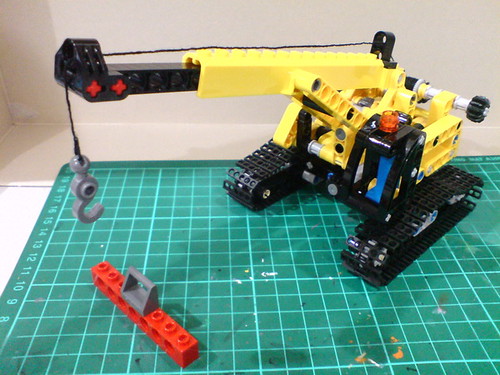
All done for the entire model.
A few leftover parts from the assembly.
More images of this completed Tracked Crane coming up in the next posting.


No comments:
Post a Comment