Starting to recover from the "shock" to work on MG F91. XD
The priority is given to two parts that were in my head the moment I got this kit: the display base (Rafflesia) and its pilot figure. Just the later for this review today.
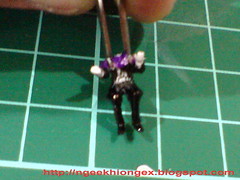
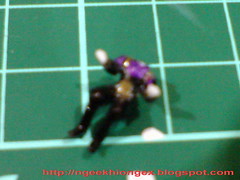
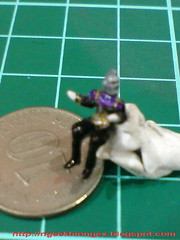
The pilot figure of the base is Iron Mask, and while it's accurately sculptured to look like the character from the movie, there's one serious problem about how he sits in his cockpit:
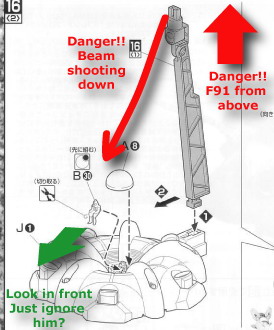
Meditating there, old man?
How can one sits so casually when there's one enemy MS, a Gundam some more, flying so close by trying to kill you in your cockpit? XD
There's this great scene from the movie towards the end, when Iron Mask was shown to be looking around his cockpit in great panic trying to spot where F91 is and which one as well, thanks to the Gundam's ability to generate "After Image". That would be a much better image of Iron Mask for this model I believe.
Definitely better than sitting idly in the cockpit waiting to die (even though that's exactly what's coming anyway). ^^;
There are 1/100 figures in MGs released much earlier than F91 that were designed with much better expression actually, like the technicians in MG Gundam Mk. II Ver. 2.0 and Zeta Ver. 2.0. The later has the arm portion of the figure molded separately from the body, which work pretty well too. So it's quite a pity that Bandai decided not to design so for Iron Mask. Maybe all pilot figures in their cockpits should look all the same for Bandai. ^^;
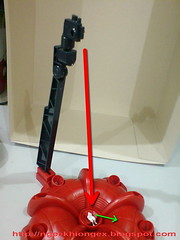
Anyhow, I have the plan to make Iron Mask more expressive in his cockpit. My idea is:
- his arms must be lifted - not sure what to do in the cockpit;
- his head must be tilted - not sure where his enemy is.
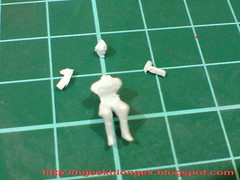
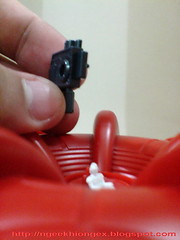
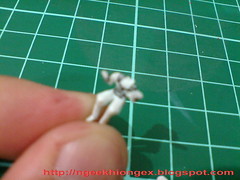
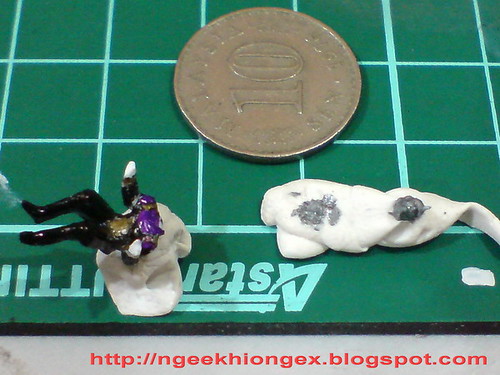
The first thing to do is to chop off the head and arm. The head is easy, as a clip with the nipper will take it off. The arms are a bit tricky though, since they are connected to either sides of the body, cutting them off will pretty much destroy their shape.
The arms from the figure itself aren't useful for the one I'm trying to make. Not only is their shape distorted after being separated from the body, the pose is not natural-looking as according to my plan either. So I'm thinking of making new arms for Iron Mask instead.
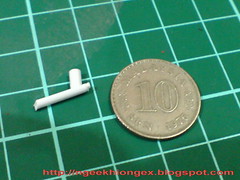
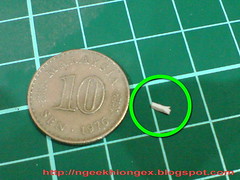
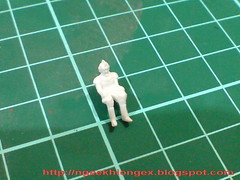
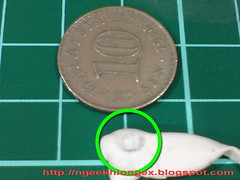
For the forearm, I just pick a part from a white runner and start trimming it all the way down to become what is seemingly, a forearm XD Not much special trick here, just a little bit of time and caution when cutting the runner.
You can probably see what is seemingly, his fingers too, though the shape isn't really accurate XD
For the elbow - the important part that connect the figure to the new forearm, I used Tack-It, a type of reusable rubbery plaster you use to stick notes or some small items on the wall. The material is in white, the same color as the figure. So it can be painted as part of the figure later. It's soft, so working out some shape from it isn't much of a problem. It's not oil-based as well, so it's very suitable to be used for plastic parts like Gunplas.

However, unlike Putty, Tack-It doesn't harden over time, so the shape remains volatile always. That's fine with this figure, because it's going to sit in its cockpit protected by the cover (forever) after being assembled. Nothing can disrupt it at that stage.
Plus, it doesn't come off that easily anyway. ^^
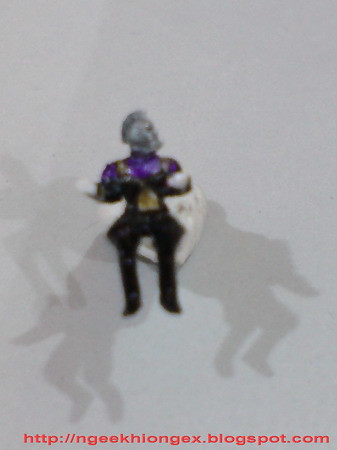
The result:
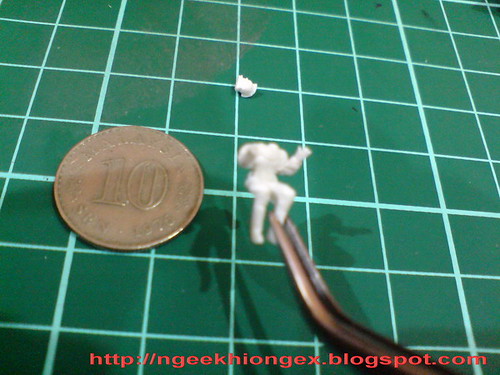
Finish with modifying the figure, it's time to paint it. ^^
From the box art:
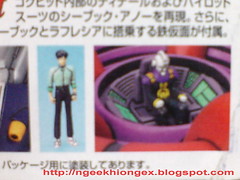
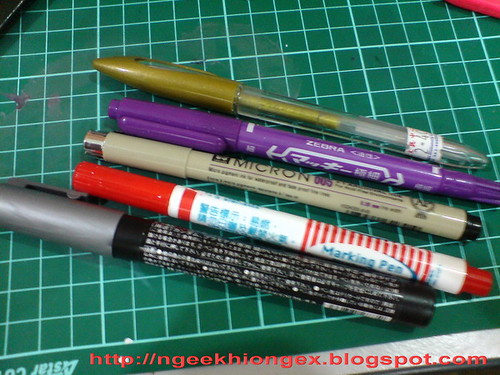
* Silver - Gundam Marker Silver - head
* Red - shown but not used
* Panel-liner for the lines
* Purple - Normal marker - chest & cloak
* Gold - Normal pen - replacing yellow for the shoulder and abdomen.
Step 1: Panel-line the different parts of the body
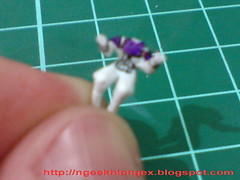
Step 2: Purple for the shoulder and abdomen
Step 3: Black for the rest of the body except the back, chest and cloak
Step 4: Gold for the back, chest and cloak
Step 5: Silver for the head
When the paints have dried, I glue the head back to the neck using plamo glue, with the head tilted a bit to the left.
Initially, the position of the head is more "ridiculous", as Iron mask seems to be exhibiting the ability of an owl in turning the head around XD In the end, I give it a more subtle position - where a normal average person can tilt his or her head to XD

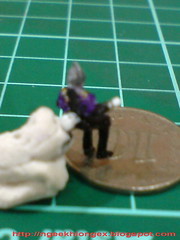
The last stage of the work on Iron Mask is further cleaning up the gold paint on the abdomen. There is quite a bit of excessive paint from the gold pen sticking on his pants there. That is covered simply by painting black over it.
Done with the figure, I will move on to the next part - the display base (Rafflesia) in the next review.


9 comments:
Ingenious.
I never paid any attention to the pilot figures since most of the time they were hidden in the cockpit, never to be seen again.
But good work with Karozzo... Now he truly looks shaken in the Rafflesia.
Now this figure looks so much better that the default one! You are really good with the small detailed stuff!
lol This part of the review is so amusing. You beheading the pilot and reattaching his body parts with different materials. You're getting more and more detailed with this kinda stuff. XD
i also want to buy a F91 but should i wait for the campaign version?
@Nivla: Don't know.
At HobbySearch, there's a Picture on what parts will be clear for the F91
http://www.1999.co.jp/eng/image/10102812a/20/1
According to manual scans, you will probably get the clear parts for both sides.
Image of Runner from Dalong.net
http://dalong.net/review/mg/m91/p/m91_r_c.jpg
Well, it's up to you if you find it's worthy to wait
@ Topic: well done ngee, although I usually don't even paint the pilot figures (due usually not seen), but the modification really looks good!
very detailed and love how u changed his expression. great!
Awesome I can never do something like this.
Wow NK you've put in a lot of effort even on a 1/100 figure! Rather than just sitting there with his arms on his laps he's much more alive now! I'm impressed with your mod there!
So creative. I've never thought to do such things before.
Post a Comment