Finished with the figure yesterday, time to move on to another really troublesome part, the display base Rafflesia.
It's a single part molded only in red, which is the base color alright, but there are many other smaller places that need to be painted, like the cockpit, thrusters, and the whips as well, which came as black parts instead of green. I'll start with the relatively easier places to paint first before moving onto the details.
By the way, Rafflesia is really a good inspiration for designing your Mobile Armor isn't it? Apart from the sheer size of the flower, the stink can really work well in scaring visitors away, just as how the numerous whips of this MA kept all its enemies at bay in the movie ^^;

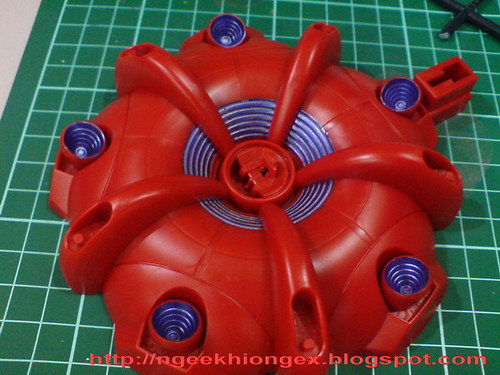
Gundam Marker GM19 Metallic Violet for the 5 thrusters and areas around the cockpit.
Not exactly easy for the later as they descend into the deeper and narrower splits.
Clean up some of the excessive paint on the top layer.
Not exactly easy either as the round elevation of the base isn't a good place to work on for knife to scratch off the paint.
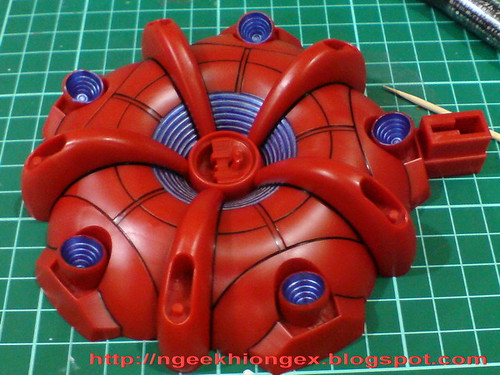
Completed, with panel-lines drawn.


5 gray splits on top of the base painted with Gundam Marker Gray.

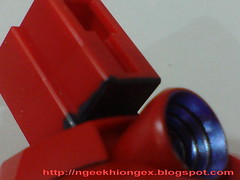
Connector from the base to the display stand is painted using Gundam Marker Black.
The really narrow wall in between the base and the connector is painted with a toothpick first, before painting the larger area using the market directly.


Completed


Painted the whips with oil-based paint marker green.


Great to see that the color of the painted whips matches the color of the wire very closely. ^^
Except for the whips, supposedly easier parts to be painted weren't that easy actually ^^; Hopefully the next round of work on the more delicate part of the base would be better. ^^


3 comments:
I like how you use simple tools, yet get good results!
Cockpit coming up next, which I imagine to be much harder than the ones you have done now. Whew.... =.=;
is it possible to make the surface look metalic with just the gundam markers?
Post a Comment