The initial plan was to have all the work done in this review put together with the canopy last night, but the decision to use a whiteboard marker on it put me off a bit on the overall work progress. ^^;
The final stage of work on the display base: last bit of painting on some of the parts and detailing the cockpit.
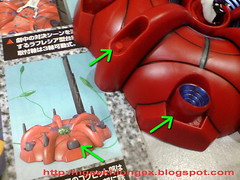
The most amount of painting needed for the display base is gray for the thrusters and bases of the beam cannon, five for each on the entire base.
Normally, I would torture myself using Gundam Marker and toothpick on such tight spots unreachable by the tip of the Gundam Marker, but not this time. The amount of painting is a bit too much for Gundam Marker, and some spot are just too narrow to work on, especially the spot between the thruster and the wall around and behind it.
It would be so much more convenient if the thrusters are molded separately from the base, just like the beam cannons. I suppose with that, the base would be wider for the tip of the marker to maneuver in there.
And if the thrusters are molded in black just like the beam cannons, I won't even bother to paint them anyway XD
So this time I'll hand paint the different spots instead. The color used is:

Gaia Color 074 Neutral Gray IV (15ml)
Just the paint itself isn't enough of course, two more items are needed:
- Mr. Hobby Leveling Thinner
- Tamiya Modeling Brush Flat No. 01
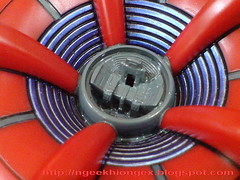
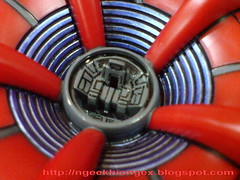
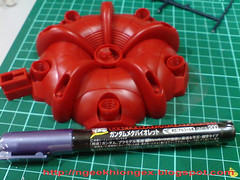
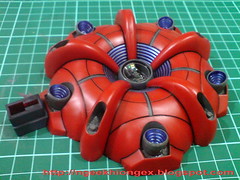
The result from the painting:
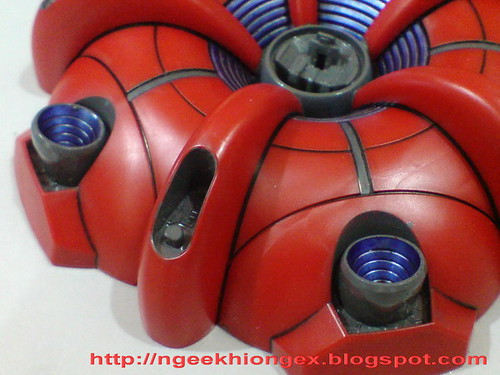
As you can see, I actually painted the walls of the thrusters and beam cannons in gray as well. That is because I think it's appropriate to treat them as the mecha components of the MA.
Then again, another reason is I'm too lazy to dodge those parts when painting, and too lazy to clean them off later as well. XD
But of course, those excessive paint sticking at the edges are scratched off when the paint dried completely.
Next up: detailing the cockpit ^^
Panel-line the different parts first.
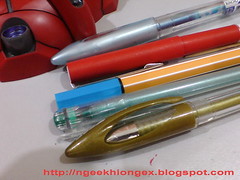
Markers and pens of various colors are used to show the different components on the dashboard around the pilot seat.
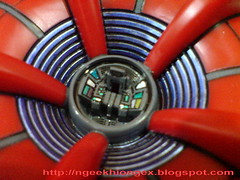
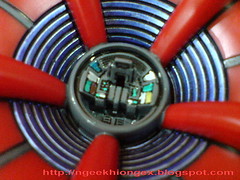
Finally, cleaned off excessive paint and panel-lined the dashboard again.
The colors used for the panel are randomly painted actually, but I chose bright and shiny colors like metallic green, silver and gold to be used as these colors are more outstanding, and would be easier to spot when the canopy is being put on top of the cockpit.
The entire display base before and after: ^^
And a try on assembling the different parts:
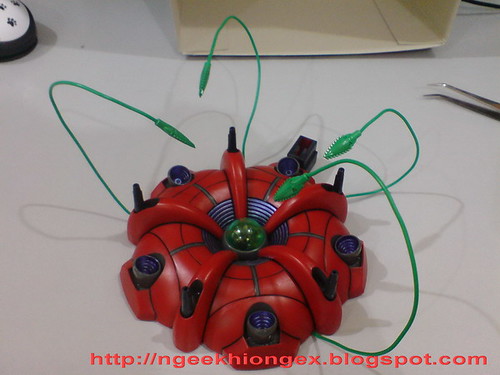

Can see Iron Mask's head and some of the colors on the dashboard now. ^^
Another posting with just one part done. XD But finally, I've completed the display base. Will be moving on to the actual model of F91 next. ^^


4 comments:
Wow, you're really good with those small details. I feel a little envious inside. If it were me, I probably didn't even bother detailing the base so detail-y. So, great job, looks wonderful.
Hrm, with all the stuff you done for the base, maybe you should try to top coat it, if possible. ^^
I never seen the base can be this beautiful..
It's painting details like this that makes the building all the more enjoyable.
dashboard details are great! you really did a good job with this. i like the fact that you dont use conventional tools.
Post a Comment