Just like MG Char's Gelgoog Ver. 2.0, the first part of the work on HGUC Sazabi after the introduction yesterday is to paint all of its thrusters and vents.
Same design as HGUC Nu Gundam, only one color is needed for all the parts - yellow. However, unlike Nu Gundam, Gundam Marker is not going to be suitable for this task, because Sazabi's thrusters and vents are not only more in quantity, they are much larger in size as well - consistent with Sazabi's appearance and specs. ^^ I'll probably need one or two Gundam Marker Yellow to paint all the parts, and the difficulty of the whole work is anticipatable. ^^; Therefore, instead of using Gundam Marker, hand painting using bottle paint would be a better choice for this task.
The paint to be used is Mr. Color 109 Character Yellow - the same paint used for 1/100 Duel Gundam Duel Assault Shroud's thrusters and missile pod.
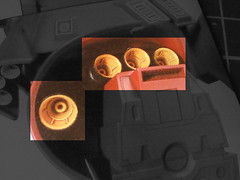
All the thrusters that need to be painted:
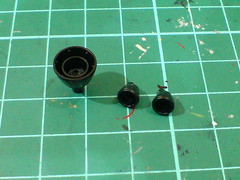
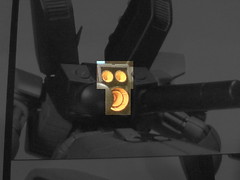
Backpack x3
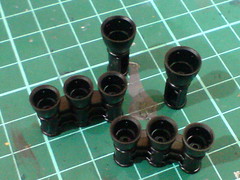
Leg x8
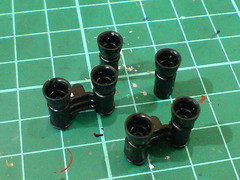
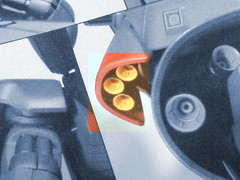
Side skirt armor x6
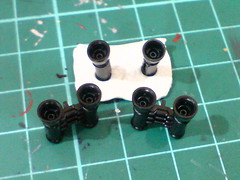
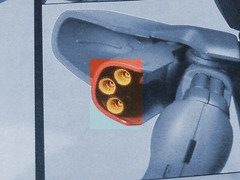
Shoulder x6
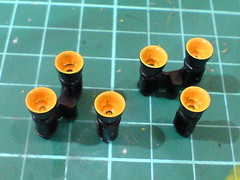
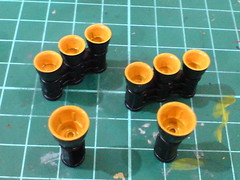
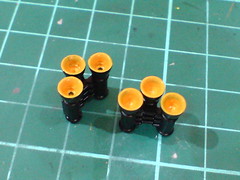
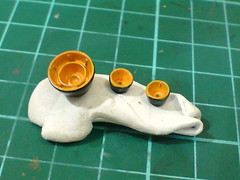
Painted with Mr. Color Character Yellow.
A single layer of paint is insufficient to cover up the base color for some of the area it seems.
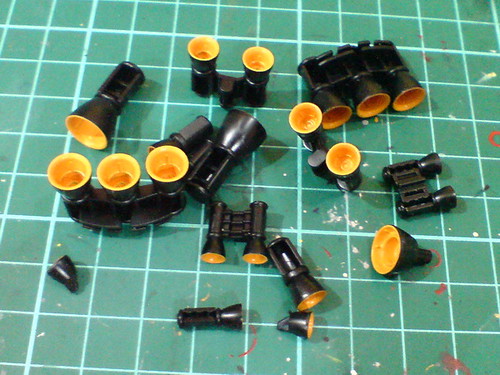
The result with another layer of paint (two for the stubborn few ^^;).
Subsequent layers of paint were applied when the previous layer(s) has dried.
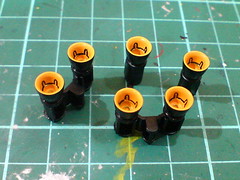
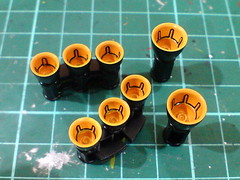
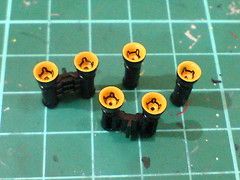
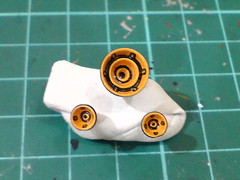
Panel lined the line details inside the thrusters after the paint has dried.
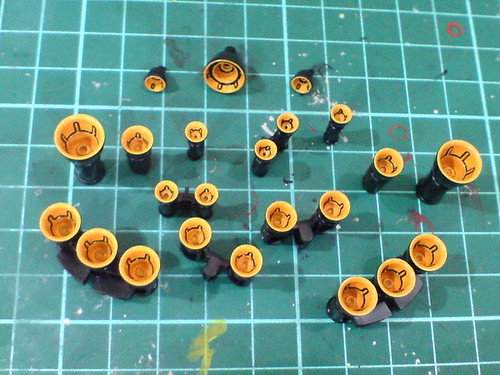
Quite an excruciating task it was to panel line the thrusters' interior, because not only are they hard to reach, the constant pressure of doing it accurately to not mess up the paint required a lot of attention and patience.
Steady hand with the pen is a must here. Luckily everything turns out just fine. ^^
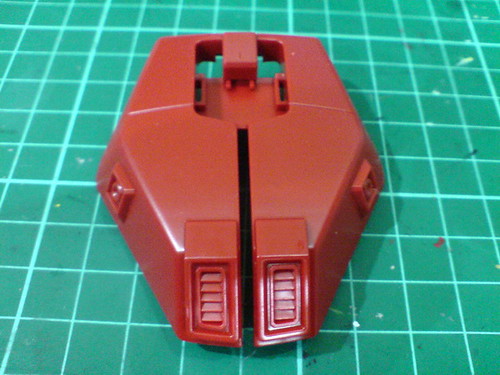
The huge rear skirt armor has a few spots to paint as well.
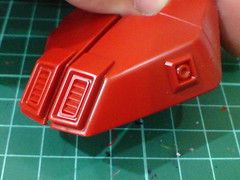
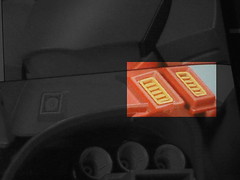
Apart from the larger vents on the tail, two square thrusters (?) sitting on either sides need to be painted as well.
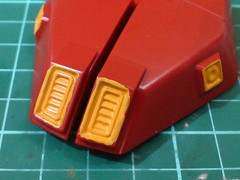
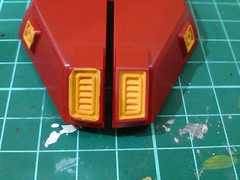
Painted using the same bottle paint.
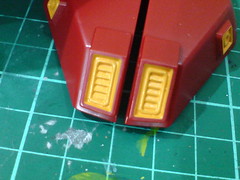
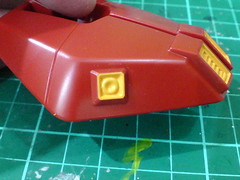
With excessive paint scratched away using pen knife.
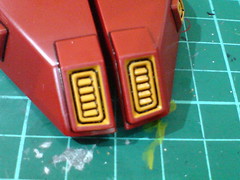
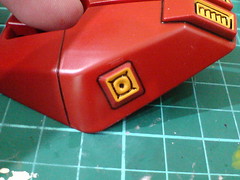
With all the parts panel lined.
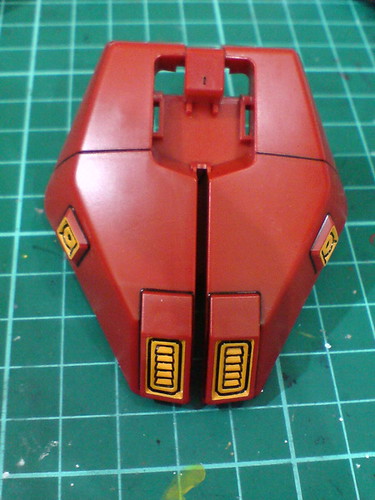
It's great to be working on such a huge Gunpla part. ^^
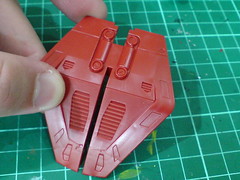
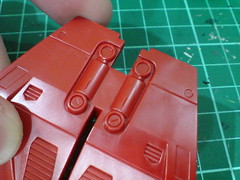
Some areas on the interior part of the rear skirt armor need to be painted as well.
The colors are not shown in the manual actually, so I'm recalling where to paint from my experience with the Master Grade version.
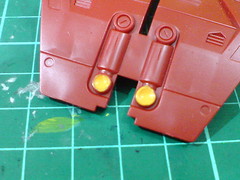
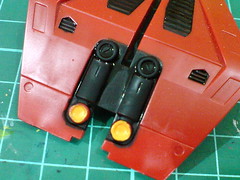
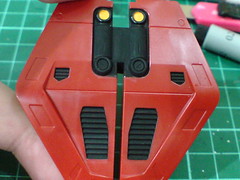
Painted the round vents-like design yellow before painting the area around it black using another bottle paint - Mr. Color 33 Flat Black. The "mouth" of the vents is left untouched first because it's hard to maneuver the paint brush to paint it without disturbing the yellow interior.
Don't think that the yellow vents were part of the deal on MG Sazabi, but the color painted is based on another related part to be shown below.
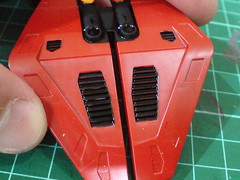
(Left) Painted all the vents black as well.
(Right) Excessive paint is scratched away using pen knife. The mouth of the yellow vents is painted using the flat tip of Gundam Marker Black.
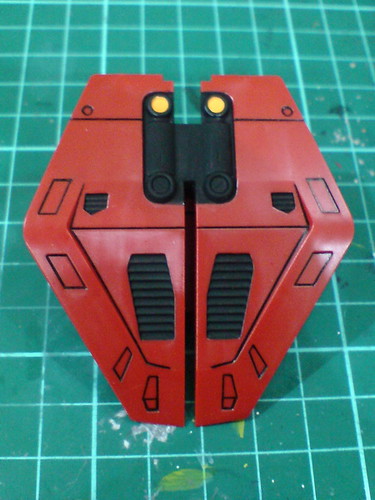
With all the details panel lined.
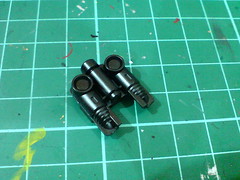
A separated part for the mecha portion on the rear skirt armor.
The vents are yellow as shown in the manual, which prompted me to paint the same component beneath the entire skirt armor the same color.
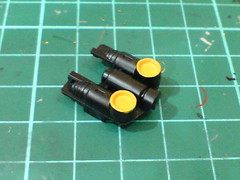
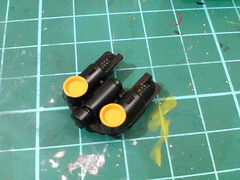
(Left) Painted the vents
(Right) With excessive paint scratched away using pen knife and panel lines applied for the body.
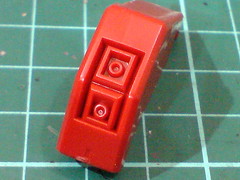
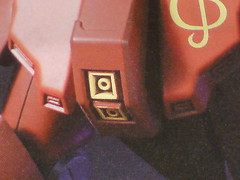
The two vents on the groin need to be painted as well.
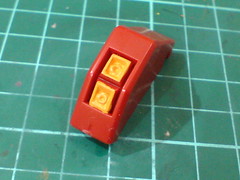
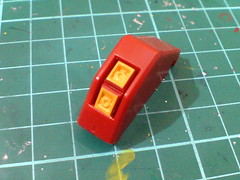
(Left) Painted using the bottle paint.
(Right) With excessive paint scratched away.
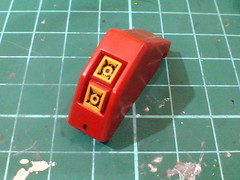
With the interior of the vents panel lined.
While I was painting all the thrusters and vents, I was wondering why are the yellow parts given so few when they are very large in size and there are so many of them at the same time. When I looked at the box art again, I realized it's exactly how the arrangement has been depicted. ^^;
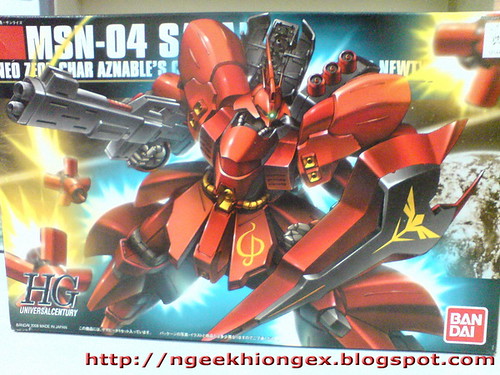
All the yellow parts shown on the box art image are exactly what you're getting in this kit - the ones on the shoulder armors, the Mega Particle Beam Gun in the abdomen and the conductive pipes on the waist. One of the vents on the groin is shown but it's not very clear. All the other ones, including the ones on the shoulders' side panels, inside the leg, on the backpack and others are not shown. So technically, even without any painting, the yellow parts given for this kit are "box art accurate"? ^^;
我无力也。^^;
Done with all the thrusters and vents, another huge part of the work on this HGUC kit - one that I've been "plotting" for quite a while is about to begin. ^^


4 comments:
Question; you said you scraped off the extra yellow paint with a pen knife. However the red plastic around the vents looks barely scratched. How do you do that??
Looks awesome, looking forward to your future posts.
Wow... you, even do lining for the inner thrusters... D=
*salutes*
wow, the yellow looks good! did you use mr color lacquer or acrylic?
Post a Comment