The last part of the work on HGUC Sazabi already. ^^
The main focus of this posting is applying the decals on the shield and the left front skirt armor.
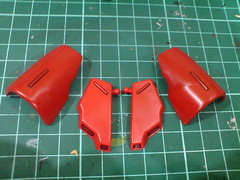
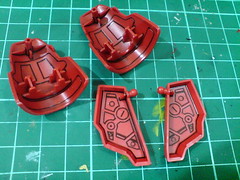
Panel lined the details in front and behind the skirt armor parts first.
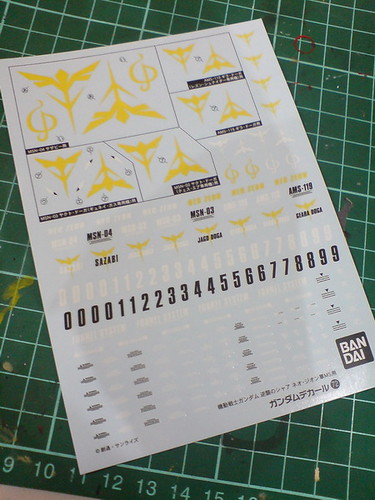
Definitely the center of the show in this posting: Gundam Decal No. 72 for 1/144 MS Char's Counterattack Neo Zeon MS use, which was introduced in the very first posting in this review series. ^^
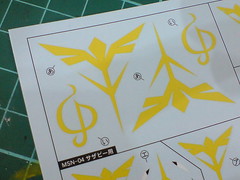
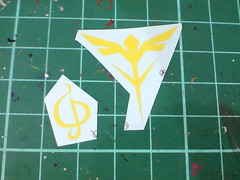
Applying Gundam Decal is a completely new area for me actually, so I'll be following the instruction shown on the back of the decal package very closely to see how things work first. ^^
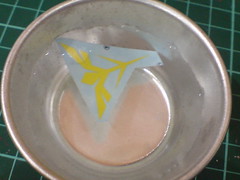
The first step is to cut out the desired pieces from the sheet.
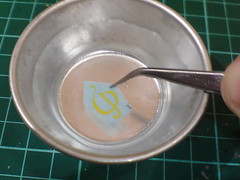
(Left) Dip the whole piece of decal into a saucer of plain water,
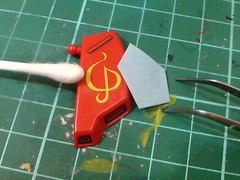
(Right) The decal is then transferred onto the part. In greater details: the wet decal is "slide" and pressed onto the part using cotton swap while the blue base paper is pulled away (in the opposite direction of the sheet) using tweezers.
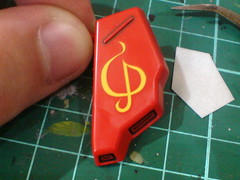
Once the position of the decal is confirmed, the water between the decal and the Gunpla part is removed by rubbing on the earlier using cotton swap.
The result is subarashii-desu! ^^
Applying the much larger insignia for the shield this time (with a great sense of excitement and nervousness too ^^;)
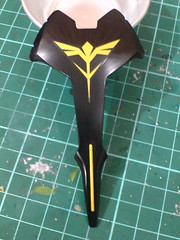
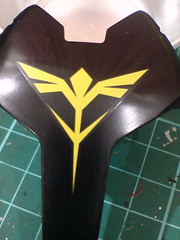
Applied using the same method as the one for the front skirt armor.
While it's locked in place nicely and firmly, the edges of the decal is too obviously detectable that they are kind-of obstructing the insignia's beauty. ^^;
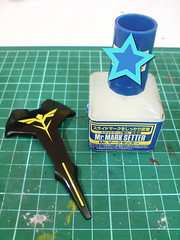
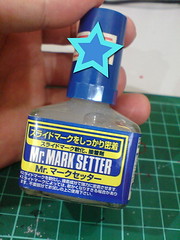
Luckily I have the supposed "solution" to this issue: Mr. Mark Setter. ^^
I purchased this along with Mr. Mark Softer originally for the decals on my VF-25s plamos, but in before starting on any of them, Sazabi's shield calls for an early deployment of this new tool. ^^
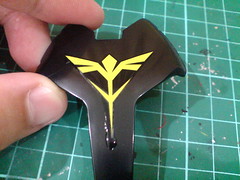
(Left) Just like modelling cement, the solution from Mr. Mark Setter is applied onto the decal using the cap with brush tip included,
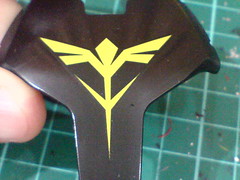
(Right) The solution is rubbed away using cotton swap after a while, and the edges become less visible than before.
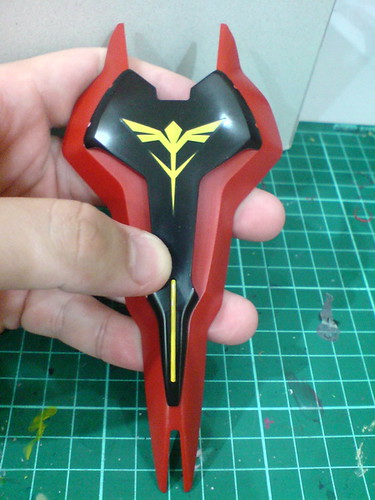
Testing out the assembly of the shield.
Very nice. ^^
As the name implies, Mr. Mark Setter's purpose is to make decals stick to the surface of plastic parts better, and it really works. ^^ That's definitely an unbelievable mystery to me, and I really winder what kind of sorcery is instilled into each bottle of such elixir that would make the magic happen. ^^; The effect is very cool. ^^
Done with the decals, the usual last component to work on is next: ^^
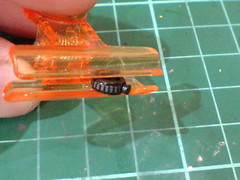
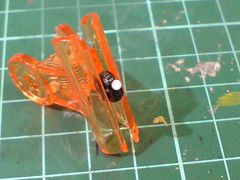
(Left) Painted the "ring" of the mono-eye camera gray (supposedly the arc that mounts the camera for it to move). Panel lines are added when the paint has dried.
(Right) Painted the camera portion white using Gundam Marker.
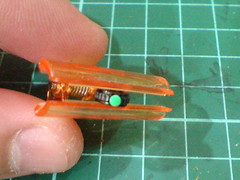
Painted the camera green using Gundam Marker GM09 Eye Green.
The white base color painted previously is meant to allow the eye green color to be more obvious. ^^
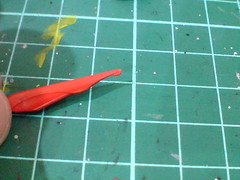
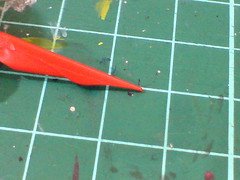
The little toothbrush extension at the edge of the helmet's tail is chipped away.
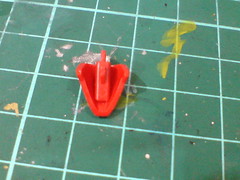
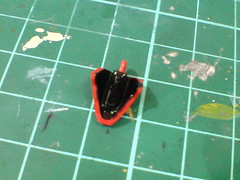
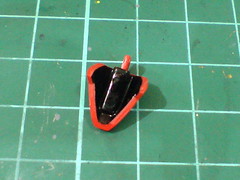
The interior of the forehead part is painted black using normal marker to give the part more depth.
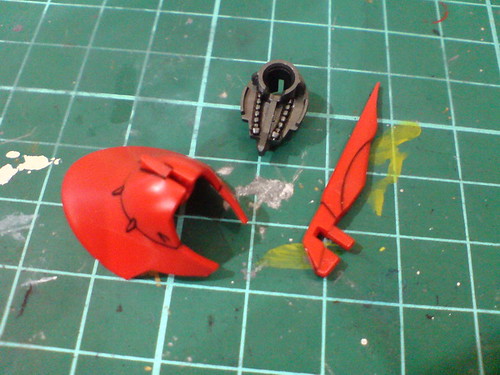
Simple panel lining for the other head parts.
And all done is done for HGUC Sazabi. ^^ There's no foil sticker to apply for this kit, so it's going to be just straightforward snap fit for all the parts during the final assembly. ^^ That's going to be an awesome experience to look forward to. ^^


No comments:
Post a Comment