The last part of the work on the legs of MG Char's Gelgoog Ver. 2.0, after two separate postings dedicated to the many parts on Sunday and yesterday. ^^
Panel lined the large main leg frame parts using a mixture of my usual method and black paint with thinner.
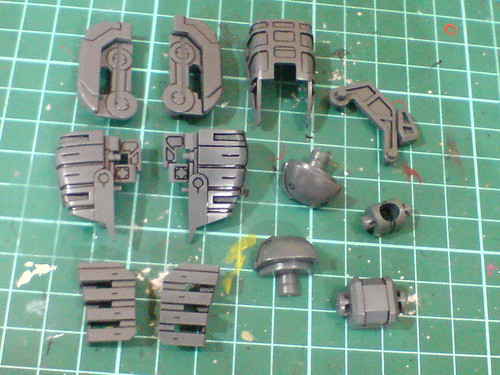
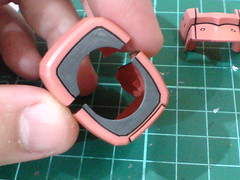
Simple panel lining for the other inner frame parts.
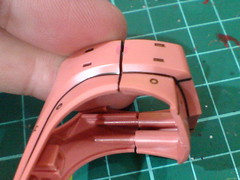
Trying out the thigh and knee joint to make sure that all the line details at the connecting segment are covered.

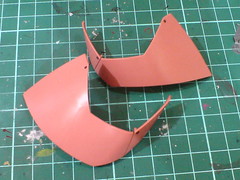
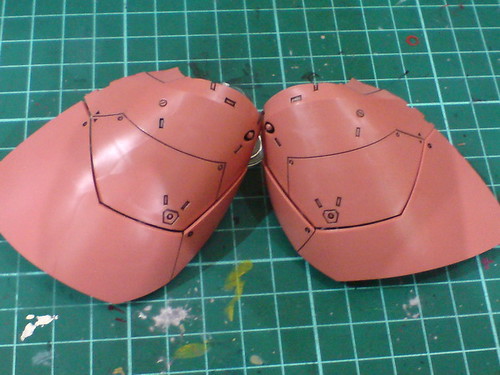
Simple panel lining for the other armor parts.
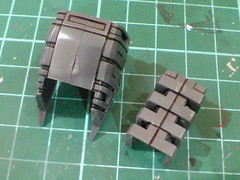
The knee cap sure stands out as a small yet super detailed part. ^^
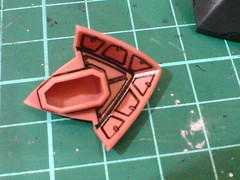
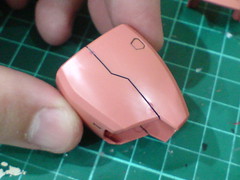
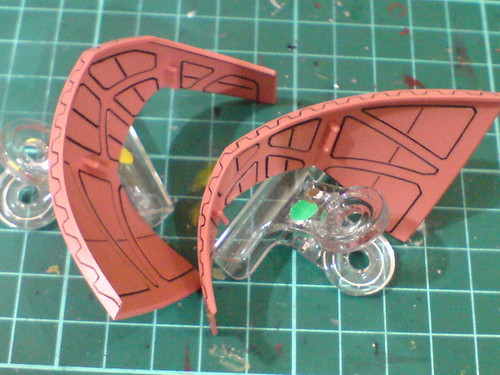
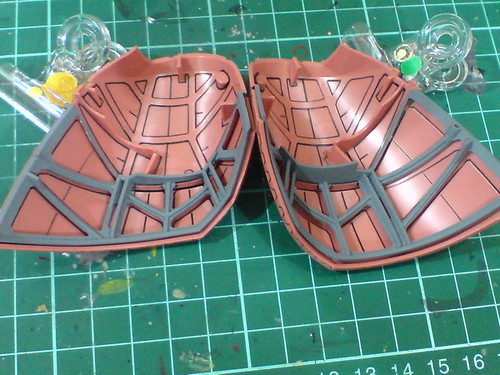
Much like the segments on the shoulder armors that were painted gray in Part 3, similar pieces on top of the thigh armor received the same treatment.
It's a deceptive way to show the thickness of the thigh armor. XD
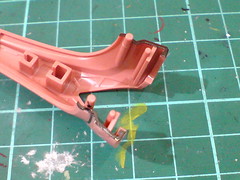
Painted black for the "borders" between connecting armor parts so that the lines would be very obvious when assembled.
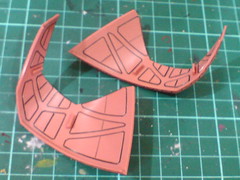
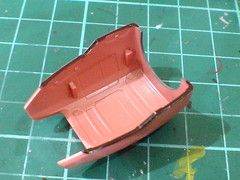
Simple panel lining for the details behind the outer layer of leg armors.
Teeth-like design at the edges of the parts is another deception of the armor's thickness. ^^
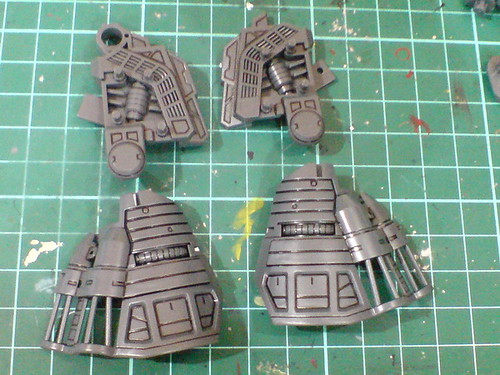
Can't help with the temptation of trying out the complete set of leg armors. ^^
Looks kind of simple on the outside, ...

... but it's quite an extravagant display of frame and details on the rear. ^^
And of course, repetition of all the work for parts from the other leg as well. ^^;


No comments:
Post a Comment