Back to work on MG Char's Gelgoog Ver. 2.0 in this posting, after over a week since I left it waiting in its box. ^^
Detailing the body and waist parts this time, where most of them are among the biggest in size in this kit, which is very good thing for me. ^^
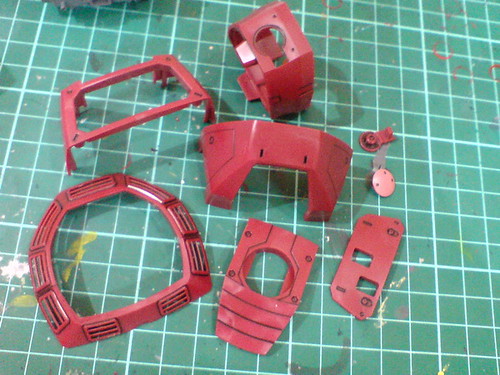
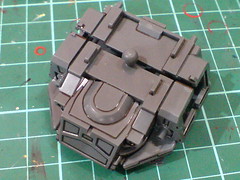
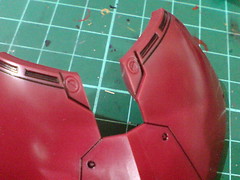
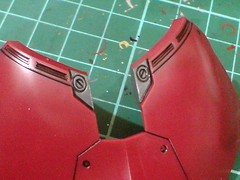
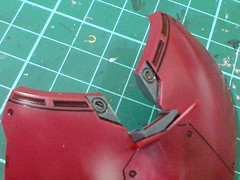
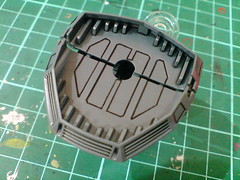
Very simple panel lining for the body armor parts. ^^
The frame details behind the armor part on the back are panel lined since the part being removable is one of the important gimmicks of this Master Grade kit, and there are a lot of chances for the details to be seen.
Panel lining for the inner frame parts of the body.
The deep narrow vents around the chest and abdomen are done using the black paint with thinner method.
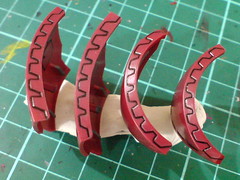
The last two fin parts between the armpit and the shoulder armor are panel lined using my regular method of drawing on the line details one by one. ^^;
No big deal after completing six of the same kind of part design for the shoulder armors in Part 3. ^^;
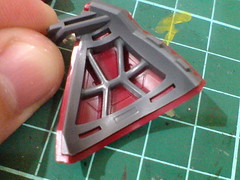
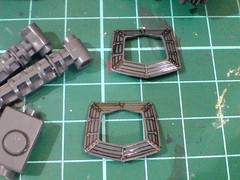
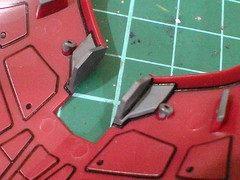
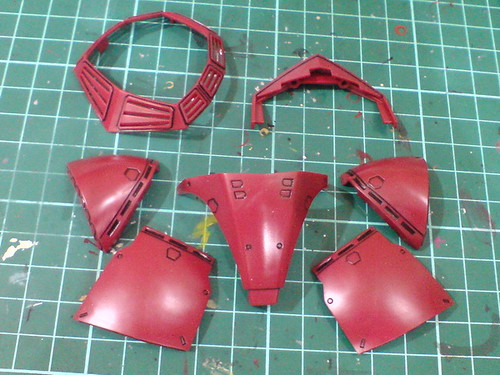
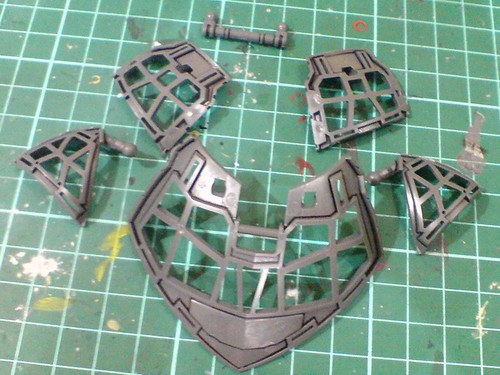
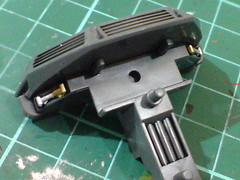
(Left) Each piece of the skirt armors has corresponding frame part with the same kind of cage-like design like the leg armors.
(Right) The connectors from the skirt armor need to be painted to match the frame part's color.
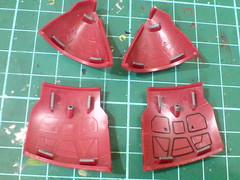
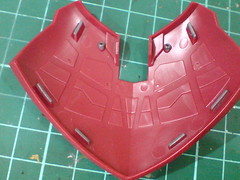
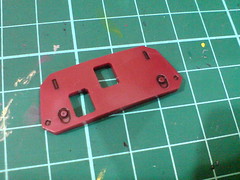
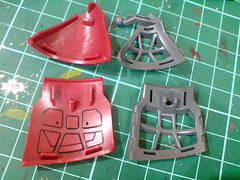
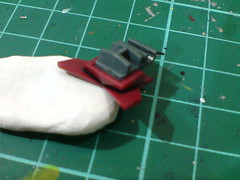
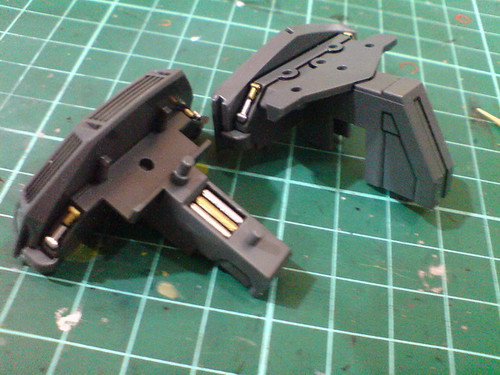
Painted all the connectors gray using Gundam Marker, including those behind the rear skirt armor, the largest single-piece body armor part. ^^
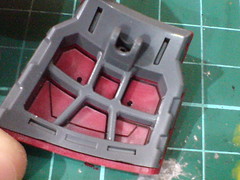
Trying out the parts to see how well the painted armors' connectors match the frame part, but look, a giant smiley face right in the middle of this side skirt armor part XD
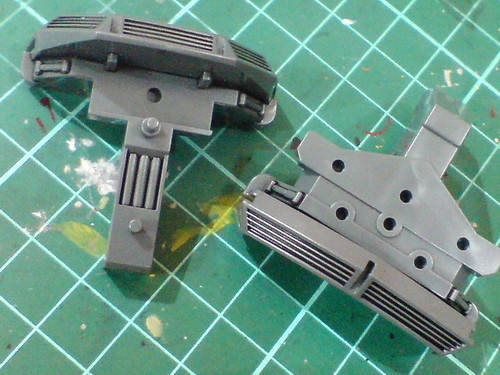
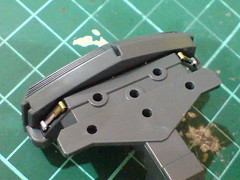
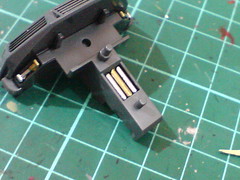
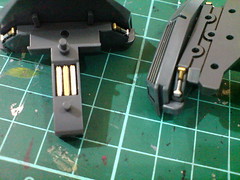
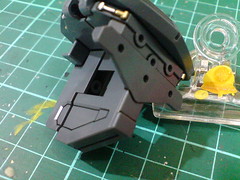
Painted gray for two small sections near the beam saber's mount rack on the rear skirt armor part ...

... and the surrounding area of the armor part for the mount rack itself using Gundam Marker ...

... so that all those parts would look like they are integrated with the inner frame when the mount rack is deployed (right image). ^^
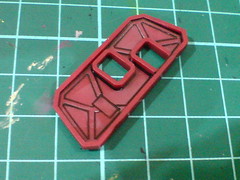
Simple panel lining for the skirt armor parts.

Simple details behind the armor parts and the teeth-like pattern on the edges are panel lined as well.
The big size of the parts make the entire work very simple and enjoyable to do. ^^
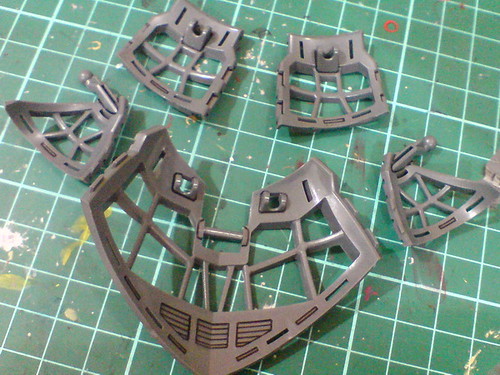
Panel lining for some areas on the inner frame parts that seem like they might matter for the display of the overall inner frame. ^^
Learning from the weakness of the skirt armors' frame part treatment on my recently completed MG Johnny Ridden's Customized High Mobility Type Zaku II Ver. 2.0, where the exposed frame parts weren't panel lined since I didn't bother doing so in the first place, some simple panel lines are added to the ones on Gelgoog for a better display of the details when the inner frame is assembled next time. ^^
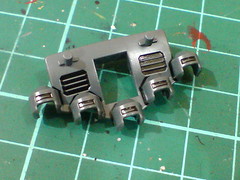

Five tiny pieces of foil stickers are added to the rectangular spots on the base of the rear skirt armor thrusters.
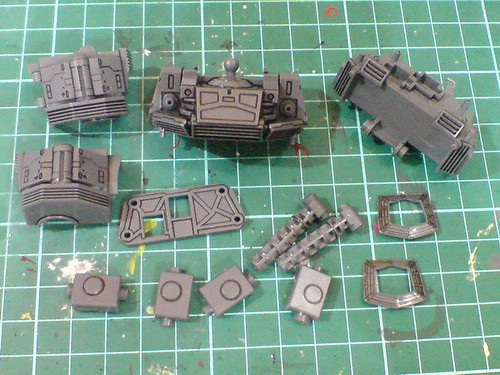
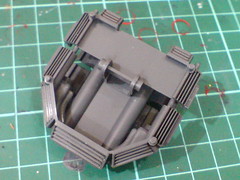
Huge parts for the waist's inner frame.
The narrow vents are done using the black paint with thinner method as well.
Gold and silver are added to the fixed hydraulic pipes around the waist (supposedly meant to pull the side skirt armors to the rear like the design on MG Zaku II Ver. 2.0 in terms of mecha design maybe) and the pipes on the groin using Gundam Markers and normal pens.
Simple panel lining for the rest of the line details.
All the parts are pretty large in size, making the overall work pretty simple. ^^ I can just imagine the fun seeing these same guys again during the final assembly. ^^


No comments:
Post a Comment