Done with the work on 1/100 scale Zaku Warrior's Blaze Wizard parts yesterday, it's time to move on to the Gunner Wizard pack this time. ^^ The work shouldn't be more than that of the Blaze Wizard I think, since there're not as many parts for the large cannon. ^^


Black paint with thinner method took care of all the narrow line details and hard-to-reach spots. ^^
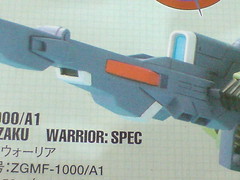
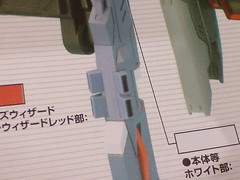
Referencing the manual for the painted result.

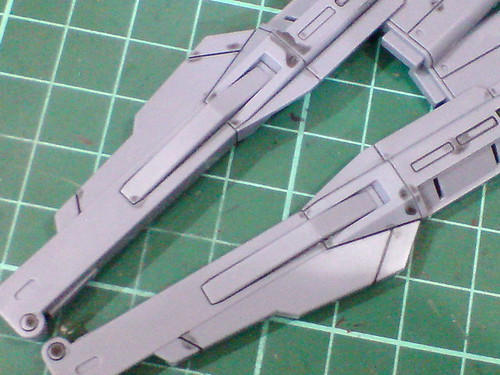
Areas on the sides of the bars are painted using red whiteboard marker ink with toothpick. They are annoying narrow, and steep (too close to the main body) at the same time. Quite a bit of messy spillover is unavoidable. ^^;
The top area of the bars are done easily using Gundam Marker.

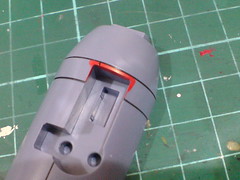
With the spilled over paint on the sides of the bar scratched away as much as possible using a knife. More layers of Gundam Marker Red are added to the top area too to smoothen the paint result.

As shown in the previous image, the vent area is painted white using Gundam Marker while waiting for the red bars' paint to dry. ^^
The interior of the vent is done using normal black marker.
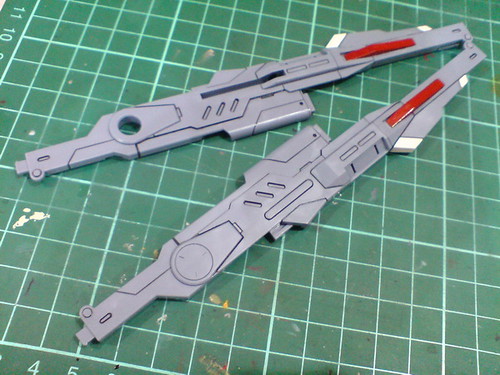
Completed result of the main cannon parts, with panel lines added.
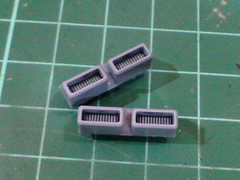
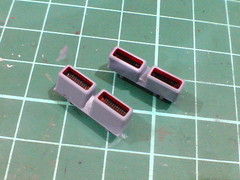
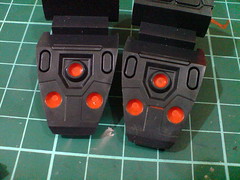
A bit of optional painting here: the interior of the four vents on both sides of the cannon will be painted red to emphasize their design. ^^

Painted using red whiteboard marker ink.
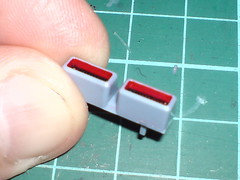
The excessive paint at the "mouth" is cleaned off using a knife.
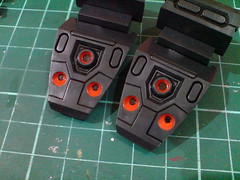
Normal black marker and panel liner are used to paint the actual vents, which also cover up all the spilled over red paint on those areas. ^^
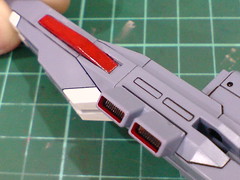
A bit of preview on how the vents would look on the cannon's body when they are assembled. . ^^
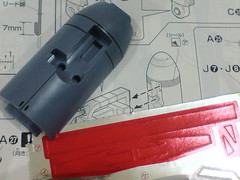
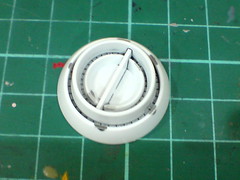
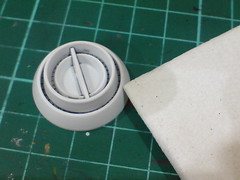
While the energy barrel (?) has a whole ring of red area near the top, I' just painted the tiny spot which won't be covered by the red foil sticker.
Why bother painting the spot when the foil sticker is a lot smoother and is an easier solution? ^^
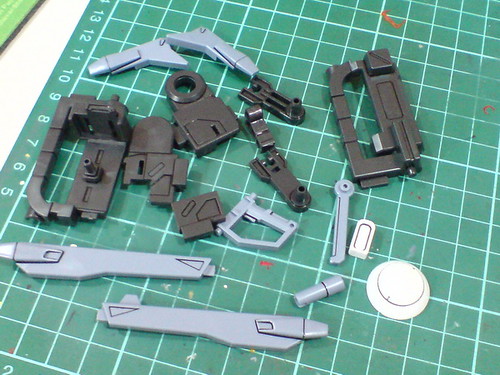
Normal panel lining for the other Gunner Wizard parts.
(Left) While the black paint with thinner method can be used to panel line the really tight line details inside the bottom part of the energy barrel, it's certainly impossible to clean off the excessive paint using a knife.
(Right) A piece of folded tissue with thinner inserted into those tight spots does the job nicely. ^^ For stubborn stains that refused to go with the tissue, sharpen toothpick can be used to deal with them. ^^
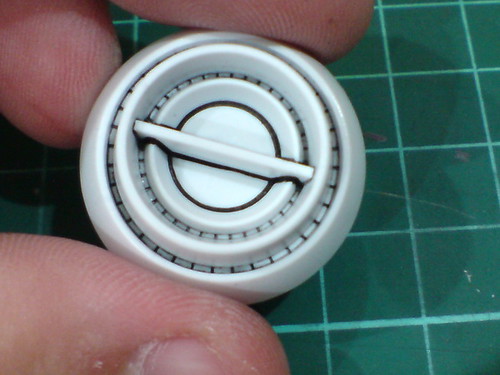
The final result of the energy barrel's bottom part.
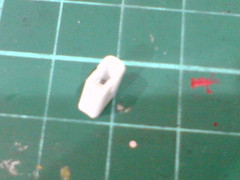
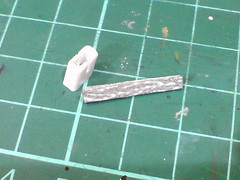


The muzzle part is slightly enlarged by cutting off part of it using nippers, after which the rough area is treated with paper file.
It's still a very small part that is disproportionate to the cannon's overall size though. ^^;
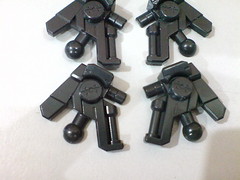
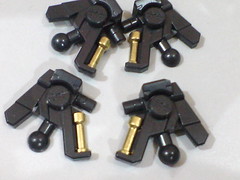
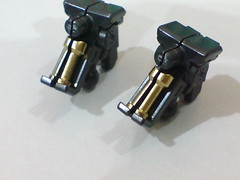
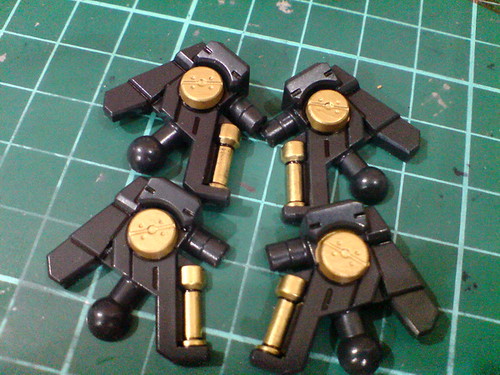
Painted gold for the ankle joints and fixed hydraulic pipes using Gundam Marker.
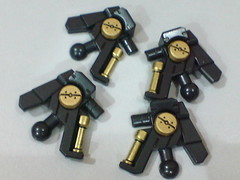
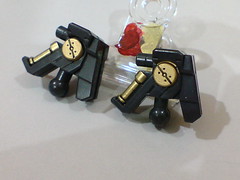
Panel lines added to the parts.
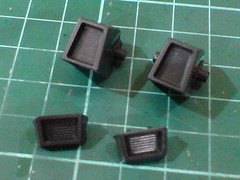
All the leg thrusters will be painted as well, but the color isn't supposed to be plain red like the parts on Blaze Wizard done in the previous posting. ^^;
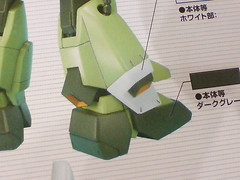
The color is supposedly yellowish orange (or the other way round if you will).
It's yellow 50% + orange 50% according to the color guide in the manual.
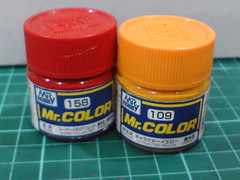
I have yellow paint but no orange. ^^; I'll have to get my own mixture of paints for the parts then. ^^;
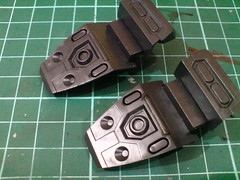
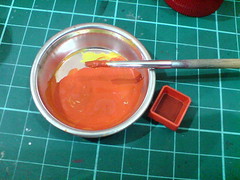
The colors used are Mr. Color No. 158 Super Italian Red Gloss and No. 109 Character Yellow. No specific portion applied for the mixture - I just add a bit of the two colors until I get the result close enough to the main thruster part which is molded in the intended color. ^^


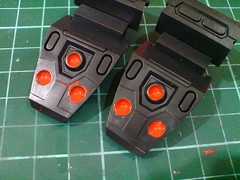
Painted all the thruster areas with the mixed paints, cleaned off excessive paint after it has dried and added all the panel lines.

It's a relief that the final result isn't too far off the molded color of the main thruster part. ^^
Done for both add-on packs and pretty much all the really difficult to-paint parts. ^^ Moving on to the main body of Zaku Warrior next. ^^


No comments:
Post a Comment