Very fast is the progress on the work of 1/100 scale Zaku Warrior with Blaze Wizard and Gunner Wizard pack. ^^ After the previous posting, only the legs, body and head of the main model remain, and as compared to the Blaze and Gunner Wizard packs, the work is a lot simpler. ^^
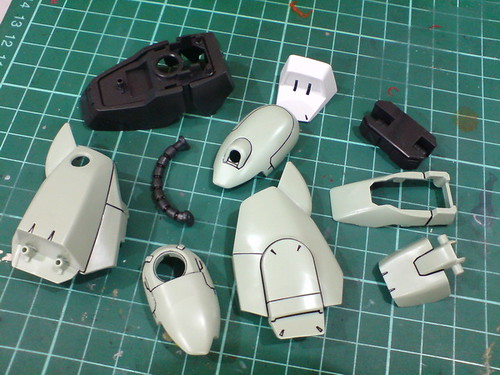
Parts of the right leg.
As you can see, some line details were already done with the black paint with thinner method.
Very simple panel lining and cleaning of excessive paint applied to the parts.
The sunken slit between the thigh parts are painted black using normal marker so that it would form an obvious line when the parts are assembled.
Repetition of the panel lining work for the left leg's parts.
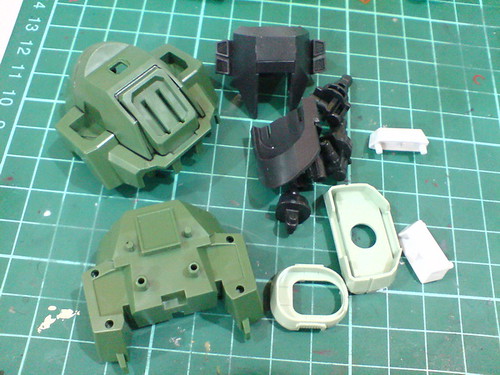
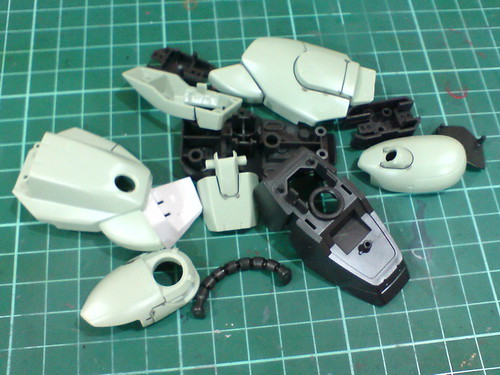
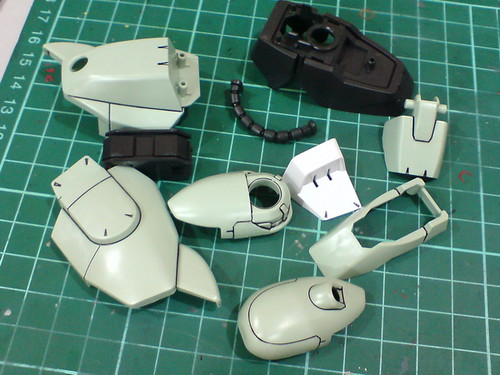
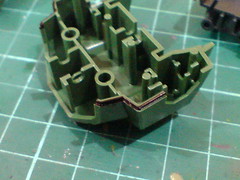
Body parts.
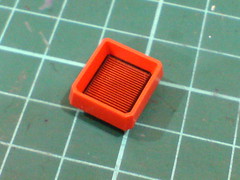
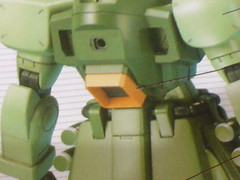
While the color of the thruster on the completed model shown in the manual is more yellowish than the actual molded color of that part, I followed the latter for the leg thrusters' paint work as shown in the previous posting.
The actual thruster isn't painted black either - I like the tiny line details very much and decided to retain that for the model. ^^
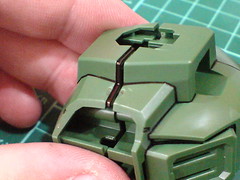
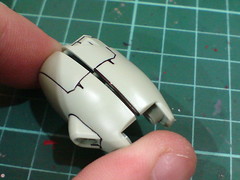
The sunken slit between the body parts are painted black using normal marker.
The chest vents are painted black so that they would stand out more than the chest part, which is also black in color.
My marker's blackness is blacker than the molded black part. Oh yeah~ XD
Small portion of vents on both sides of the neck part is painted black as well.
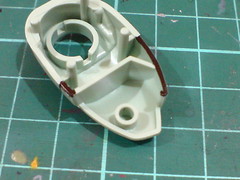
(Left) From test fitting the parts, it seems that a segment of the body near the neck joint that is in dark green might get exposed when the model is built.
(Right) The exposing area is painted black using whiteboard marker ink. The area covered is a bit overkill though, ^^;
Done for all the body parts.
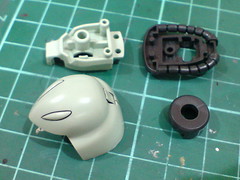
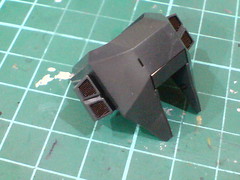
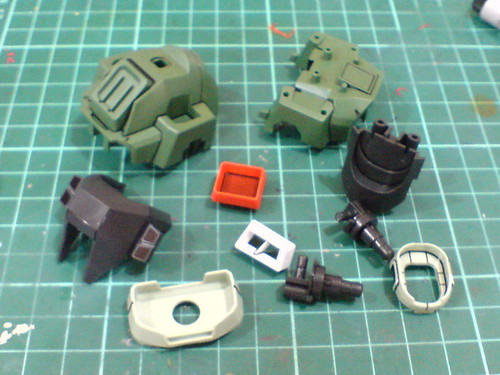
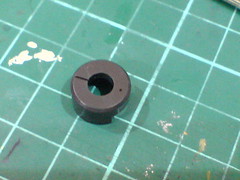
Parts of the head.
While the panel lining is done, there's still a bit of work for the mono-eye camera's base. ^^
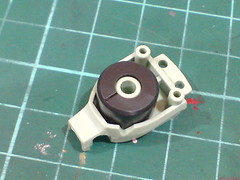

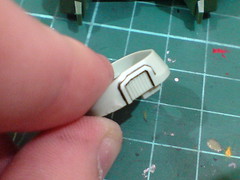
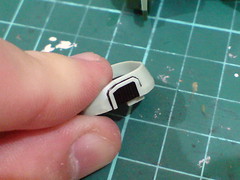
The base is designed to be rotatable, with a small line to indicate the eye's position.
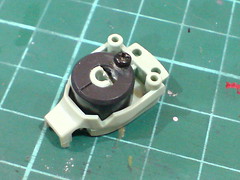
However, ...

... the bars behind where the eye part would be on the two helmet parts block that movement. ^^;
The lack of any tab or trigger on the part also makes turning the eye a bit troublesome. ^^

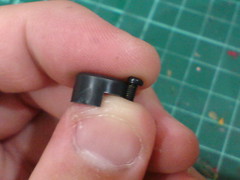
The troublesome bit is cropped off with a nippers.
Not shown here, same thing is done to the top helmet part as well.
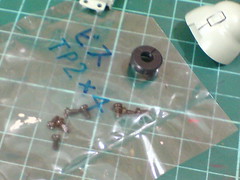
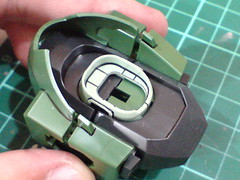
For the tab to move the eye's base, a small screw should be enough for the task.
From the many spare ones accumulated from my older Gunplas, this one with the screw's length matching the height of the part will be used. ^^


Using pin vise and screwdriver, the screw is inserted onto the eye's base.

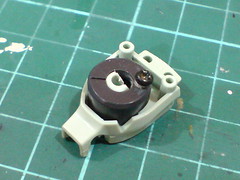
Turning the eye is made possible now, and simpler too. ^^

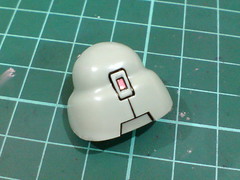
While not shown on the manual, a small piece of foil sticker (cut from the extra area around the mono-eye piece of this kit) is used for the rear head sensor.

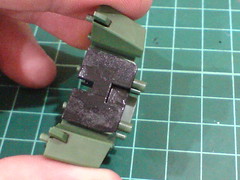
Dripped a bit of black whiteboard marker ink inside the top helmet part to give it more depth.
As usual, completion of the work for the head's parts marks the end of the entire work for this kit as well. ^^ And as usual, there'll be a bit of offset time between now and when I revisit all the parts again for the final assembly. ^^


No comments:
Post a Comment