Picking up from where the assembly of Lego Creator No. 4993 Cool Convertible's alternate flat nose truck mode was left off in the previous posting. ^^
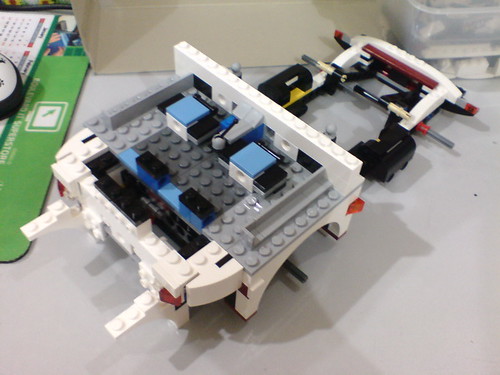
Halfway through the entire assembly. ^^
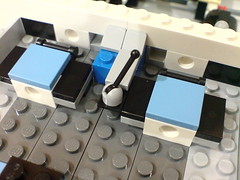
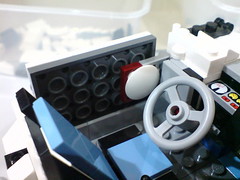
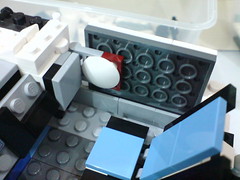
Just like to point out that the gear shift is movable, as you would expect from the design of that part. ^^
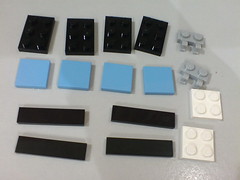
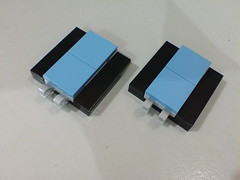
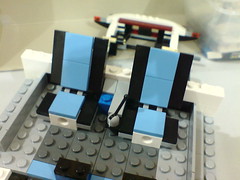
As with the convertible, the two seats use light blue parts, a color that is always very comfortable to look at.
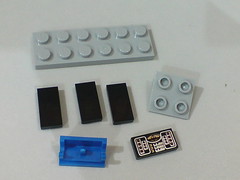
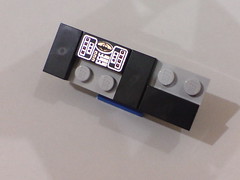
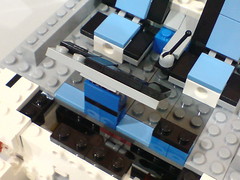
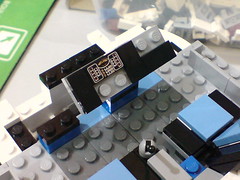
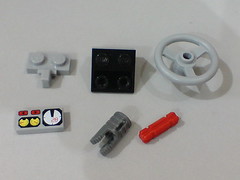
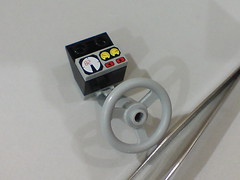
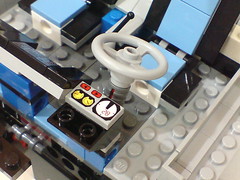
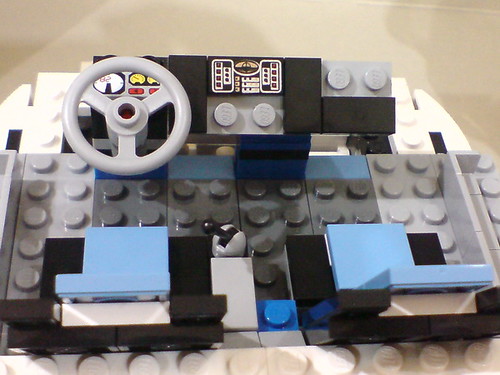
Adding on the dashboard and steering wheel.
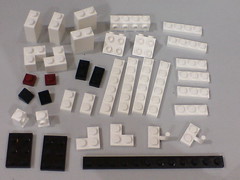
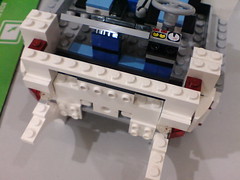
The attention shifts back to the truck's exterior, with more parts added on to form the nose.
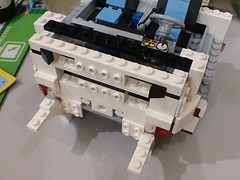
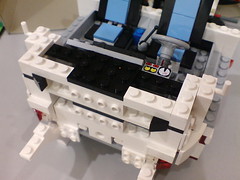
Apart from the look, all the added parts slowly increase the height of the head too.
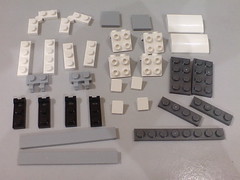
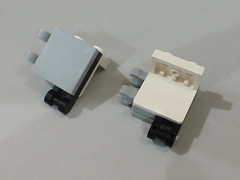
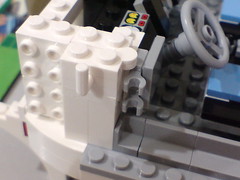
Adding on part of the truck's wall that includes hinges for the doors.
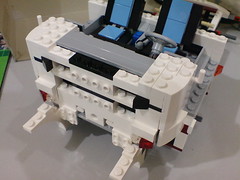
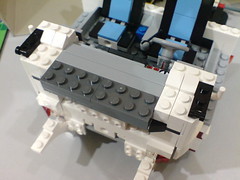
Adding more parts to the nose.
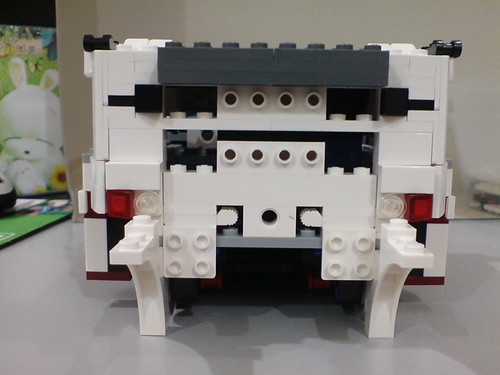
Front view of the nose completed so far. ^^
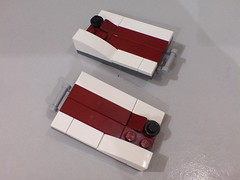
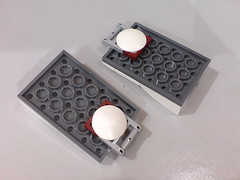
Assembled the doors.
Although much simpler than the ones on the convertible, the red parts which form a thick red stripes on them look really good. ^^
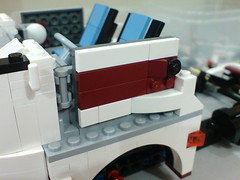
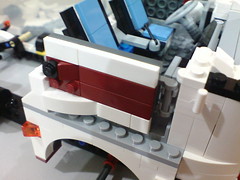
Connected the doors to the hinges mentioned just now.
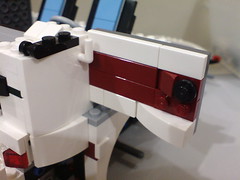
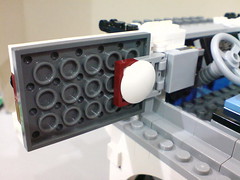
The doors can obviously be opened.
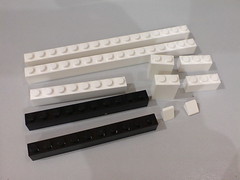
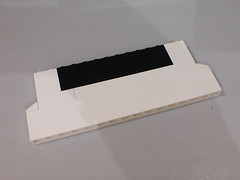
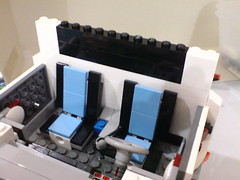
Very simple parts to build the wall behind the cabin.
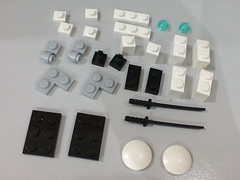
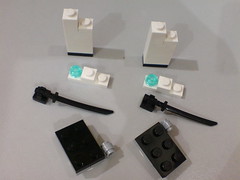
A lot of simple but detailed components done in one shot: side frame of the windshield, wipers, side mirrors and the light above them.
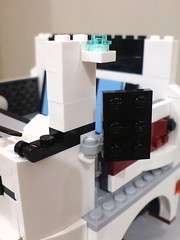
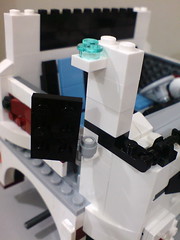
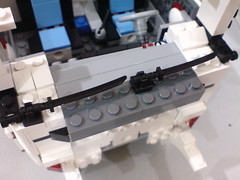
Fitted all the parts onto the truck's head.
Just like the convertible, it's katanas for the wipers for this truck XD
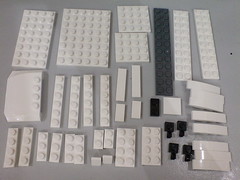
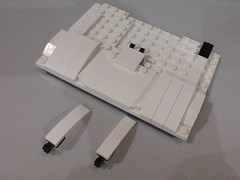
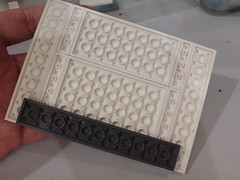
White parts of various sizes for the roof.
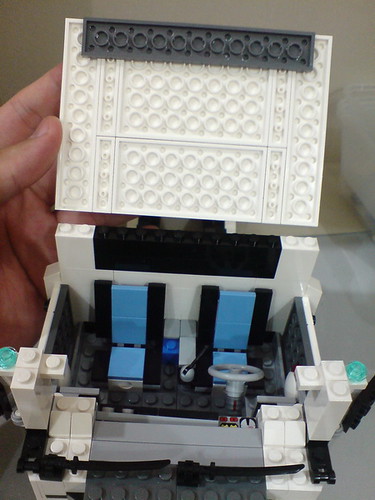
Even though there are tons of studs beneath the roof, only a handful on the last row at the back and few in front are used to connect to the cab.
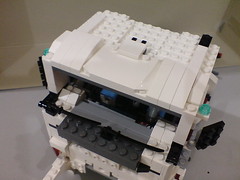
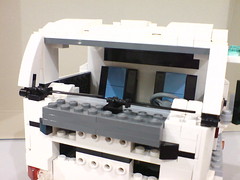
With the roof on, the overall shape of the truck is done. ^^
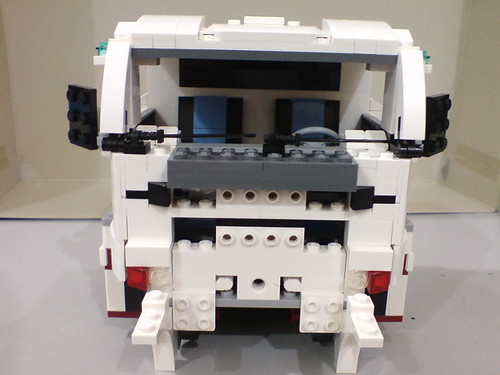
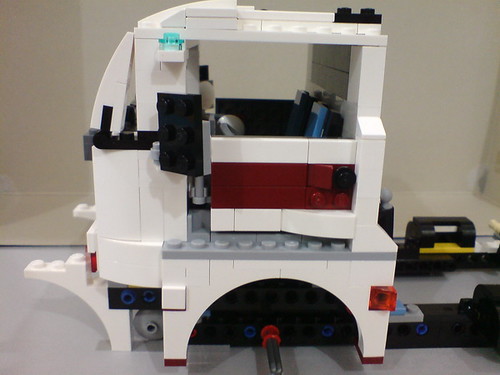
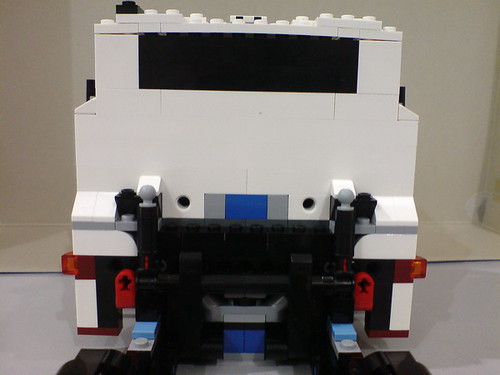
A look at the different sides of the truck with the progress so far. ^^
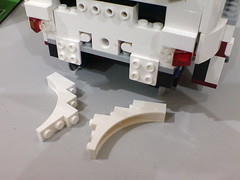
Amazingly, the two semi-arc-type parts that are on the bumper since the previous posting are to be removed just like that at this point. ^^;
Their purpose is to provide support to the huge component above them while they were being assembled all this while I suppose. ^^
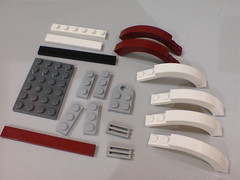
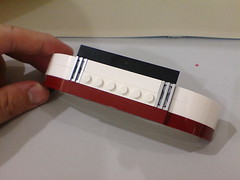
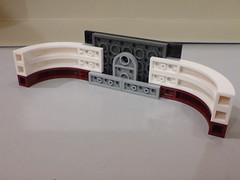
Assembled the bumper.
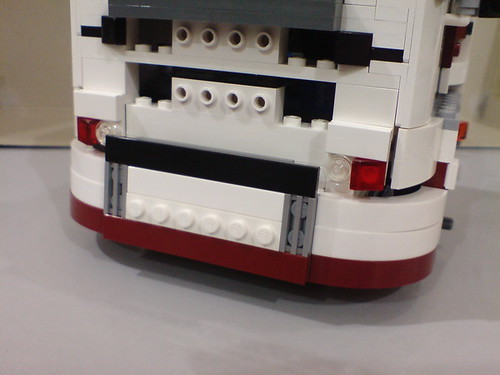
Very cool-looking bumper that totally compliments the width of the head. The smooth curved edges are really nice-looking too.

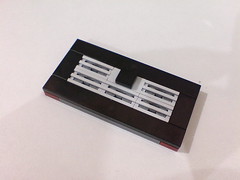
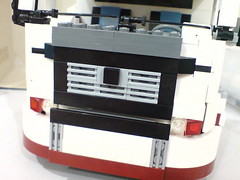
Added the grill.
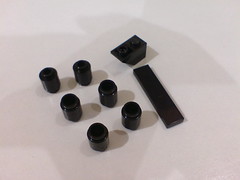
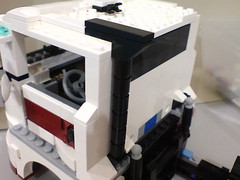
Stacking small cylinder parts to form the smokestack (?).
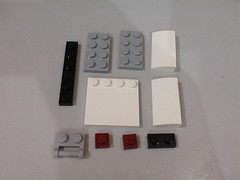
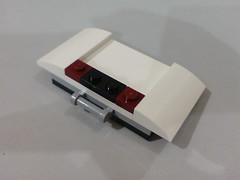
Assembled the air deflector.
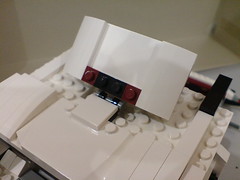
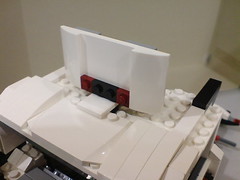
Connected to the hinge part on the rooftop, the air deflector is movable.
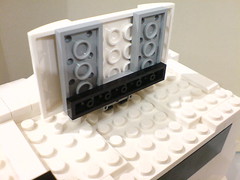
The black long bar at the bottom front of the component prevents it from being lowered completely onto the rooftop, so the air deflector would always be maintained in an upward tilting position even when it's not explicitly lifted.
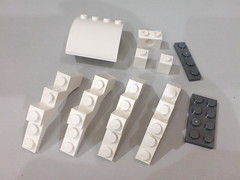
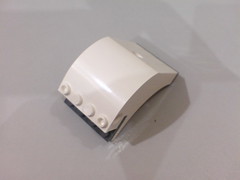
The last component before the model is done: the container coupling to be assembled to the back of the truck.
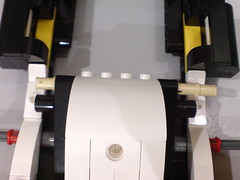
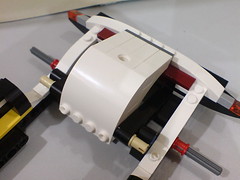
Two flesh-color rod parts secure the coupling to the frame's arms.
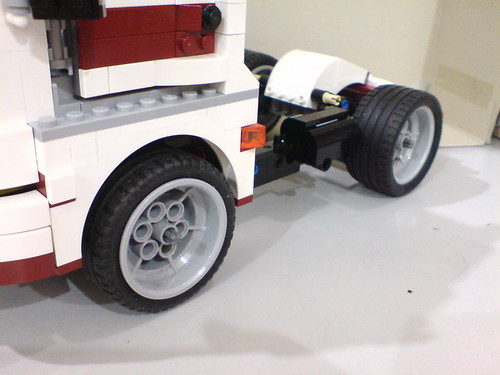
The coupling has a simple upward/downward tilting function, but nothing more than that.
Its shape makes it protrude on the truck's rear end.
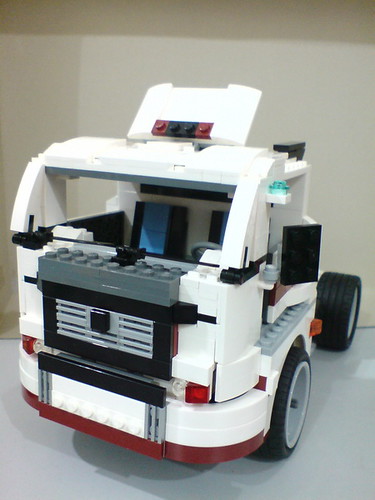
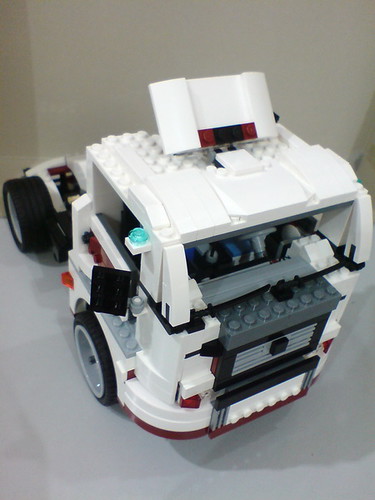
With the coupling attached, the entire truck is done. ^^
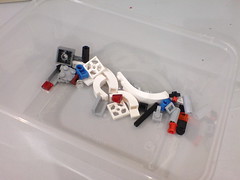
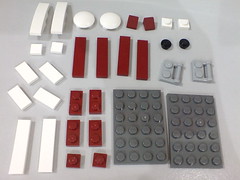
The few leftovers from the entire assembly.
More images of the completed model in the next posting.


1 comment:
Thank you very much for this detailed review. Your last picture of the completed truck showed the leftover parts that were NOT used to complete the truck. Do you have a detailed HiDef version of that picture? Or a listing of those leftover parts? I ask because I'm going to buy a used version of the completed truck and would need to also buy those leftover parts if I am to build the Cool Convertible on my own. Thank you so much.
Post a Comment