Done with the work on HG 1/144 Cherudim Gundam, I guess there's no harm in going for something non-Gundam/Gunpla again. ^^ Another brick set then, and in contrary of the "mini"-type Nanoblock Kaminarimon completed about a week ago, it'll be the much larger Lego set this time. ^^ This is actually the first time the two different types of brick sets are featured in the same month, very close to one review and another too. ^^
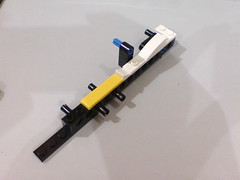
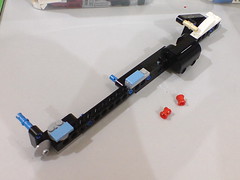
Trying out the first alternate mode of Lego Creator No. 4993 Cool Convertible that was completed late last month - a flat nose truck. ^^
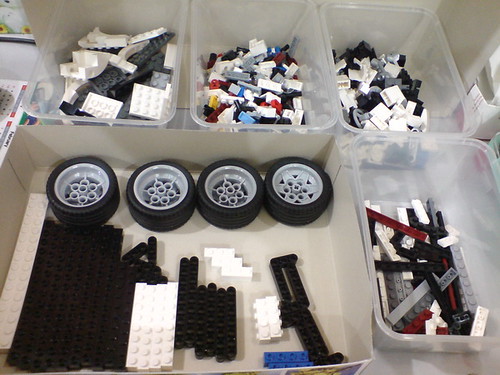
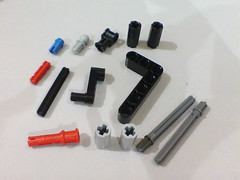
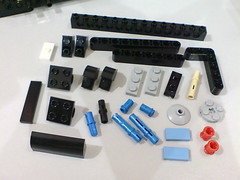
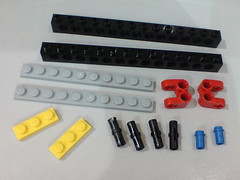
Back to square one with the convertible dismantled and the parts reorganized before starting the (re)assembly.

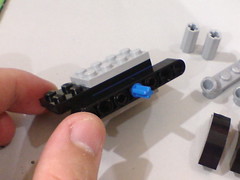
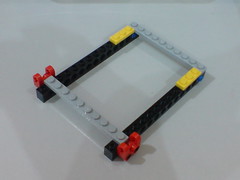
A portion of the truck's basic frame is the first component to be completed.

Adding on the fuel tank.

Adding on more parts to prolong the frame.
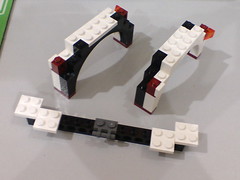
(Left) Movable frame parts that would later be connected to the truck cab.
(Right) More frame parts for truck's rear end.

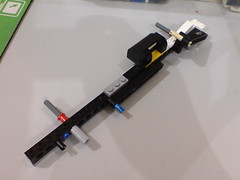
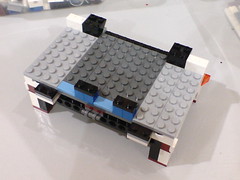
The right side of the truck's bottom frame is almost done. ^^

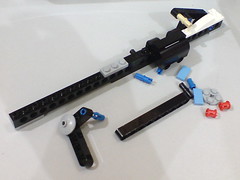
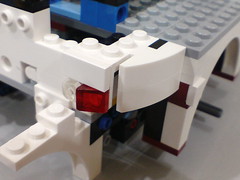
Adding on one half of the combined handle that would be used to tilt the cab.


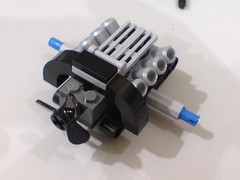

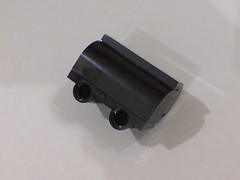
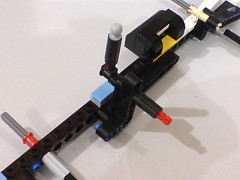
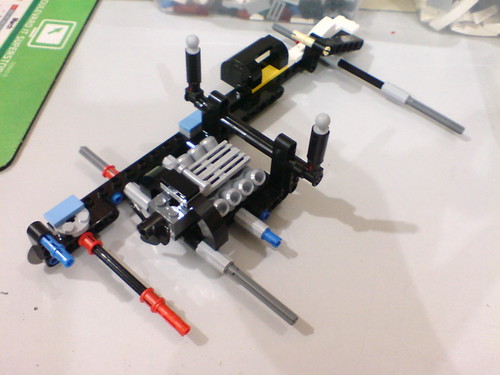
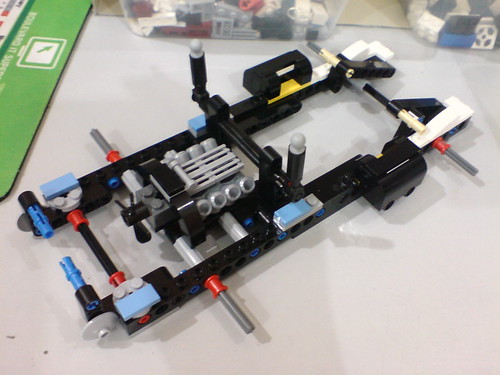
The "rebuilt" V8 engine is somewhat bigger than the one on the convertible. ^^
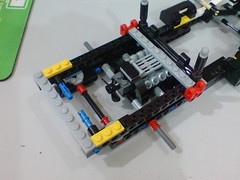
Progress so far. ^^

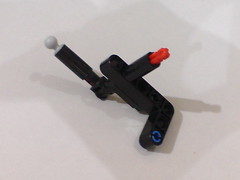
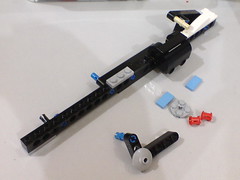
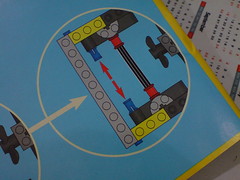
Adding on the other half of the combined handle.
Since both handles are joined by one "Philips" rod, they move together, very much the same design for the handles which controls the convertible's adjustable roof gimmick. ^^


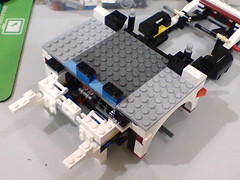
Assembling the other half of the bottom frame which completely mirrors the one completed just now.
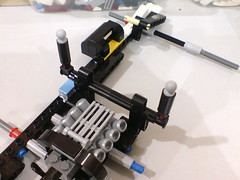
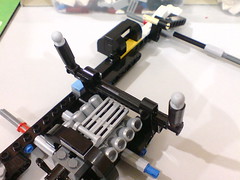
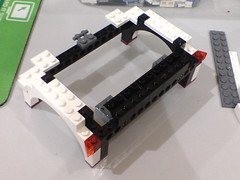
By attaching both halves of the frame, the basic structure of the truck is now completed, sort of. ^^

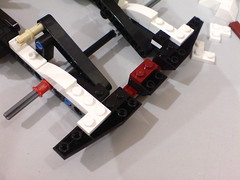
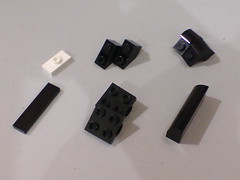
Adding on some larger parts to form the truck's rear bumper.
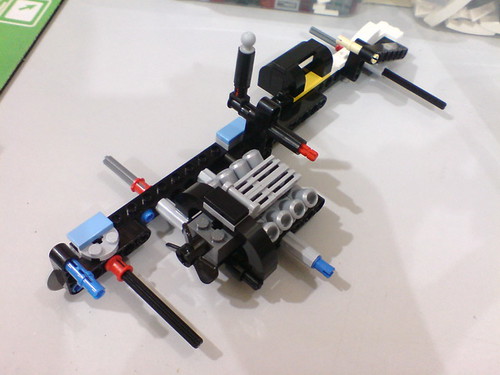
Progress so far. ^^
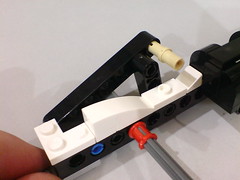
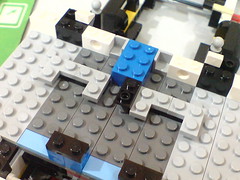
Building the frame of the truck cabin.

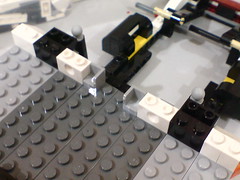
Two blue short rods from the bottom frame are used to secure the cabin's frame to the latter.
The arms that holds the blue rods must be angled precisely to match them to the specific slots on the cabin frame before the parts are secured.
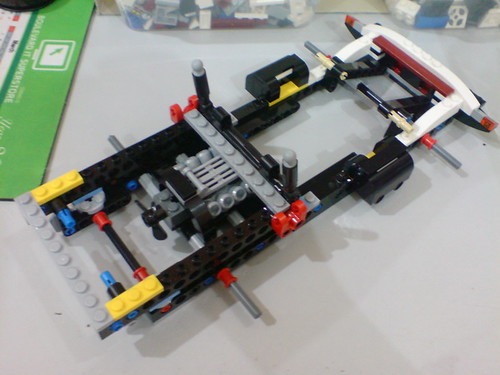
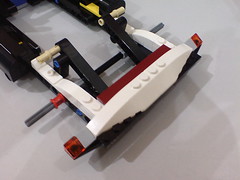
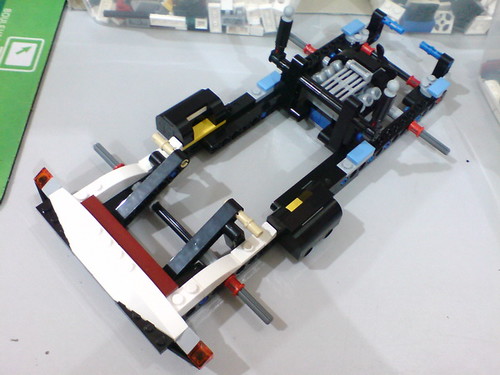
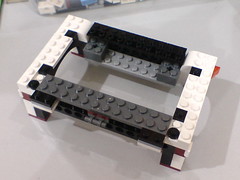
The entire frame is completed. ^^
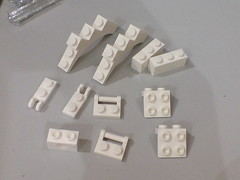
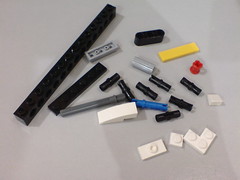
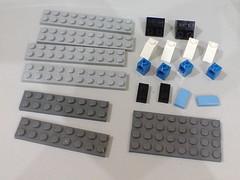
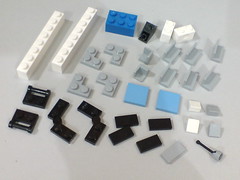
A flood of white parts to build up the bumper. ^^


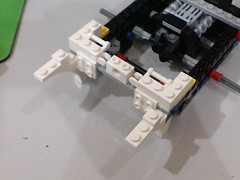
A separate assembly for the front wheel arcs and cabin's platform.
(Left) Adding on long plate-type parts to form the cabin's floor.
(Right) The whole platform is placed on top of the cabin's frame.

Progress so far.
The basic silhouette of a flat nose truck is emerging. ^^ It's not even halfway through the entire assembly though. ^^


Adding on more parts for the bumper.
The two little half-box parts forgotten just now are added to the back of the cabin's floor. ^^;
It's better to discover them now than later, because when more bricks are added, part of the assembly might need to be dismantled just to "return" the forgotten parts, and that's always frustrating. ^^;


Adding on the light sets.
Plenty of small parts to "decorate" the cabin. ^^

Building up the two seats. ^^
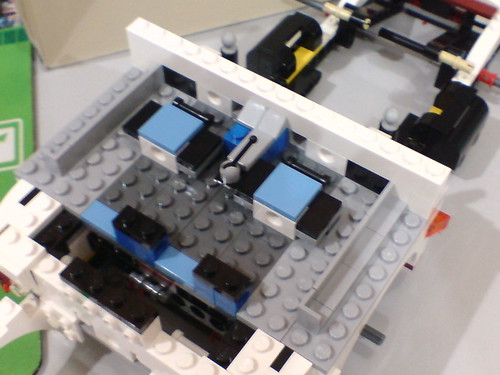
With the gear shift and part of the walls added. ^^
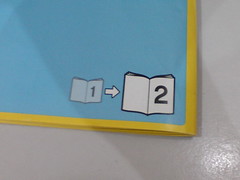
Moving on to Book 2 of the assembly manuals next.
As the last picture suggests, the next part of the truck's assembly will be in the next posting. ^^


No comments:
Post a Comment