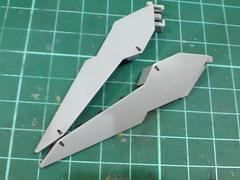
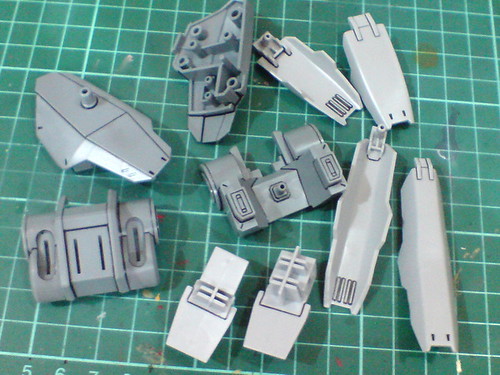
Getting right into painting some of the really difficult parts of 1/100 scale Zaku Warrior with Blaze Wizard and Gunner Wizard packs after the introduction. ^^
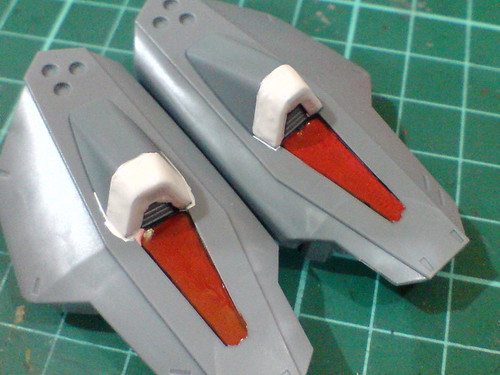
(Left) A few spots that must be painted white and red on the Blaze Wizard pack's missile pod covers and body.
(Right) As mentioned in the previous posting, the missiles' base will be painted gray.
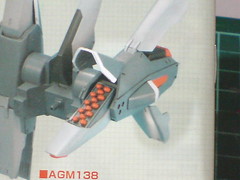
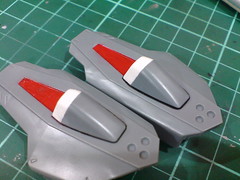
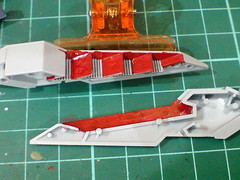
The painted result of the add-on pack shown in the manual.
While not shown, the little blank area between the missile pod and Blaze Wizard pack's "nose" should be painted gray I think, to make it look like part of the add-on pack's mecha component instead of following the body's color.
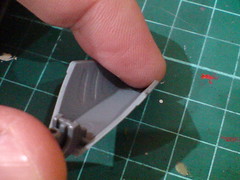
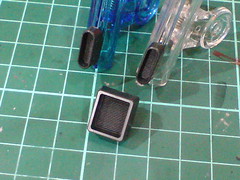
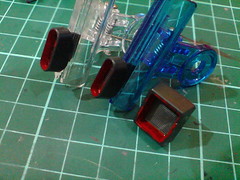
A rather messy temporary result: ^^; the side thrusters' edges are painted using Gundam Marker, the red "canal" behind them are done using red whiteboard marker ink. ^^
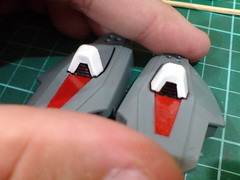
Refinement of the paint work: excessive paint outside the red and white areas are scratched away using a knife, spillover white paint inside the red area is retouched carefully with more red whiteboard marker ink (when the previous paint layer has dried). The thrusters are painted using black normal marker.

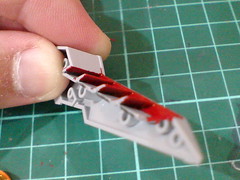
Panel lines added to the parts.
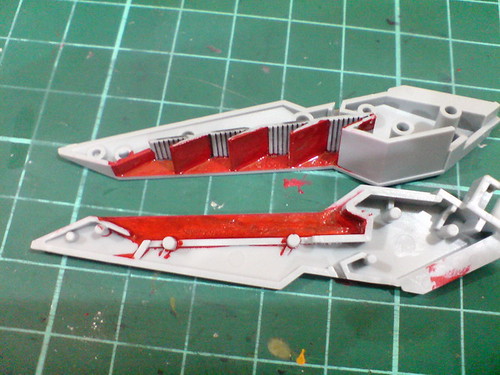
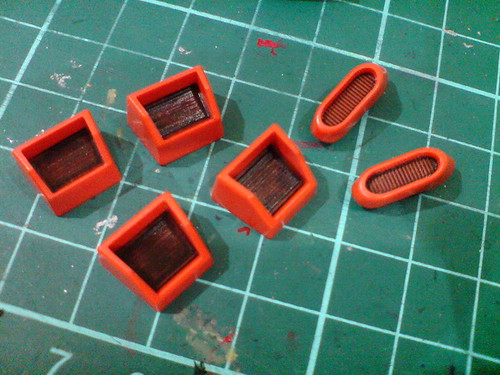
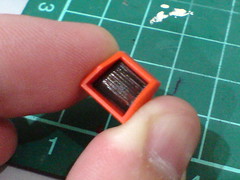
For the missile pod cover, there's no indication where the white stripe ends at the edge of the part, so the risk of overlooking the limit and covering everything in white is something to watch out for here. ^^;
Painted the stripes using Gundam Marker White.
Panel lines added to the parts.

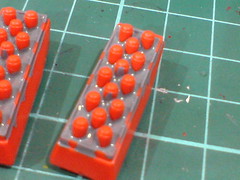
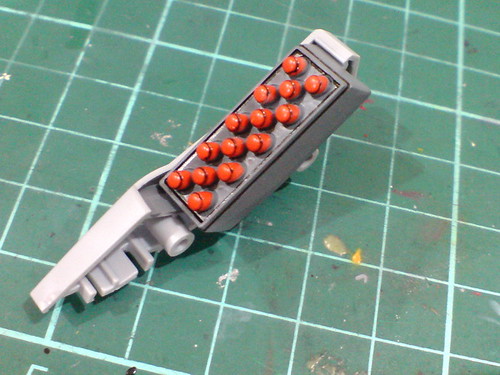
For the missile pods, the gray area between the missiles are painted by letting the brush dipped in gray paint (Tamiya Color Acrylic Paint Mini XF-53 Neutral Grey) to touch the intended spots for the paint to flows around, covering up the spots.
The result isn't accurate due to the positioning of the missiles, but the spilled over paint can be scratched away nonetheless.

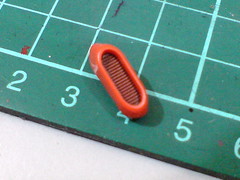
(Left) The area around the missiles are definitely much easier to paint. ^^
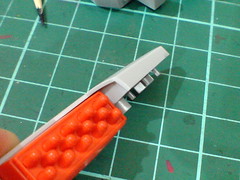
(Right) Excessive paint on the missiles is scratched away using a knife. The most obvious spots are removed, but some which are too close to the base (too hard to be reached using a knife) are just left as they were. ^^;
The excessive paint isn't too obvious when viewed from the front I suppose. ^^;

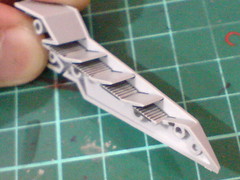
Panel lines added to the parts.
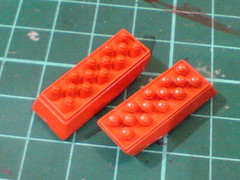
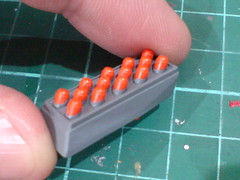
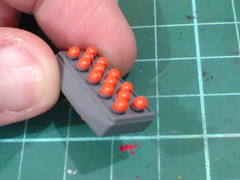
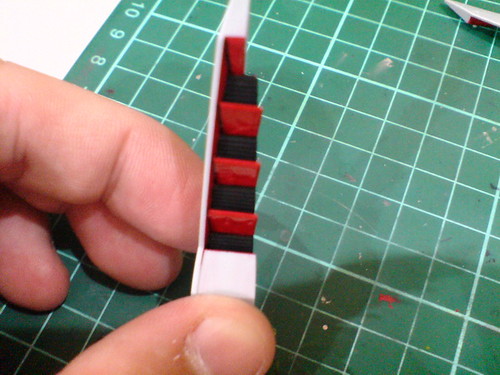
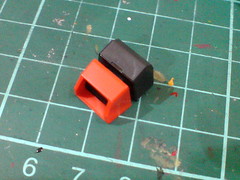
(Left) Painted the exposing space inside the missile pod holders using the same Tamiya paint for the missiles.
(Right) Excessive paint on the edge is scratched away using a knife.
A tiny bit of panel lines added to the parts.
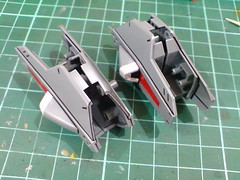
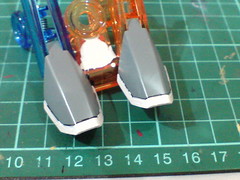
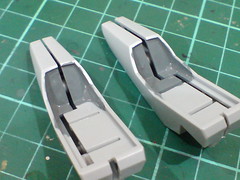
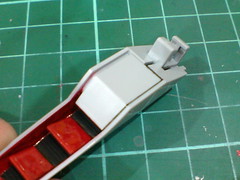
A bit of preview of how the missile pod and the holder would look like when assembled. . ^^
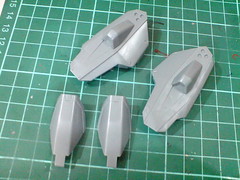
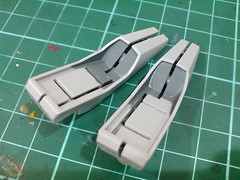
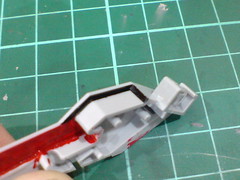
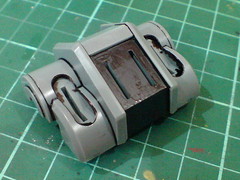
More parts to be painted: (Left) interior of the tail binder (panel lines added using the black paint with thinner method to reveal the borders between the areas first) and (Right) interior of the thrusters.

Referencing the manual for the painted result.
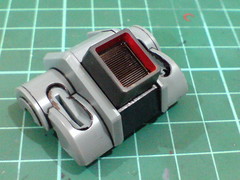
Painted the tail binder's inner wall as well as the "slopes" using red whiteboard marker ink.
Pretty messy as it looks, the spilled over paint here and there can be treated very easily using a knife or thinner. ^^
Making use of paint brush's flexibility in reaching deep and narrow spots, the thruster area is hand painted using Tamiya Color Acrylic Paint XF-1 Black (which also covers any spilled red paint on that area). ^^
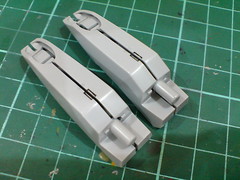
Due to its part separation design, one half of the tail binder's base will be missing panel line. This can be "added" by painting the "wall" of the base where the parts are going to join black. ^^
When the other tail binder half slides onto the said part, a fully panel lined base is formed. ^^
A tiny bit of panel lines added to the parts.
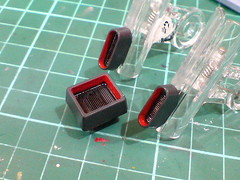
The thrusters' inner walls are painted red using Gundam Marker Red.
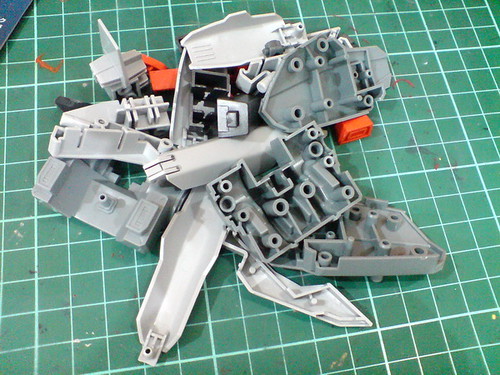
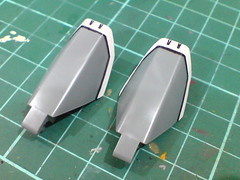
Majority of the other Blaze Wizard pack's parts just need some panel lining to be completed. ^^
Black paint with thinner method for the interior of the smaller vents/thrusters.

Black paint for the border area on the thrusters' base parts so that the paint would form the panel line when the thrusters are added.
Panel lining for all the other Blaze Wizard pack's parts.
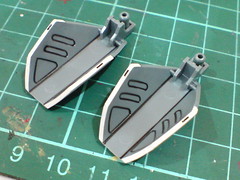
Following the painted model shown in the manual, the main thruster's base is painted black using Gundam Marker Black.
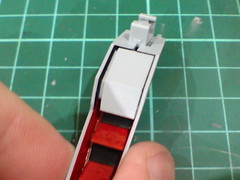
A bit of preview of how the base and main thruster would look like when assembled. ^^
More parts to be painted coming up next. ^^


1 comment:
the details has evolved !
I like how you writing this post, talking about little mistakes and how you fix them.
Inspirating!
And again, great work Ngee !
Post a Comment