Starting on the final phase of a big Gunpla right before the new month arrives. ^^
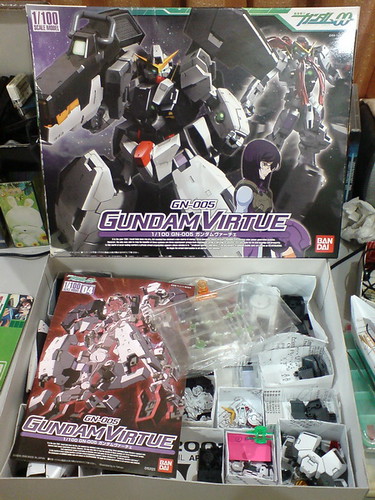
While the title on the box only mentioned Gundam Virtue, it feels I'm doing two Gunplas instead due to the Gundam's unique armor-off gimmick. ^^ HCM-Pro Seravee Gundam is kind-of like a preview for this kit, as separate reviews were done for Seravee Gundam and its little brother Seraphim Gundam. For this kit, Gundam Virtue's hidden form Gundam Nadleeh fits the role of Seraphim Gundam perfectly. ^^
As seen in "Gundam Double O" Season 1, Gundam Nadleeh was revealed when Gundam Virtue purged its armors in a dire combat situation. The construction manual of this kit however, reversed the order of "appearance" by showing the assembly of Gundam Nadleeh first, followed by armor-on to form Gundam Virtue. ^^; The sequence makes sense since the former works like the "inner frame" for Gundam Virtue, and the assembly of the main Gundam with all armors pieces attached first just to repeat the instruction in reversed order on how to remove them is really tedious and space consuming.
Then again, that's how I'm thinking of going about with this review actually. XD
For legitimate reason actually - I wanted to have separate postings about Gundam Virtue, the kit's armor-off gimmick and then Gundam Nadleeh. I really don't mind repetition of this and that as long as they are fun to do. ^^ So, instead of following the manual in sequence, which itself is in reversed sequence of Gundam Virtue's armor-off gimmick, I'll assemble this kit in reversed sequence of the manual instead.
It's almost like another case of that word-twisting mind-bending pitless loop like Beginning Gundam's HG kit there. Almost XD
Before the actual assembly, a bit of update on a few parts that I redo after Part 4 (GN Bazooka), Part 6 (Body) and Part 7 (head):
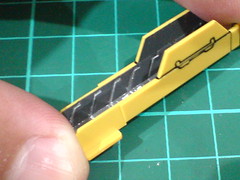
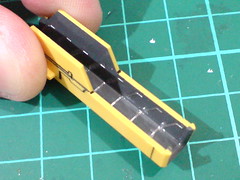
Painted those angled lines on the vertical walls inside the bazooka's yellow parts with normal silver pen.

Part of Gundam Virtue's abdomen pieces are painted white using Gundam Marker.
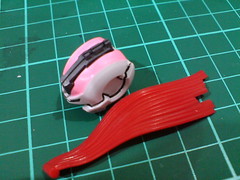
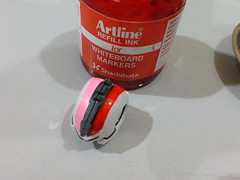
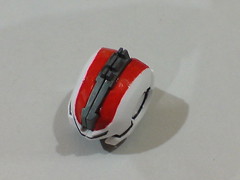
The GN Stripe portion on top of the head is painted red using whiteboard marker ink to match the "hair" parts' molded color. ^^
Starting on the assembly of the kit:
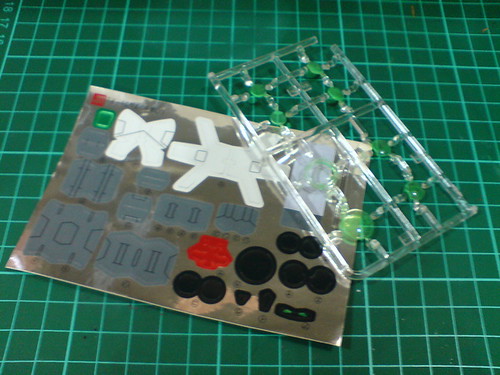
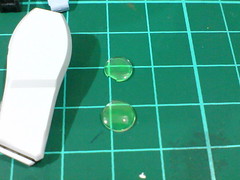
Foil sticker sheet and the separated runner featuring all the clear parts painted using normal green highlighter.
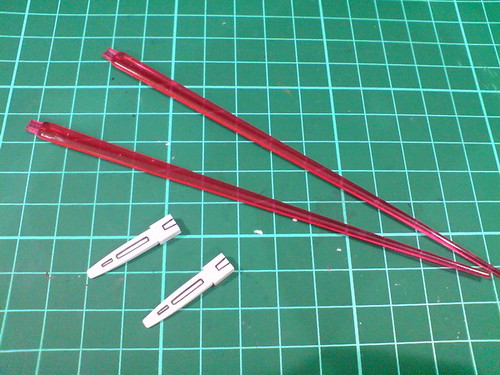
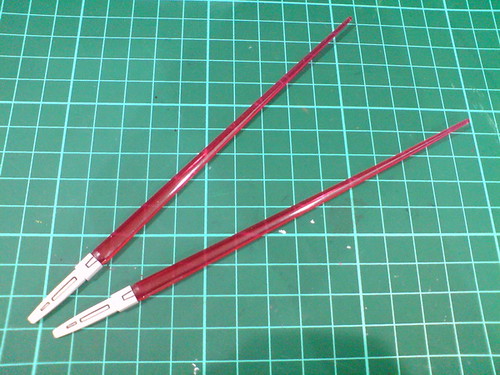
Very standard looking beam sabers which are exactly the same ones used by Gundam Dynames and Gundam Kyrios.
Parts of GN Beam Bazooka.
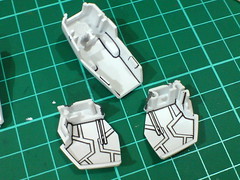
Parts that were painted back in Part 3.
Silver lines inside the yellow parts are from foil stickers applied in Part 4.
A large foil sticker piece for the targeting scope.
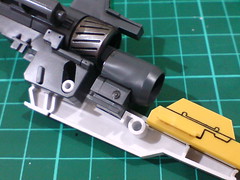
Connecting the lower half of the bazooka's barrel to the main body.
The slot where the barrel makes the connection also allows the latter to slide downward for the "Burst Mode".

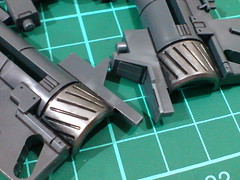
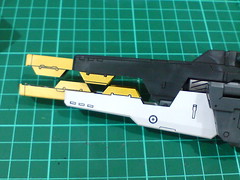
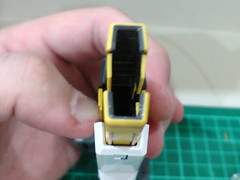
The completed lower half of the bazooka.
It's certainly nice to see that the pieces on the outermost parts that were painted yellow match the molded color of the smaller barrel inside. ^^
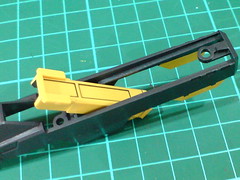
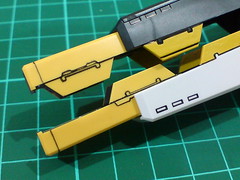
For the top portion of the bazooka, the smaller yellow barrel just slides into the black frame's dedicated space. ^^

Sliding action of the yellow barrel for the "Burst Mode".
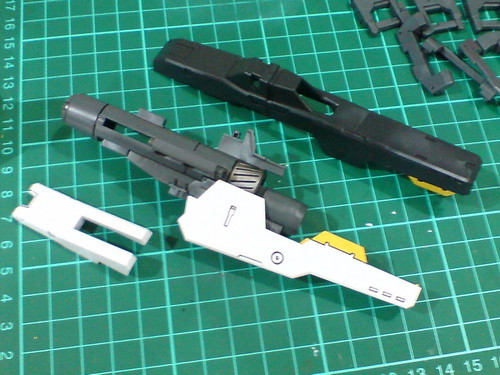
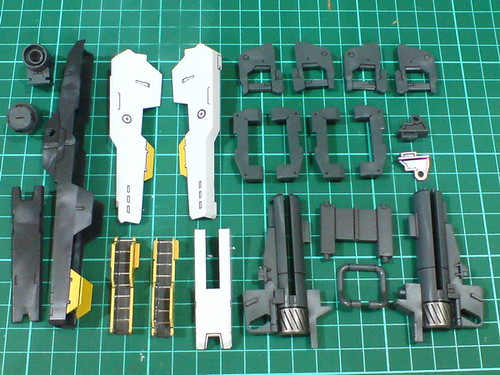
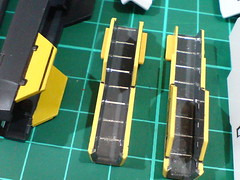
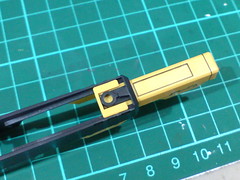
Large components of GN Beam Bazooka's main body.
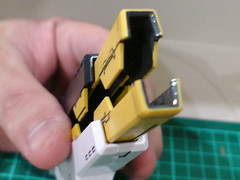
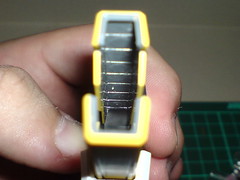
Done for the main body, with the lower barrel still extended.

With the lower barrel snapped back to the main body.
The yellow pieces form an accurate closure. The color contrast of black, yellow and white is surprisingly nice to see too. ^^
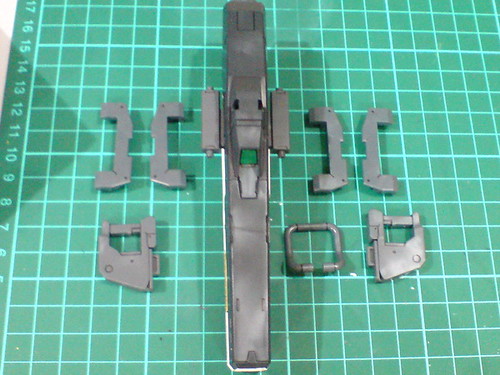
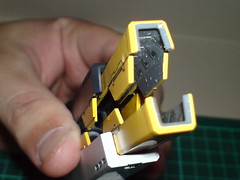
Parts of the handles.

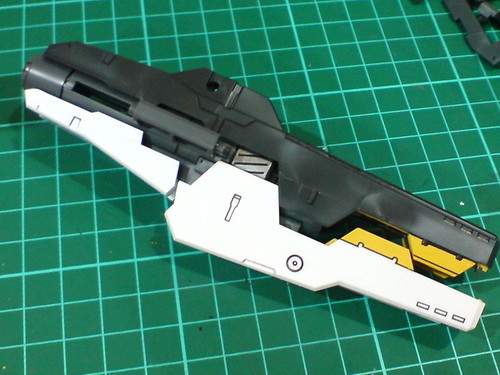
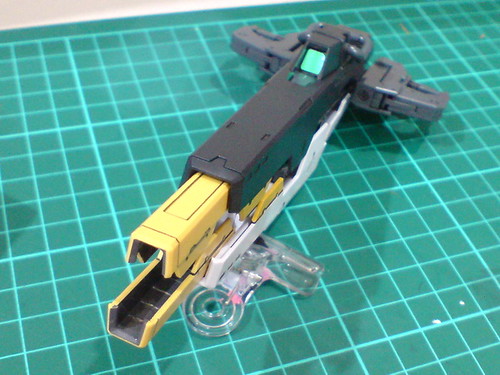
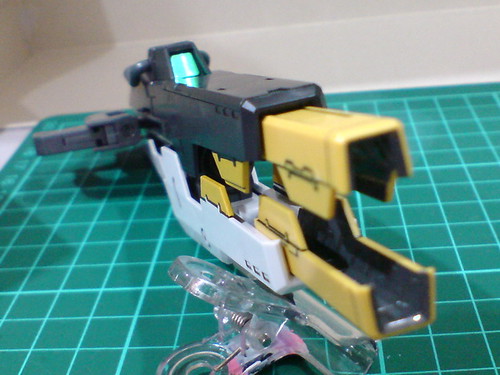
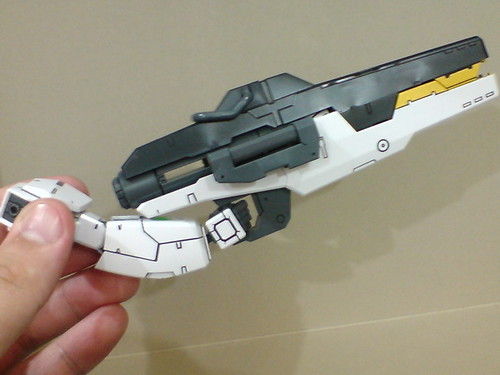
GN Beam Bazooka completed.
It's a really massive weapon, very heavy too. O_O
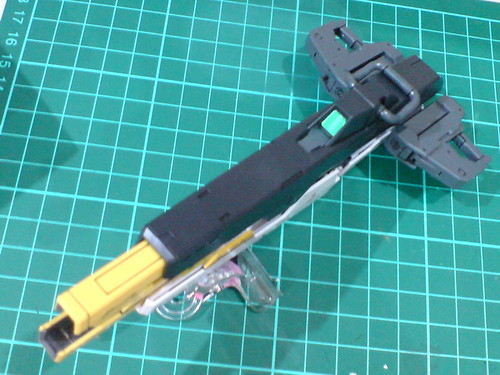
The two handles can be freely detached and fitted into any of three slots beneath the weapon, depending on which hand is used to hold/support it, and whether the "Burst Mode" is deployed.
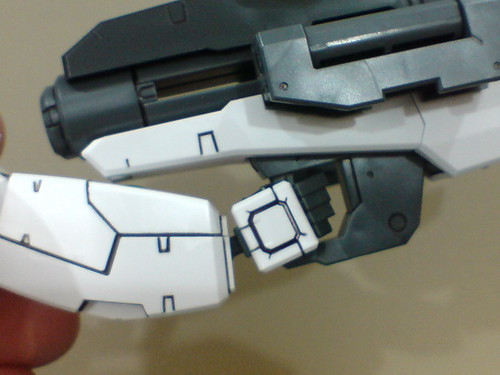
(Left) The handle has a separate joint that allows it to be bent downward so that the weapon can be shown with an elevation.
(Right) The connectors on both sides of the bazooka can be lifted upward for both hands to hold it in "Burst Mode".


Both side handles are connected, so they can be slide backward to somewhat extend the bazooka's overall length in "Burst Mode".
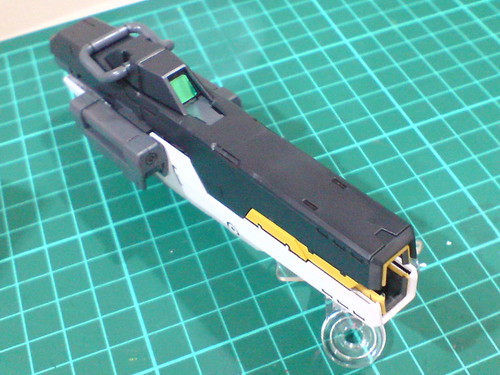
With the barrels extended.
The lower half of the yellow barrel extends further than its upper counterpart it seems. ^^
The silver foil sticker pieces inside the barrels can be seen when camera flash is turned on. ^^
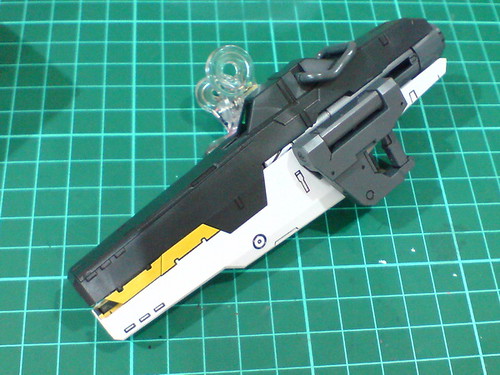
GN Beam Bazooka in "Burst Mode".
Despite worries about the weapon's weight, it's certainly great to see this gimmick realized without any part-swapping involved. ^^
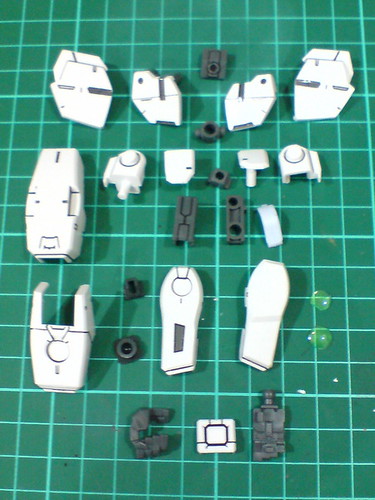
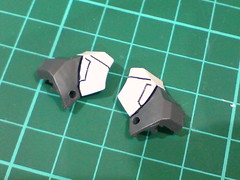
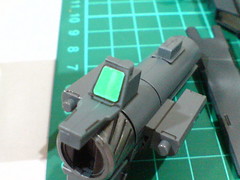
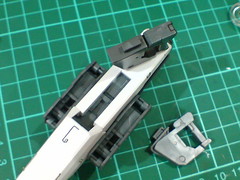
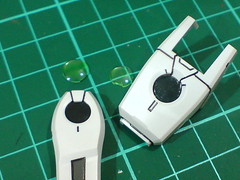
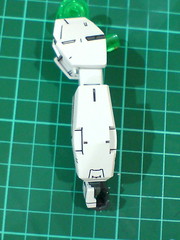
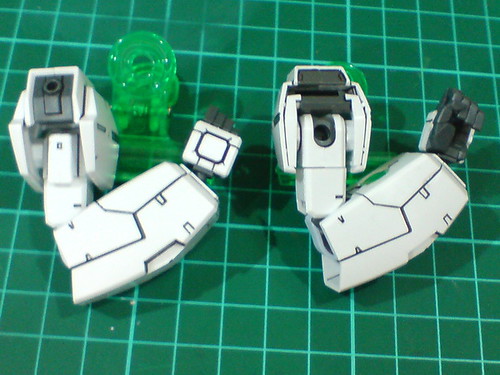
Parts of the right arm.
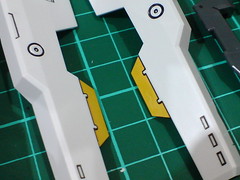
Panel lined details behind Gundam Virtue's shoulder and forearm armors.
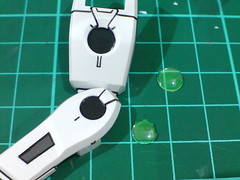
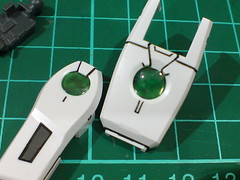
Foil sticker and clear parts for the GN Condensers on the forearm.
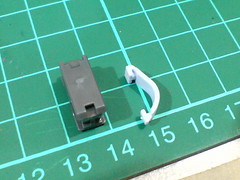
A very small piece of curved GN Stripe connected to the back of the elbow joint.
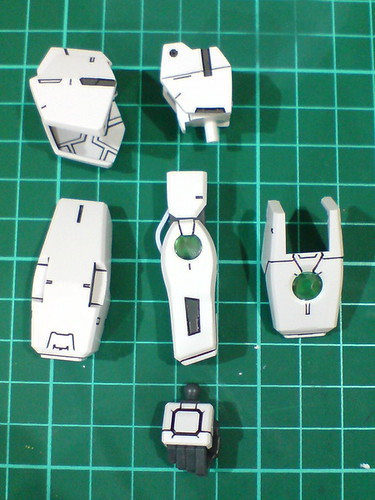
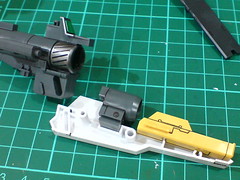
Separable components of the right arm before the final assembly.
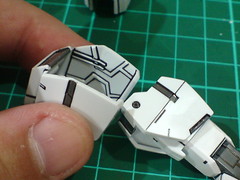
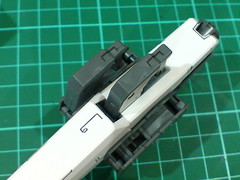
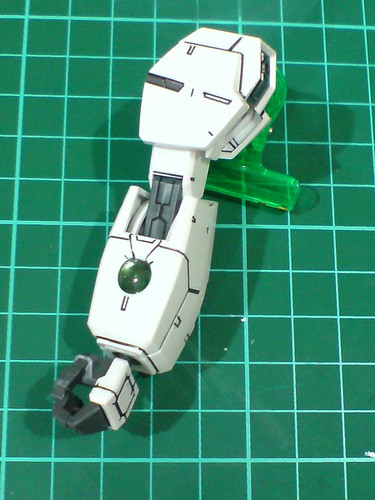
Simple but secure slide-on design to attach Gundam Virtue's shoulder armors onto Gundam Nadleeh's.


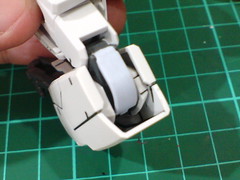
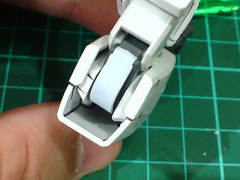
Unlike the shoulder armor, the forearm has polycaps in front and behind to secure the two armor parts.
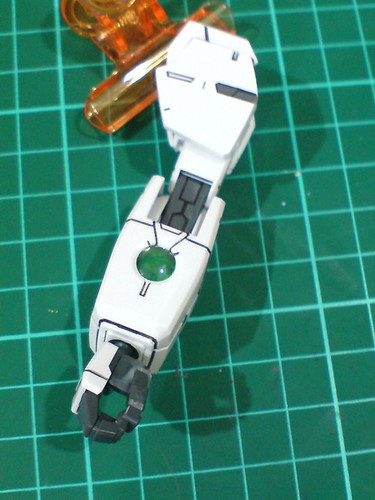
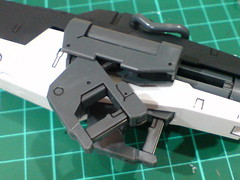
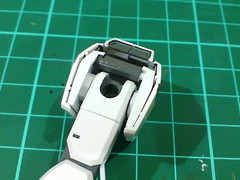
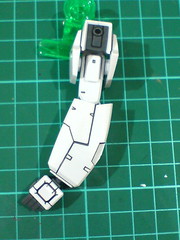
Right arm completed.

Pretty standard articulation for the elbow I would say.
The GN Stripe behind the elbow.
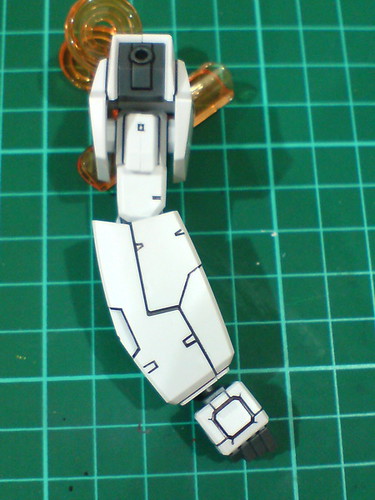
With GN Beam Bazooka mounted.
A single ball-type joint of the wrist is supporting all the weapon's weight. ^^;
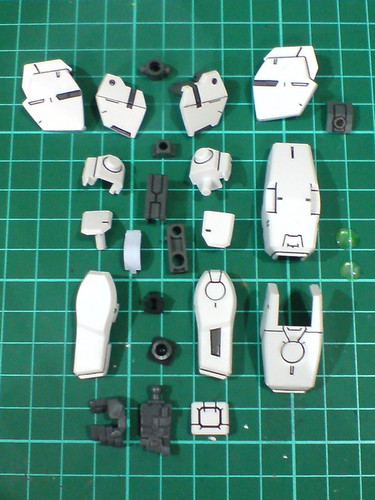
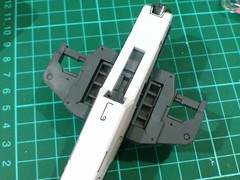
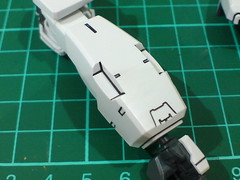
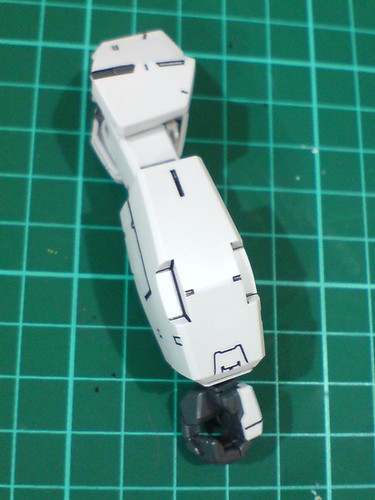
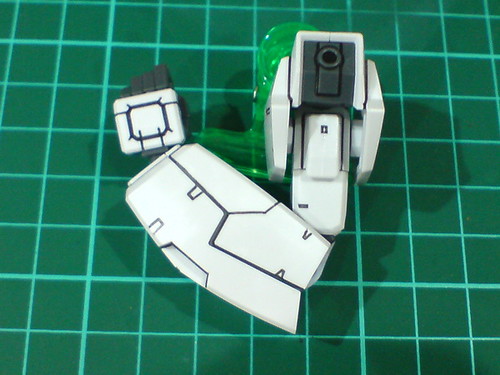
Parts of the left arm.
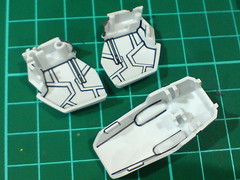
Panel lined details behind Gundam Virtue's shoulder and forearm armors.

Foil sticker and clear parts for the GN Condensers on the forearm.
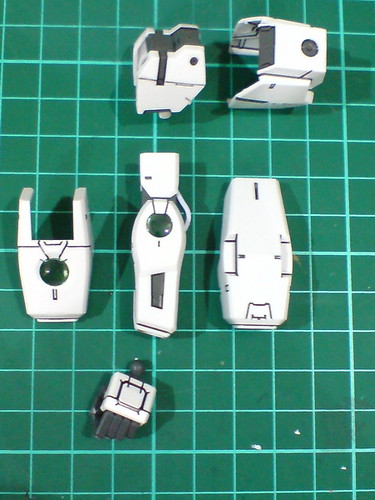
Separable components of the left arm before the final assembly.
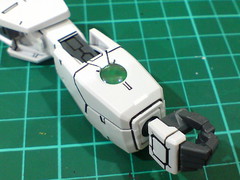
Left arm done.
Same articulation range for the elbow as the right arm.
The GN Stripe behind the elbow.
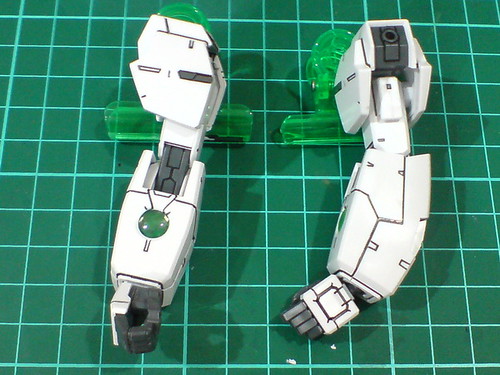
Done for both arms. ^^
The bazooka is certainly an interesting component to assemble. ^^ On top of all the large parts (which are always fun to do for me ^^), there's a lot of movable mechanism involved, including the sliding yellow barrels, expandable lower barrel and movable handles. It feels like a very important element to Gundam Virtue's design, not accessories as most other weapons are regarded for a Gunpla. At least its massive size is already complimenting the overall size of the Gundam itself. ^^
Moving on to the legs next. ^^


No comments:
Post a Comment