After talking about individual figures in Mugenbine DX Mugen Pharaoh set in the previous two postings, it's time to dismantle them to form Mugen Pharaoh. ^^
I'm trying hard not to throw in the Voltron trope for that last bit of the sentence there ^^;
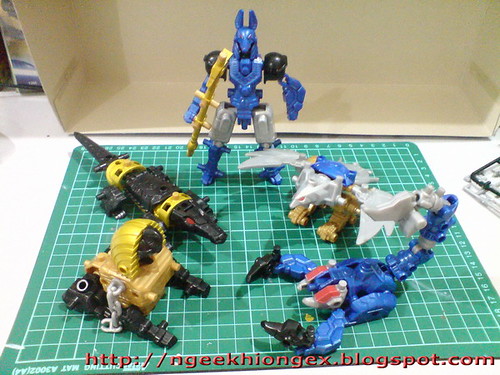
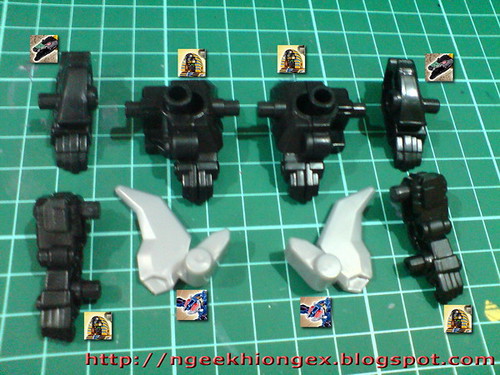
[Separation of parts]
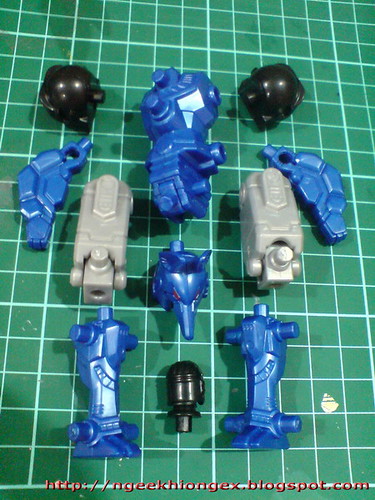
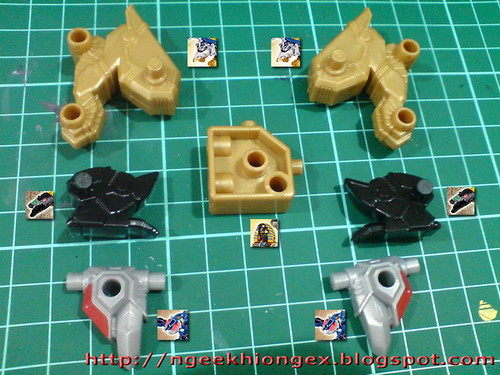
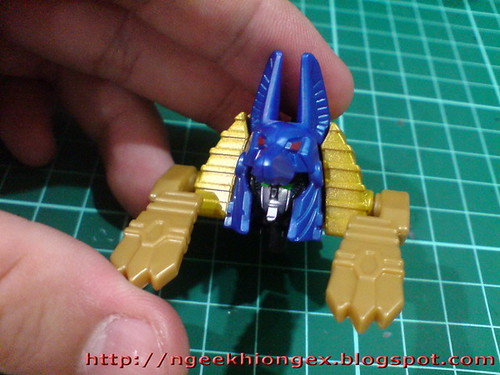
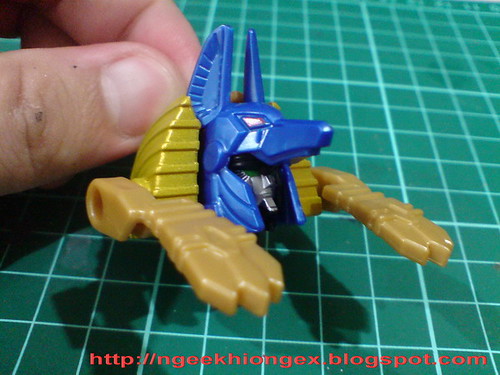
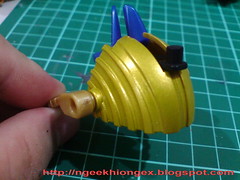
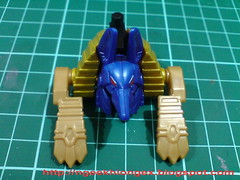
Separated parts for Mugen Anubis.
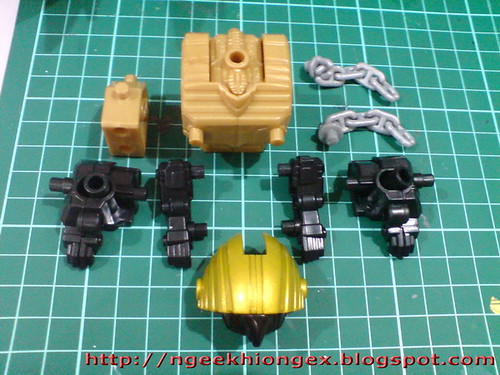
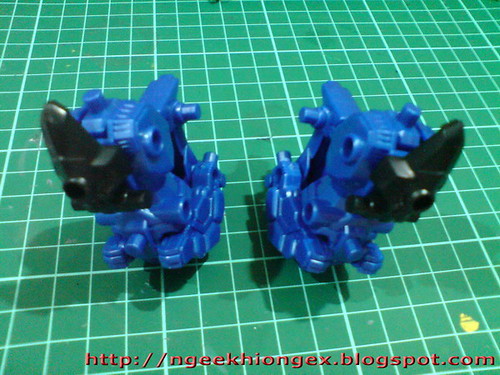
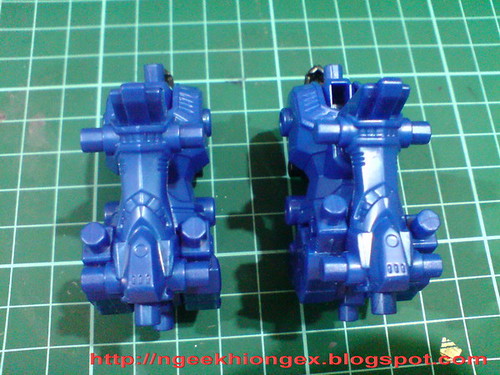
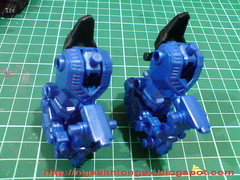
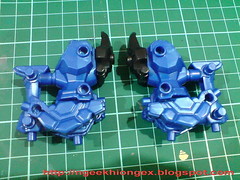
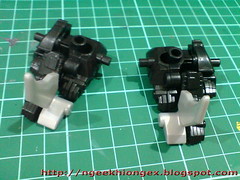
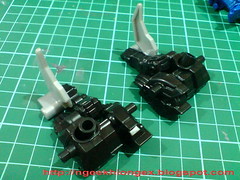
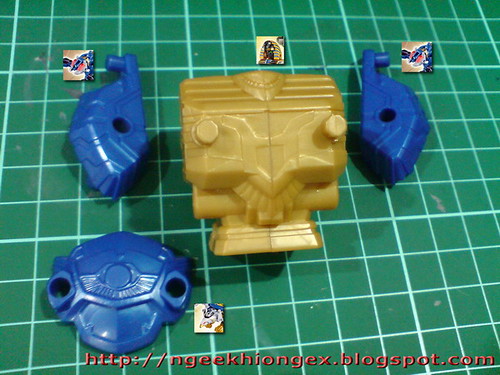
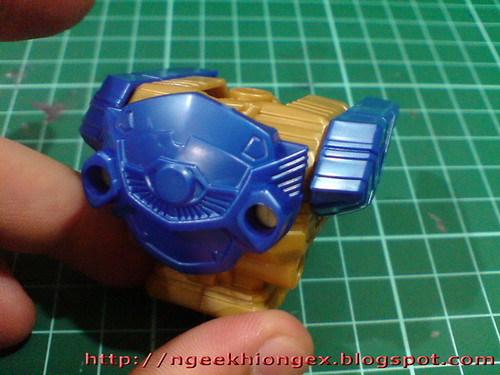
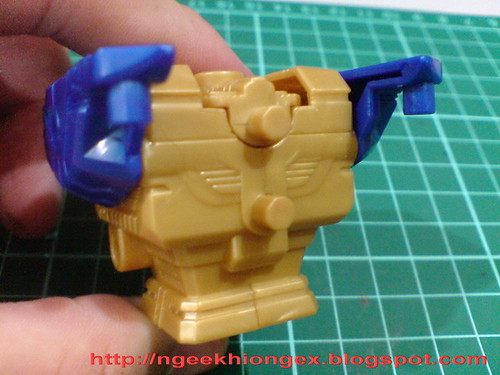
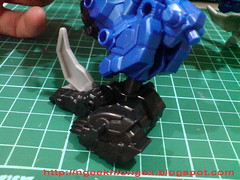
Separated parts for Mugen Sphinx.
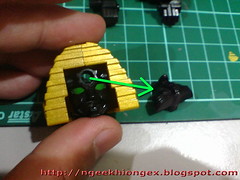
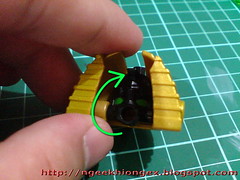
A bit of transformation for the Sphinx's head: the headpiece is removed and the face is flipped inward until it sits right beneath the skull portion.
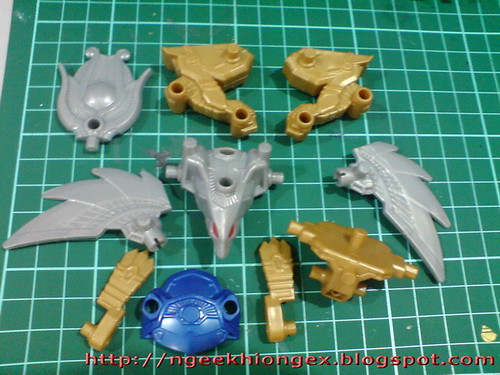
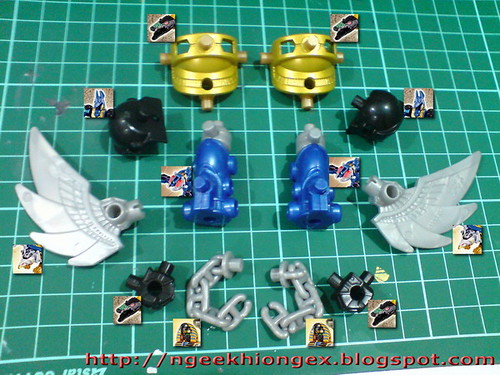
Separated parts for Mugen Ra.
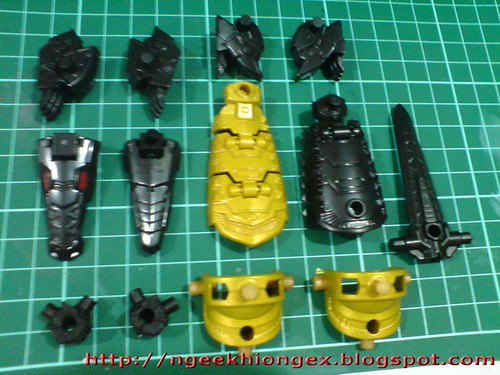
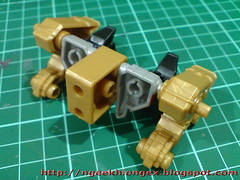
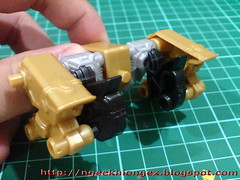
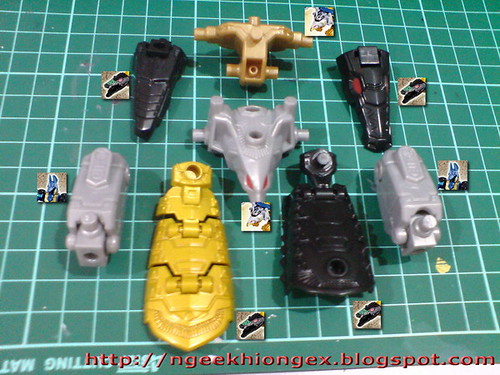
Separated parts for Mugen Scorpion.
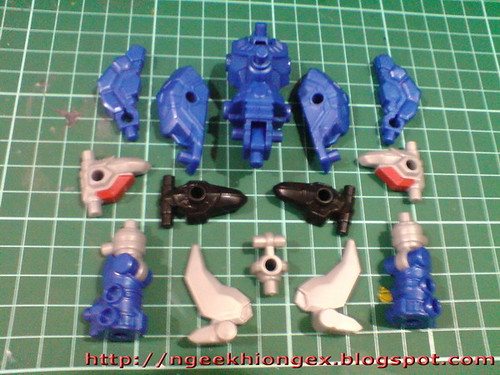
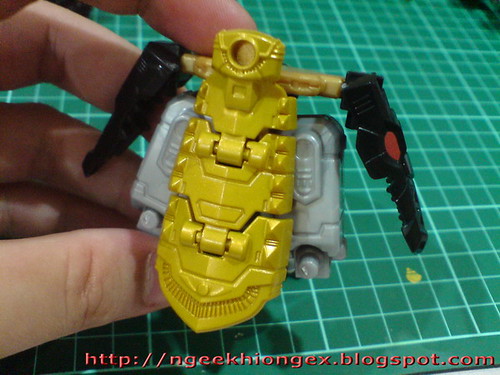
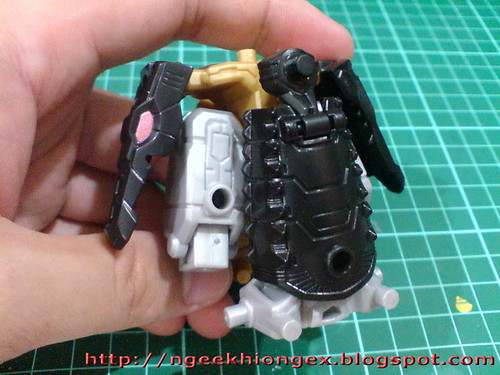
Separated parts for Mugen Sobek.
[Reassembly of parts]
As mentioned back in Part 1, part swapping is how the combination works for the Mugenbine series. Different parts from different figures coming together to form the title robot. It's somewhat like Lego brick sets, but the parts and assembly are a lot more specific and restricted.
In order to "track" how the parts from the separated figures combine to form Mugen Pharaoh, icons representing the figures are used:
 Mugen Anubis,
  Mugen Sphinx,
  Mugen Ra,
  Mugen Scorpion,
  Mugen Sobek
Images used are cropped from DX Mugen Pharaoh's intro page on Mugenbine's official site.
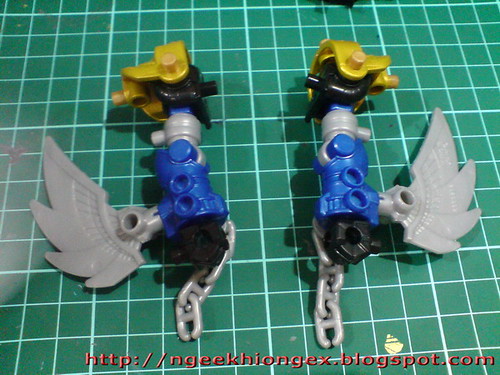
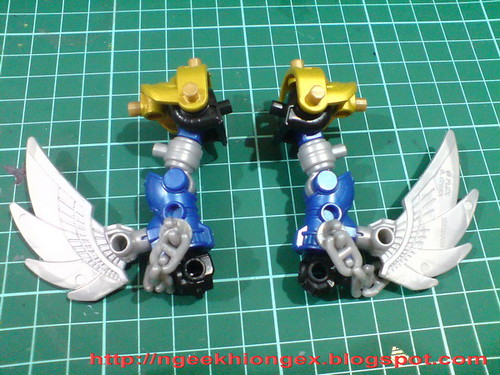
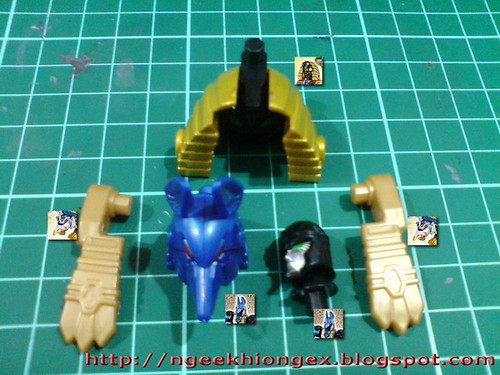
Arms
Legs
Feet
Backpack
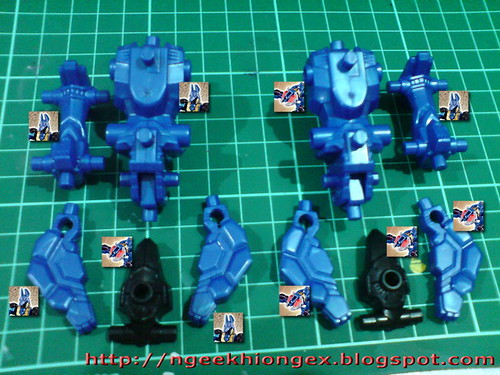
Body
Waist
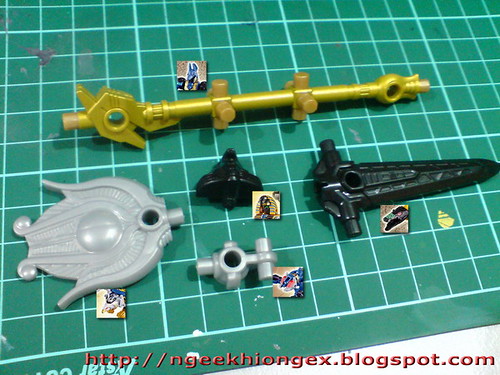
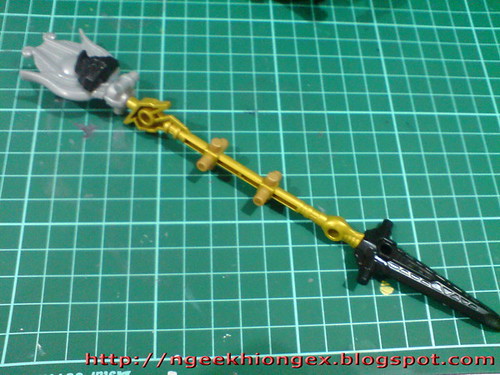
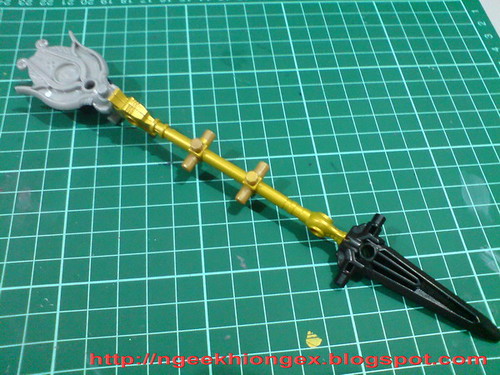
Staff
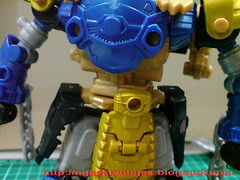
Head
The instruction on how to reassemble the various parts shown just now is very clear in the instruction sheet, so it was a very simple task. Seeing how the parts work together to form the different components for a giant robot is really cool though, because it's inconceivable when you look at those individual figures how certain parts would end up on certain portion of Mugen Pharaoh. ^^ It's not necessarily the most creative design ever, but it's definitely fun to play with. ^^
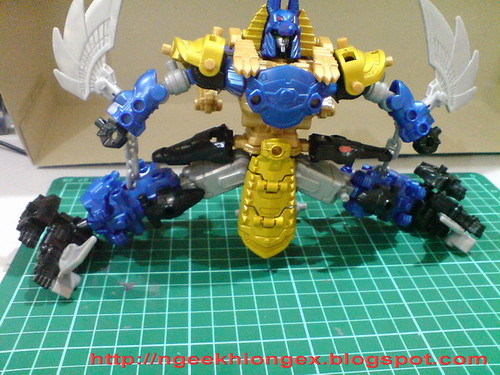
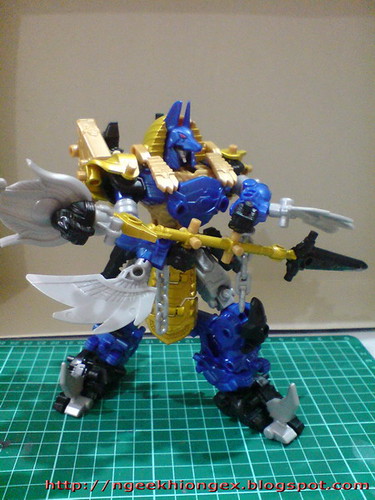
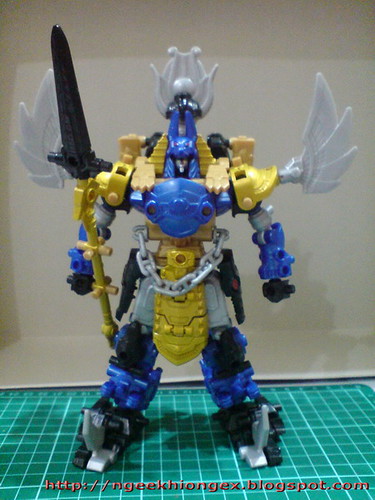
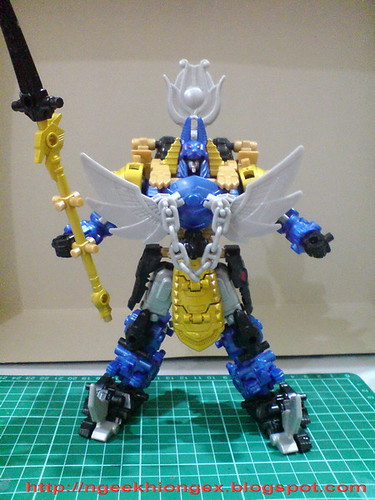
[Gattai!]
After the reassembly of parts, forming Mugen Pharaoh is as simple as bring all the separate components of a Gunpla to form the completed model. ^^

All components.
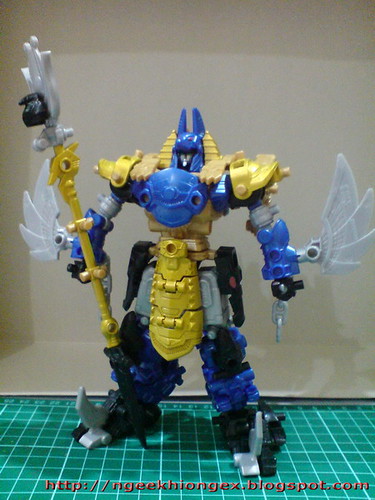
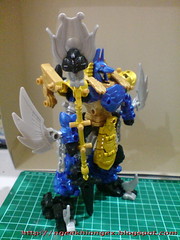
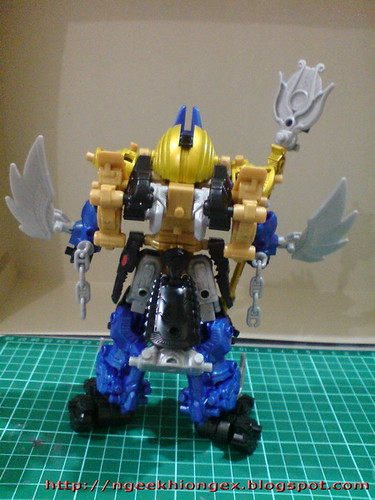
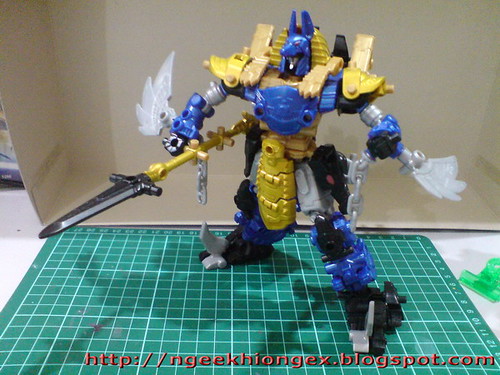
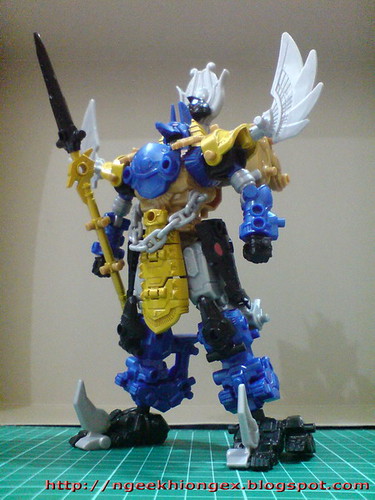
Just a couple of images first since it's still in "plain" form - pending for foil stickers to be attached. The glossy gold paint on some of the components is pretty nice looking, but a lot of details are still missing on the overall figure. So, until the stickers are up, I'll keep it short for the focus on details for Mugen Pharaoh. ^^;
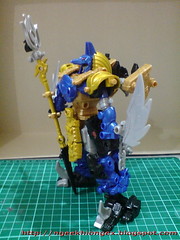
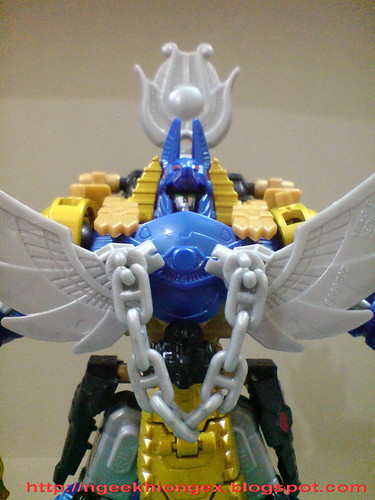
A look at the articulation design:

Unless the "shoulder pads" extending from both sides of the helmet are lifted to avoid collision with the shoulder armors, the head is fixed. ^^;
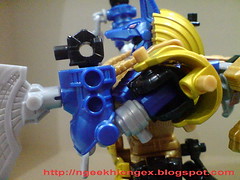
Pretty wide movement range for the shoulders; the elbow joint's articulation range beats that of certain model kits (no kidding ^^;); the hand can rotate at wrist level.
Pretty good lateral movement for the waist.
Very wide expansion for the hip joints.
Apart from regular backward bend, the leg can be twisted horizontally at knee level to widen the leg's range of movement. ^^
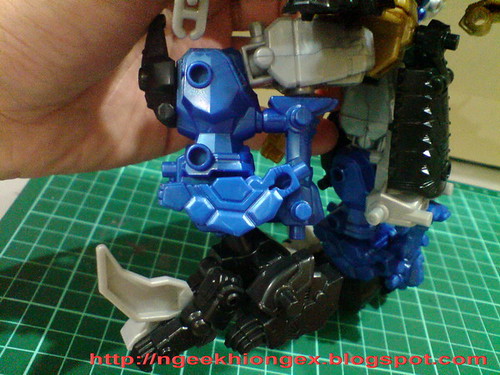
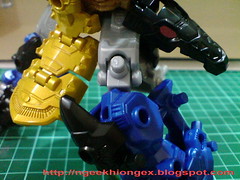
Unfortunately for its regular backward bend, the knee joint is limited by the large "baggage" it's carrying (Mugen Anubis's legs) on the calf that would collide with the thigh at roughly 90-degree level. ^^;

Super flexible swivel joints on top of Mugen Sphinx's rear paws mentioned in the previous posting work fantastically as Mugen Pharaoh's ankle joints. ^^
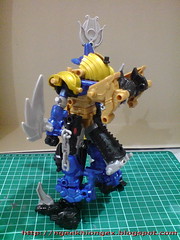
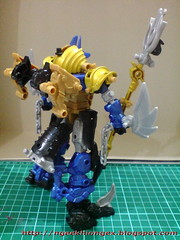
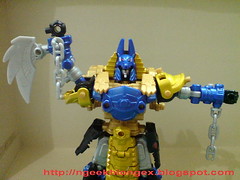
Some action poses from Mugen Pharaoh:
Plenty of pegs on the staff to connect to the hand unit in whichever position you like.
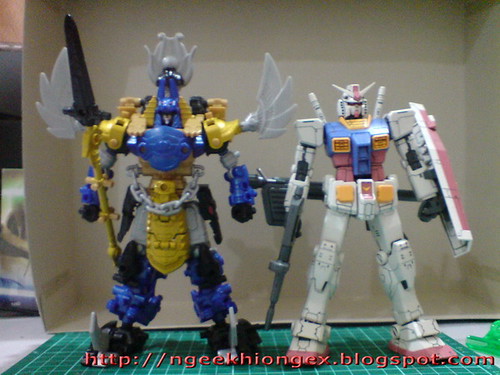
And exactly how large is the combined robot? Here's a comparison with MG Gundam RX-78-2 Ver. OYW - a standard average Gunpla kit in my opinion: ^^
Some alternate forms to play around with various parts of Mugen Pharaoh: ^^
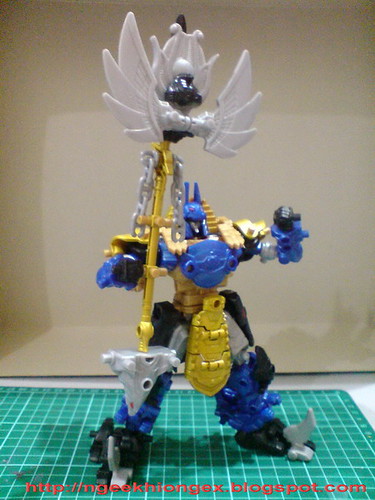
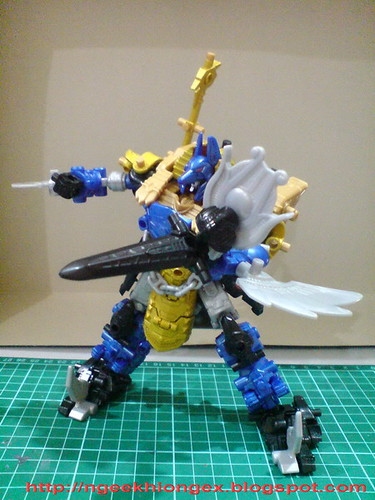

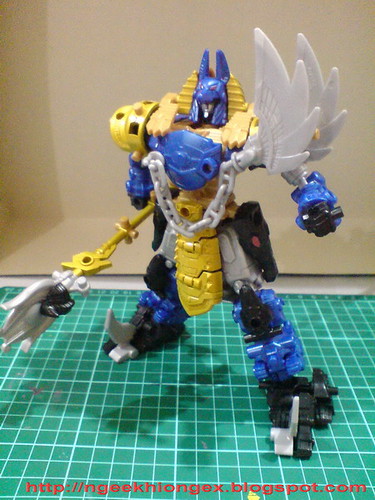
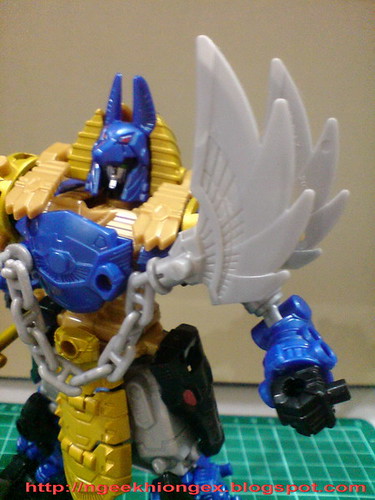
Since the parts that can be removed and reassembled with the minimal of effort are the wings and staff's headpiece, all the alternate forms of Mugen Pharaoh can still exhibit that ancient Egyptian mythology look which I like very much. Very cool. ^^
Will be revisiting the individual figures (which means dismantling Mugen Pharaoh first) for attaching the foil stickers next. ^^


No comments:
Post a Comment