With MG Char's Gelgoog Ver. 2.0 and HGUC Sazabi completed in December last year, only one kit from "Char-tember" remains, and that's MG Sinanju Ver. Ka, which was left untouched since early October. ^^; It's not out of sight out of mind actually, it just felt too previous to be done and assembled for me. ^^;
Very much like the last bit of a dish you save up till the very last before you have to eat it, I'm more eager to clear out some other items in my collection for (new) reviews than to pick up on MG Sinanju Ver. Ka again. ^^; It's almost as if I'm missing it even before starting to panel line, paint or build it. ^^; It's complicated. XD I think I just might get another one and build it one day just for the fun of it. ^^
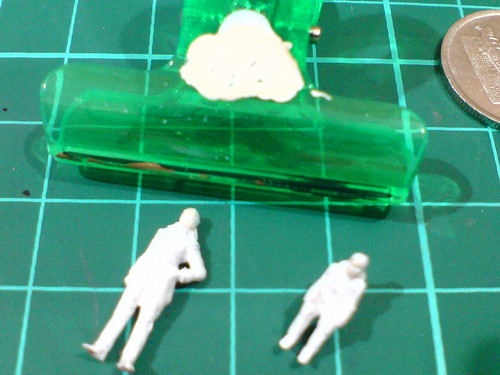
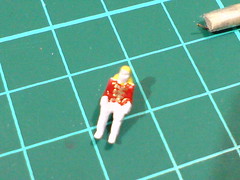
Anyway, this almost "random" reappearance of MG Sinanju Ver. Ka features the work on the 1/100 scale standing and pilot figures of Full Frontal.
No robot parts yet, nothing I would really miss I thought - it's just two parts anyway. ^^; Two pretty hard-to-paint parts to be exact. ^^;
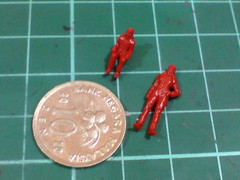
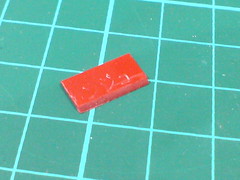
Molded in red together with the body, helmet and waist parts on Runner D, the figures will need some serious whitening for the result to be color accurate to the character design. ^^;
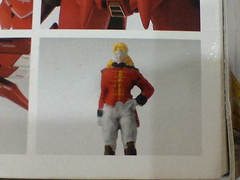

The painted figure of Full Frontal as shown on the box side intro and inside the manual.

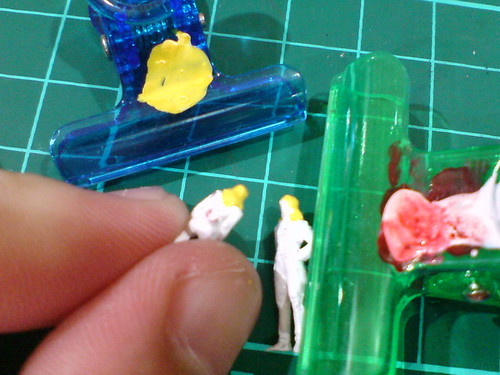
Painting white on any part with dark base color is always difficult for me, until I started using this: White Surfacer from Mr. Hobby. It took care of the black wings on my MG Force Impulse Gundam's Flyer unit like a boss. Two red figures would be no problem for it at all. ^^

No problem indeed. ^^

While waiting for the surfacer to completely dry before painting the figures, the work on the standing figure's little base can start.
Something I learned from the work on MG Johnny Ridden's Customized High Mobility Type Zaku II Ver. 2.0, a small portion from the runner's label is fit for that role, with a little effort of course. ^^

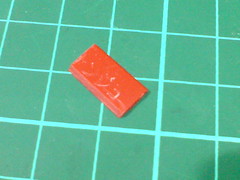
The finalized portion to be used this time.
Those protruding text engravings for the molding machine are shaved off using a knife first to ease the sanding work to follow after this. The "slope" is created using metal file.

Temporary result with the rough corners treated.
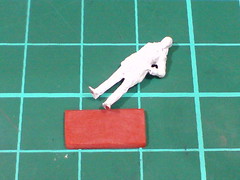
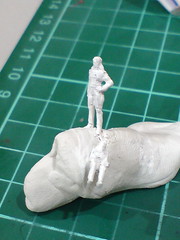
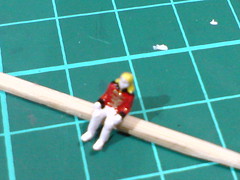
Testing the size of the base as compared to the figure. As shown in the image above, the base has been given an initial round of sanding using paper file.
The final result, with still a bit of rough surface to be taken care of.

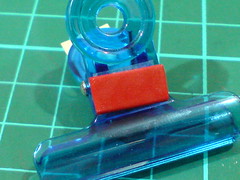
"Polished" using Mr. Hobby's Mr. Compound Super Fine 8000.
The left and right images show the base before and after been treated with Mr. Compound respectively.

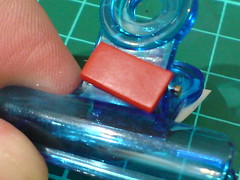
Did the same for the bottom face of the base, not as thoroughly as the top face though. ^^;
Who's interested in looking at the bottom face of a tiny makeshift figure base anyway? XD

Done with the base, moving on to painting the figures next. ^^
A quick paint of the pants using Gundam Marker White to cover up all the titbits not covered by the surfacer just now.
A mixture of Mr. Color 51 Flesh Semi Gloss and Gundam Marker White for the mouth and chin area on both figures.
The color is painted "away" from the mask area, since excessive paint spilled onto the hair and neck can be covered up later. It's important to not touch the mask area, since I intend to just use the surfacer's color for that. ^^
A mixture of Gundam Marker Yellow and White for the hair.
Moving on to the shirt area.
Mighty credits to the modeler who managed to paint the yellow stripes, because I know I won't be able to paint them to such precision. ^^;
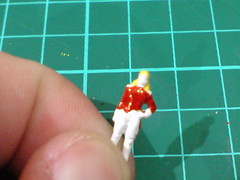
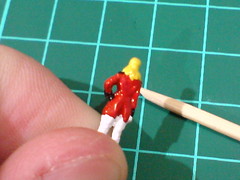
Painted the shirt area using Gundam Marker Red.
Caution is required when the toothpick with the paint is approaching the edges of the hair on the back and near the pants. Spilled over red paint on the shoulder and wrist area can be covered up by black paint for Full Frontal's military stripes later.
To paint the stripes on the chest, even sharpened toothpick is too thick. ^^;
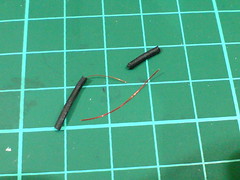
Desperate situation calls for desperate measure. ^^; A single string from a wire should be thin enough to be used as the brush for this task.
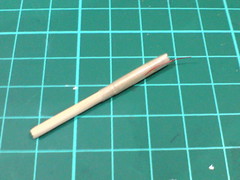
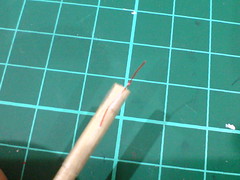
The said string is bound to a toothpick via some clear tape. I call this temporary tool as 一毛将军 (General Ten Cent) XD
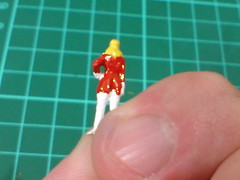
Using General Ten Cent, it's one stroke per stripe using Gundam Marker Gold as the paint.
Gold is definitely more outstanding as the color to decorates Full Frontal's shirt, and it establishes the connection between the pilot and the MS (all the golden emblems on the body) as well.
Since General Ten Cent can't hold much paint with just one puny string as its brush, the stripes I painted are much shorter than the ones shown in the manual. ^^;
Close enough.
Did the same for the pilot figure as well.

Painted the collar, shoulder and wrist stripes black using normal panel liner.
Black as the absolute color covers up spilled flesh (from the chin), yellow (from the hair) and red (from the shirt) paints did previously, which is why black comes in this late.

I have no brown paint for Full Frontal's boots, so I use Gundam Marker Gray instead.
The knee covers are carefully crafted using toothpick.
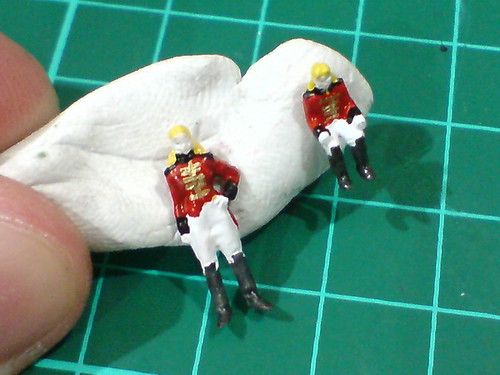
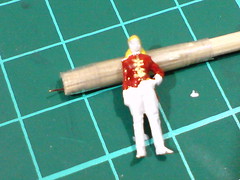
Painted result so far.
Just a bit more before the completion of both figures. ^^;
画龙点睛 ^^ The eyes (or rather goggles) of Full Frontal are painted using General Ten Cent.
All groggy from the work on all the previous layers of paint, this is the best I can come up with for the eyes. The boss now looks like a red-eyed ghost, but I'm just too lazy to redo the eyes now. ^^;
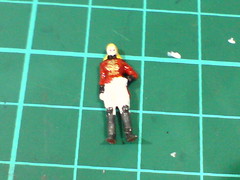
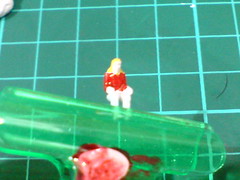
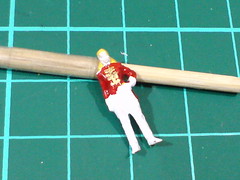
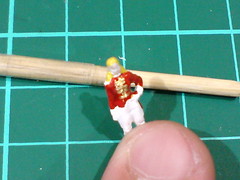
A bit more painting for the knee covers on the standing figure's boots to make the outline clearer, which unintentional makes them look thicker at the same time. ^^;
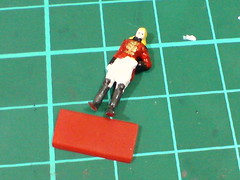

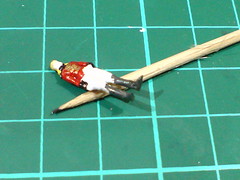
Slice off a bit of the sole and fix the figure to the base using plastic cement.
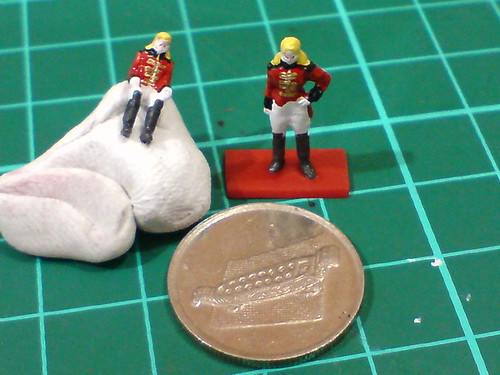
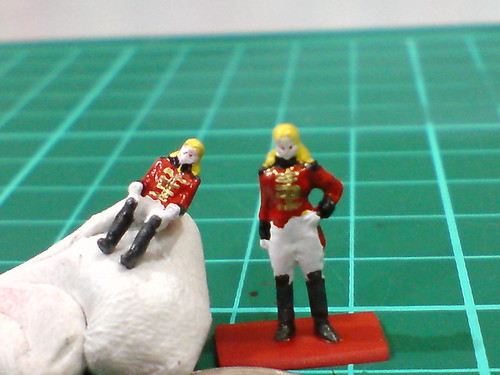
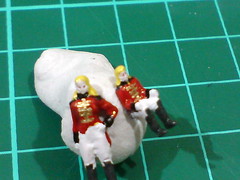
All done for Full Frontal(s) ^^
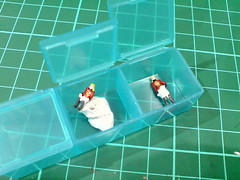
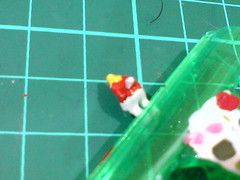
Secured in separate compartments in a small medicine box to avoid any damage to the paint. ^^
So that's the work on Full Frontal's standing and pilot figures. ^^ While this isn't my first time painting 1/100 scale figures, it certainly presented a new challenge in paint accuracy. Before Full Frontal, I used to depend on prior panel lines drawn on the figures to help me "separate" the different colors. The last two figures painted before this - Lalah and Char from MG Char's Gelgoog Ver. 2.0 were done in that fashion. Lalah's collars on her dress and shoes were my early attempt in painting without panel lines, but that really felt like child's play as compared to Full Frontal. ^^; After painting the entire figure white using surfacer, none of the different parts can be visibly separated. ^^; The whole task was really an eyesore (literally). ^^;
Still, everything turned out to be pretty well. There are definitely flaws, which I would happily dismiss in favor of not wanting to revisit the work. XD Detailing the pilot cockpit usually comes hand in hand with painting the figures, but I think I would leave it till another time. ^^;


No comments:
Post a Comment