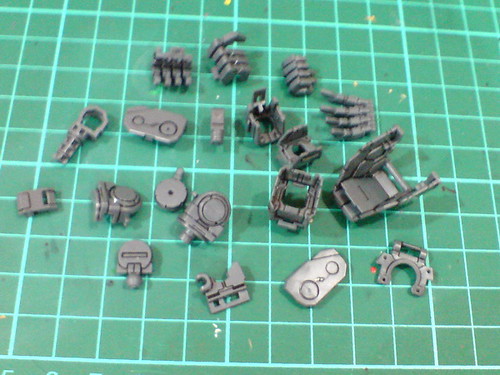
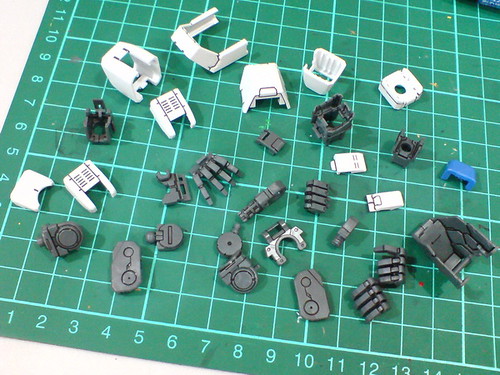
Unbelievable (kind of) but true, the work on MG Gundam AGE-1 Normal is approaching the end after the previous posting. ^^ Only the head, body and arms remain right now. ^^ Everything is going very fast and smooth for the work on this Master Grade kit. ^^

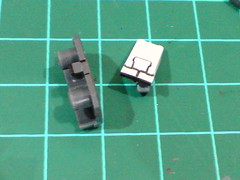
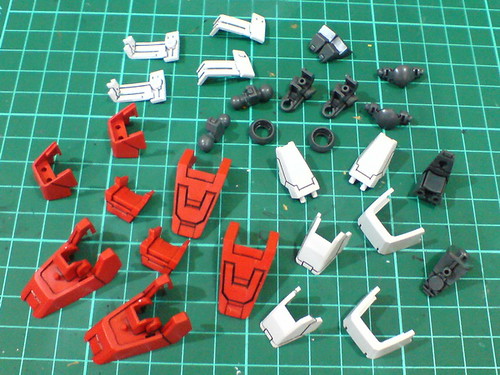
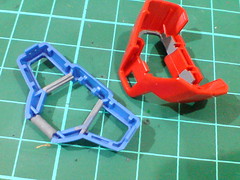
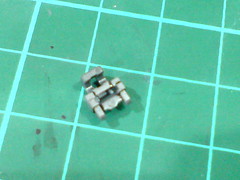
Simple panel lining for the right arm's armor parts.
The parts are perfectly symmetrical to those on the left arm actually. It's the separation and placement of parts into different paper boxes in Part 1 which classified the side they represent.

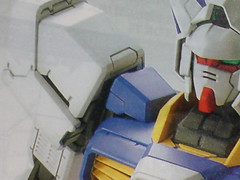
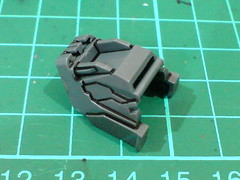
Quite tempted to paint the sunken area behind the top shoulder armor part gray - to establish it as part of the inner frame not armor, but since the completed model on the manual's back cover shows it as unpainted, I didn't bother about it anymore. ^^

Much like the two tabs on the weapon's mount rack painted in the previous posting, a small tab behind the thumb joint is painted gray (using Gundam Marker) to show a straight and smooth edge on the hand armor.

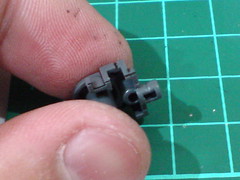

Borderlines on a few armor and joint parts are painted black using Gundam Marker.
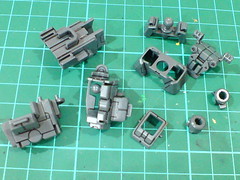
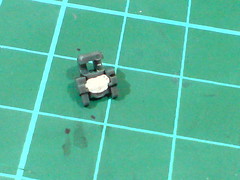
Panel lining for the right arm's inner frame parts.
Most of the lines done here are add-ons to areas not covered in Part 2, but instead of using Tamiya's Panel Line Accent Color (Black), normal panel liner is sent in for the task instead. ^^
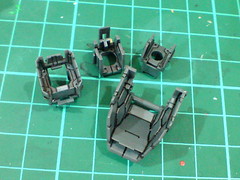
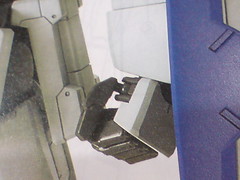
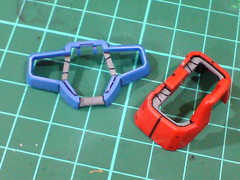
Cross segments of the wrist, elbow and upper arms, plus the shoulder armors have the most amount of details among all the arm parts, and in terms of the entire kit as well. ^^
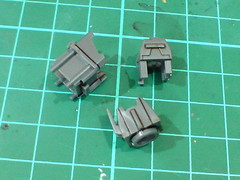
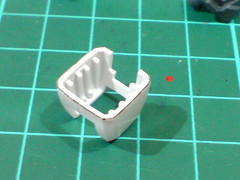
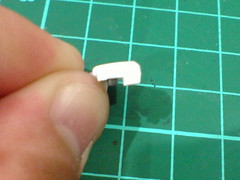
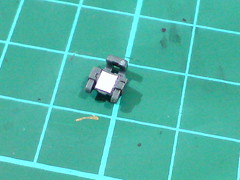
(Left) Much simple details outside the shoulder armor parts, which were all panel lined as well.
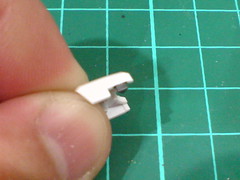
(Right) Virtually no details outside the other inner frame parts of the arm. Those bars are meant as connectors to the armor pieces instead of designs for molded details. ^^;

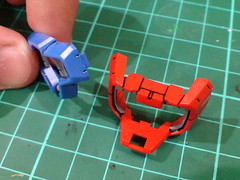
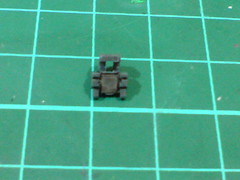
Repeat all the panel line and paint work for the left arm's parts.


"Details" behind the ankle guard parts are done very quickly using Tamiya's Panel Line Accent Color (Black).
Better some line details than nothing at all I suppose. ^^;
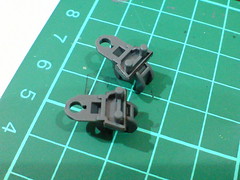
Borderlines between the ankle joints' parts are painted black using Gundam Marker.
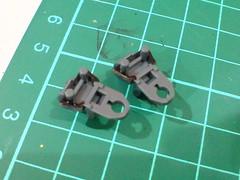
Simple panel lining for all the other feet parts.
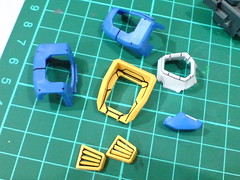
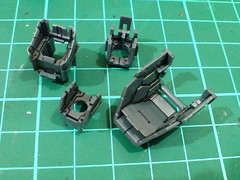
Simple panel lining for most of the body parts.
To establish them as part of the inner frame not armor, some of the areas inside the blue chest and red abdomen parts are going to be painted.
Painted the targeted areas gray using Tamiya Color Acrylic Paint Mini XF-53 Neutral Grey.
With panel lines applied when the paint has dried.
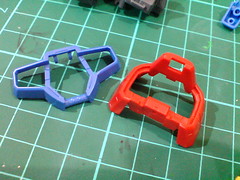
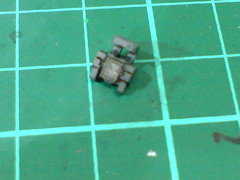
As tons of details are molded on it, some detailing work can be added to the frontal dashboard part of the pilot cockpit. ^^

Before detailing the screen of the dashboard, some work can be done to enhance the part's external face (to be shown immediately when the hatch is opened), which has a slot right in its middle thanks to the molding process. ^^;
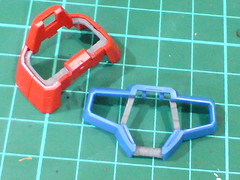
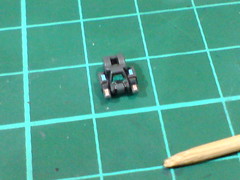
The slot is filled up using a tiny bit of Tack-it adhesive first.
Putty is not needed here as the targeted area is going to be painted over later. Using putty is pretty time-consuming and expensive for such a tiny spot too.

Before the spot filled with "fake putty" (XD) is painted (right image), a small piece of foil sticker is pasted over it (left image) to provide a more solid surface for the marker to paint on. Tack-it adhesive is as soft as art clay, and will always be so. ^^;
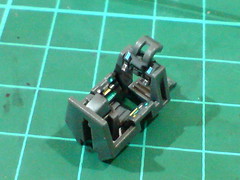
Panel lines (re)applied when the paint has dried on the part.
A tiny slide of clear sticker with some unrecognizable message (XD) from my spare marking sheet collection is used to further "camouflage" the painted area. ^^
Painted the main screen with metallic green pen. The other green and silver markings are cutouts from spare foil stickers.
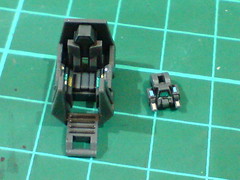
With the pilot cockpit part from the previous posting.
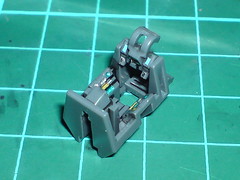
This is how the entire cockpit is going to look like when the two parts are put together. Once the model is assembled, this component won't be seen this clearly anymore I believe. ^^;
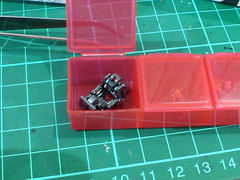
Just like the two figures of Flit Asuno painted in the previous posting, the two cockpit parts are placed in a small medicine box to avoid any damage to the paint and stickers.
Only parts from the head remain now before the entire work is done. ^^


No comments:
Post a Comment