While keeping the work on MG Sinanju Ver. Ka on hold after the previous round of spray can session, the work on MG Char's Gelgoog Ver. 2.0 has entered its final phase, with just the weapon and head parts to detail now. ^^
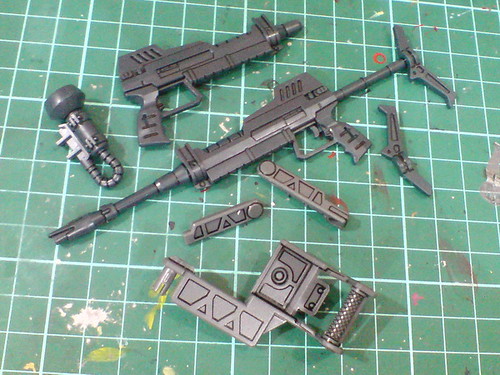
Panel lining for the beam rifle parts and the ones for the mount rack of the shield.
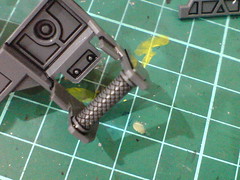
Panel lining the elaborate net pattern on the shield's handle is made easy using the black paint with thinner method.
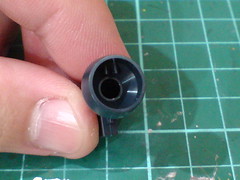
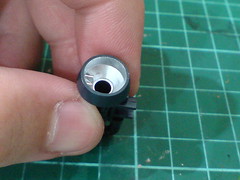
Applying my usual treatment for the beam rifle's targeting scope, but since the size of the clear part is much larger than any of the same part on other kits, and that it's situated so close to the opening of the part, instead of on the back of the clear part, I painted the interior of the targeting scope part using Pilot Super Color Silver Extra Fine.
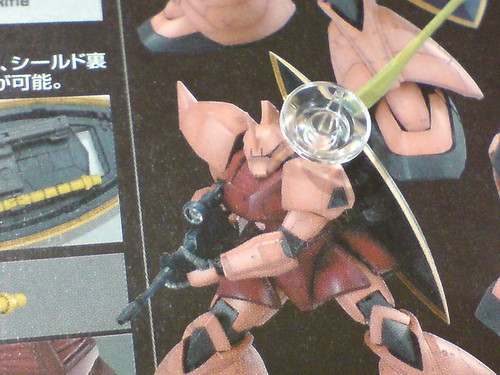
Surprisingly, the completed model in the manual doesn't show any color painted for the targeting scope it seems. ^^
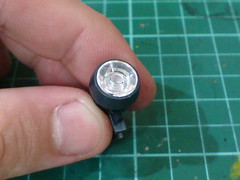
Keeping the clear part unpainted seems pretty good too, since the silver paint inside the scope will make the clear part extra shiny anyway. ^^
But I would still insist on a red targeting scope instead XD
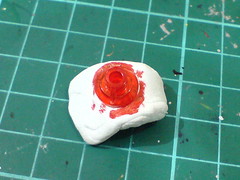
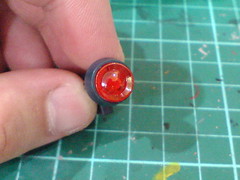
As usual, painted the back of the clear part red using a normal marker to get the effect. ^^
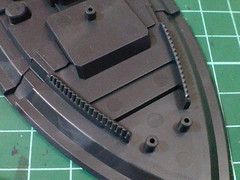
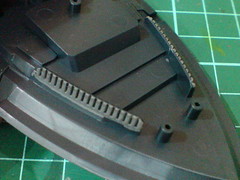
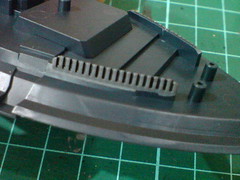
Painted the vents near the bottom of the shield gray using Gundam Marker Gray to make them seem like parts from a separated mecha component.
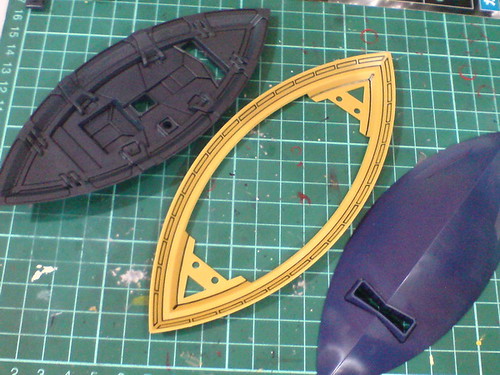
Panel lining for the other larger shield parts.
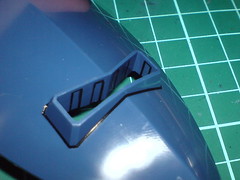
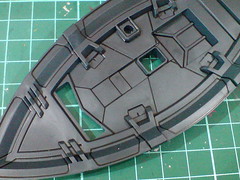
(Left) Some sunken line details inside the scope area can barely be reached by the panel liner, making them extremely difficult to panel line. ^^;
(Right) Simple line details on the rear face of the shield.
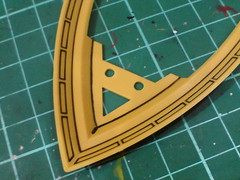
Another smiley face appears after the one on the side skirt armor XD
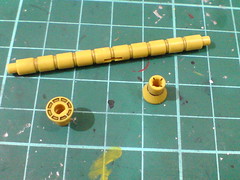
Simple line detailing for the beam saber parts.
Done for the weapon parts, moving on to the last component of the kit: the head. ^^
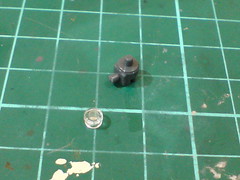
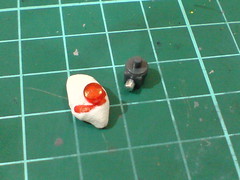
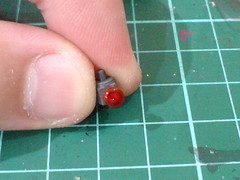
The same old usual trick for the mono-eye camera, painted silver for the connector and red for the clear part (both using normal markers).
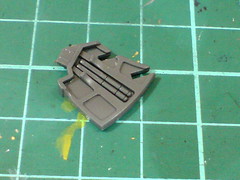
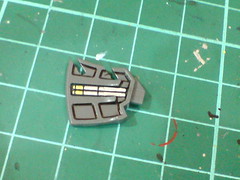
A little bit of gold and silver treatment using normal pens for the pipes inside the tail unit of the head.
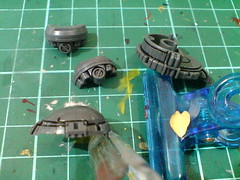
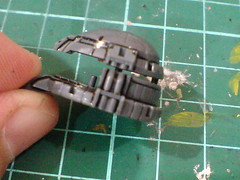
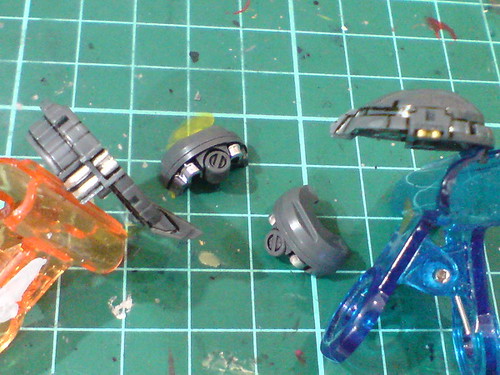
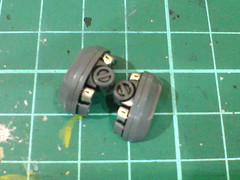
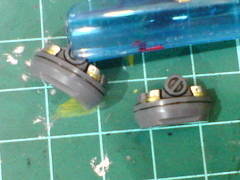
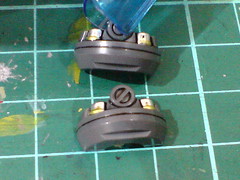
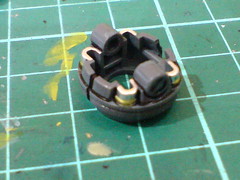
More gold and silver treatment applied, this time for the inner frame parts of the head and neck.
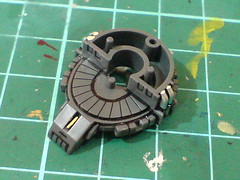
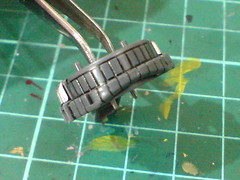
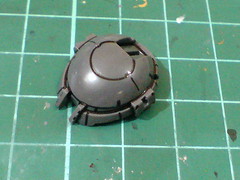
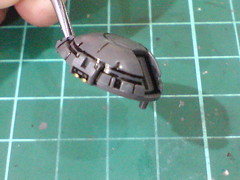
Tons of line details to treat for the main head parts. ^^
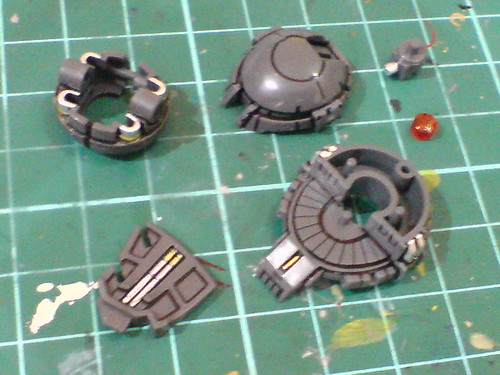
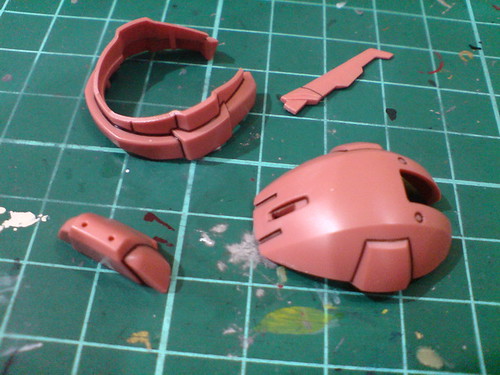
All done for the head's inner frame and armor parts.
Started on this kit quite early this month, everything turned out to be really well. ^^ Gelgoog itself is pretty simple to paint and panel line, especially since most of its parts are large in size. ^^ As it turned out, the parts that demanded the most amount of time and attention to complete are actually the figures and car, all which are fixed display items. ^^;


No comments:
Post a Comment