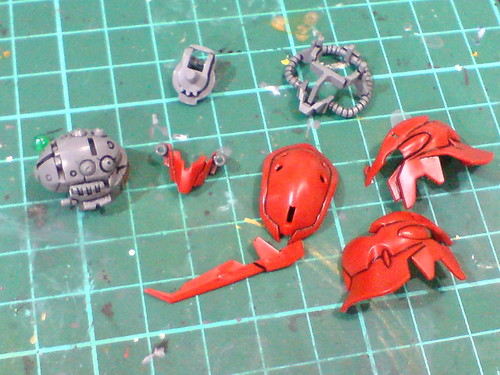
The last batch of the work on Master Grade Ver. Ka already. ^^
The remaining work needed would be for the body, and head, which unsurprisingly, feature the least amount of panel lining among all components of this model kit. ^^ The small size, and low part count (relative to other components) are obvious reasons for simpler work required for the head. For the body, most of its parts are either the black emblem pieces which were already painted, and panel lined in October 2011, or ones that were detailed more recently, for example the collar piece, cockpit module, and chest block. Thanks to those prior work, I get to have an easier time with the remaining parts of the body. ^^
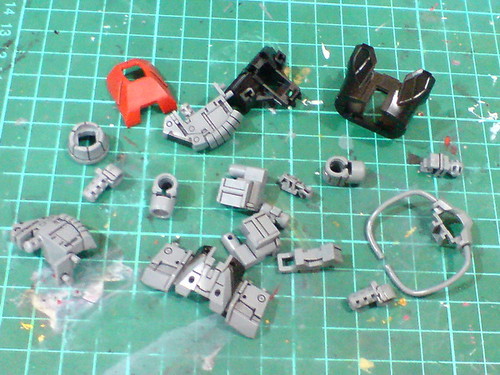
Simple panel lining for the body parts.
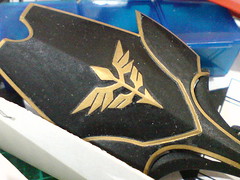
The black abdomen part is panel lined as well, to highlight the emblems which are there, but not meant to be painted gold. ^^
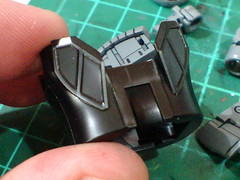
(Left) The collar piece is panel lined using a combination of normal panel liner, and Tamiya's Panel Line Accent Color (Black).
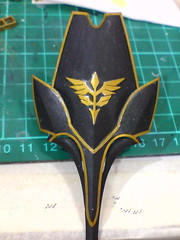
(Right) The front-most neck area is panel lined carefully to realize the tiny Neo Zeon emblem molded there. I had a huge temptation to paint it gold, but feeling that that insignia might seem repetitive with the larger painted chest piece when the model is assembled later on, I didn't pursue the paint work.
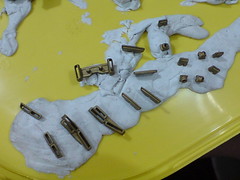
Speaking of the painted parts from October 2011, here they are again, after being left untouched for more than two years. ^^;
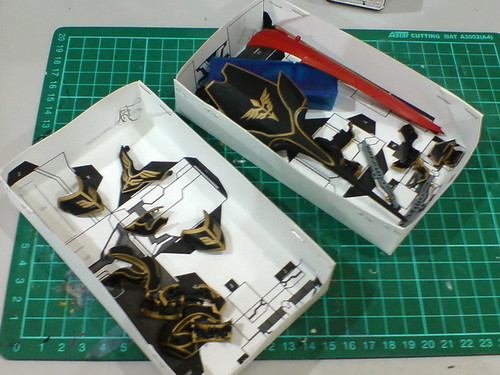
Some of the parts are gathering dust (literally) sitting in their paper containers. ^^;

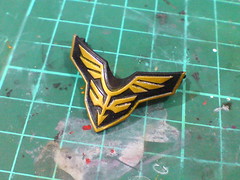
While they look exactly like how they were back in October 2011, the usage of Gaia Metallic Color No. 122 Star Bright Gold on many other parts in recent batches of work made me feel inclined to change the matte look of the golden emblems. Then again, I don't want to go through the whole painstaking process of repainting the parts in detail. ^^
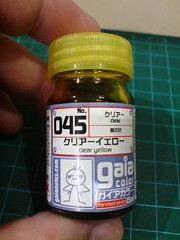
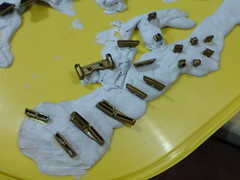
Instead, another layer of coating can be applied, with emphasis on restoring the shiny effect of the golden emblems. ^^
The coat color is mixed from Gaia Color 045 Clear Yellow (more), and Gaia Metallic Color No. 121 Star Bright Silver (less).
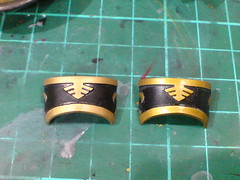

Comparison between the default part (left piece in each image) and another piece with the newly mixed coat.
Even those the coat is hand painted to the parts, the work isn't as exact and detailed as when the emblems were first painted, so it isn't stressful at all. ^^
Seeing the change in paint effect is pretty awesome too. ^^
The yellow base on which the smaller golden parts are mounted isn't helping in revealing the change in their paint effect. ^^;
The shield's emblems were given two layers of yellow-silver coat. ^^
As with the emblems on the chest piece. ^^


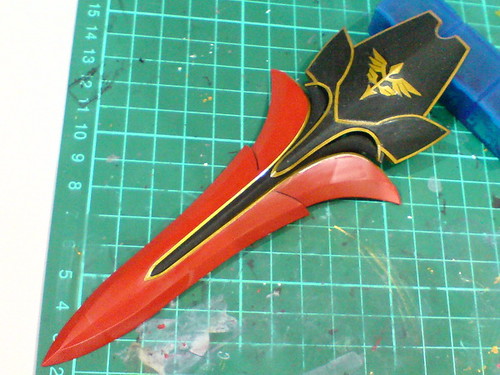
The vent slits, and outline of the elevated areas behind the lower shield part are panel lined using normal panel liner.

The long polygonal slots on the frame part allow areas behind the shield to be seen directly when the grenade launcher is removed. Such direct "exposure" makes the shield seems thin - there's no solid frame to support the shield beneath the grenade launcher. ^^;
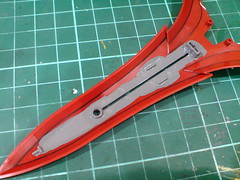
The targeted areas on the red part are painted using Gaia Color 073 Neutral Gray III.
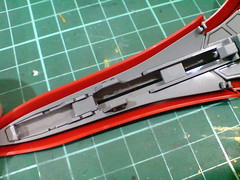
The gray paint makes the three polygonal spots seem part of the frame instead of actual hollow spots of the latter. ^^
Flip the part to its top side, there's a renewed, shinier look for the emblems with the yellow-silver coat. ^^
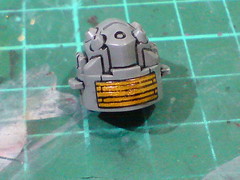
The detailing of the head parts marks the end of the entire work on this Master Grade kit. ^^
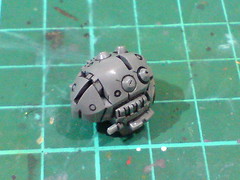
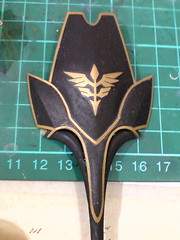
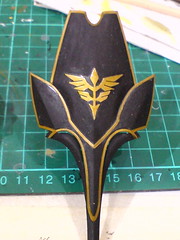
(Left) The elaborate molded details on the top part of the head are panel lined using a combination of normal panel liner, and Tamiya's Panel Line Accent Color (Black).
(Right) Panel lines are applied to the golden patch behind the head, painted in Part 9.
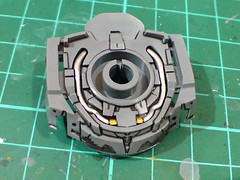
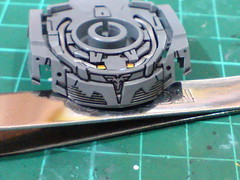
Tamiya's Panel Line Accent Color (Black) is used to panel line the conductive pipe details of the bottom head part easily.

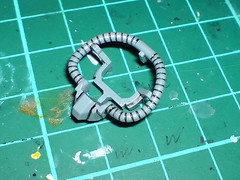
Excessive panel liner paint is wiped away using cotton swab soaked with enamel thinner.
Some minor details are then added using normal panel liner.
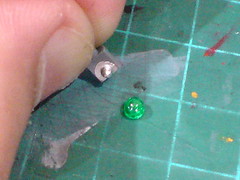
Like all other Master Grade mono-eye kits, the base on which the clear camera part (painted fluorescent green in Part 14) connects to is painted silver (using Pilot Super Color Silver Extra Fine) to give the mono-eye a shiny base.
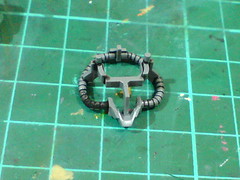
Simple panel lining for the armor parts.
The head is always the "ceremonial" last component to sign off the work on a particular model kit. ^^
Besides feeling happy that the entire work is done, there's a great sense of relief as well. ^^ This Master Grade kit has been sitting around on my to-do list for almost three years, and looking back on the total lack of progress between Parts 7 and 8, I almost feel bad for the kit itself for the near-abandonment treatment. ^^; Then again, I never really gave up on it. Many detailing ideas I came up with during that period of idleness were eventually executed, as shown in previous postings. In that sense, that super-extended delay wasn't all detrimental to the model kit. ^^
As usual, there'll be a bit of offset time between now and when I revisit all the parts again for the final assembly. ^^.


3 comments:
Your step by step process of making the kit is amazing. I'm inspired by the level of detail you realized for this kit. I love your work.
Are you going to celebrate Chinese New Year? I'm looking forward to your next post.
Post a Comment